Dear Readers,
In this article,we will see Create EBS Volume Snapshot and Attached to Another EC2 Instance.

Implementation Steps
- Launch Linux EC2 Instance.
- Connect to Linux EC2 Instance through putty.
- Mount an EBS Volume to your Linux EC2 Instance.
- Create Snapshot from EBS Volume.
- Create Volume from Create Snapshot.
- Launch Another Linux EC2 Instance.
- Attach EBS Volume to your Another Linux EC2 Instance “My Linux 1”.
- Connect to Second Linux EC2 Instance through putty and verify files.
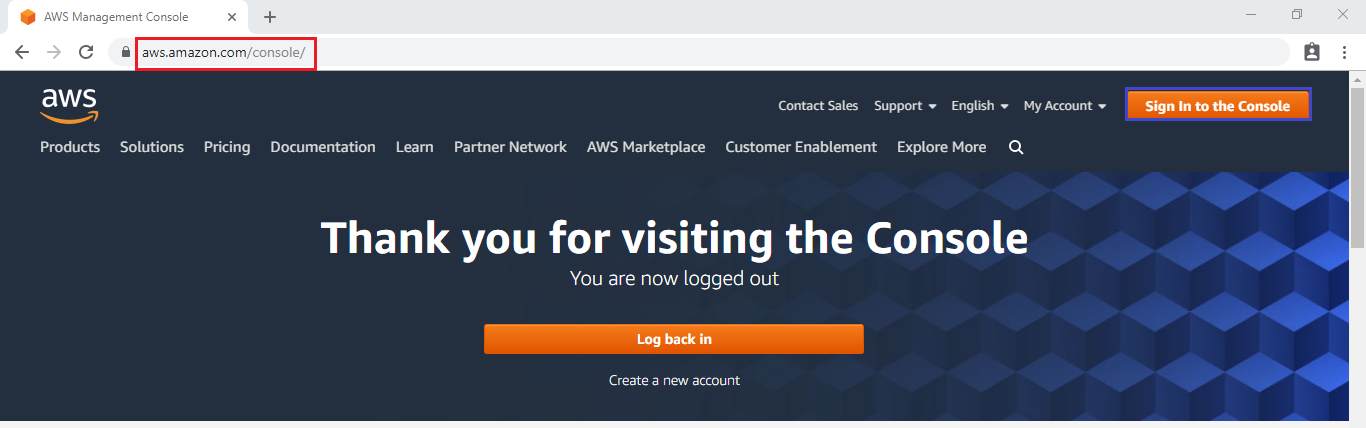
First, we need to AWS Console page by using below link.
https://aws.amazon.com/console/
Click on sign in to Console button.
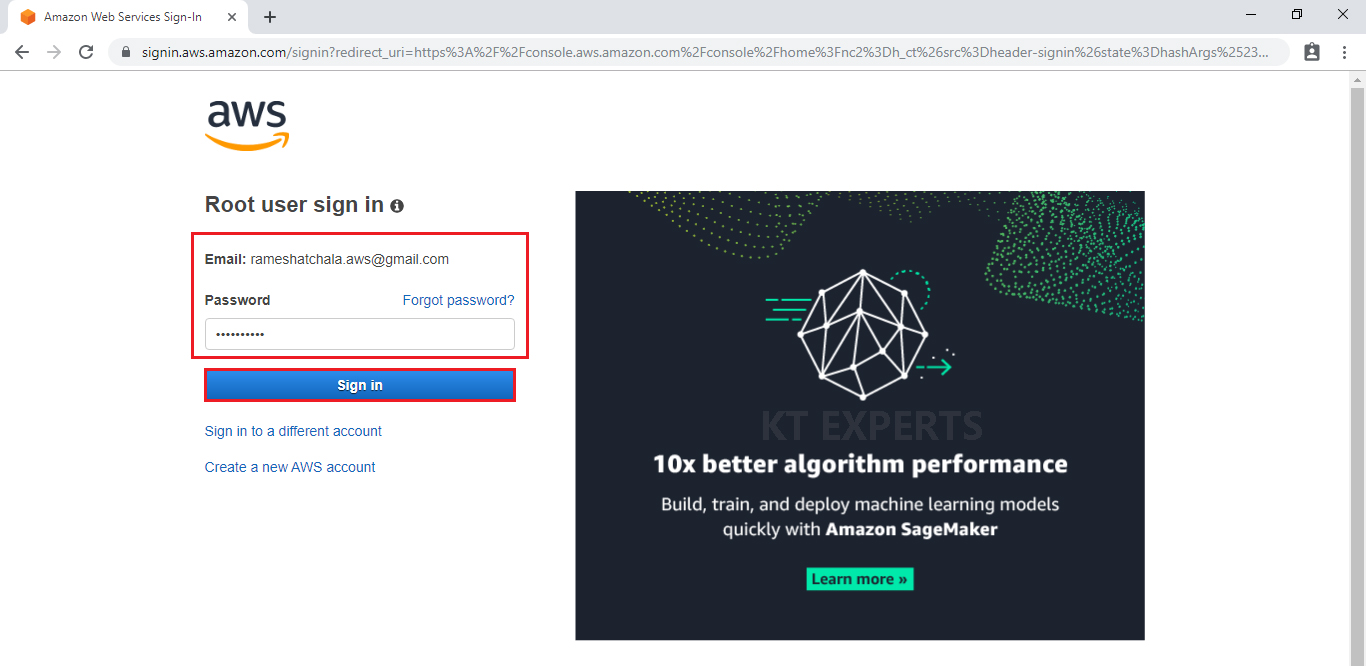
Logging to aws account
Login using username & password and click on sign in.
Enter to AWS Management Console
We can see the AWS Management Console Dashboard.
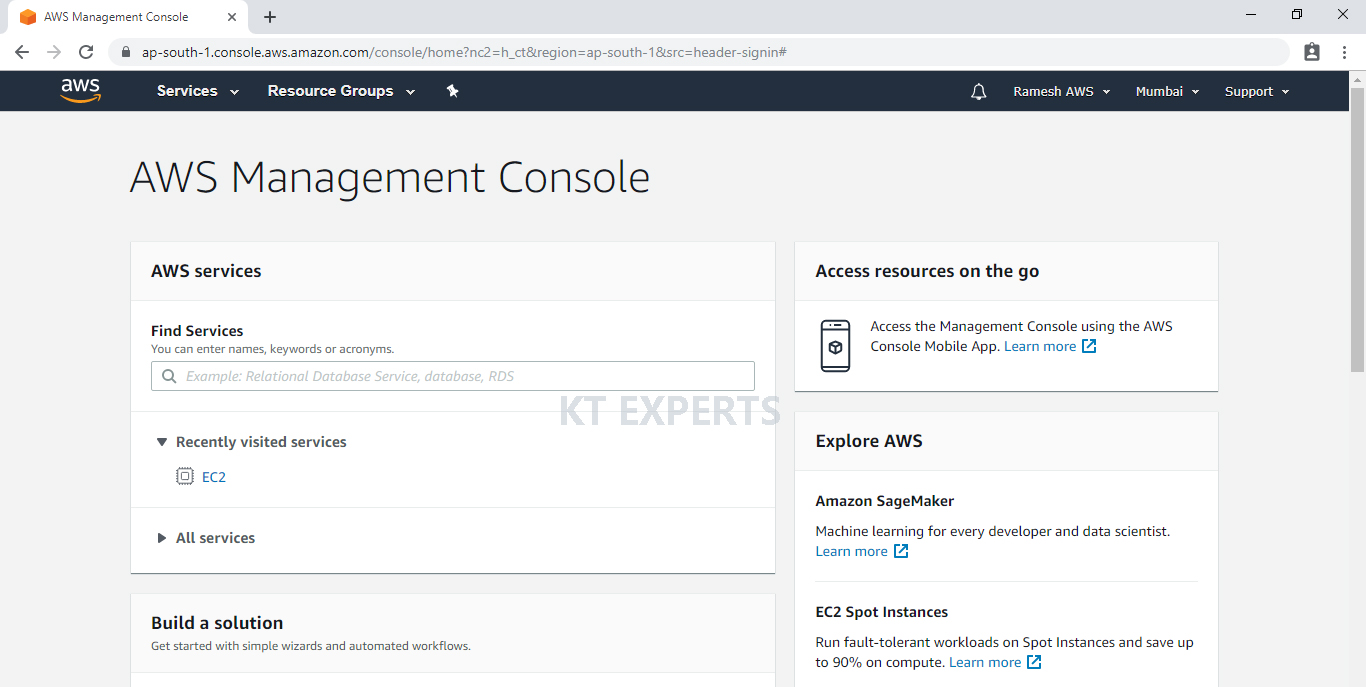
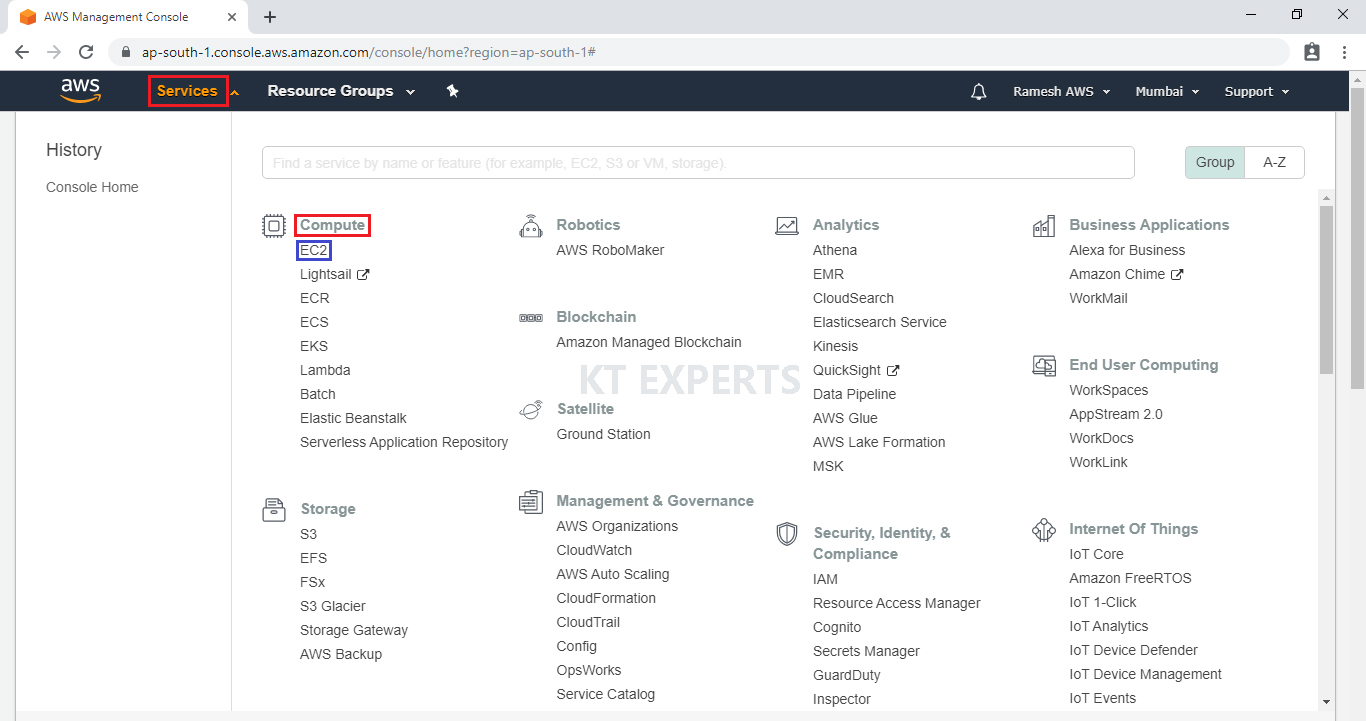
Go to Services, under the compute module click EC2 service to open.
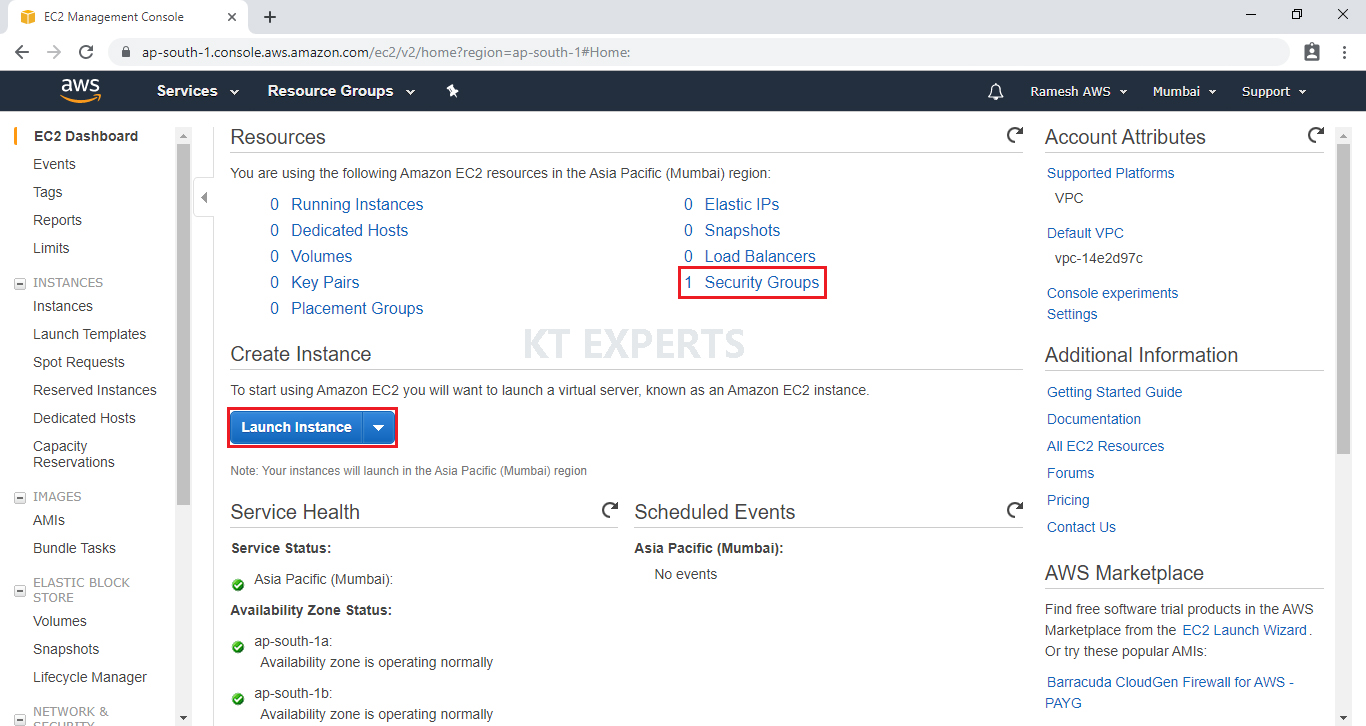
Launch Linux EC2 Instance
Go to Instances and click on Launch Instance.
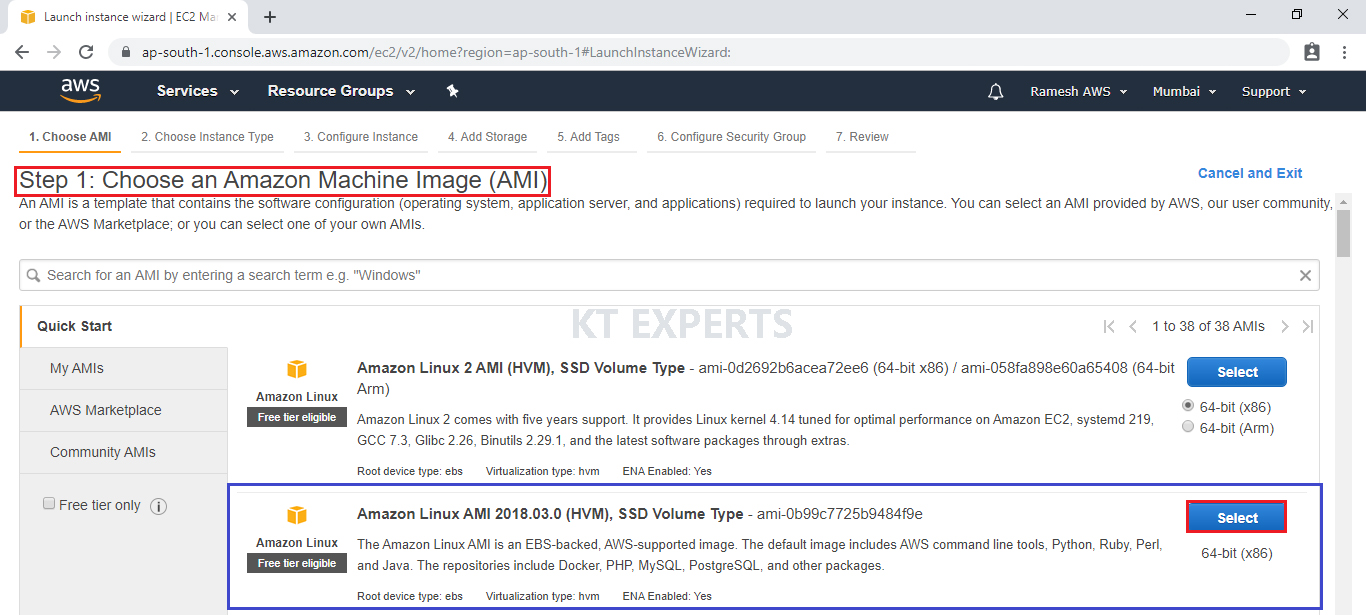
Choose an Amazon Machine Image (AMI)
Select the Operating system of the EC2 instance by choosing any of the Amazon Machine Images (AMI). Select the Microsoft Amazon Linux AMI.
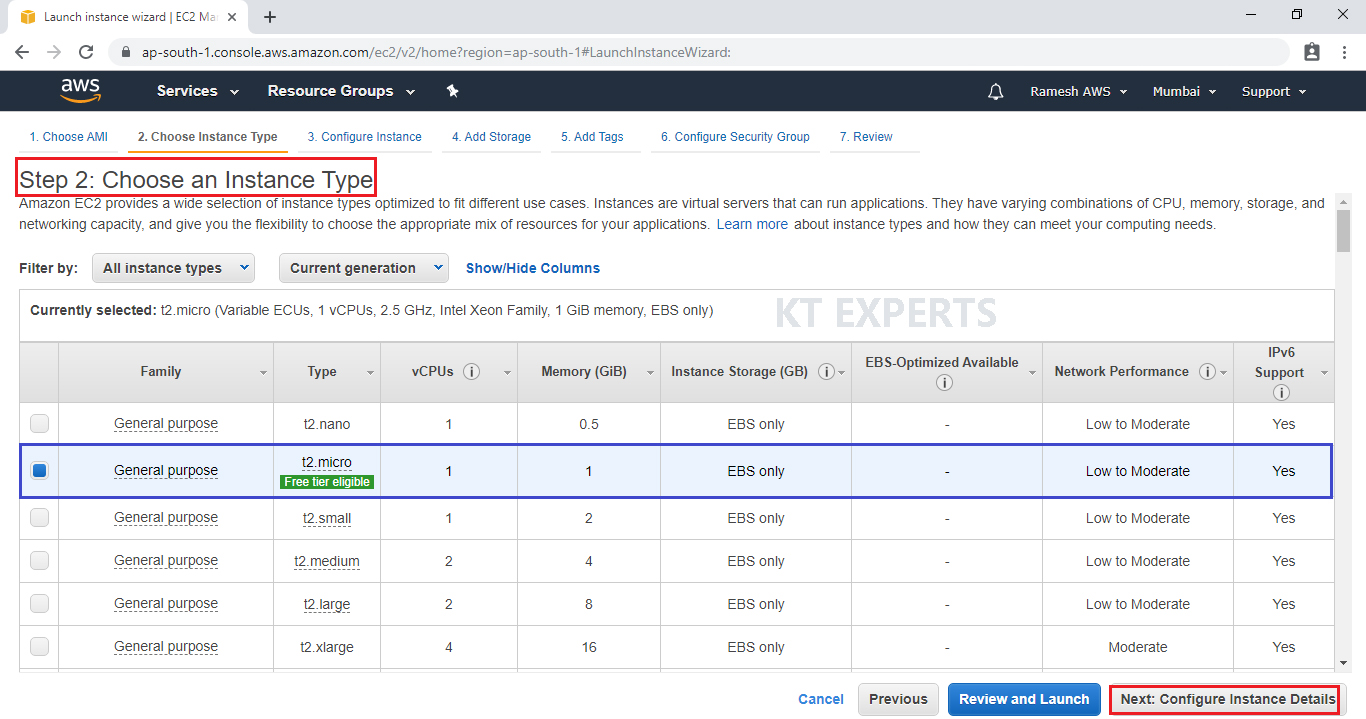
Choose an Instance type
Choose the Type of instance depending on your requirements.
Instance types comprise of varying combinations of CPU, memory, storage, and networking capacity.
select the default option of t2.micro – this instance type is covered within the free tier. Then click on Configure Instance Details.
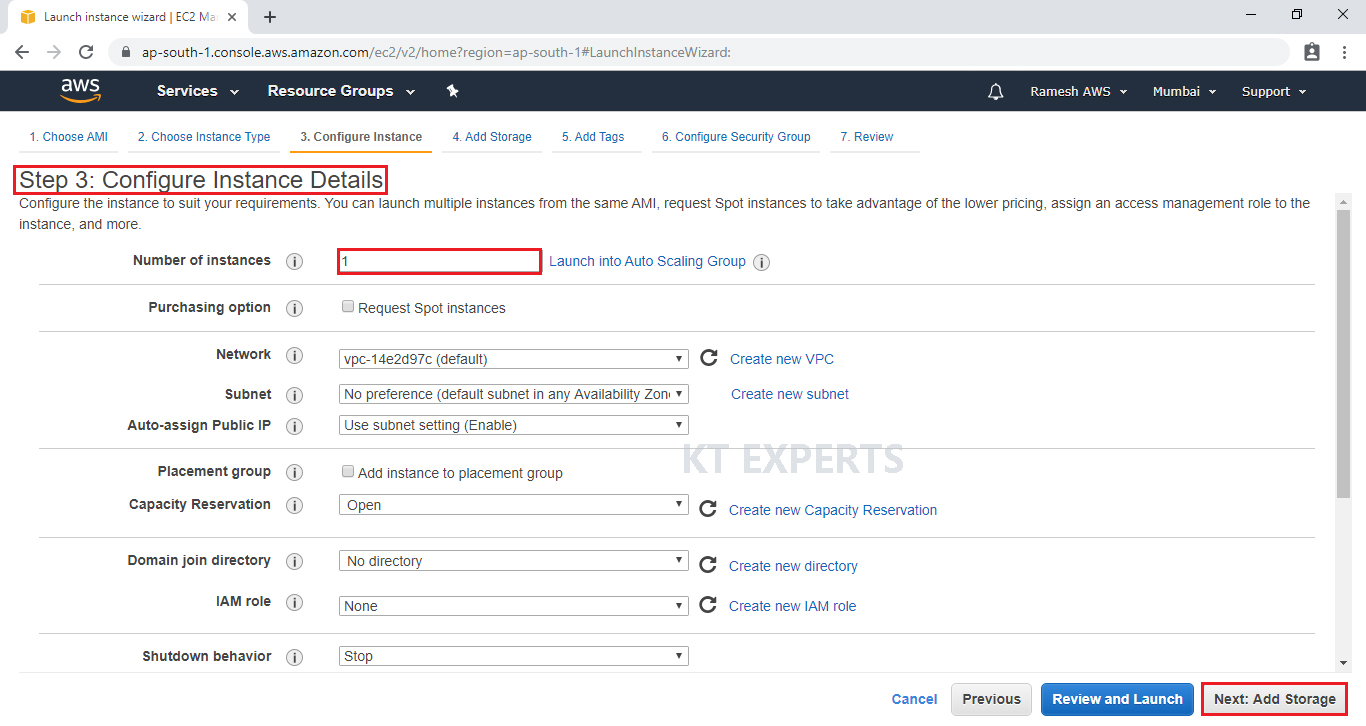
Configure Instance Details
Configure EC2 instance details as per requirements of your environment and click on Add Storage.
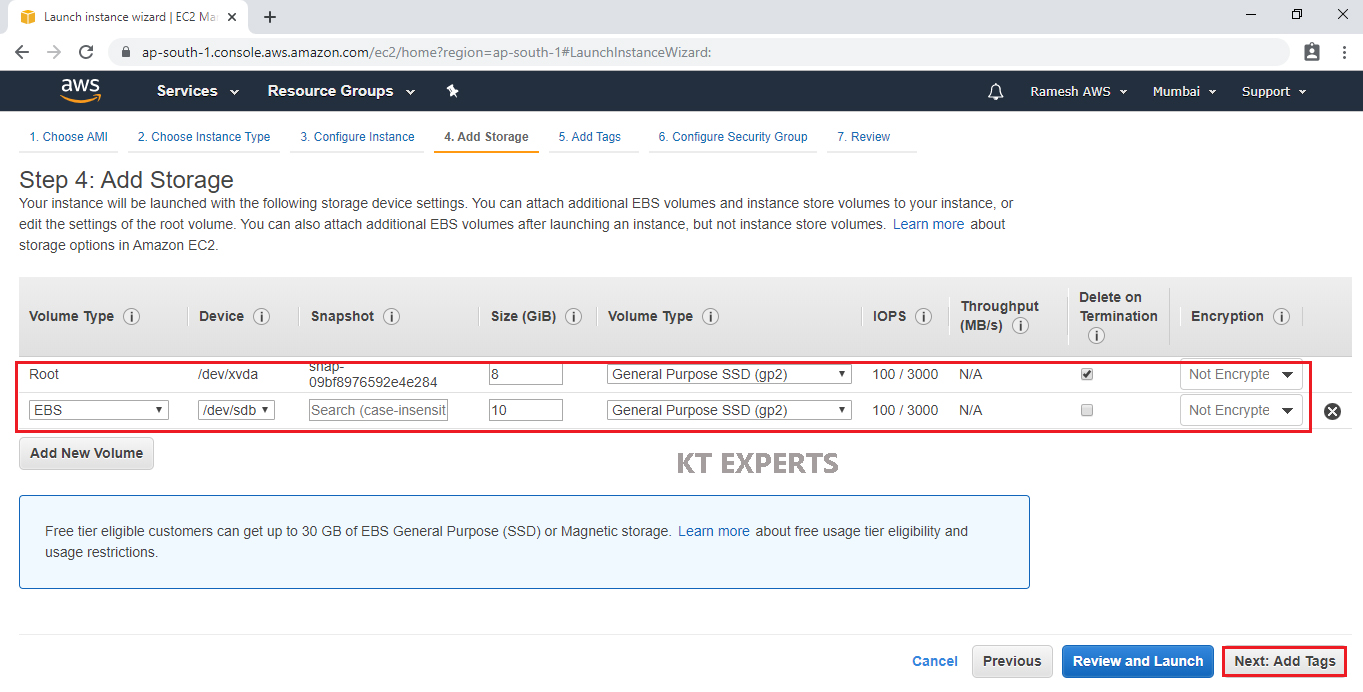
Add Storage
Here, we can see root volume by default and size of 8GB
Add a new volume “EBS” and the size is 10GB.
Click on Add Tags.
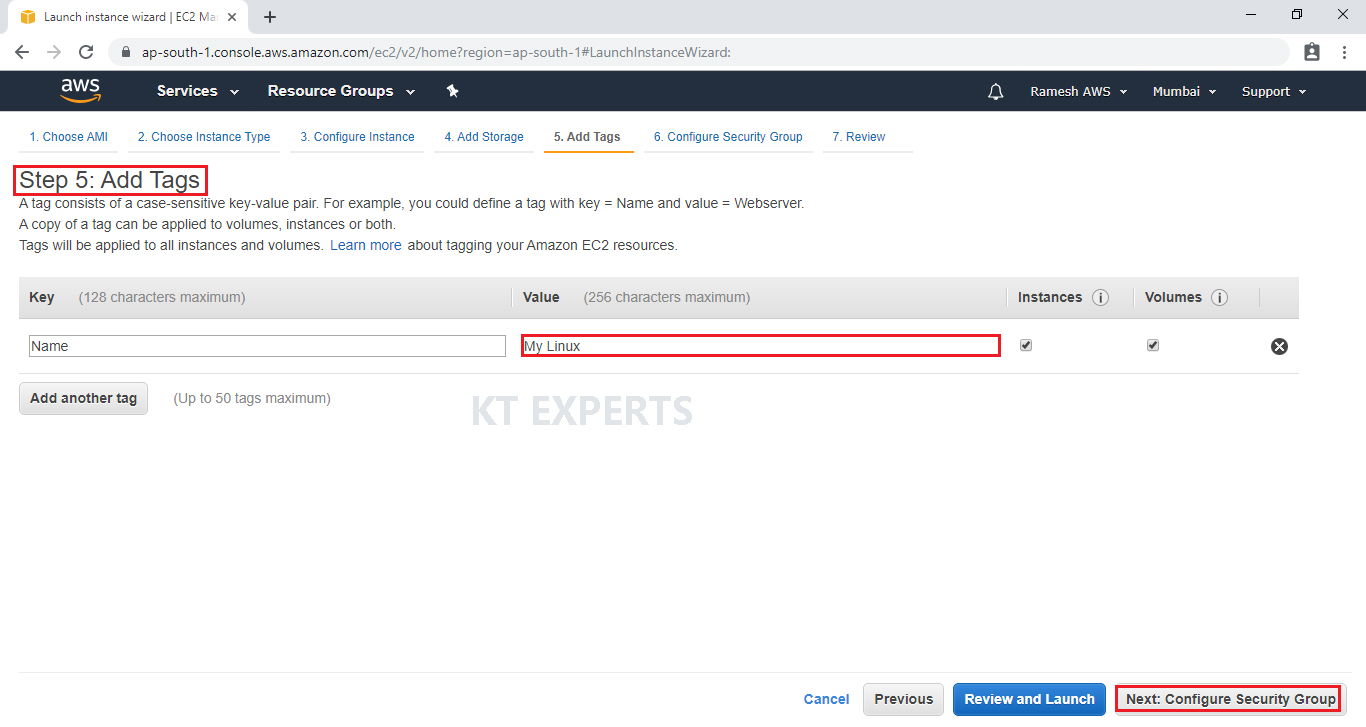
Add Tags
Tags assist in easier identification and classification of the various instances in your AWS environment.
Click on click to add a Name tag to provide name for our server.
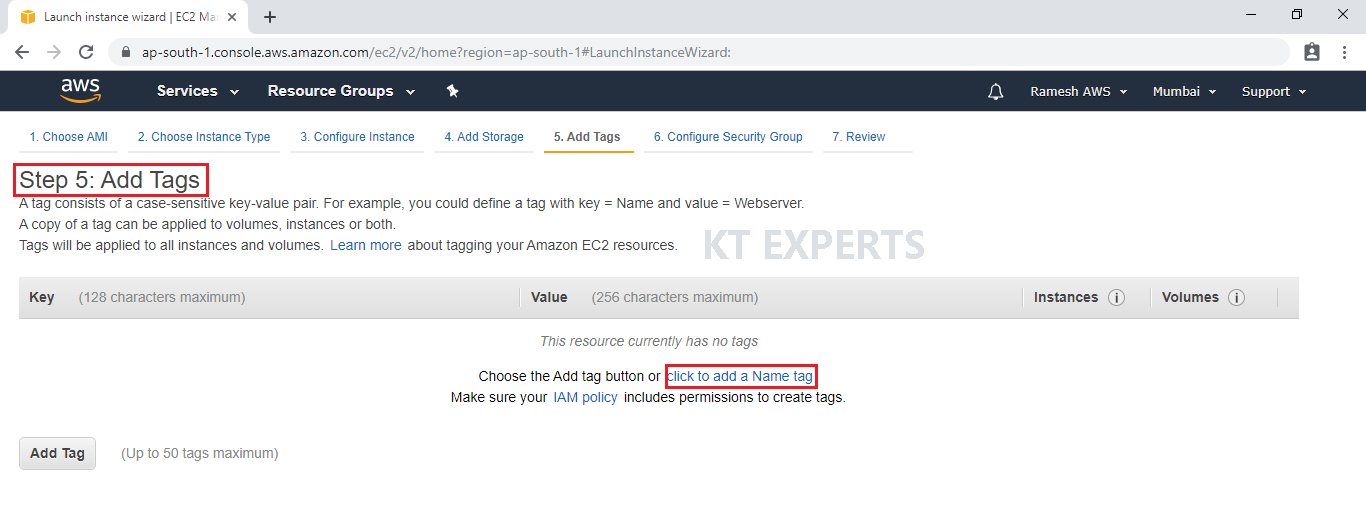
Provide the name for the Linux virtual machine for easier understanding and click on Configure Security Groups.
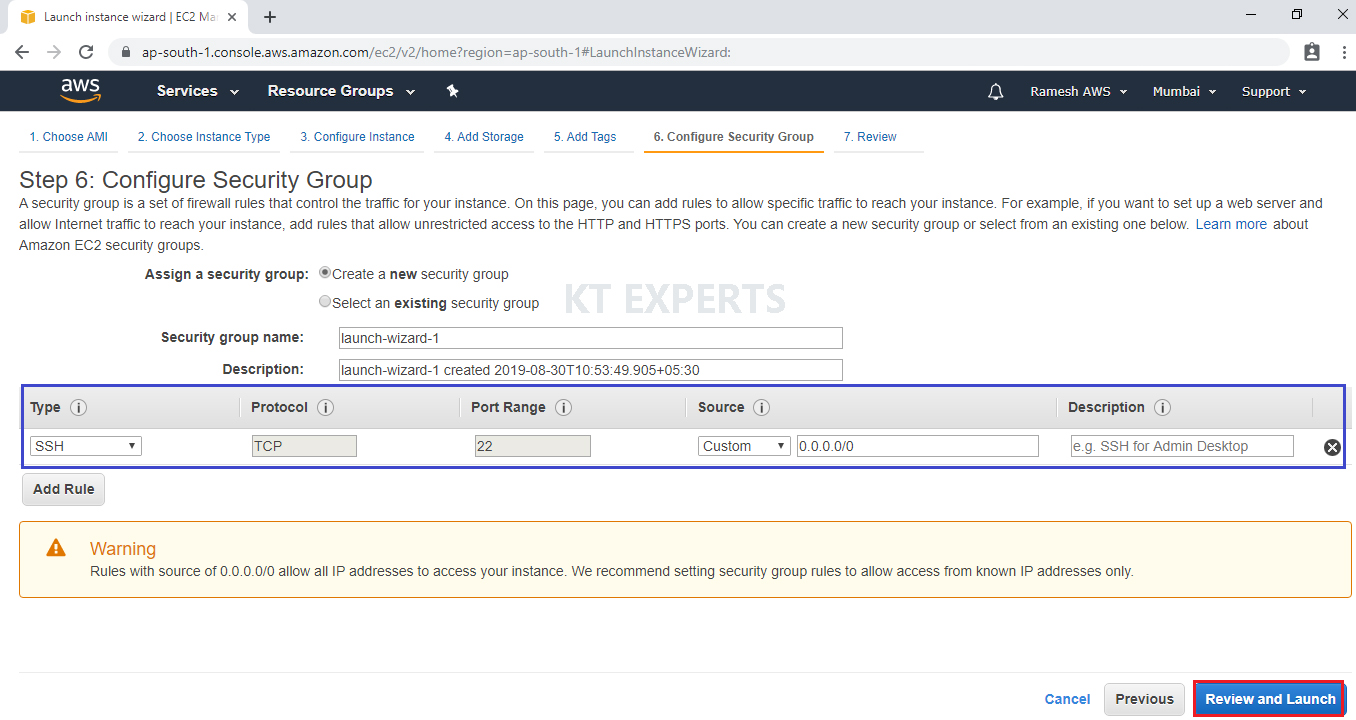
Configure Security Group
A security group allows configuring firewall rules to allow traffic as needed. Only one rule has been added to allow remote connection.
SSH Is enough to connect to our Linux virtual server and click on Review and Launch.
SSH – Secure Shell
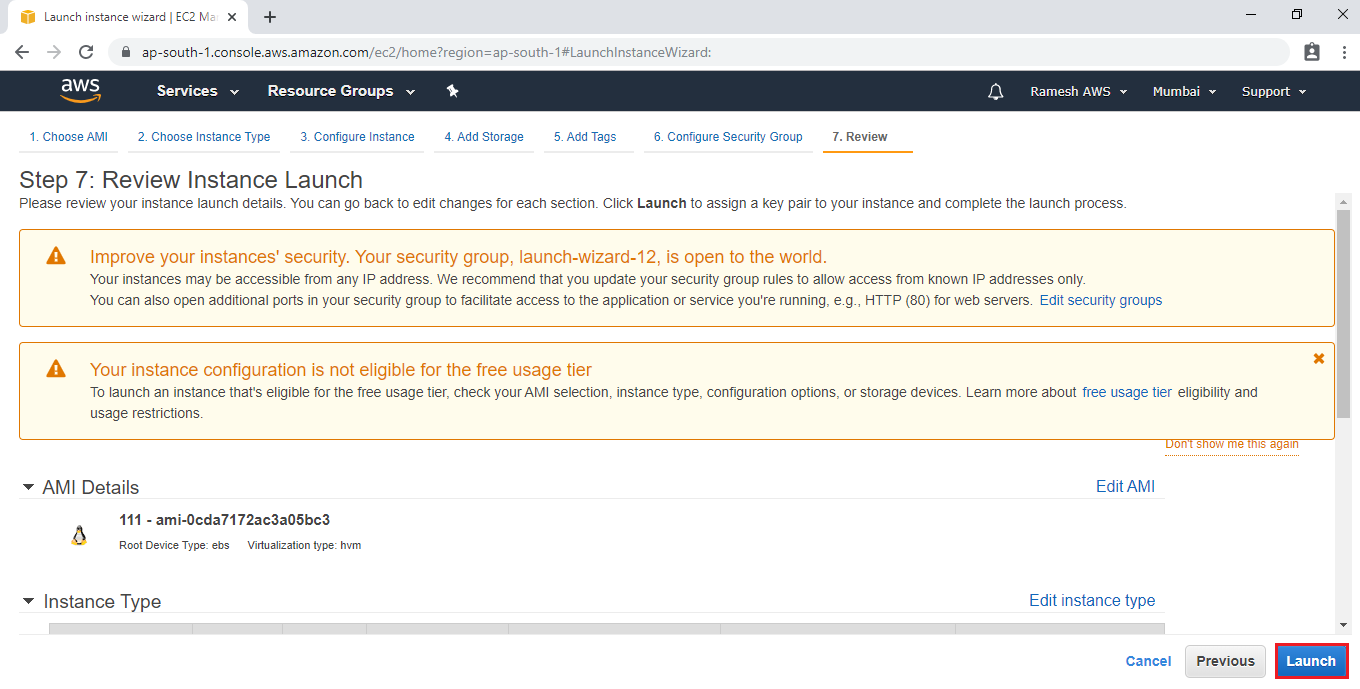
Review Instance Launch
Review and confirm the configuration of the instance. Click on the Edit button on each configuration item to make changes and click on Launch.
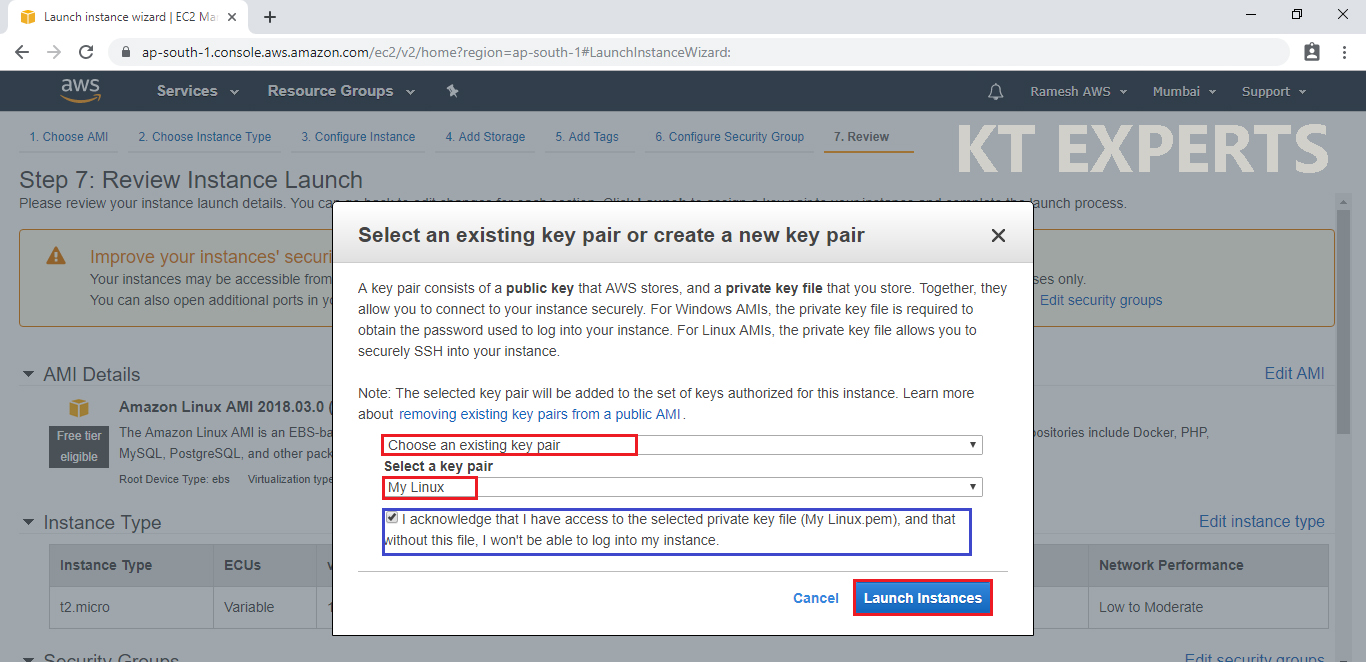
Select an existing key pair a Key Pair and Launch Your Instance
To connect to your virtual machine, you need a key pair. A key pair is used to log into your instance and Select an existing security group and click on Review and Launch.
Click on Launch Instance to start your Linux Server instance.
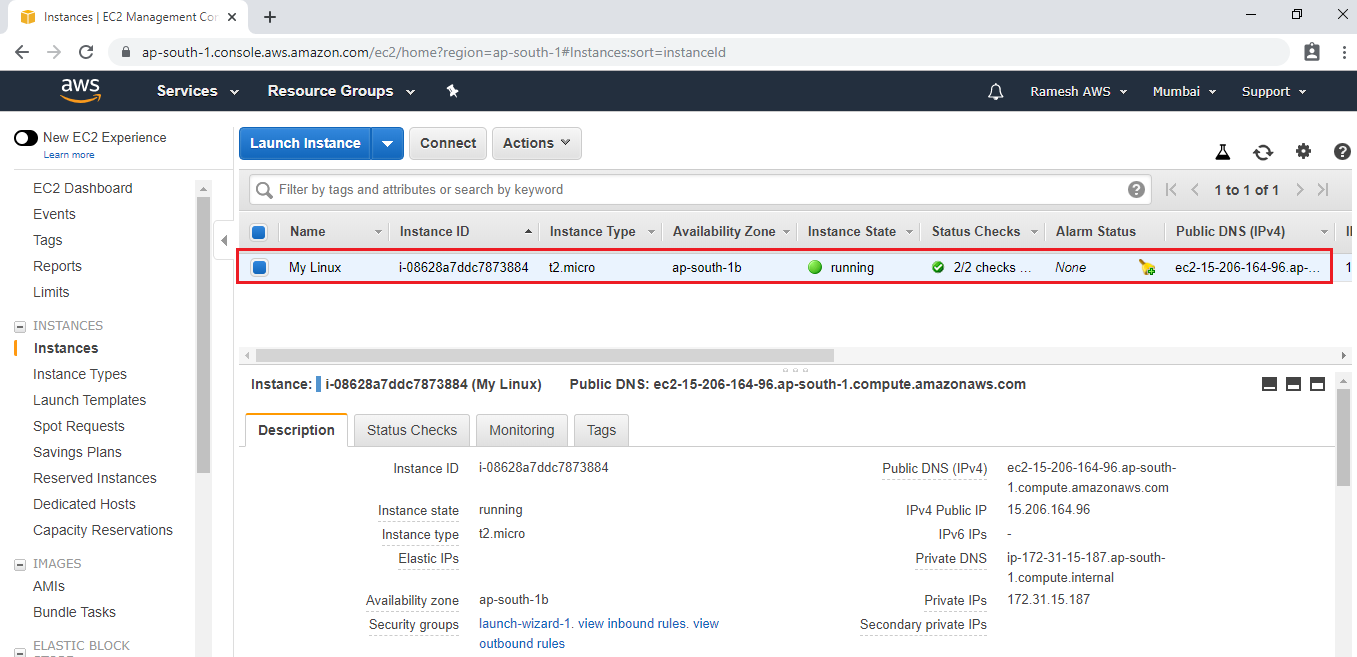
click on View Instances to view the instance you have just created and see its status.

We can see Linux Server which was created earlier.
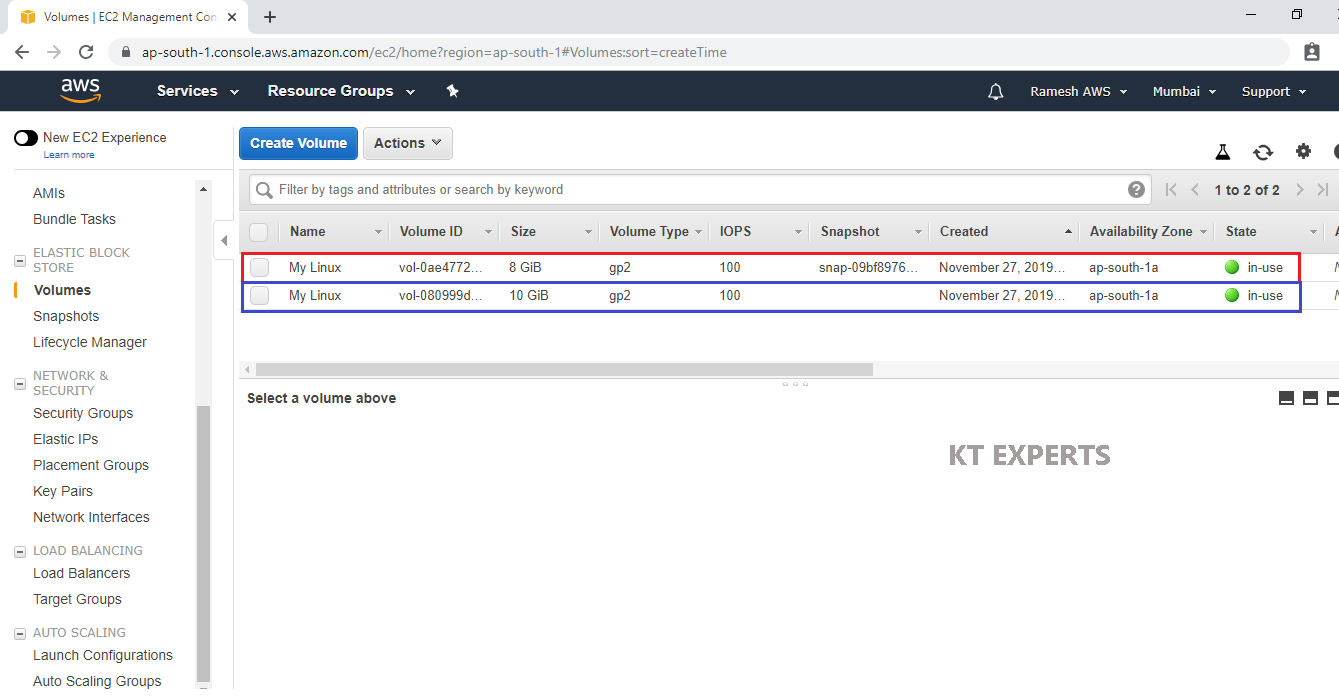
Verify volumes of your Linux EC2 Instance.
Go volumes,we can see two volumes attached to Linux EC2 Instance.
The first one is root volume and second one is EBS volume.
Note
If you want to store the files inside the EBS volume, you need to mount EBS volume to your Linux EC2 Instance.Manually.
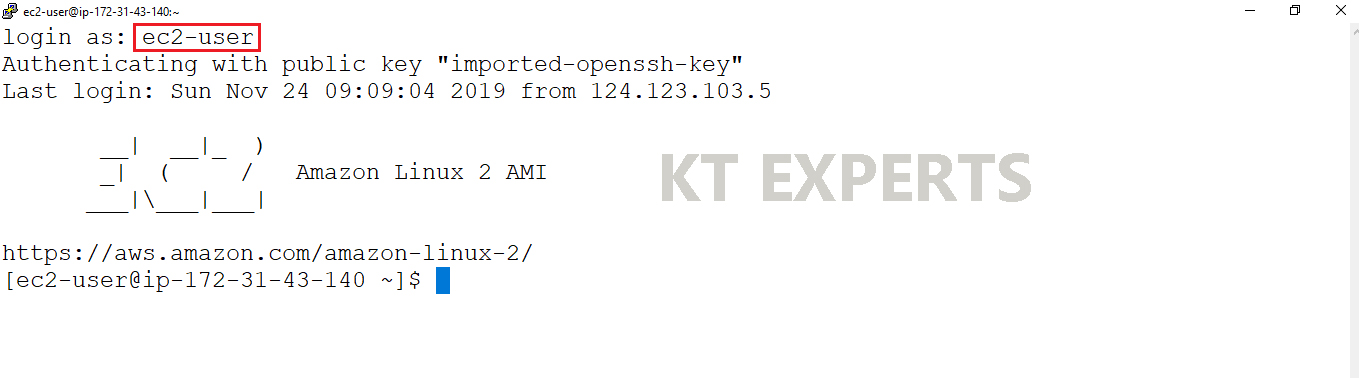
Connect to Linux EC2 Instance through putty.
Mount an EBS Volume to your Linux EC2 Instance.
|
1 2 3 4 5 6 7 8 9 10 11 12 13 14 15 16 17 18 19 20 |
login as: ec2-user Authenticating with public key "imported-openssh-key" Last login: Wed Nov 27 10:17:56 2019 from 123.201.77.64 __| __|_ ) _| ( / Amazon Linux 2 AMI ___|\___|___| https://aws.amazon.com/amazon-linux-2/ 5 package(s) needed for security, out of 13 available Run "sudo yum update" to apply all updates. [ec2-user@ip-172-31-34-108 ~]$ |
Switch to root user
|
1 2 3 4 |
[ec2-user@ip-172-31-34-108 ~]$ sudo su [root@ip-172-31-34-108 ec2-user]# |
Verify Available disks in your Linux Server
|
1 2 3 4 5 6 7 8 9 10 |
[root@ip-172-31-34-108 ec2-user]# lsblk NAME MAJ:MIN RM SIZE RO TYPE MOUNTPOINT xvda 202:0 0 8G 0 disk └─xvda1 202:1 0 8G 0 part / xvdb 202:16 0 10G 0 disk |
Verify the volume has any data by using the following command.
|
1 2 3 4 |
[root@ip-172-31-34-108 ec2-user]#file -s /dev/xvdb data |
Format the volume to ext4 filesystem
|
1 2 3 4 5 6 7 8 9 10 11 12 13 14 15 16 17 18 19 20 21 22 23 24 25 26 27 28 29 30 31 32 33 34 35 36 37 38 39 40 |
[root@ip-172-31-34-108 ec2-user]# mkfs -t ext4 /dev/xvdb mke2fs 1.42.9 (28-Dec-2013) Filesystem label= OS type: Linux Block size=4096 (log=2) Fragment size=4096 (log=2) Stride=0 blocks, Stripe width=0 blocks 655360 inodes, 2621440 blocks 131072 blocks (5.00%) reserved for the super user First data block=0 Maximum filesystem blocks=2151677952 80 block groups 32768 blocks per group, 32768 fragments per group 8192 inodes per group Superblock backups stored on blocks: 32768, 98304, 163840, 229376, 294912, 819200, 884736, 1605632 Allocating group tables: done Writing inode tables: done Creating journal (32768 blocks): done Writing superblocks and filesystem accounting information: done |
Create a directory to mount our new ext4 volume (use any directory name you like)
Make Directory
|
1 2 |
[root@ip-172-31-34-108 ec2-user]# mkdir /ktexperts |
Mount the volume to “ktexperts” directory
|
1 2 |
[root@ip-172-31-34-108 ec2-user]# mount /dev/xvdb /ktexperts |
Verify the disk space in your Linux Server
|
1 2 3 4 5 6 7 8 9 10 11 12 13 14 15 16 17 18 |
[root@ip-172-31-34-108 ec2-user]# df -h Filesystem Size Used Avail Use% Mounted on devtmpfs 475M 0 475M 0% /dev tmpfs 492M 0 492M 0% /dev/shm tmpfs 492M 404K 492M 1% /run tmpfs 492M 0 492M 0% /sys/fs/cgroup /dev/xvda1 8.0G 1.3G 6.8G 16% / tmpfs 99M 0 99M 0% /run/user/1000 /dev/xvdb 9.8G 37M 9.2G 1% /ktexperts |
Go to Mount Directory and verify files.
|
1 2 3 4 5 6 7 8 9 10 |
[root@ip-172-31-34-108 ec2-user]# cd /ktexperts/ [root@ip-172-31-34-108 ktexperts]# ls -l total 16 drwx------ 2 root root 16384 Nov 27 10:25 lost+found [root@ip-172-31-34-108 ktexperts]# |
Make Files and Directories inside mount directory
|
1 2 3 4 5 6 7 8 9 10 11 12 13 14 15 16 17 18 |
[root@ip-172-31-34-108 ktexperts]# ls aws ktexpers1 ktexperts2 ktexperts3 ktexperts4 lost+found [root@ip-172-31-34-108 ktexperts]# touch ktexpers1 ktexperts2 ktexperts3 ktexperts4 [root@ip-172-31-34-108 ktexperts]# ls ktexpers1 ktexperts2 ktexperts3 ktexperts4 lost+found [root@ip-172-31-34-108 ktexperts]# mkdir aws [root@ip-172-31-34-108 ktexperts]# ls ktexpers1 ktexperts2 ktexperts3 ktexperts4 lost+found aws |
EBS Automount on Reboot
By default on every reboot the EBS volumes other than root volume will get unmounted.
To enable automount, you need to make an entry in the /etc/fstab file
|
1 2 3 4 5 6 |
[root@ip-172-31-34-108 ktexperts]# vi /etc/fstab Enter the below command inside the fstab file /dev/xvdf /newvolume ext4 defaults,nofail 0 0 |
Execute the following command to check id the fstab file has any error
|
1 2 |
[root@ip-172-31-34-108 ktexperts]# sudo mount -a |
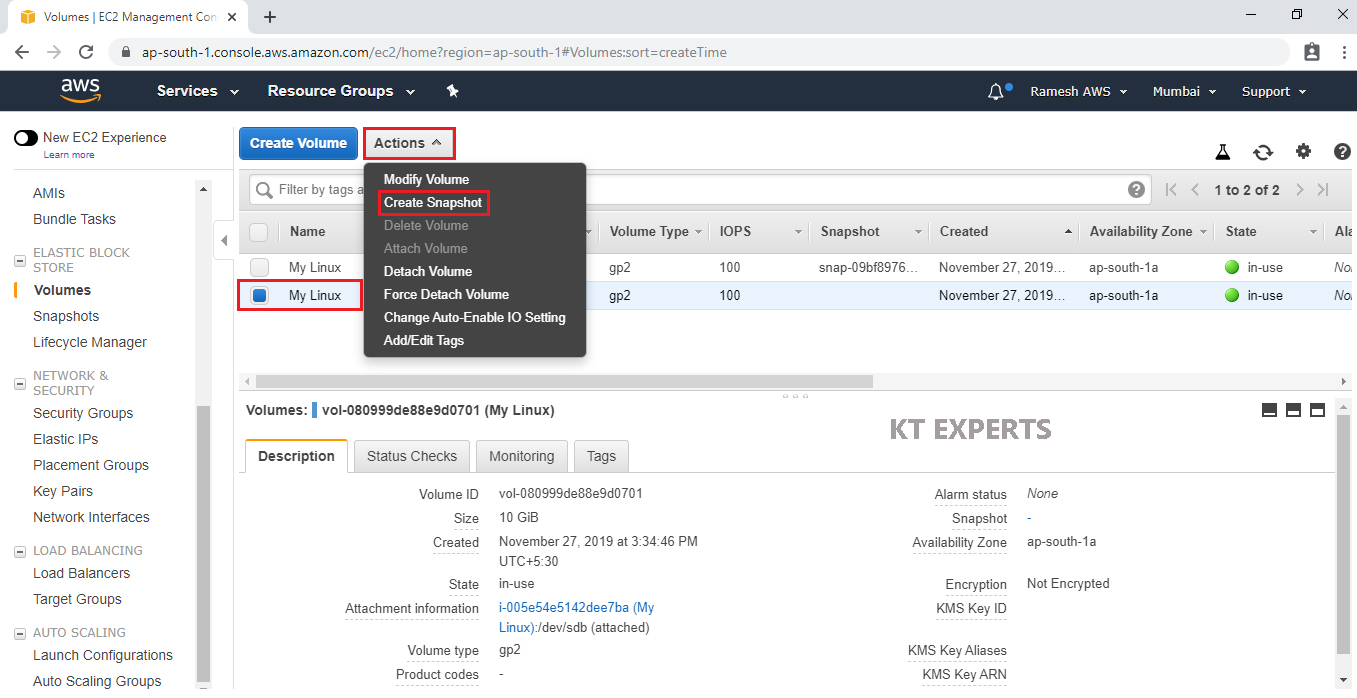
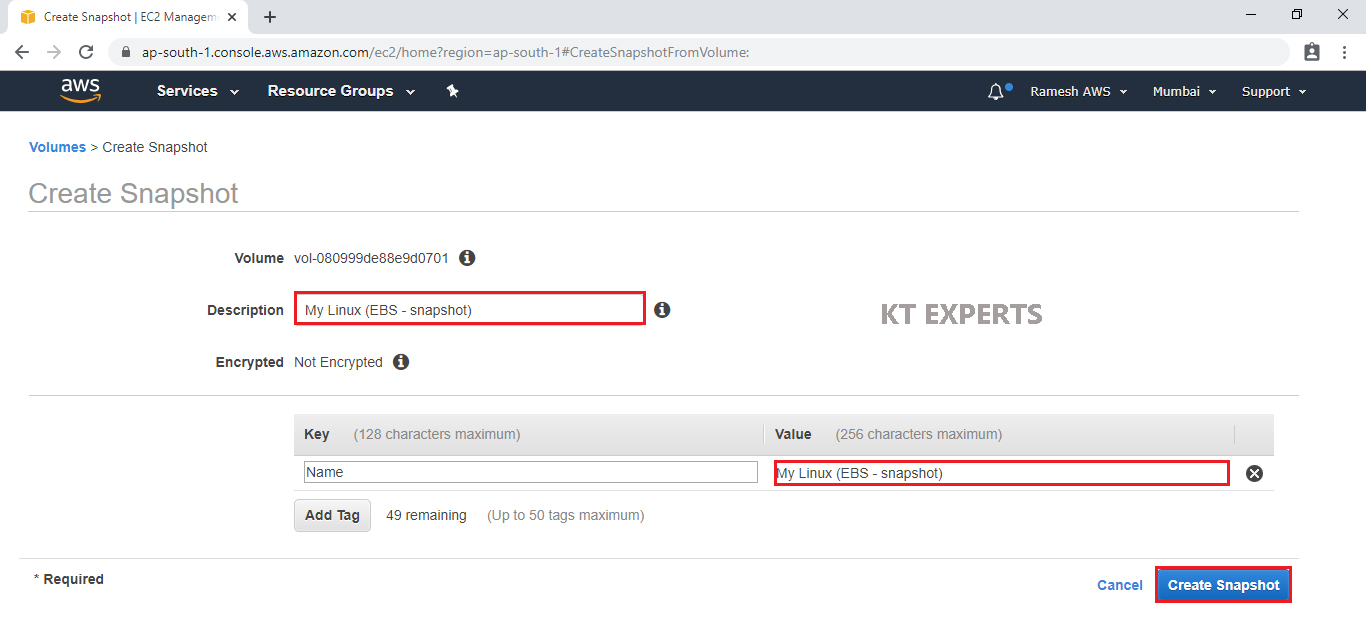
Create Snapshot from EBS Volume
Go to Volumes,
Select your EBS Volume “My Linux” and click on Create Snapshot in the Actions.
Specify Description and value for the snapshot then click on Create Snapshot.
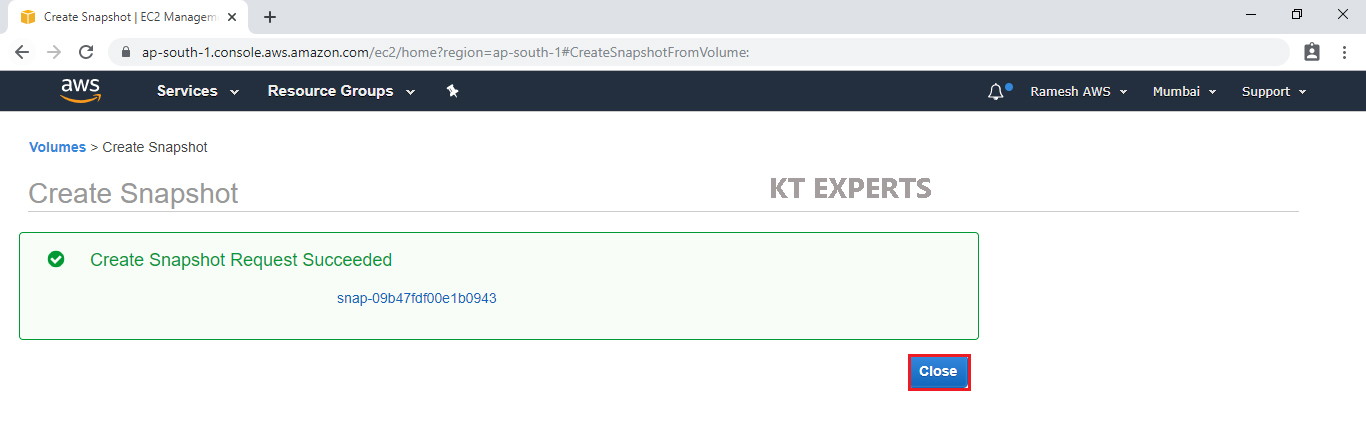
Create Snapshot Request Succeeded and Click on Close.
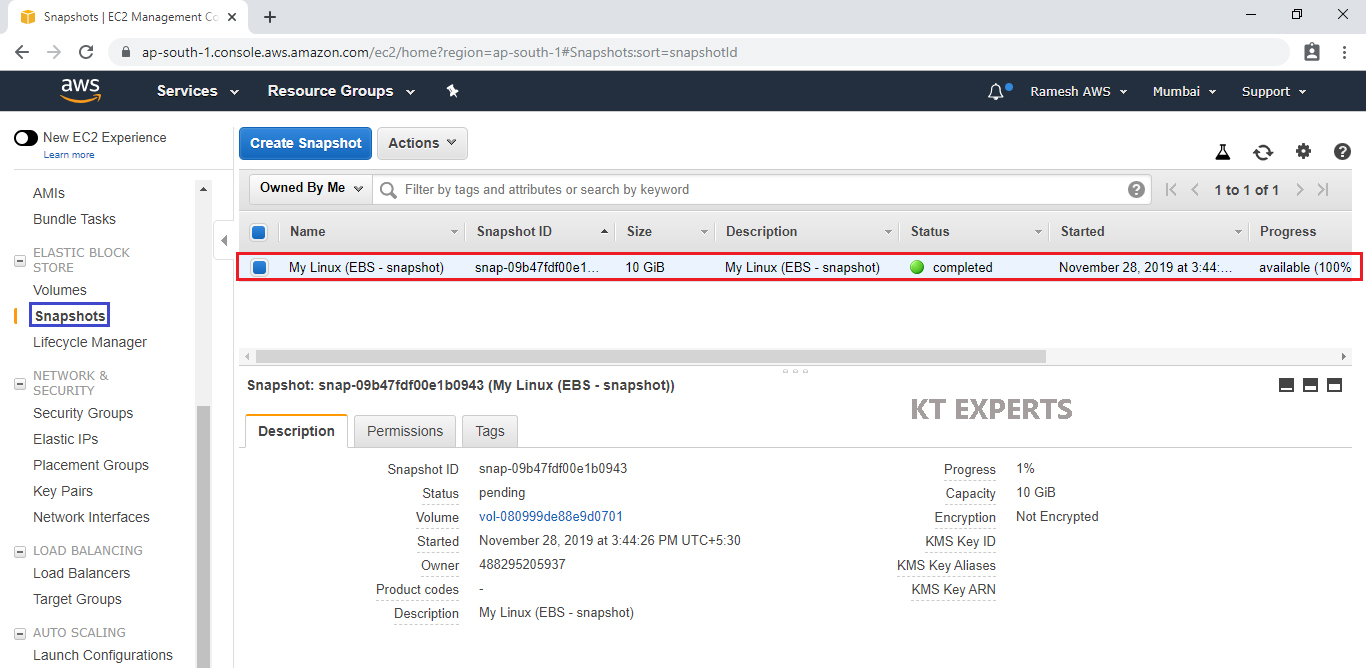
Go to snapshots, we can see The snapshot has been created.
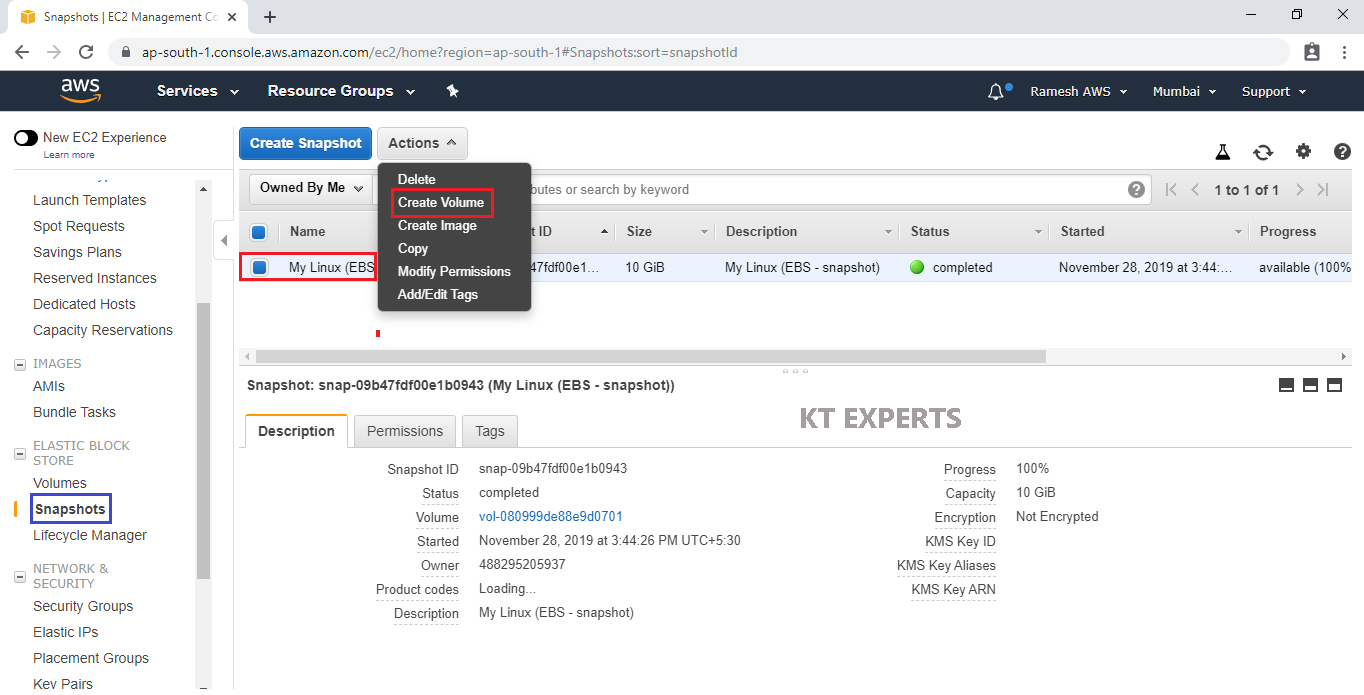
Create Volume from Snapshot
Before creating a volume we should know the Availability Zone of your Linux EC2 Instance.
Go to Instances,
Here we can see availability Zone of your Linux Ec2 Instance.

Go to Snapshots,
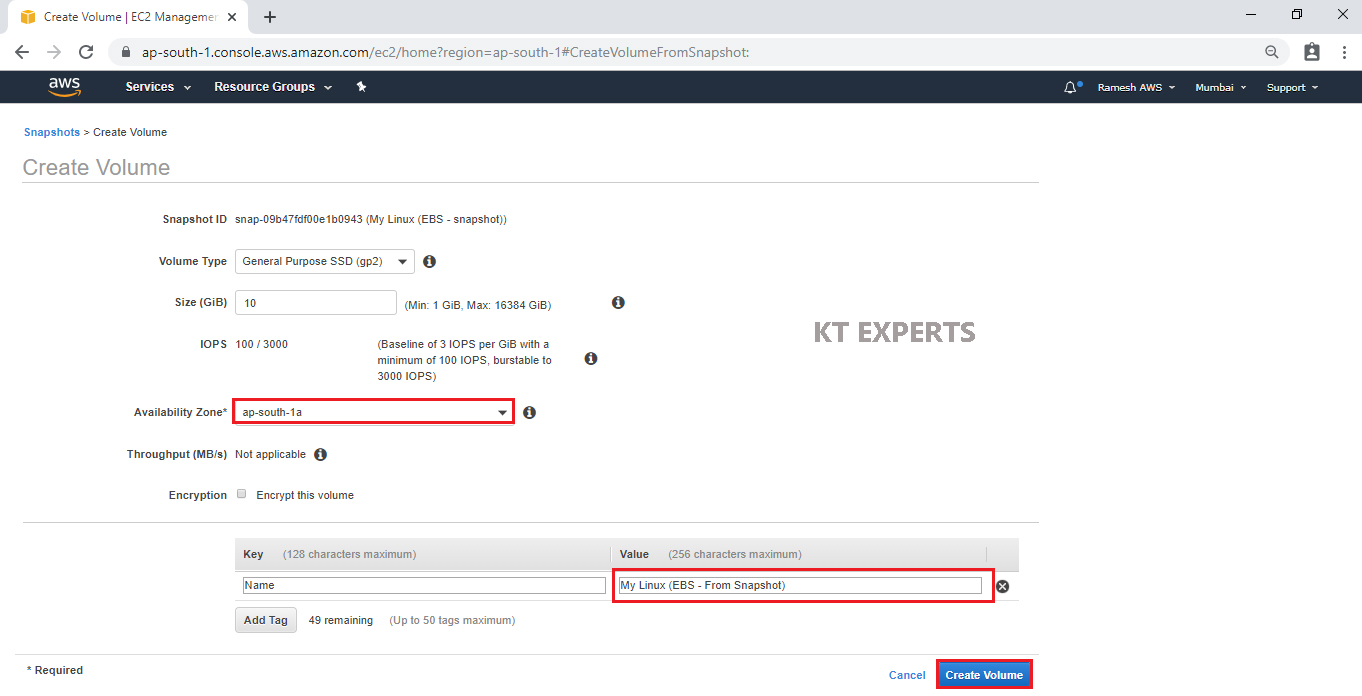
Select your created snapshot and click on Create Volume in the Actions.
Specify Availability Zone “Ap-South-1a” and value “My Linux (EBS – From Snapshot) then click on Create Volume.
We can see Create Volume Succeeded and click on Close.
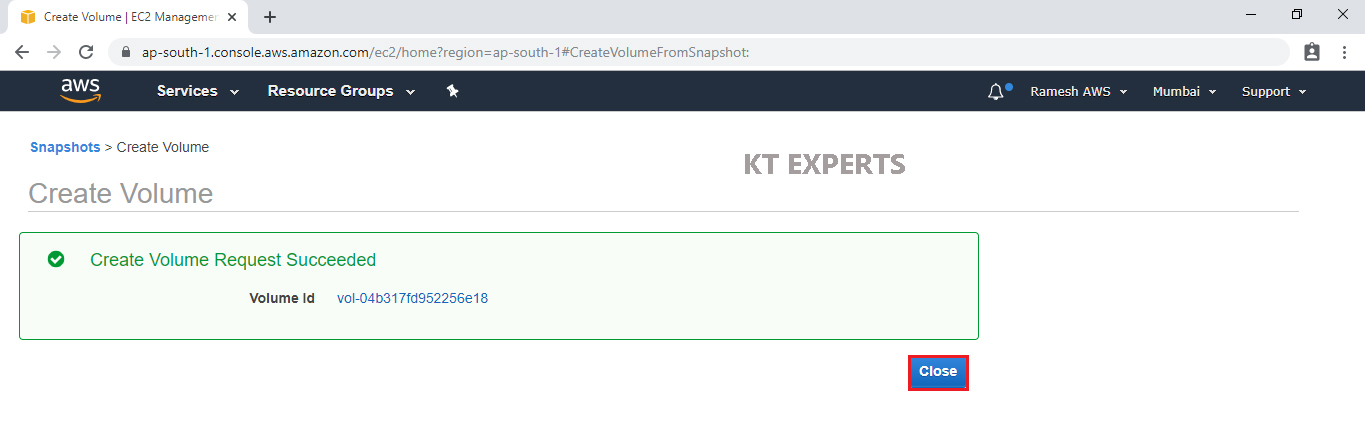
The volume has been created from snapshot.

Launch Another Linux EC2 Instance
Please check below link to Launch Linux Server.
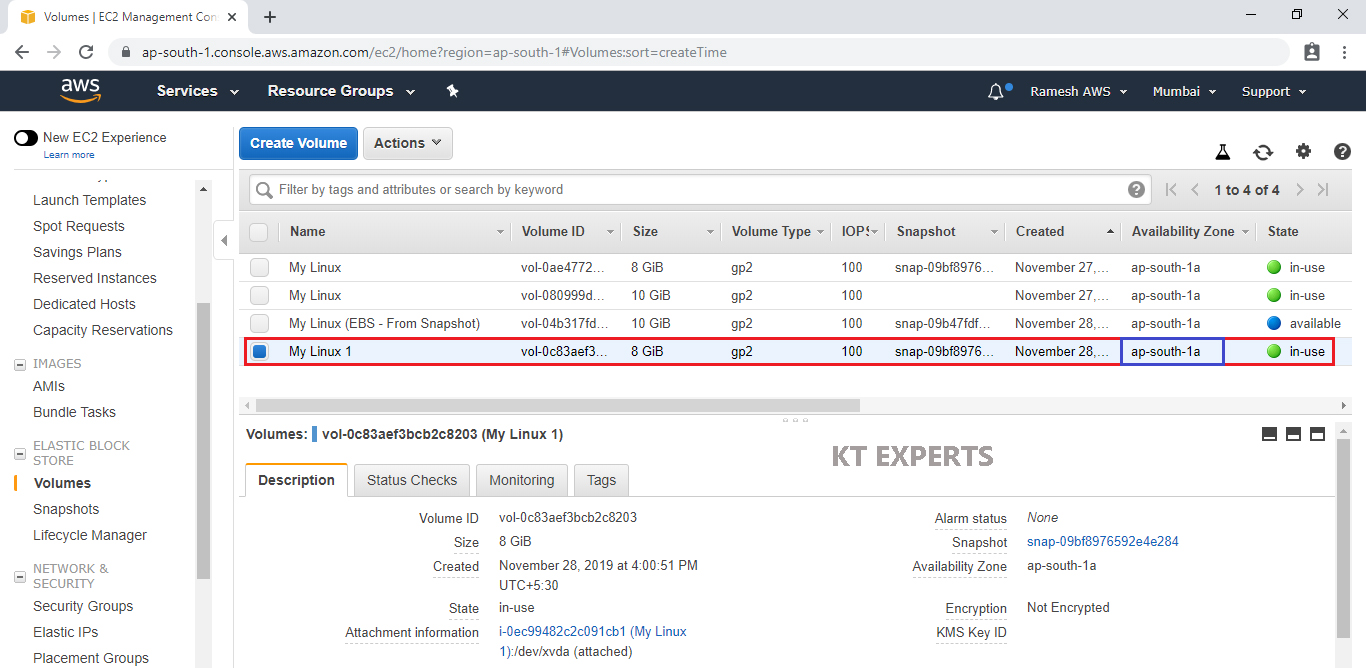
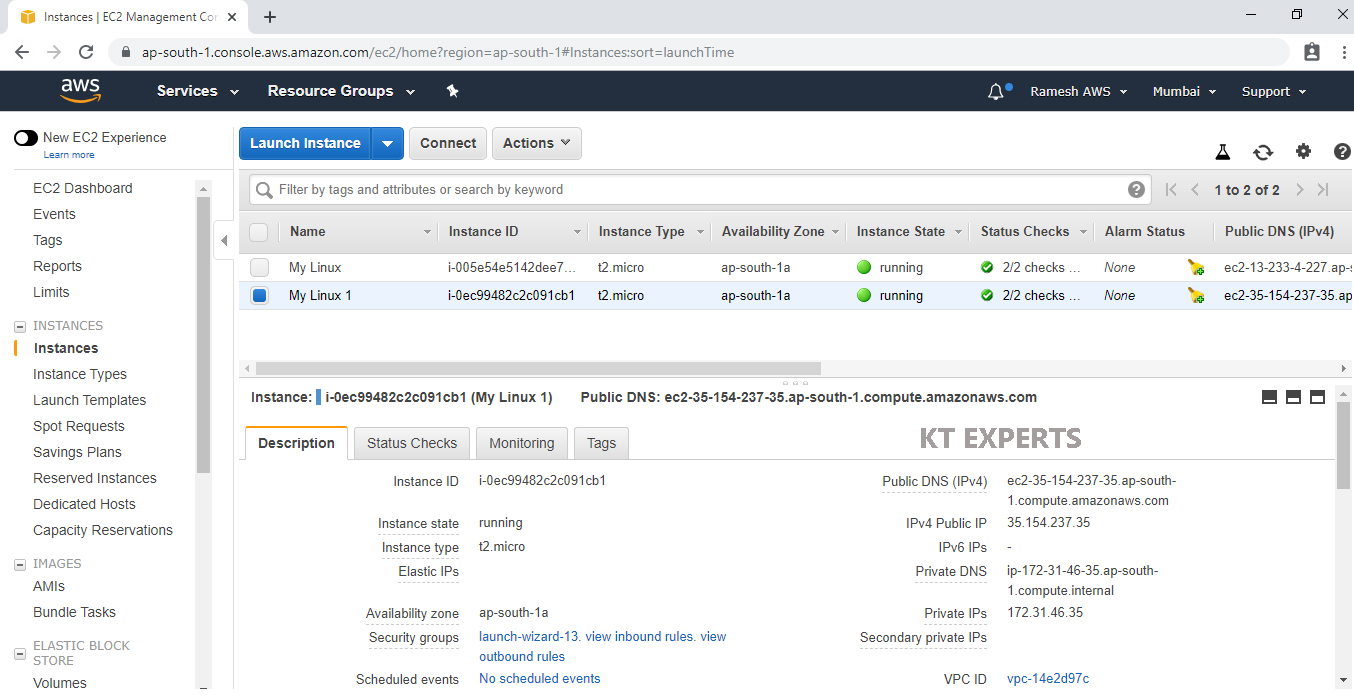
we can see EC2 Linux Instance “My Linux 1” which was created earlier.

Verify volumes of your Linux Server.
Go volumes, we can see only one volumes attached to your Linux EC2 Volume.
It is the root volume.
Attach EBS Volume to your Another Linux EC2 Instance “My Linux 1”
Select your EBS Volume and click on Attach Volume in the Actions.
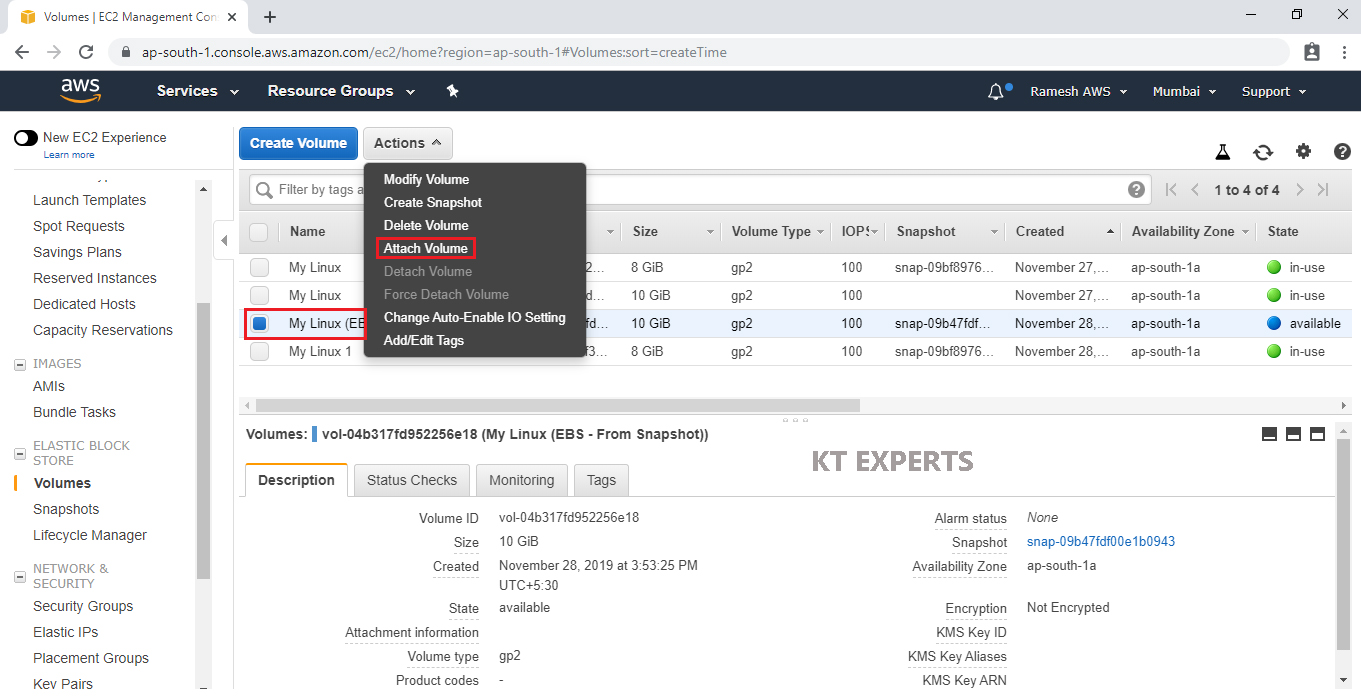
Select your required Linux EC2 Instance.
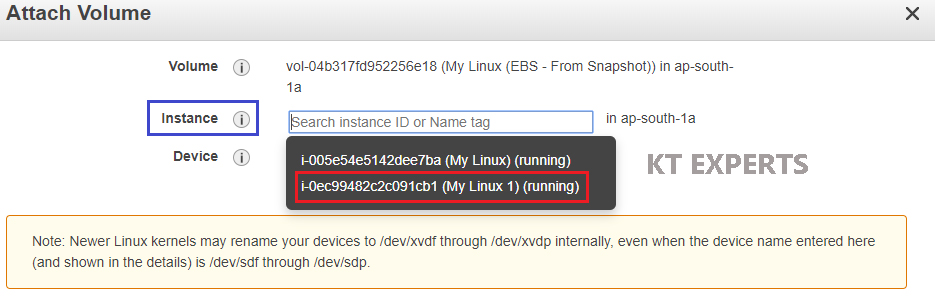
Click on Attach.
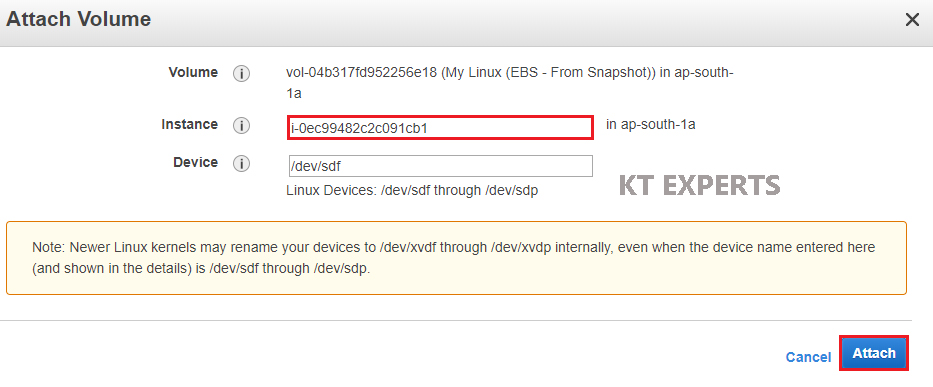
The EBS Volume has been attached to Second Linux EC2 Instance successfully.

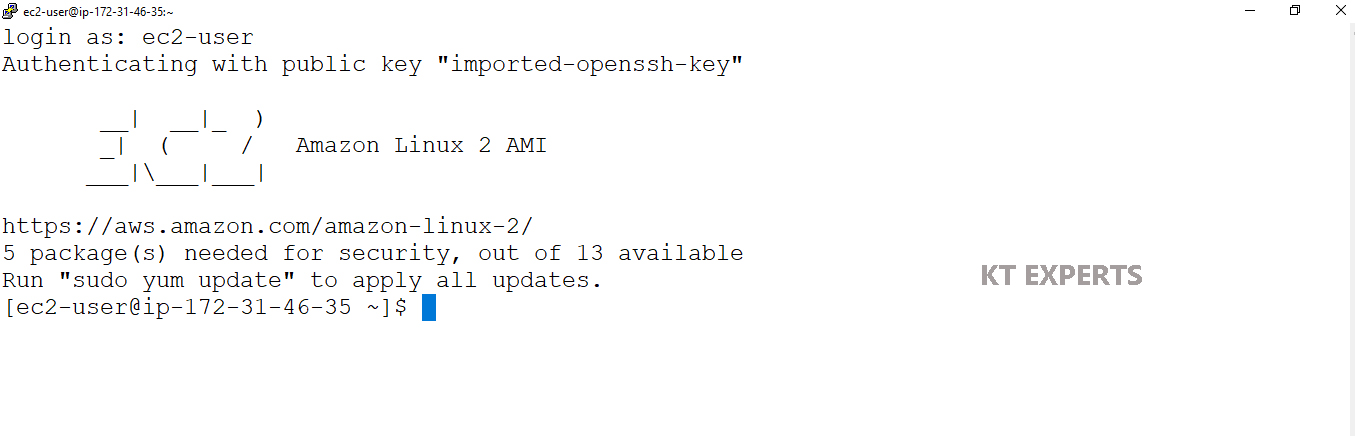
Connect to Second Linux EC2 Instance through putty and verify files
Open Linux Terminal.
|
1 2 3 4 5 6 7 8 9 10 11 12 13 14 15 16 17 18 19 20 21 22 |
login as: ec2-user Authenticating with public key "imported-openssh-key" __| __|_ ) _| ( / Amazon Linux 2 AMI ___|\___|___| https://aws.amazon.com/amazon-linux-2/ 5 package(s) needed for security, out of 13 available Run "sudo yum update" to apply all updates. [ec2-user@ip-172-31-46-35 ~]$ |
Switch to root user
|
1 2 3 4 5 6 |
[ec2-user@ip-172-31-46-35 ~]$ [ec2-user@ip-172-31-46-35 ~]$ sudo su [root@ip-172-31-46-35 ec2-user]# |
Verify Available disks in your Linux Server
|
1 2 3 4 5 6 7 8 9 10 |
[root@ip-172-31-46-35 ec2-user]# lsblk NAME MAJ:MIN RM SIZE RO TYPE MOUNTPOINT xvda 202:0 0 8G 0 disk └─xvda1 202:1 0 8G 0 part / xvdf 202:80 0 10G 0 disk |
Verify the disk space in you Linux Instance
|
1 2 3 4 5 6 7 8 9 10 11 12 13 14 15 16 |
[root@ip-172-31-46-35 ec2-user]# df -h Filesystem Size Used Avail Use% Mounted on devtmpfs 475M 0 475M 0% /dev tmpfs 492M 0 492M 0% /dev/shm tmpfs 492M 404K 492M 1% /run tmpfs 492M 0 492M 0% /sys/fs/cgroup /dev/xvda1 8.0G 1.3G 6.8G 16% / tmpfs 99M 0 99M 0% /run/user/1000 |
Verify the volume has any data by using the following command.
|
1 2 3 4 |
[root@ip-172-31-46-35 ec2-user]# file -s /dev/xvdf /dev/xvdf: Linux rev 1.0 ext4 filesystem data, UUID=82e4def9-8f74-44bd-b06f-c58ee5426317 (needs journal recovery) (extents) (64bit) (large files) (huge files) |
Create a directory to mount our new ext4 volume (use any directory name you like)
Make Directory
|
1 2 |
[root@ip-172-31-46-35 ec2-user]# mkdir /ktexperts |
Mount the volume to “ktexperts” directory
|
1 2 |
[root@ip-172-31-46-35 ec2-user]# mount /dev/xvdf /ktexperts |
Verify the disk space in you Linux Instance
|
1 2 3 4 5 6 7 8 9 10 11 12 13 14 15 16 17 18 |
[root@ip-172-31-46-35 ec2-user]# df -h Filesystem Size Used Avail Use% Mounted on devtmpfs 475M 0 475M 0% /dev tmpfs 492M 0 492M 0% /dev/shm tmpfs 492M 404K 492M 1% /run tmpfs 492M 0 492M 0% /sys/fs/cgroup /dev/xvda1 8.0G 1.3G 6.8G 16% / tmpfs 99M 0 99M 0% /run/user/1000 /dev/xvdf 9.8G 37M 9.2G 1% /ktexperts |
Go to Mount Directory and verify files.
|
1 2 3 4 5 6 7 8 |
[root@ip-172-31-46-35 ec2-user]# cd /ktexperts/ [root@ip-172-31-46-35 ktexperts]# ls aws ktexpers1 ktexperts2 ktexperts3 ktexperts4 lost+found [root@ip-172-31-46-35 ktexperts]# |
EBS Automount on Reboot
By default on every reboot the EBS volumes other than root volume will get unmounted.
To enable automount, you need to make an entry in the /etc/fstab file
|
1 2 3 4 5 6 |
[root@ip-172-31-46-35 ktexperts]#vi /etc/fstab Enter the below command inside the fstab file /dev/xvdf /newvolume ext4 defaults,nofail 0 0 |
Execute the following command to check id the fstab file has any error
|
1 2 |
sudo mount -a |
Thank you for giving your valuable time to read the above information. Please click here to subscribe for further updates
KTEXPERTS is always active on below social media platforms.
Facebook : https://www.facebook.com/ktexperts/
LinkedIn : https://www.linkedin.com/company/ktexperts/
Twitter : https://twitter.com/ktexpertsadmin
YouTube : https://www.youtube.com/c/ktexperts
Instagram : https://www.instagram.com/knowledgesharingplatform