Dear Readers,
In this article, we will see the following Real-Time Use Case On Storage.

Realtime Usecase :
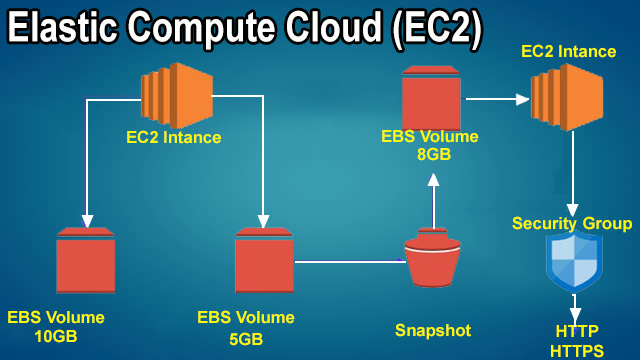
My Client, Nokia needs a Windows Server for Data Storage. So Launch a Server with three Additional Volumes.
Volume capacities should be 10GB & 5GB. Duplicate the Data of 5GB disk into 8GB disk of Second Server.
In that Server, Enable Remote and Web Service from anywhere. Also make the Second Server can reach any Destination point.
Steps to Follow :
Launch Windows Server with 3 additional volumes
- Logging to AWS Account.’
- Launch Windows Server.
- Mount the Additional Volumes.
- Add data to New Volume (E).
Add Volume to Another New Server
- Launch Windows Server.
- Create Snapshot from Volume (5GB).
- Create New Volume (8GB) from Snapshot(5GB).
- Attach Volume (8GB) to Windows Server “Windows Server – 1”.
- Mount Attached Volume.
- Verify volume and data.
Launch Windows Server with 3 additional volumes
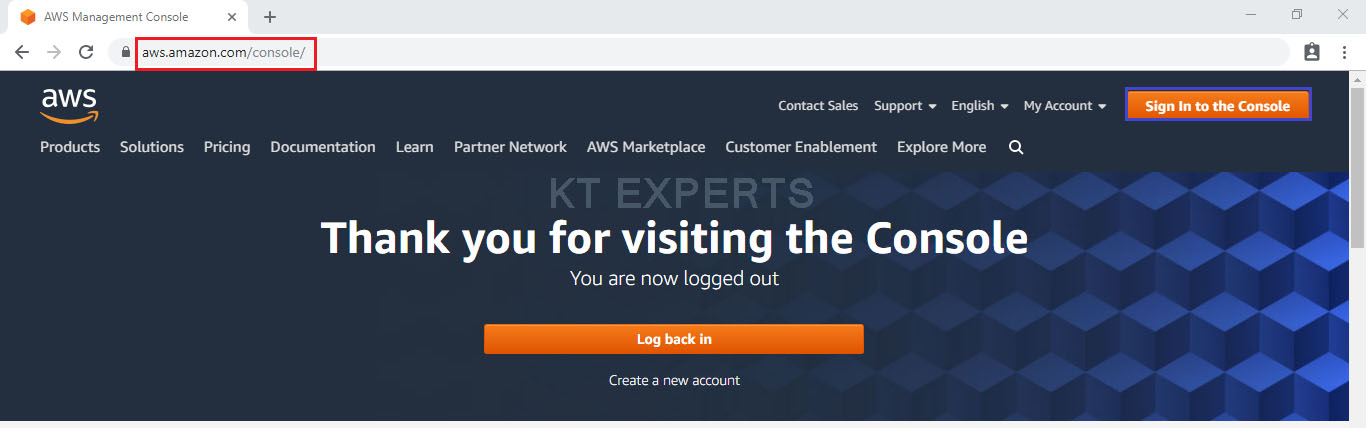
1. Logging to AWS Account
First, we need to AWS Console page by using below link.
https://aws.amazon.com/console/
Click on sign in to Console button.
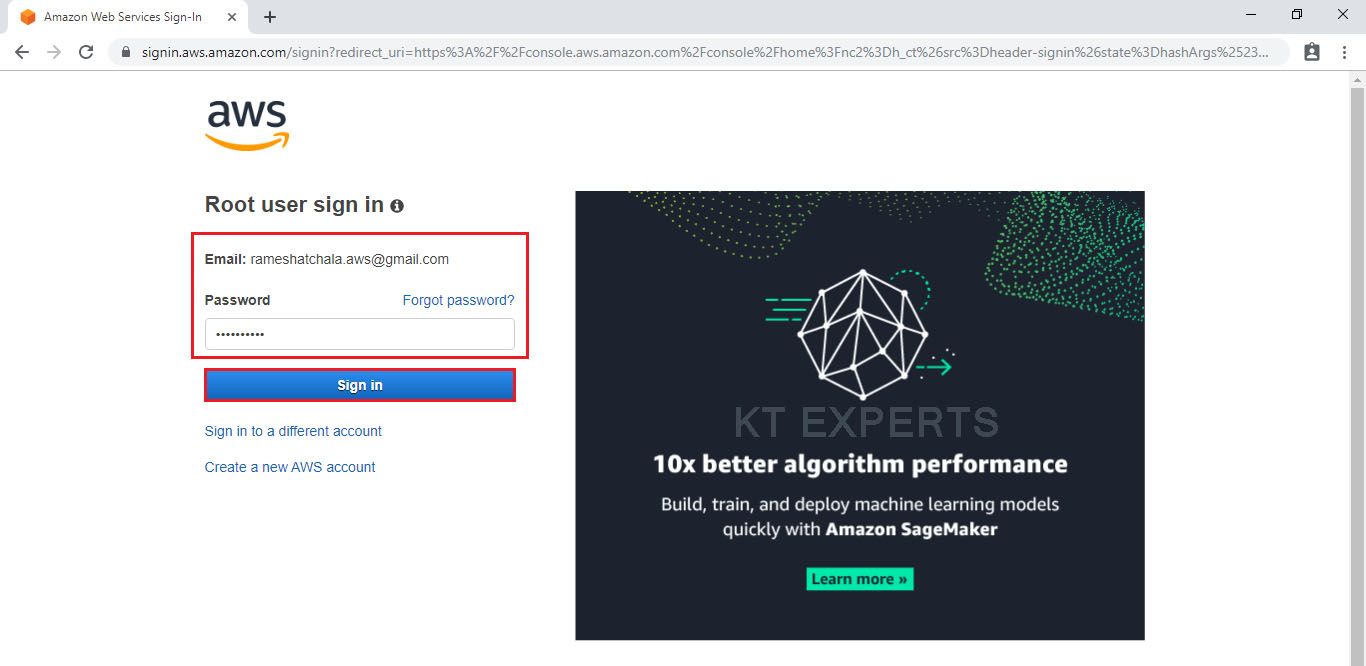
Provide username and password then click on sign in.
Enter to AWS Management Console
We can see the AWS Management Console Dashboard.
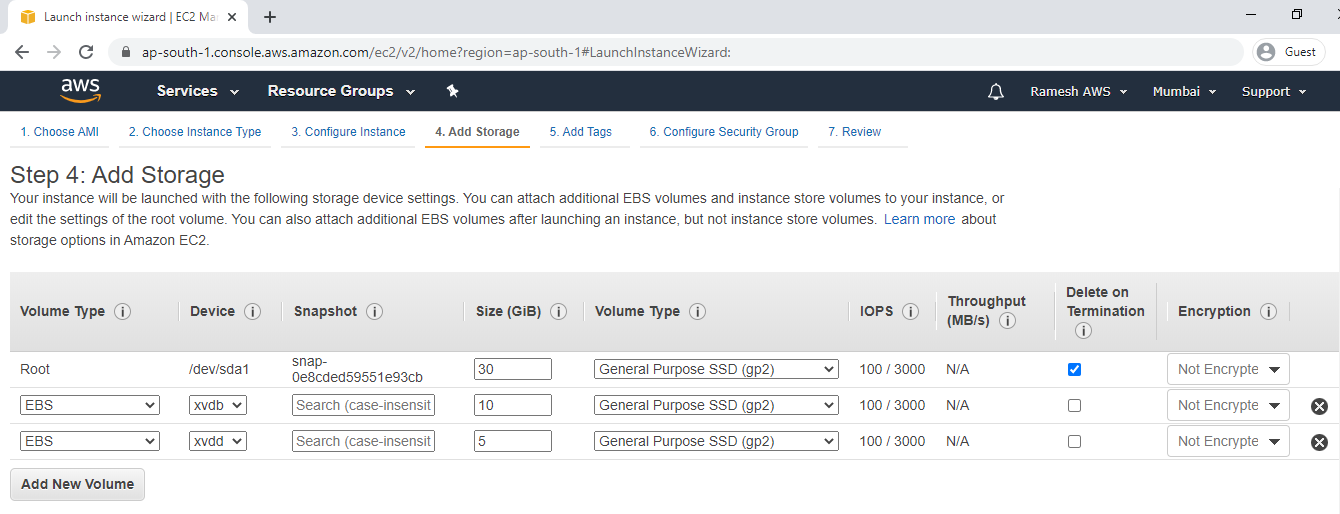
2. Launch Windows Server with 3 additional volumes
We can launch Windows Server by using below link.
Add two additional EBS Volumes 10GB and 5GB.
We can see the Windows Server has been launched successfully.
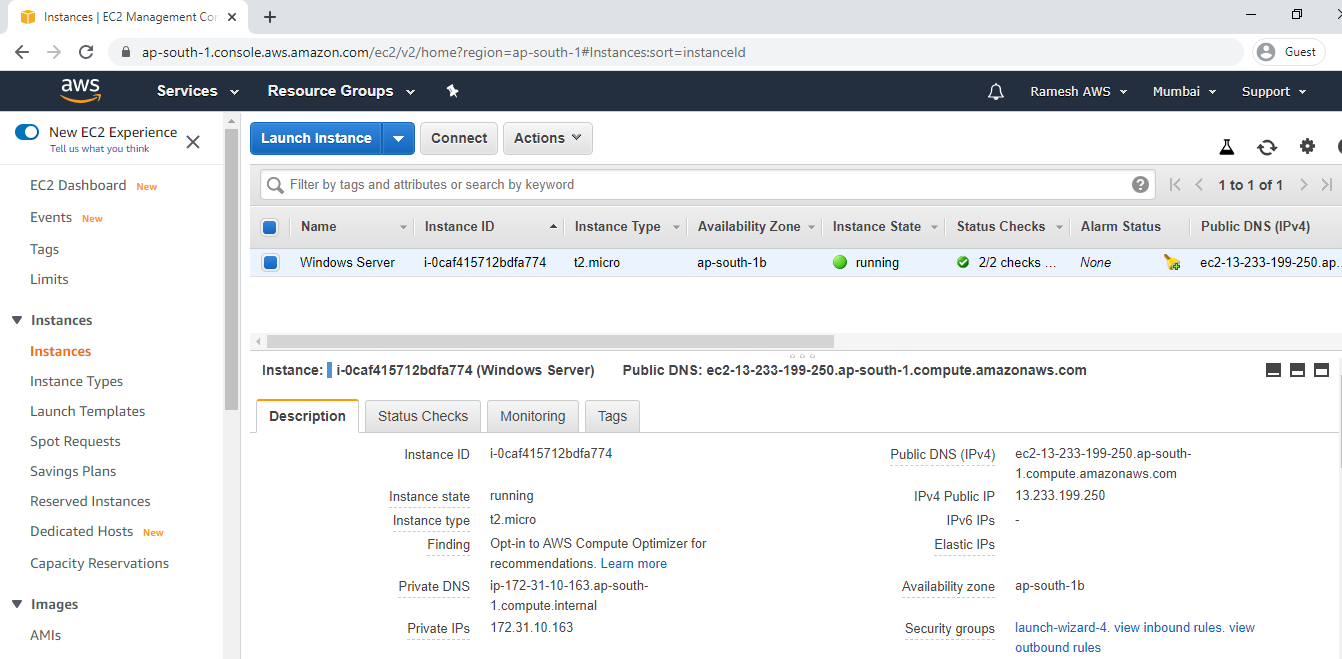
Connect to Windows Server by using Remote Desktop Connection.
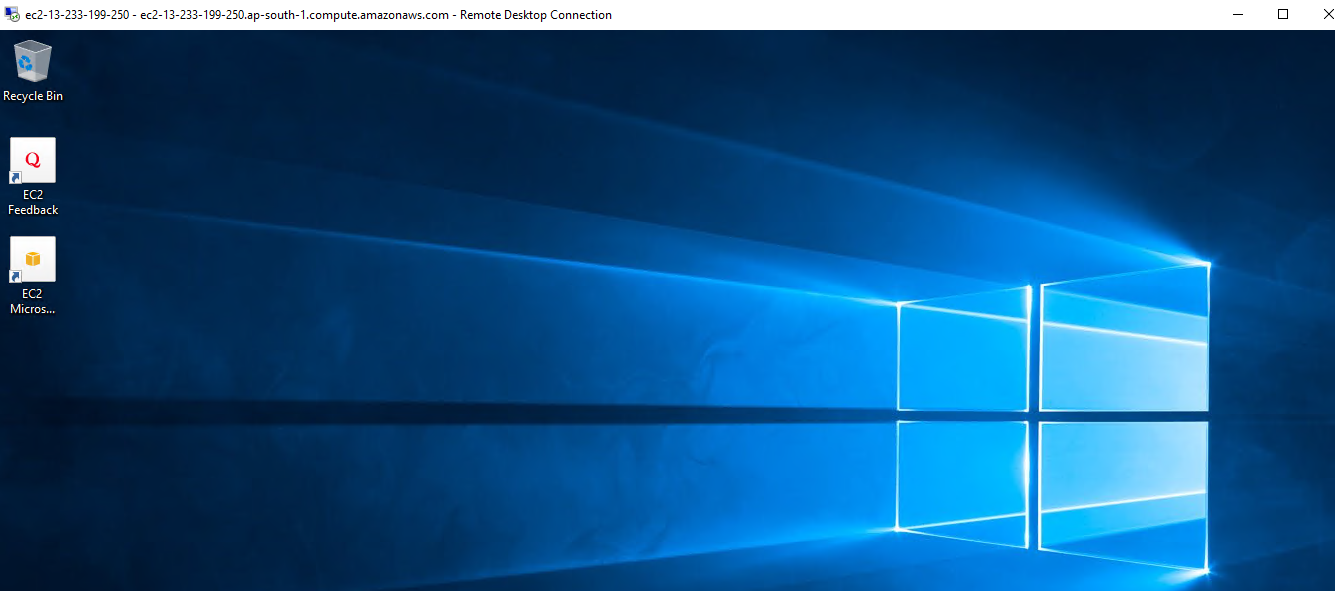
When connected, the desktop Windows server is displayed.
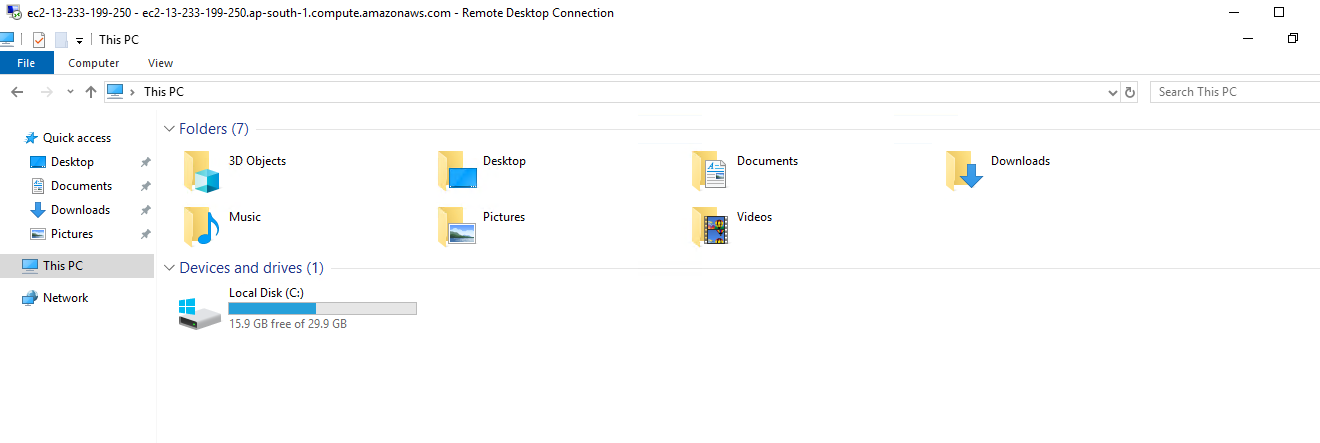
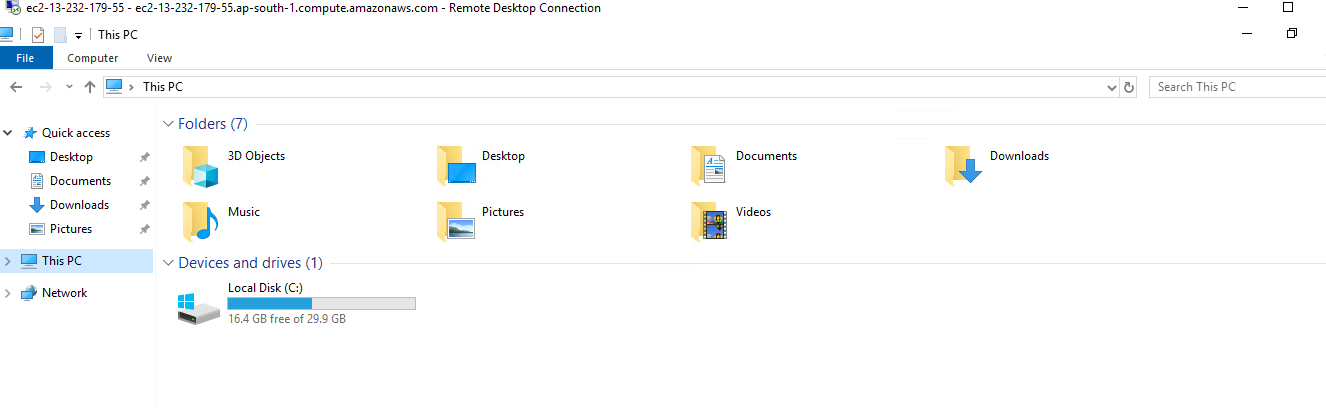
Verify EBS Volumes inside the Windows Server.
Here,we can see only one volume because we need to mount the additional volumes then we are able to see additional two volumes.
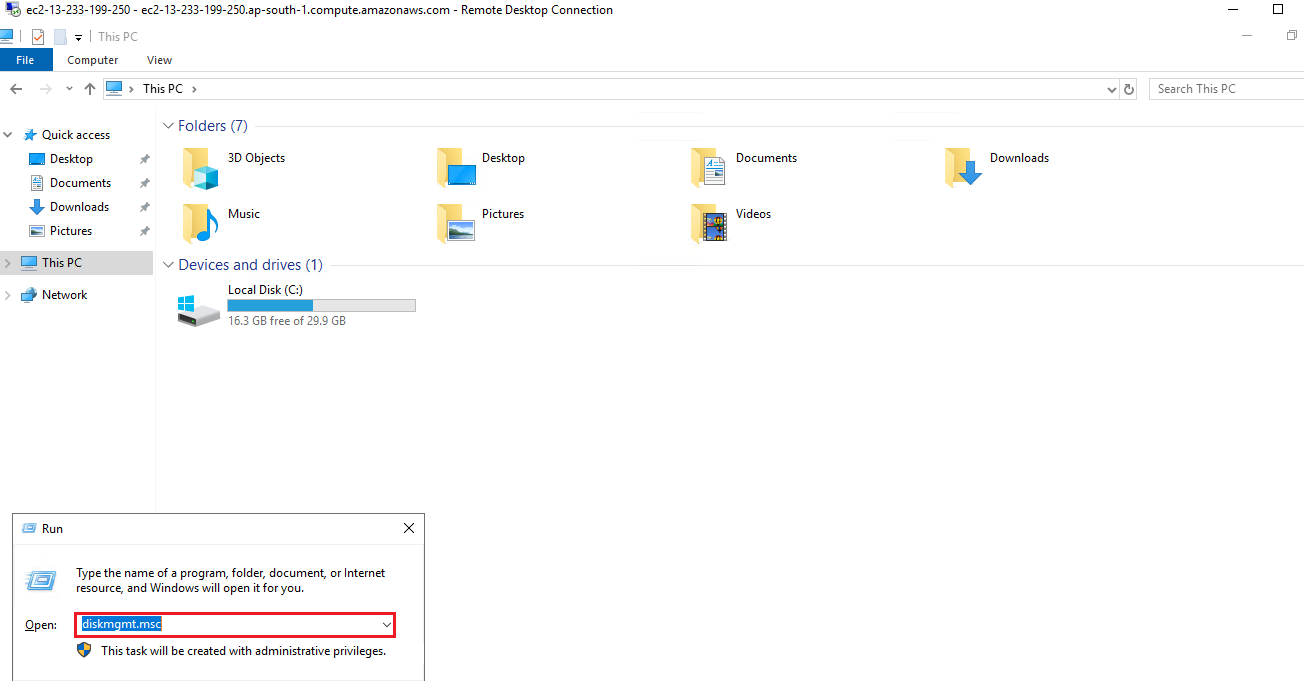
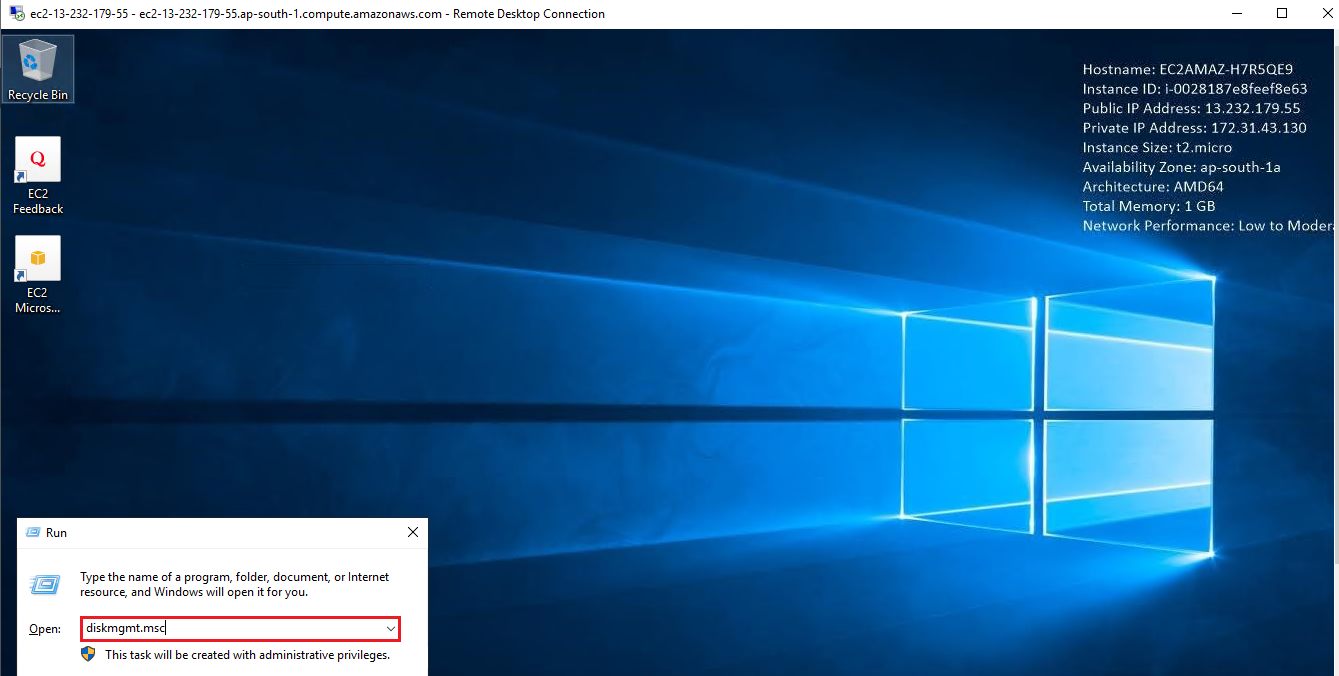
3. Mount the Additional Volumes
Go to Run,type diskmgmt.msc and click on ok.
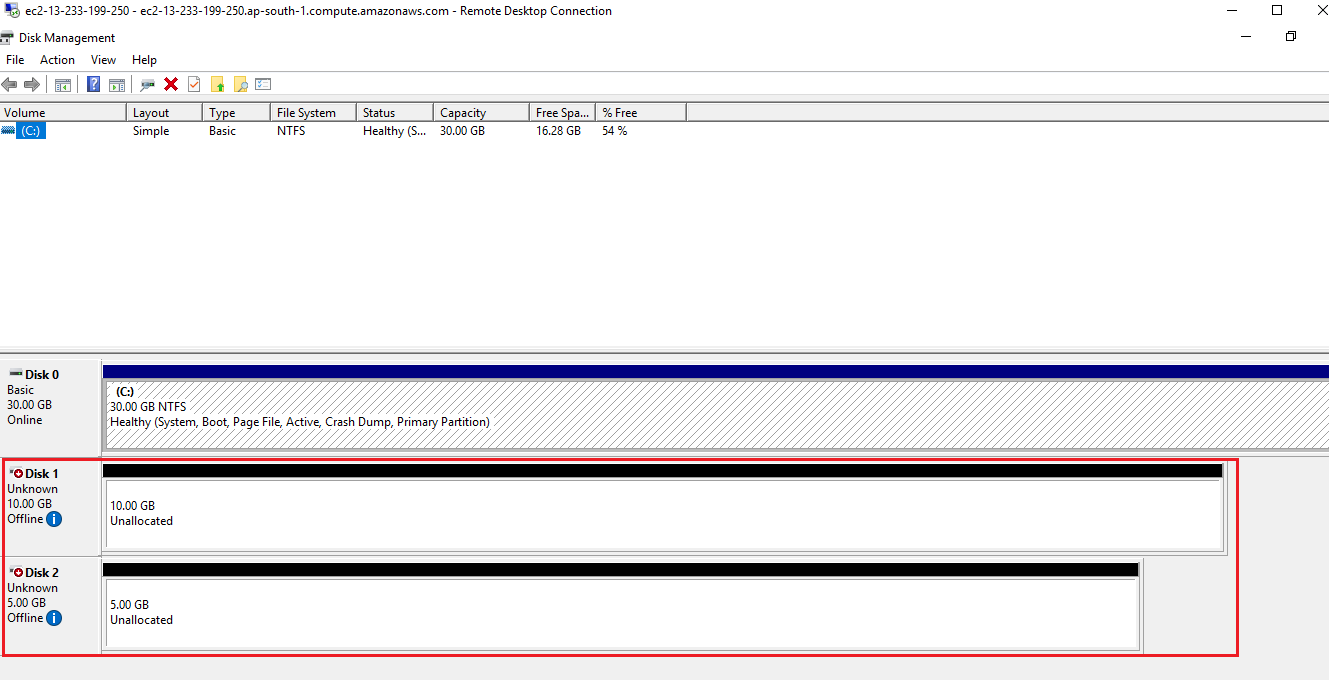
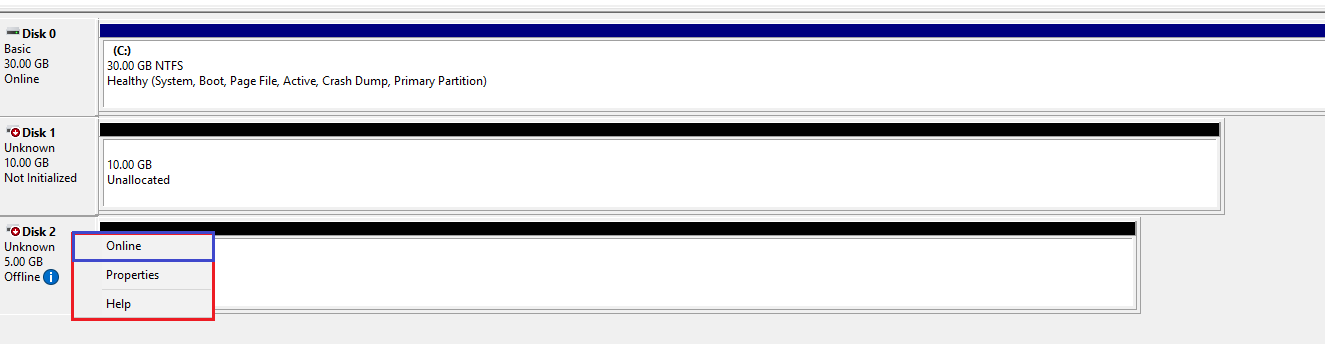
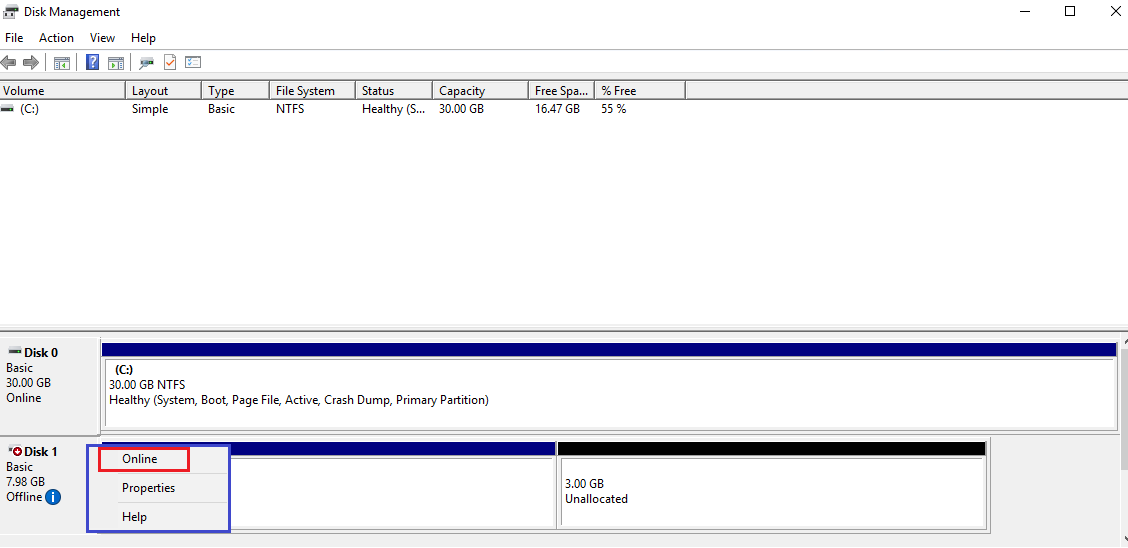
In the Disk Management ,we can see two additional volumes which are in the offline.
We need to make the Disk 1 online by seeing below image.
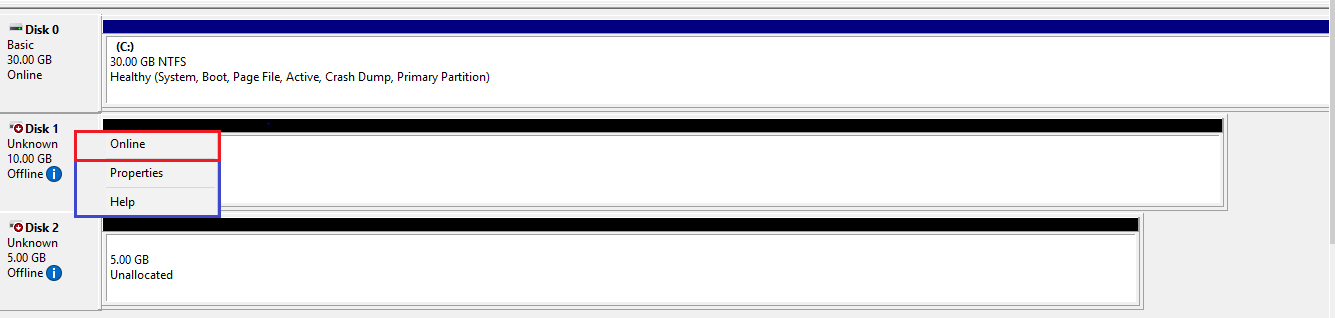
We need to make the Disk 1 online by seeing below image.
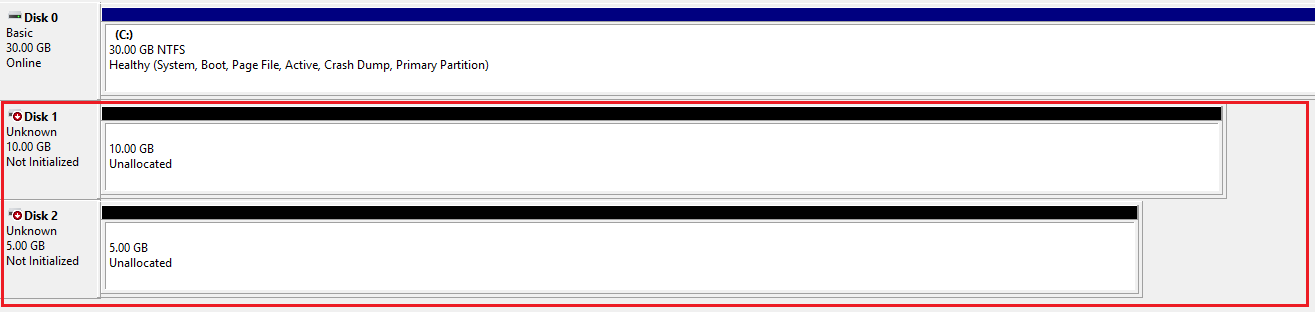
We can see the two disks are in not initiated,once initiated it will be changed to online.
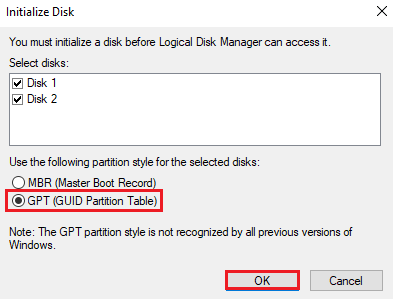
Initialize the Disk 1 & Disk 2 by seeing below image.

Select GPT (GUID Partition Table) and click on Ok.
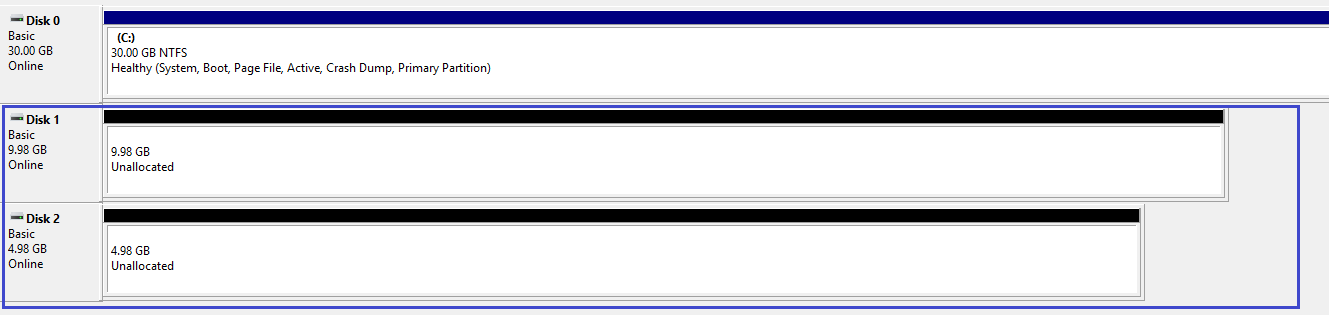
The two disks changed to online the create volume for two disks.
Create volume for Disk 1 by seeing below image.

Click on Next.
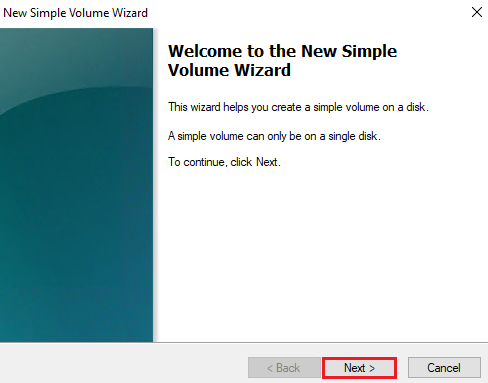
Click on Next.
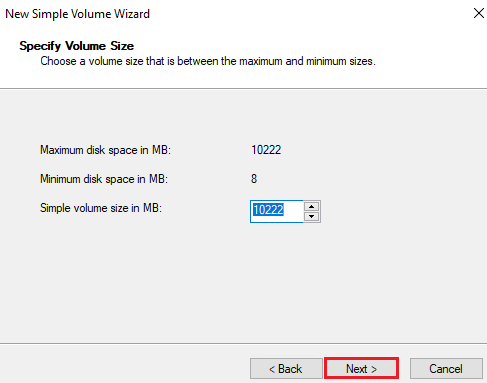
Click on Next.
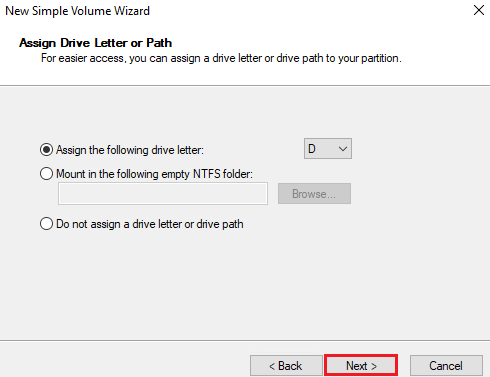
Click on Next.
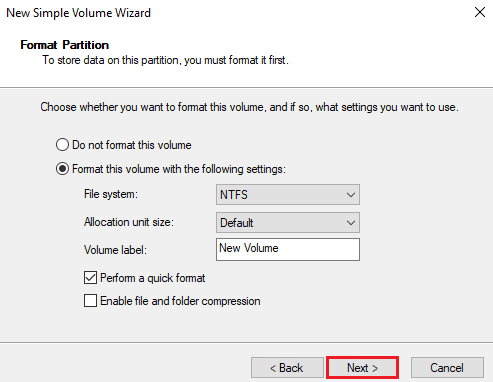
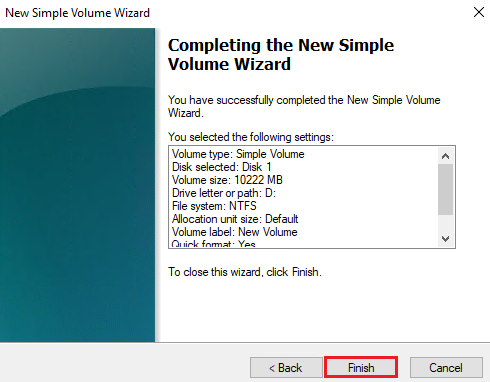
Click on Finish.
Created second volume same like above.
We can see the volumes has created successfully.
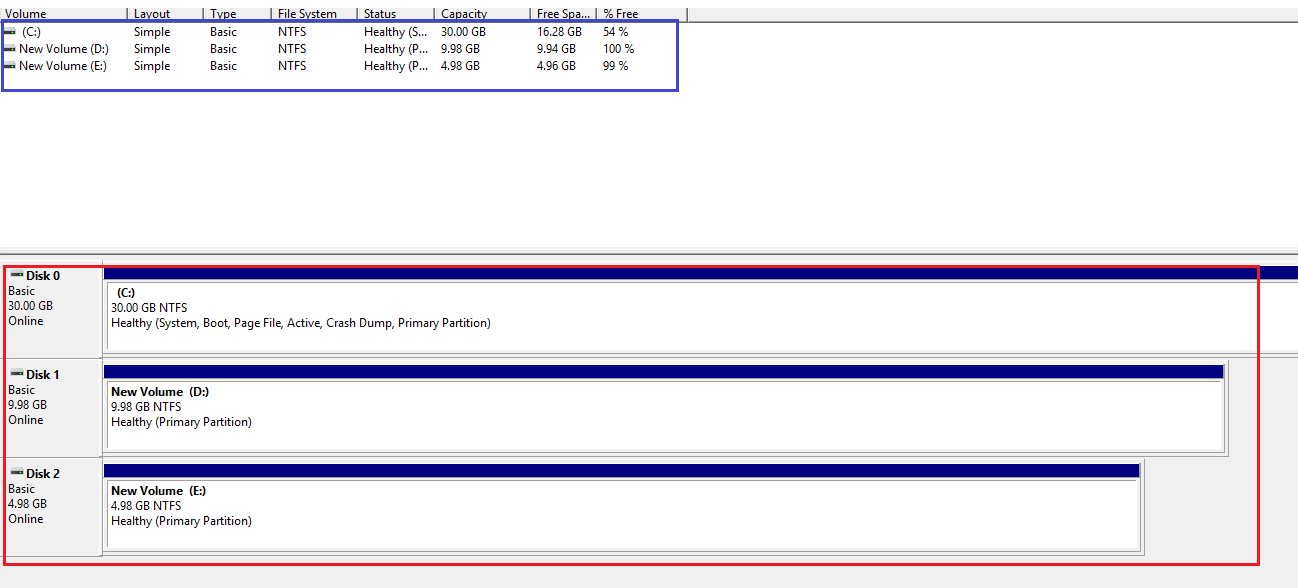
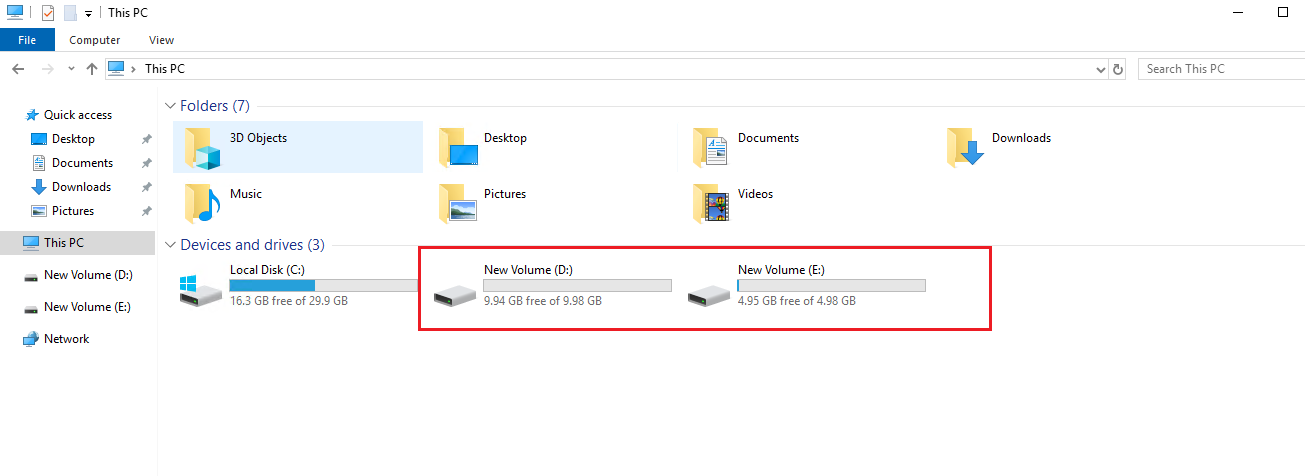
we are able to see two additional volumes which was mounted.
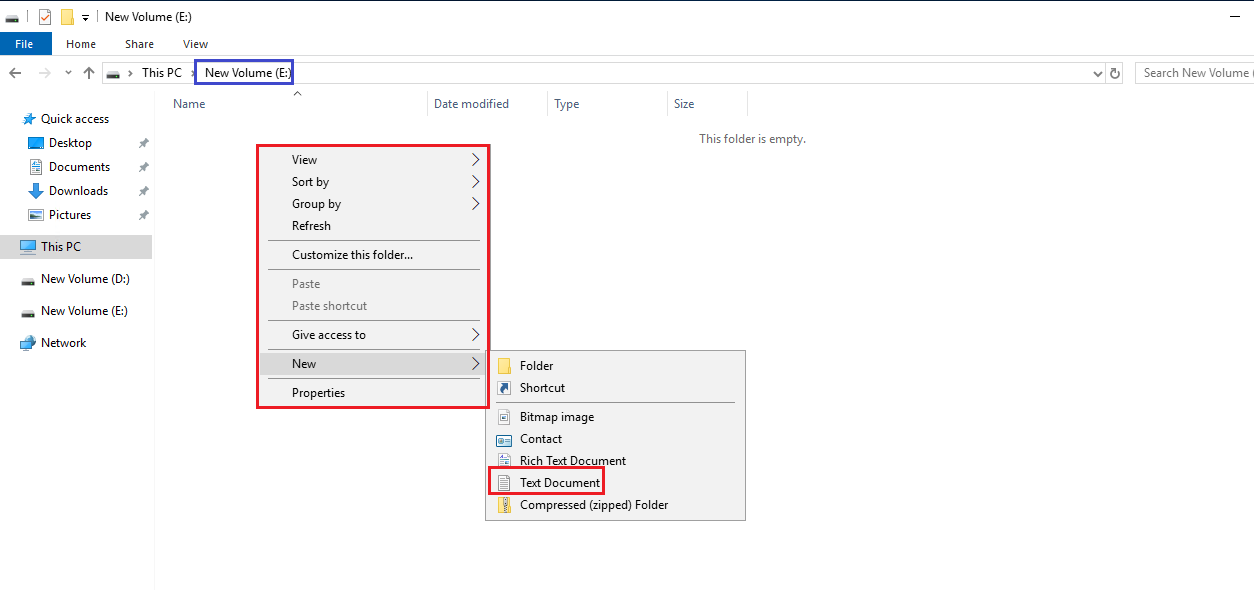
4. Add data to New Volume (E)
Go inside the E volume,create new text document by seeing below image.
Add content to Notepad then save it.
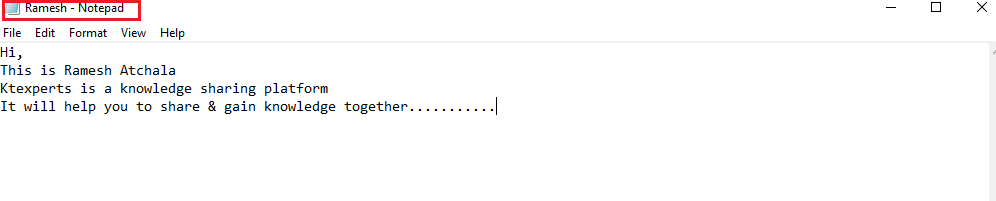
We can see the text document has created succussfully.

Add volume to another New Server
1. Launch Windows Server
We can launch Windows Server by using below link.

We can see the Windows Server has been launched successfully.
2. Create Snapshot from Volume (5GB)
Go to volumes,select Windows server volume (5GB) and select create snapshot in Actions.
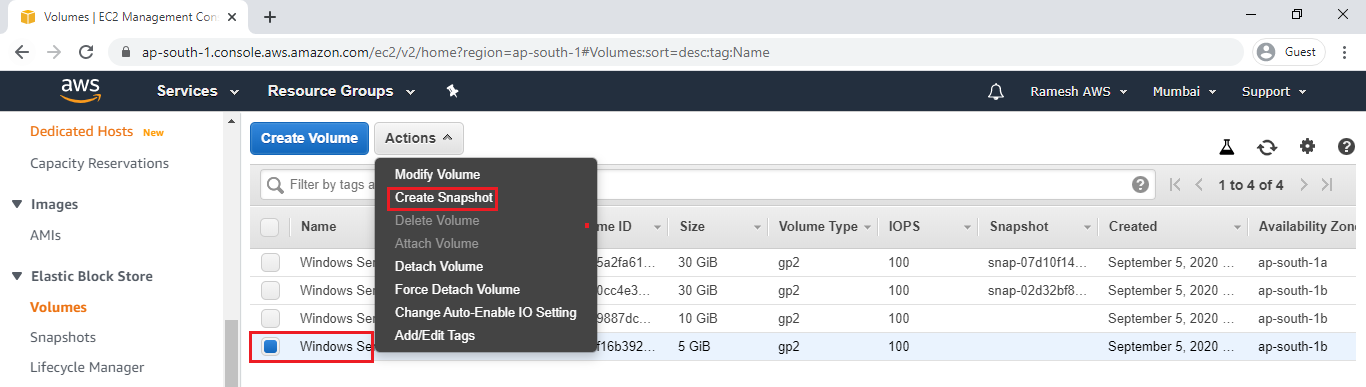
Click on Create Snapshot.
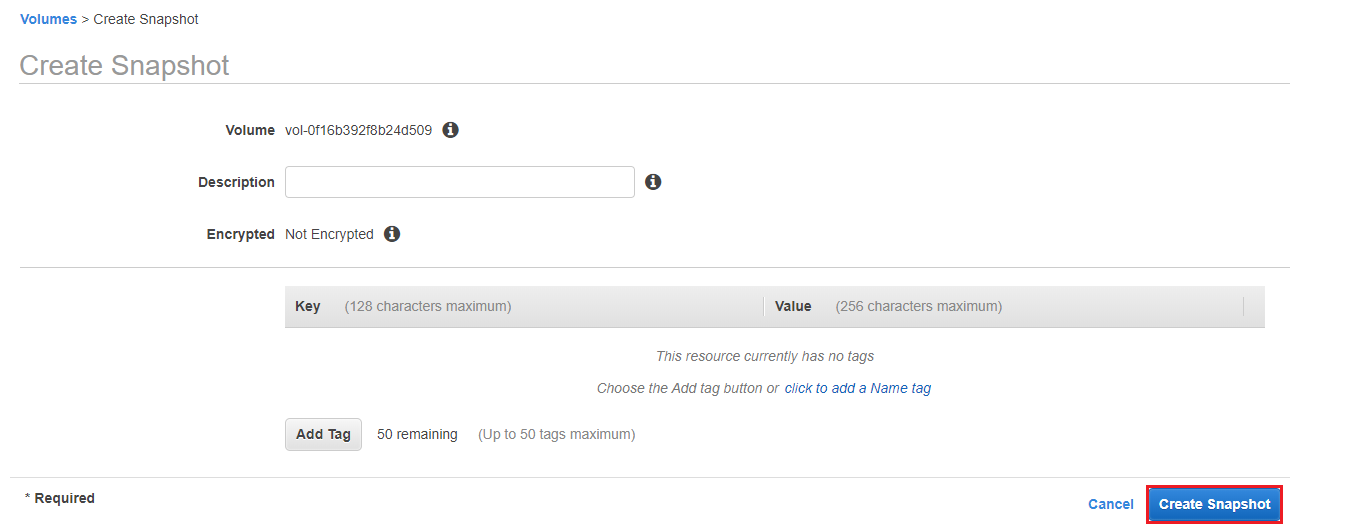 The snapshot has created and click on Close.
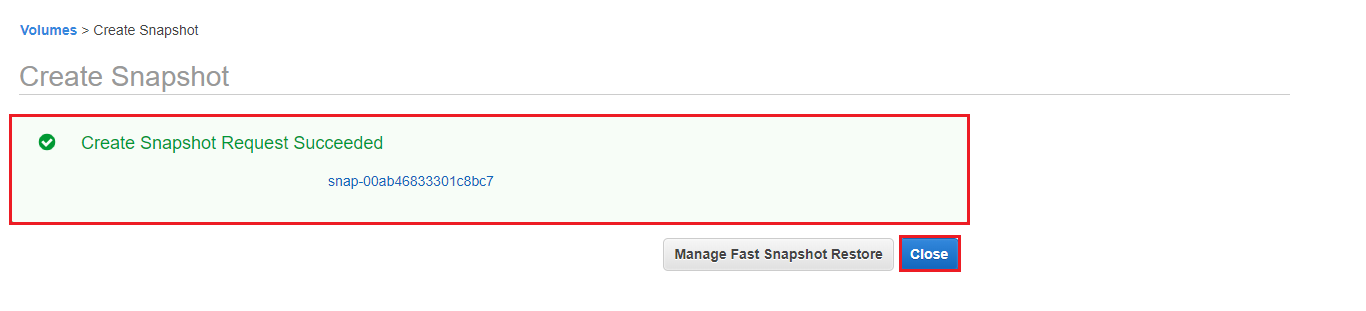
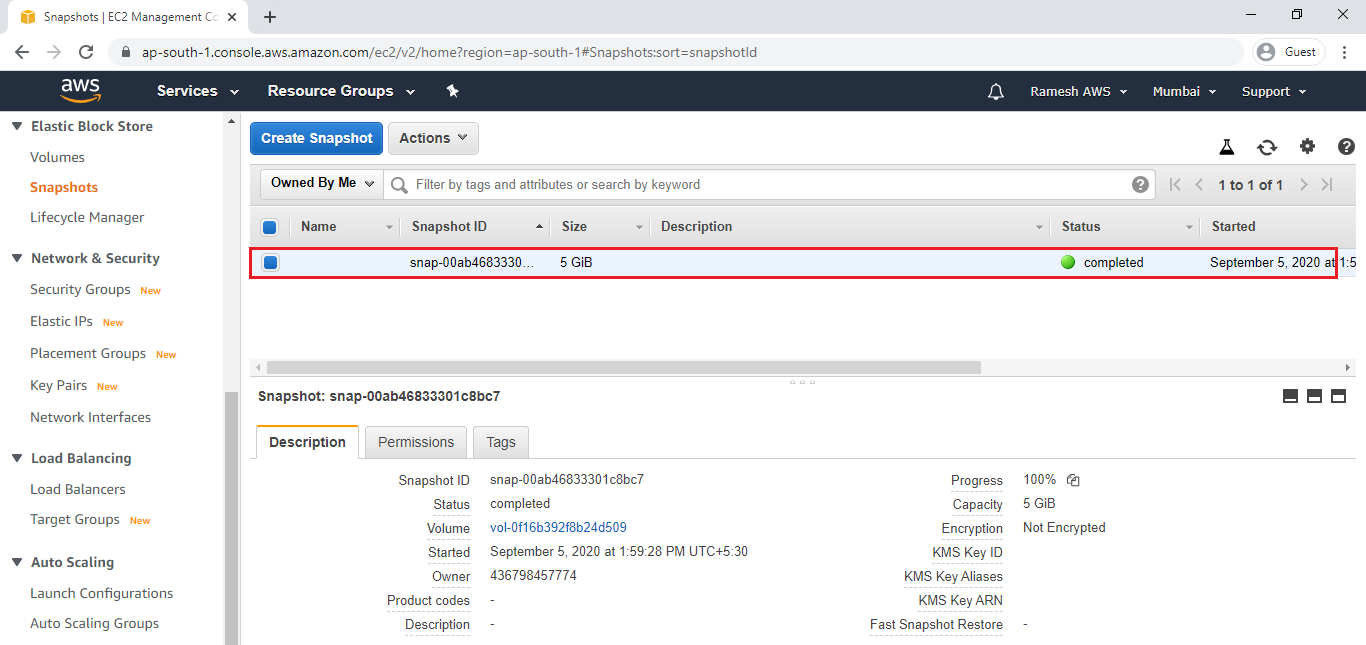
We can see the snapshot which was created.
3. Create New Volume (8GB) from Snapshot(5GB)
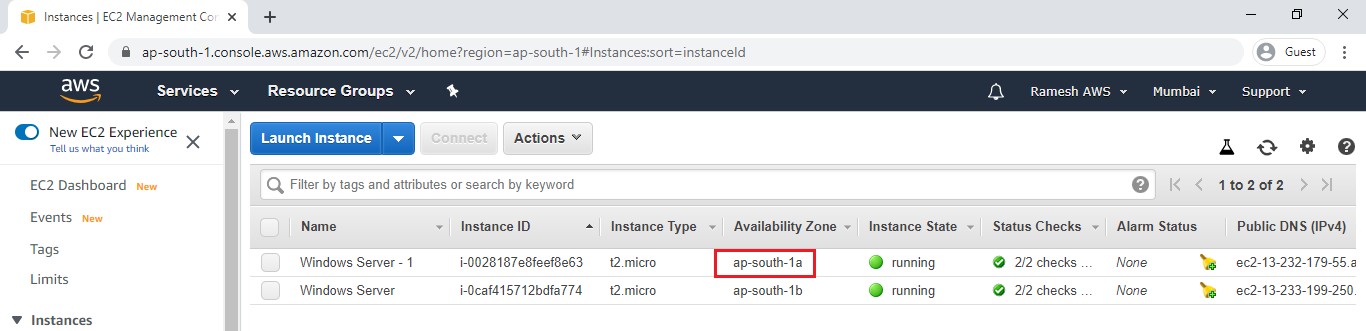
The server and volume should be the same availability zone then only we can attach the volume to server.
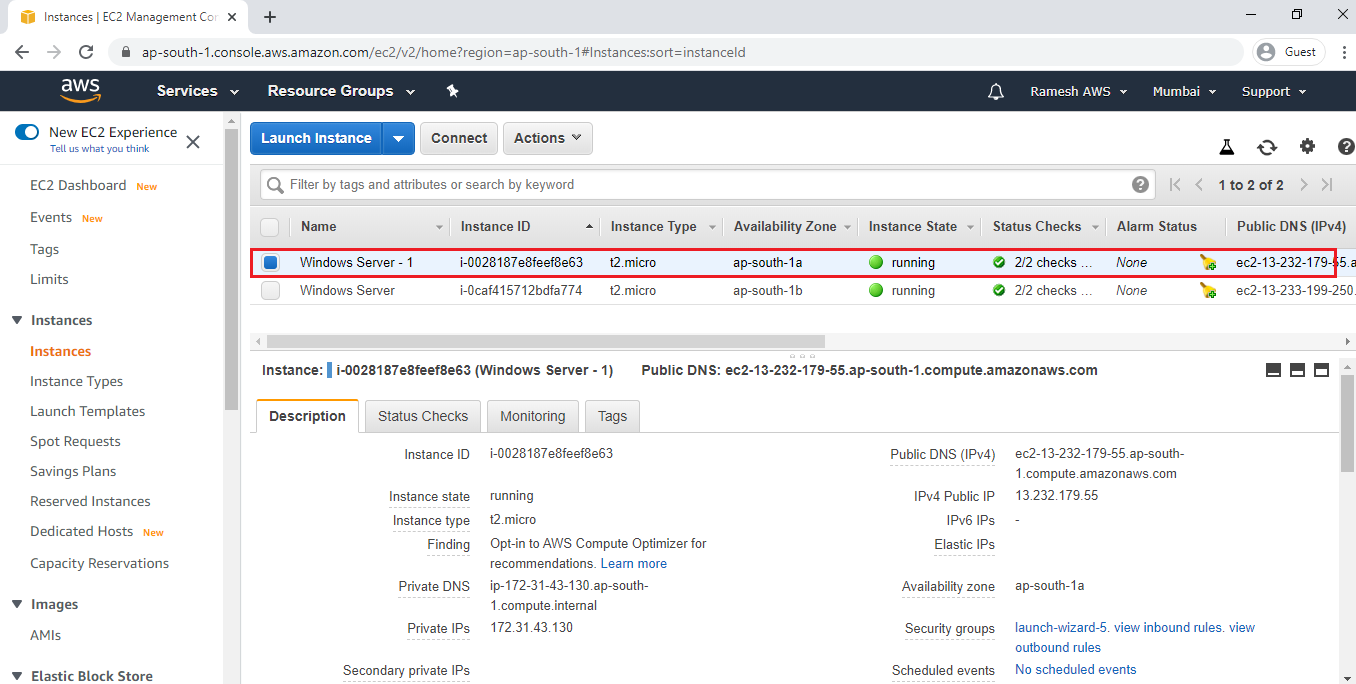
For that first we need to check availability zone of second server “Windows Server – 1”.
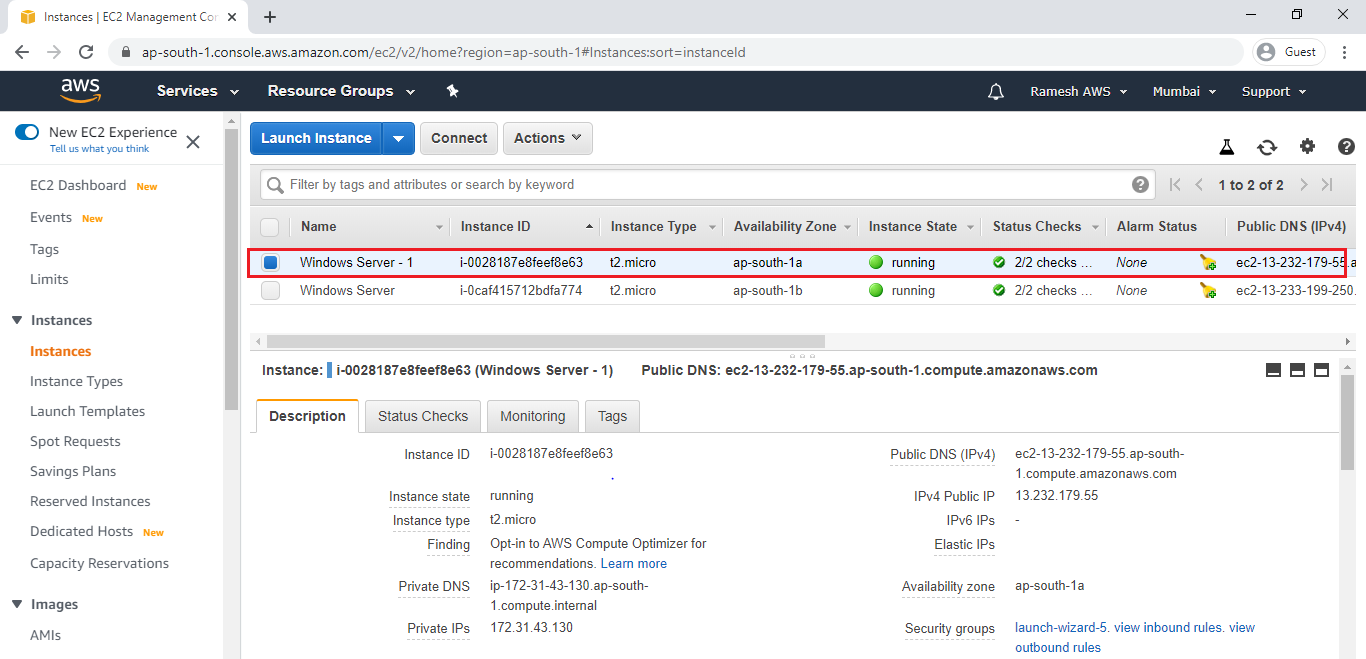
Go to Instances,we can see the availability zone “ap-south-1a” for second server “Windows Server – 1”.
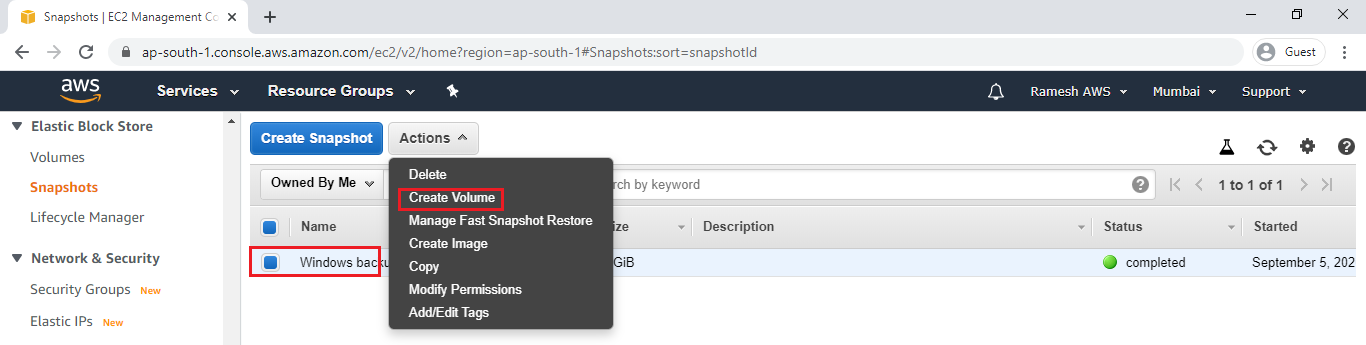
Go to Actions and click on create volume for creating new volume.
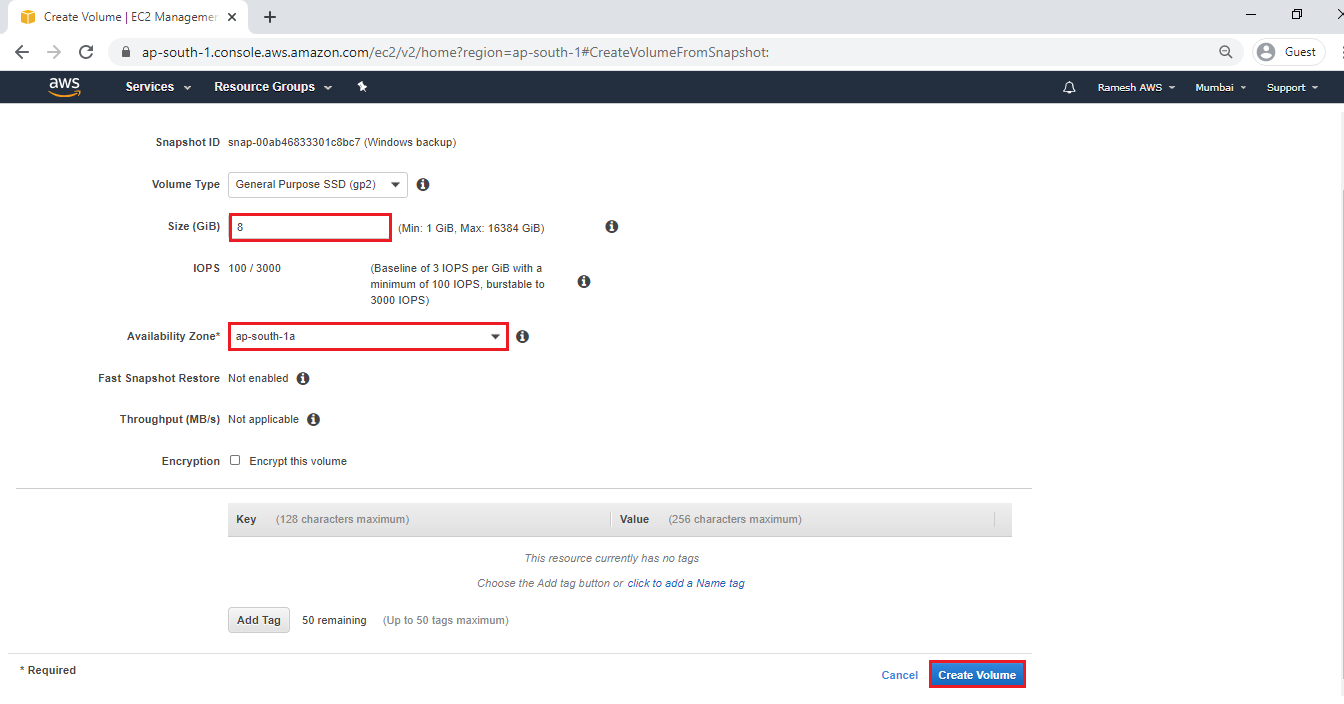
Specify size of volume “8GB” and select availability zone “ap-south-1a” then click on Create Volume.
Click on Close.
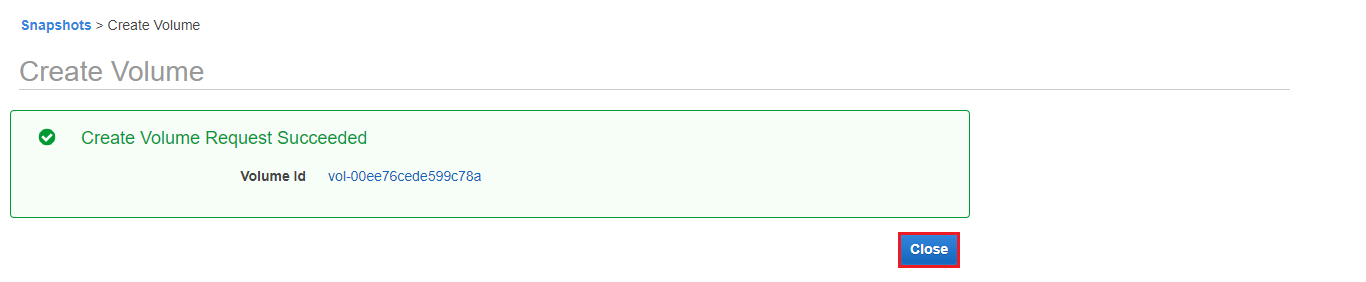
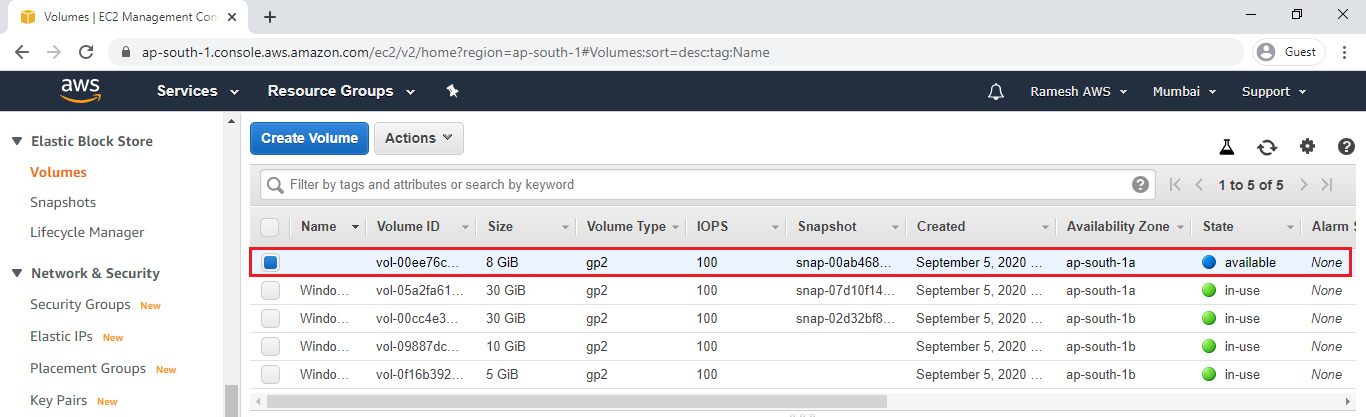
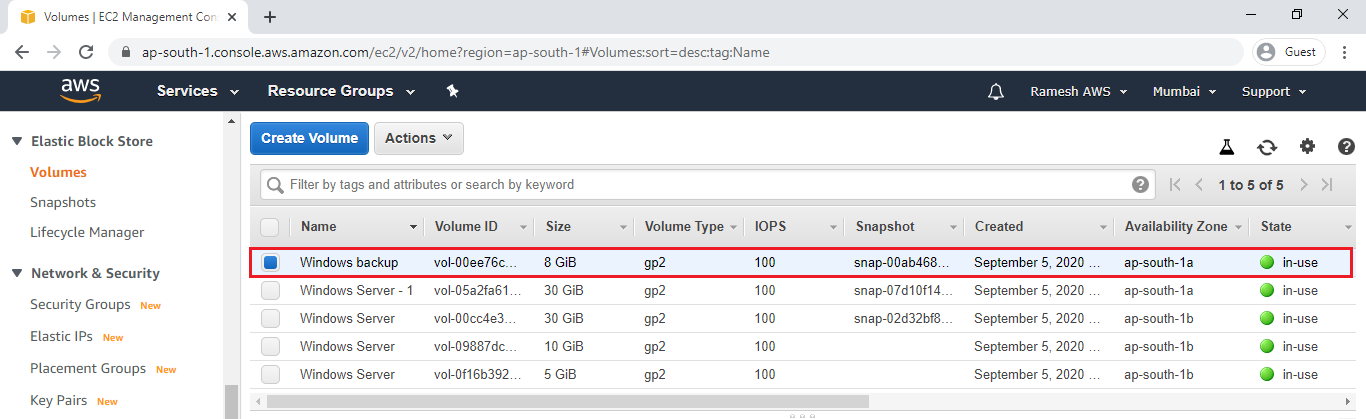
We can see the volume has created successfully.
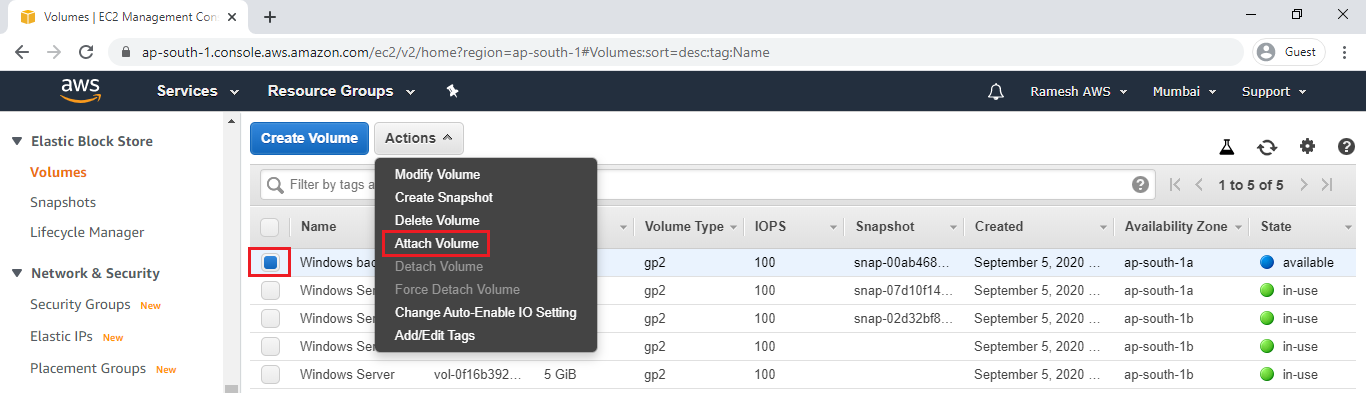
4. Attach Volume (8GB) to Windows Server “Windows Server – 1”
Go to Actions,click on Attach Volume.
Select Instance which is ap-south-1a availability zone.
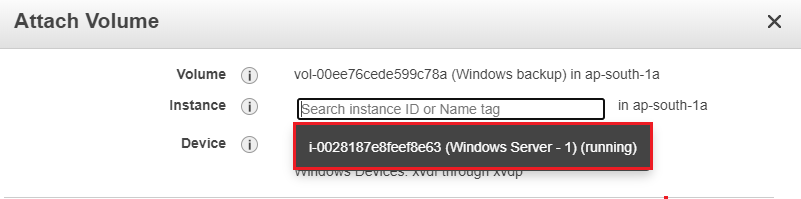
Click on Attach.
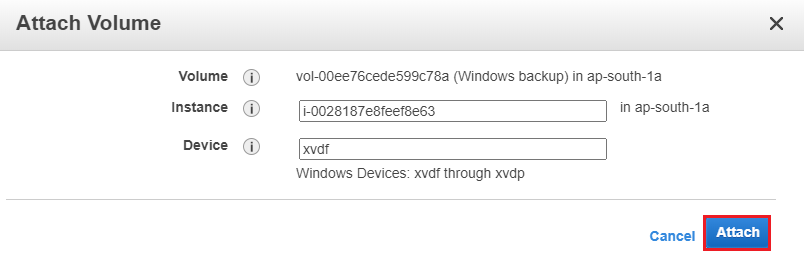
The volume (8GB) has attached to server successfully.
Connect to Windows Server by using Remote Desktop Connection.
When connected, the desktop Windows server is displayed. 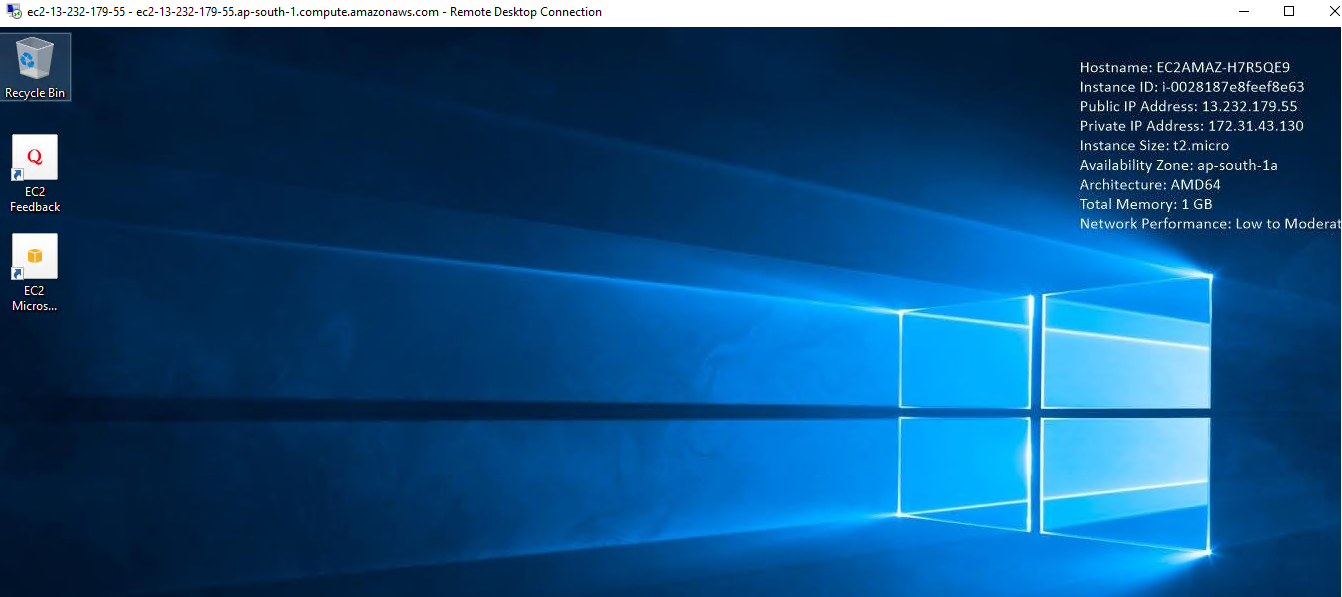
Verify EBS Volumes inside the Windows Server.
Here,we can see only one volume because we need to mount the volume then we are able to see that volume.
5. Mount Attached Volume
Go to Run,type diskmgmt.msc and click on ok.
In the Disk Management ,we can see attached volume which is in offline.
We need to make the Disk 1 online by seeing below image.
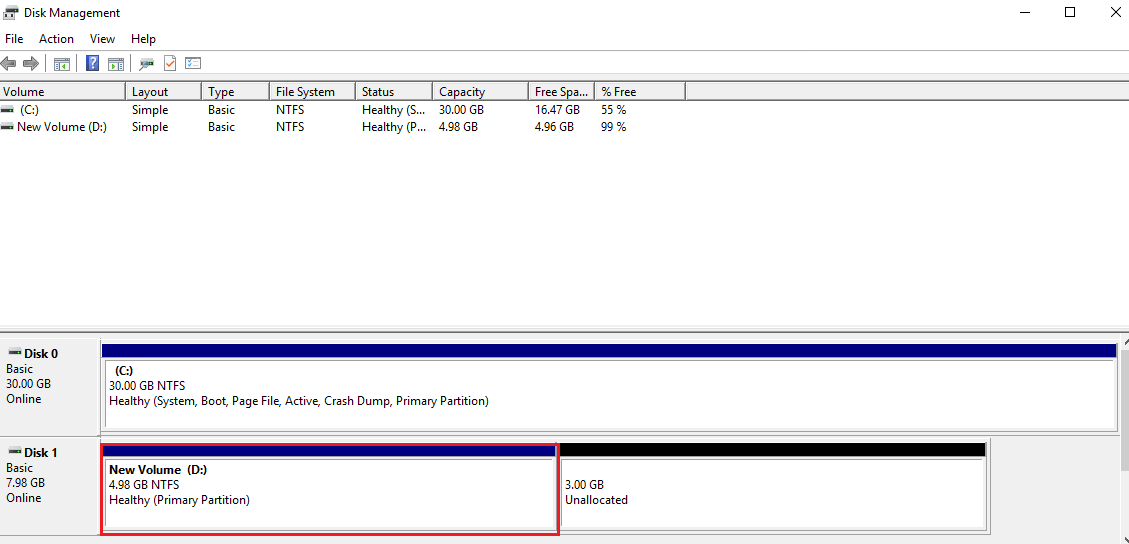
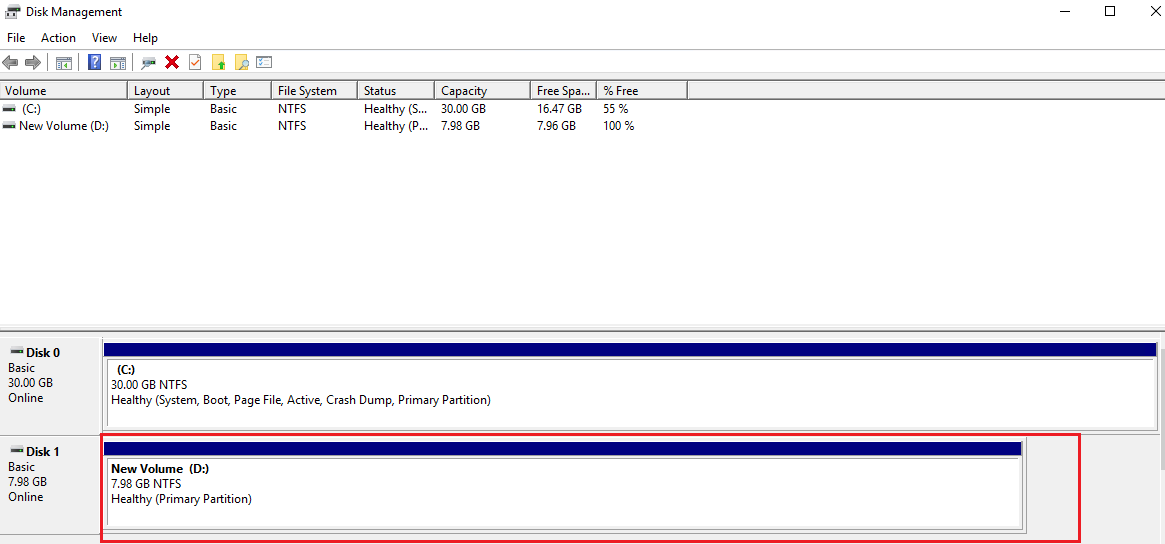
The Disk 1 is online and New Volume (D) created.
We can New Volume (D) (5gb) and Unallocated (3gb).
Actually 5gb is for attached volume size and 3gb is for we increased size while creating volume.
Note:
Here no need to initialize the Disk because we have taken snapshot of first severer then created volume.We have already initialize in the first server and created volume too.
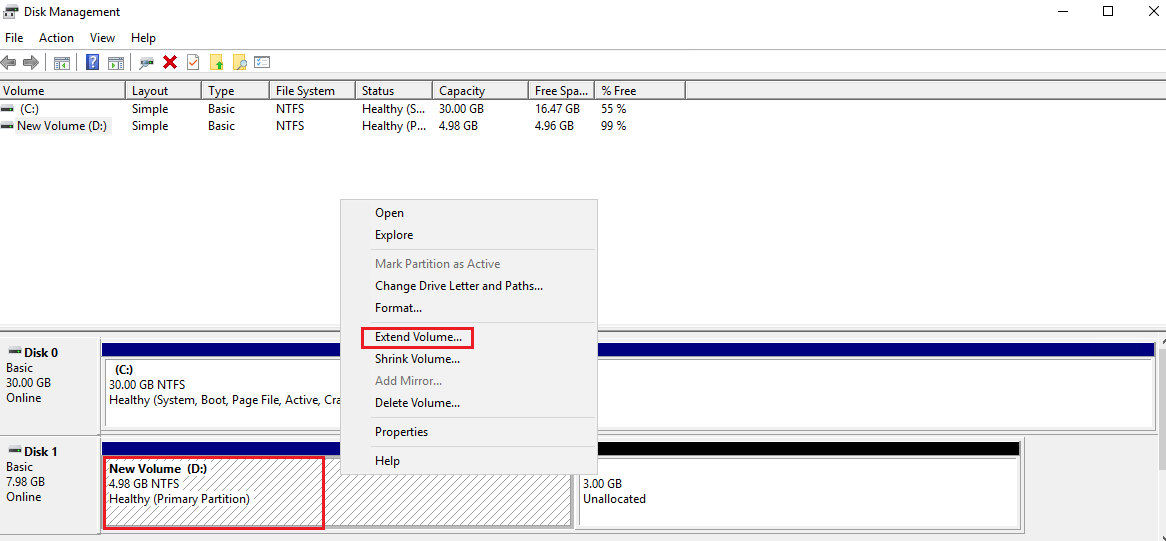
We need to extend the volume by clicking on Extend Volume.
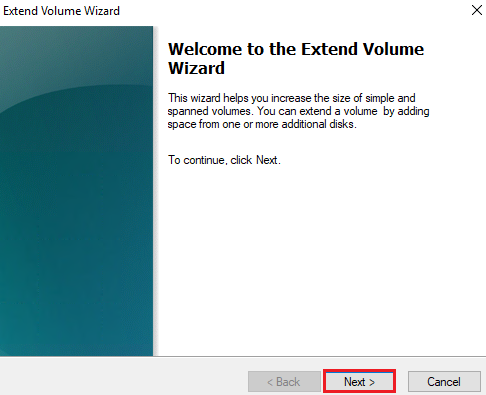
Click on Next.
Click on Next.

Click on Finish.
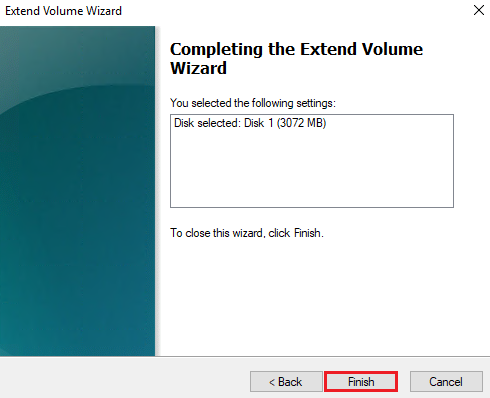
The volume has extended successfully.
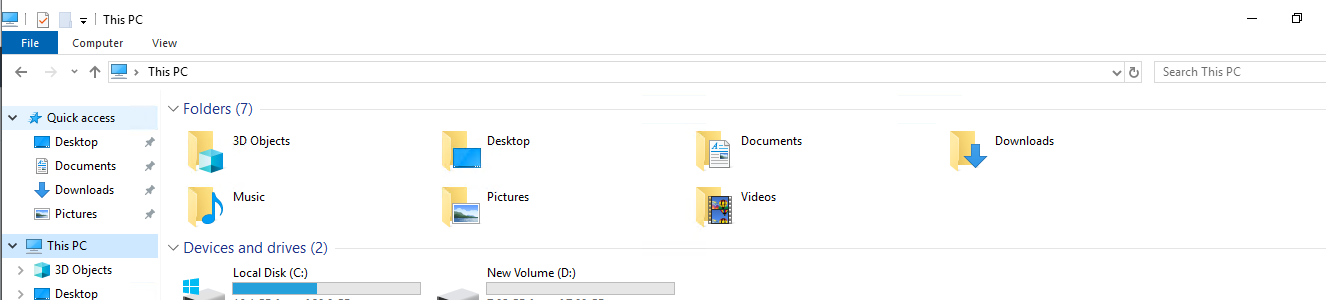
6. Verify volume and data
We can see the attached volume “New Volume (D)”
Go inside the volume,we can see the text document of attached volume.

We can see the content of text document attached volume.

Thank you for giving your valuable time to read the above information. Please click here to subscribe for further updates
KTEXPERTS is always active on below social media platforms.
Facebook : https://www.facebook.com/ktexperts/
LinkedIn : https://www.linkedin.com/company/ktexperts/
Twitter : https://twitter.com/ktexpertsadmin
YouTube : https://www.youtube.com/c/ktexperts