Dear Readers,
In this article,we will see
- Create S3 bucket by making it public.
- Enable Versioning.
- Configure Life Cycle Management(Add Life Cycle Rule).
- Upload objects in the S3 bucket.

Amazon S3 (Simple Storage Service) provides the lifecycle storage management system to reduce the operating cost by moving the data in to different storage classes.
The life cycle management purely depends on Storage Classes/Tiers.
S3 Standard – Frequently Accessed Data.
S3 Intelligent Tiering – Long- lived data with changing or unknown access patterns.
S3 Standard IA – Long- lived , Infrequently accessed data.
S3 One Zone IA – Long- lived , Infrequently accessed Non-critical data.
Infrequently Access the data
S3 Glacier – Archive data with retrieval times ranging from minutes to hours.
To get the data , need to wait for 2-5 hours.
S3 Glacier Deep Archive – Archive data that rarely, if even needs to be accessed with retrieval times in hours.
To get the data , need to wait for 12 hours.
There are two important actions performed by lifecycle management system.
Transition actions:
Moving the objects from one storage to another storage based on the rules which you have created. For an example, if you would like to move the files which 30 days older from s3 standard to S3 – IA storage , you could define in rules. Rest of the things will be taken care by AWS.
Expiration actions:
You could set the expiry date for the objects which are no longer required after certain period. Amazon S3 deletes the expired objects on your behalf.
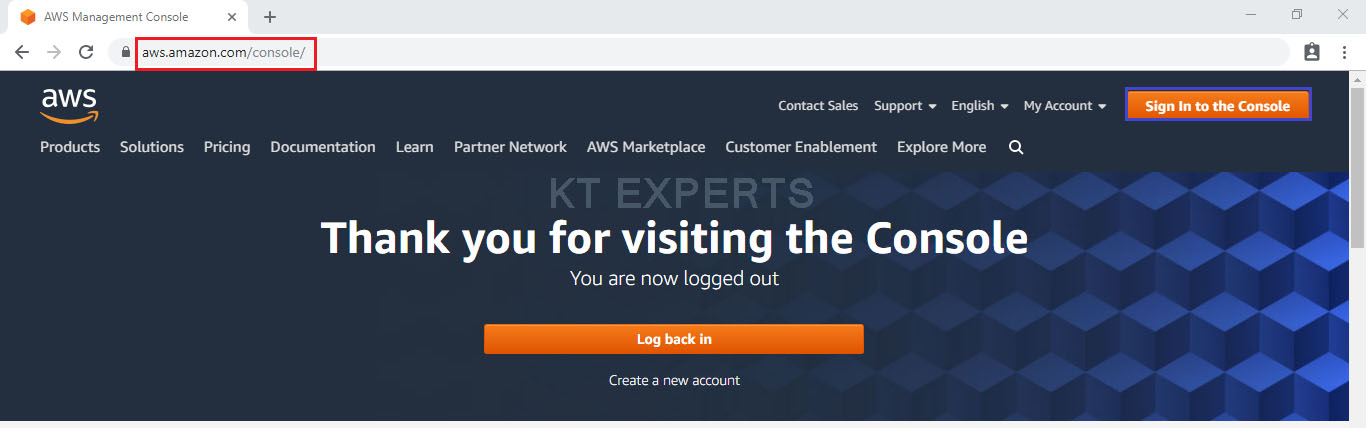
First, we need to AWS Console page by using below link.
https://aws.amazon.com/console/
Click on sign in to Console button.
Logging to aws account
Provide username and password then click on sign in.
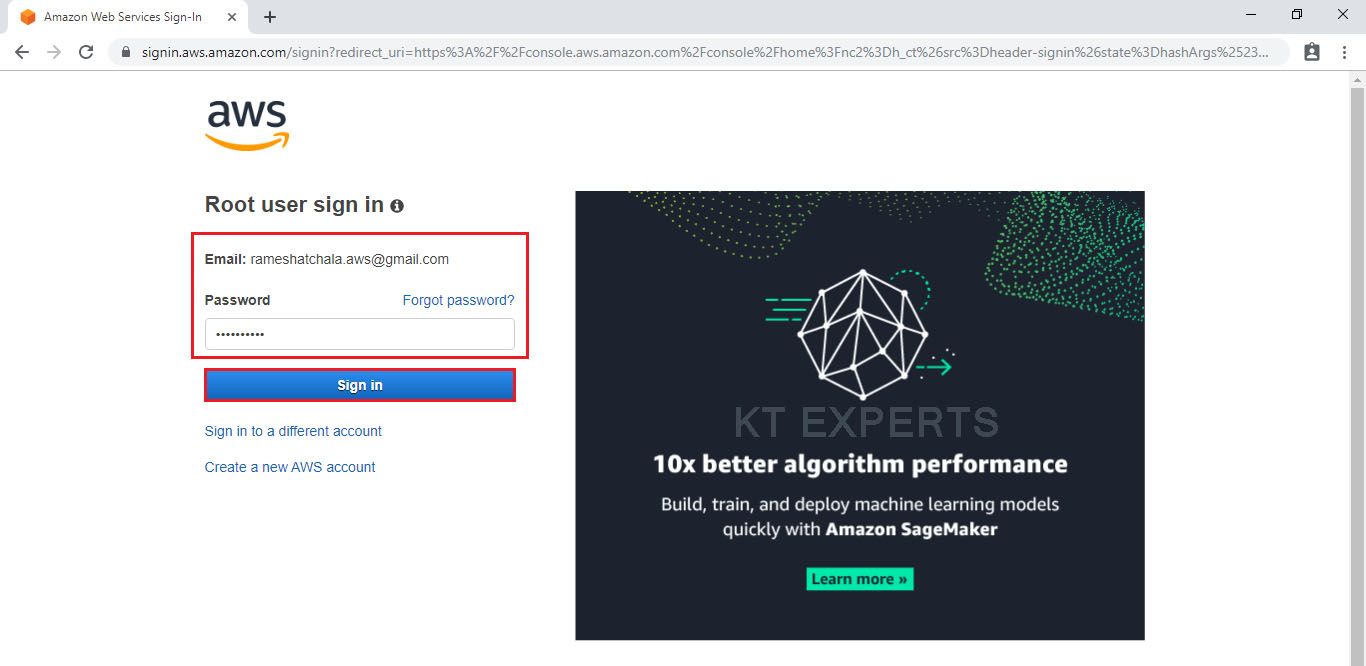
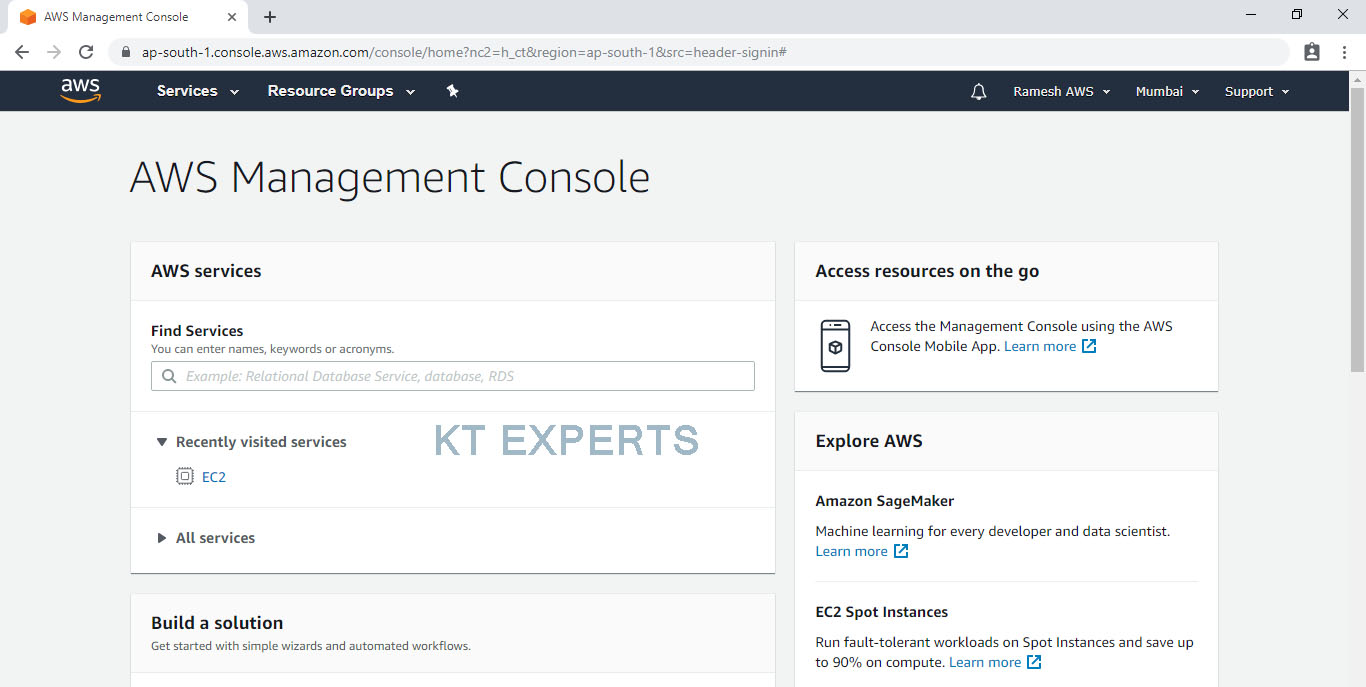
Enter to AWS Management Console
We can see the AWS Management Console Dashboard.
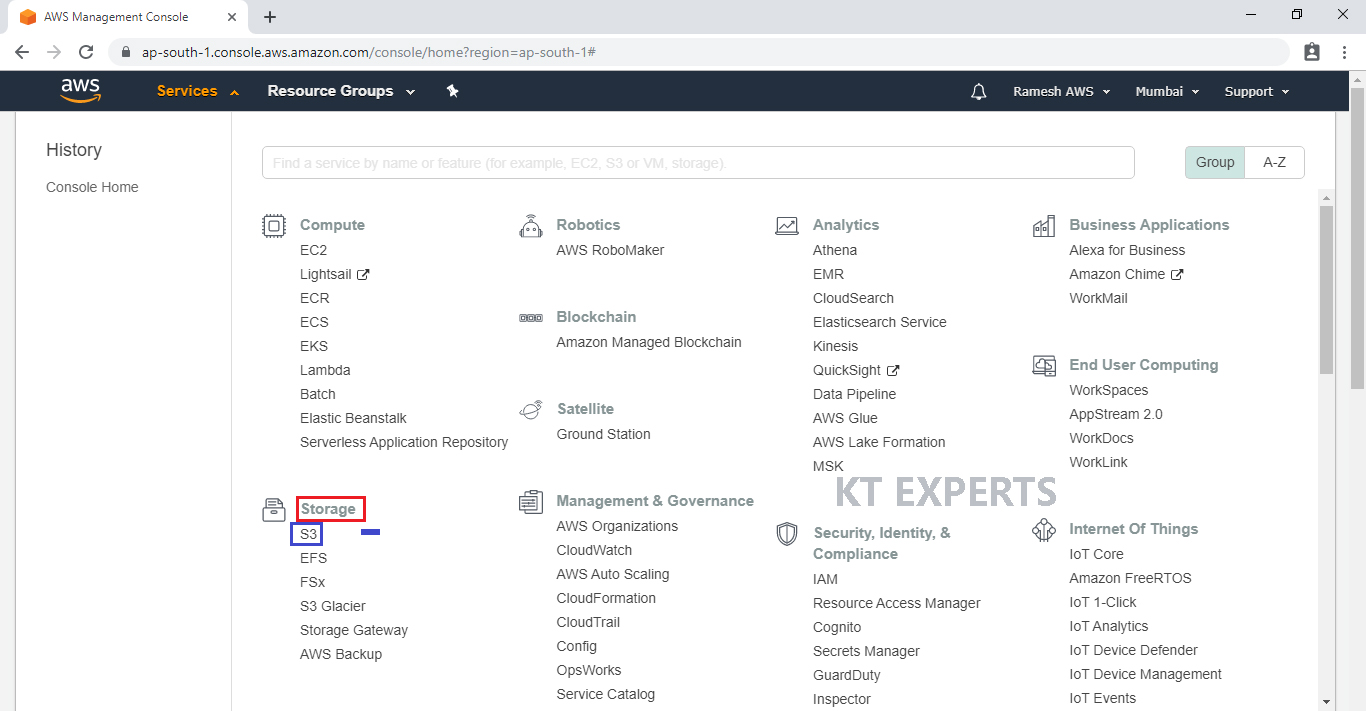
Go to Services, under the storage module click on S3 service to open.
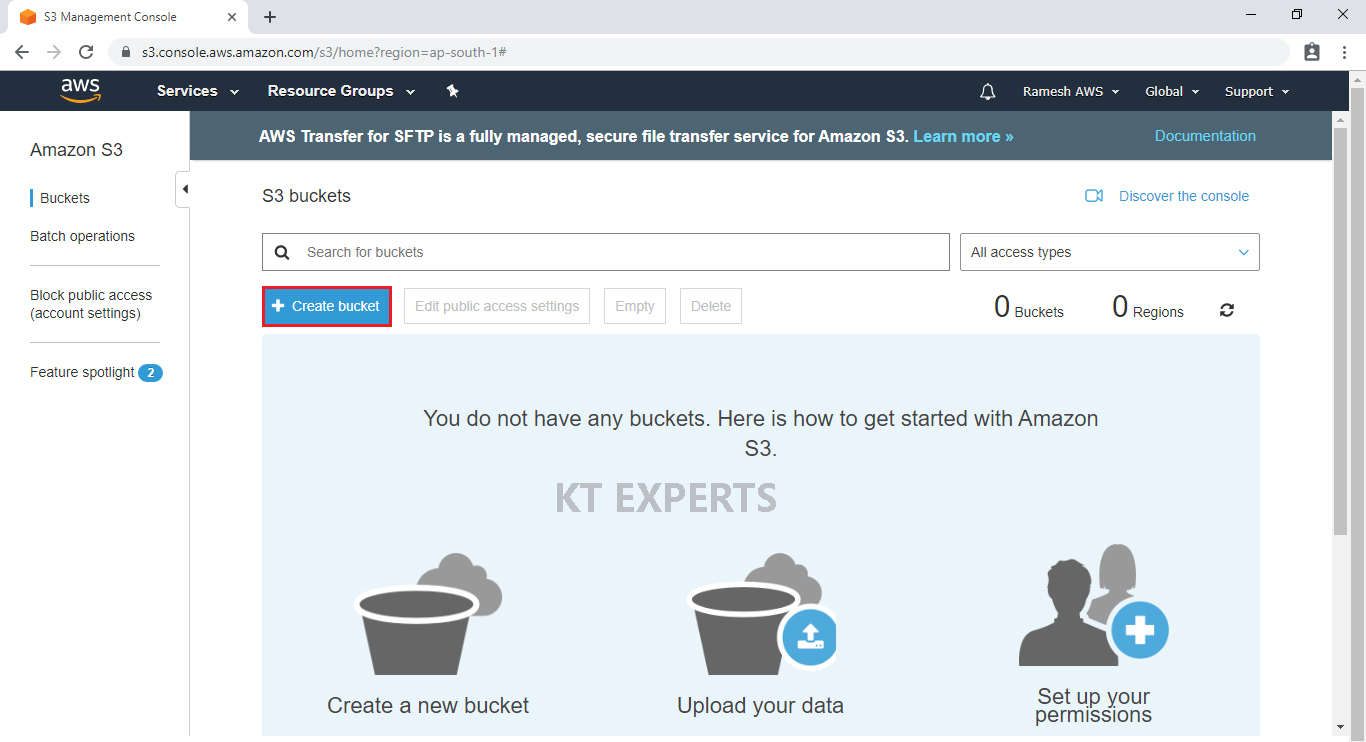
Create S3 Bucket
We can create up to 100 buckets in each of your AWS accounts
Bucket like a folder that stores the objects
Click on create bucket.
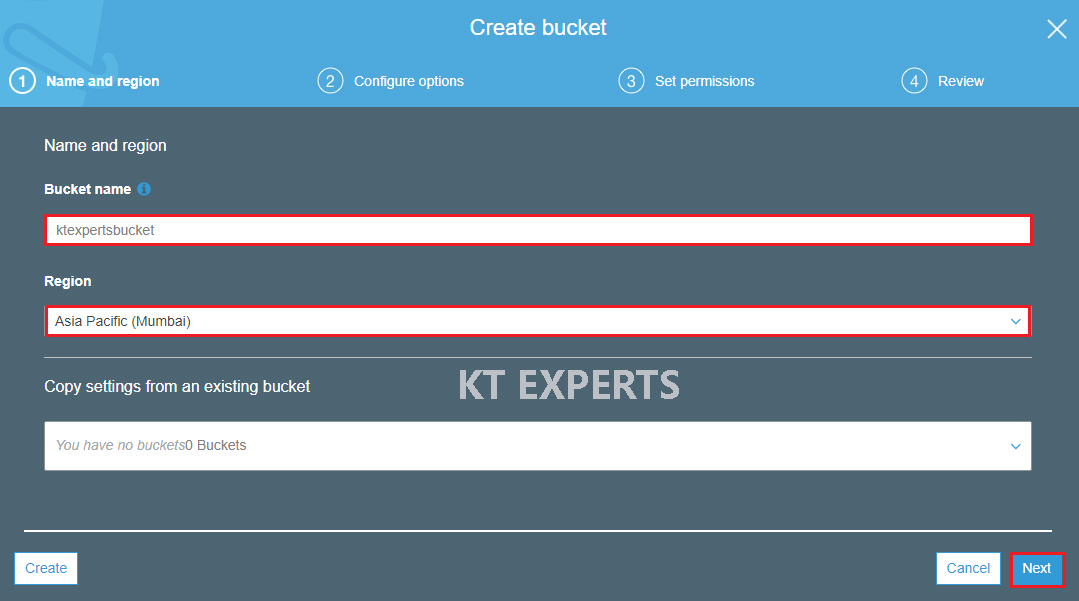
Provide the bucket name must be globally unique across all existing bucket name in Amazon S3
In the Bucket name field we need to follow some guidelines
- The bucket name can be between 3 and 63 characters long, and can contain only lower-case characters, numbers, periods, and dashes.
- The bucket name must start with a lowercase letter or number.
- The bucket name cannot contain underscores, end with a dash, have consecutive periods, or use dashes adjacent to periods.
- The bucket name cannot be formatted as an IP address (192.81.800.24).
After you have created a bucket, you can’t change its Region.
In Region, Choose required region.
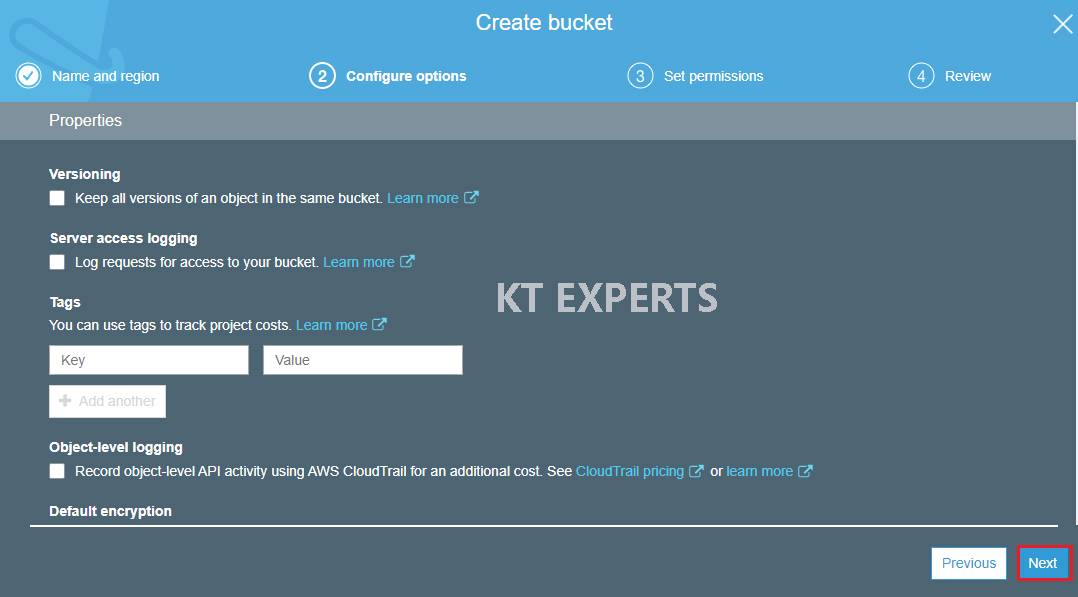
Click on Next.
Click on Next.
Make bucket to public
Unchecked Block all public access.
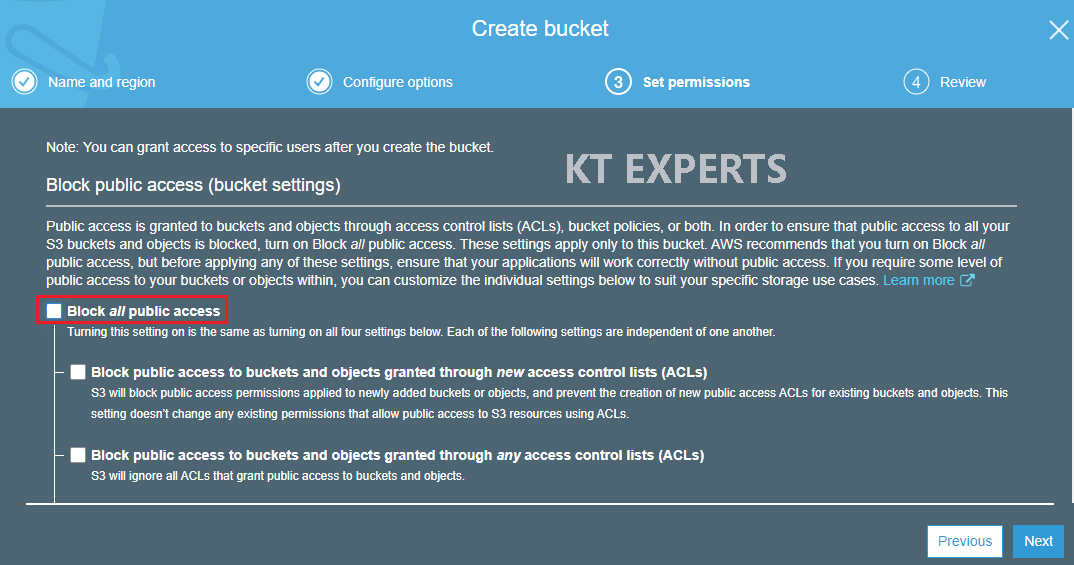
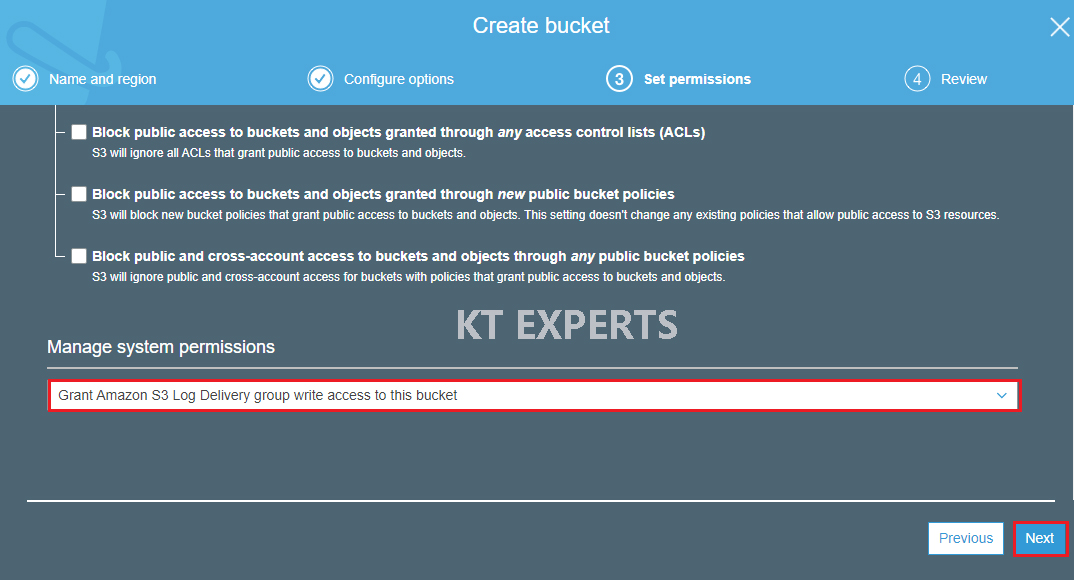
Go to Manage System permissions and choose Grant Amazon S3 Log Delivery group write access to this bucket then click on Next.
Verify all the details which has given by user then click on create bucket.
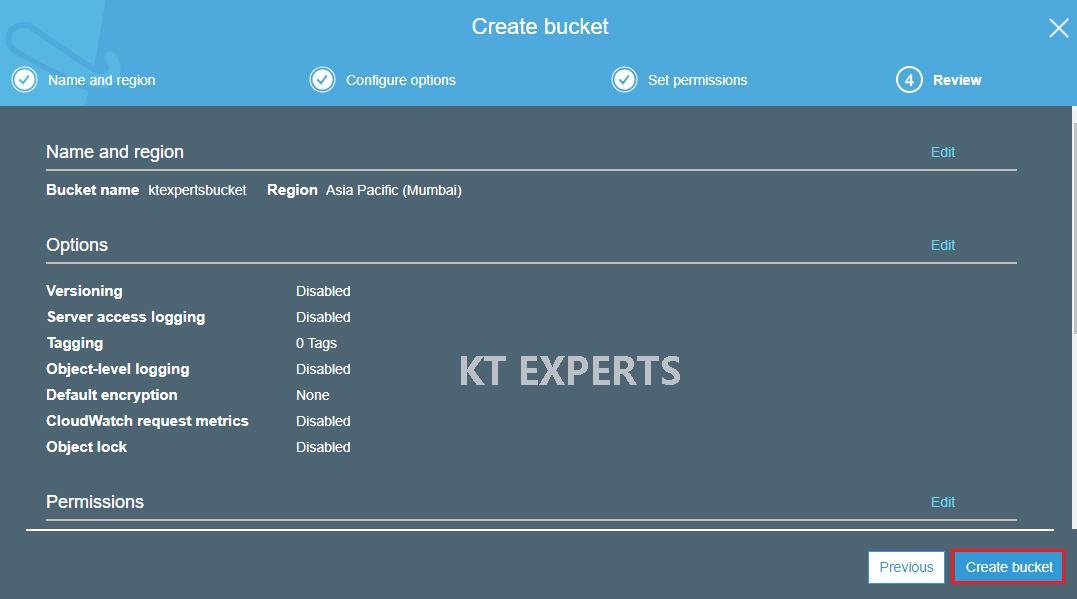
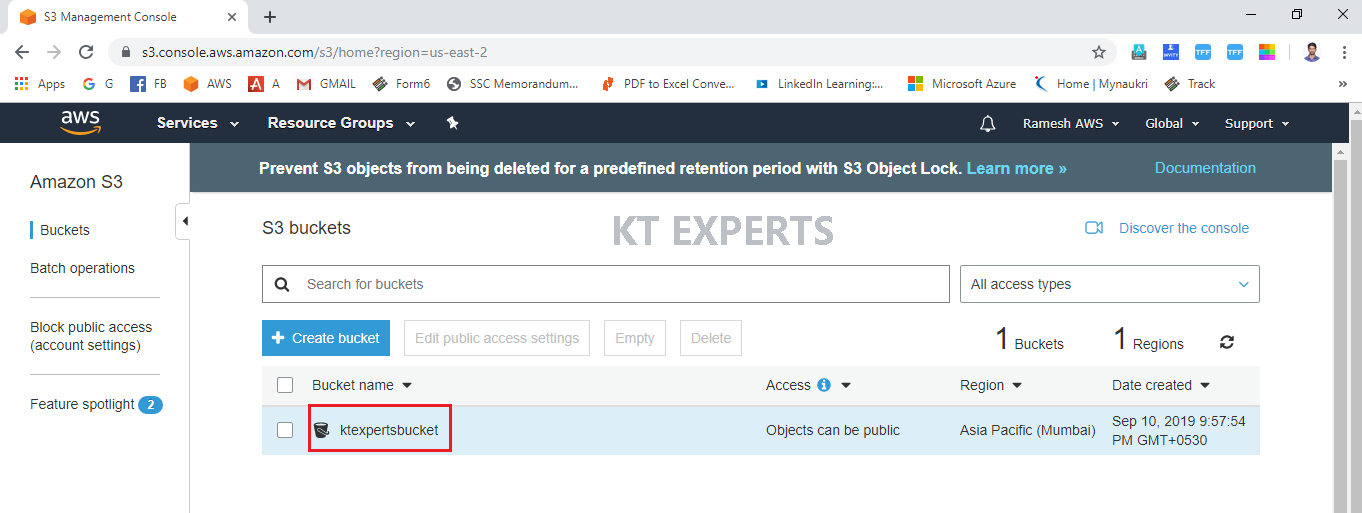
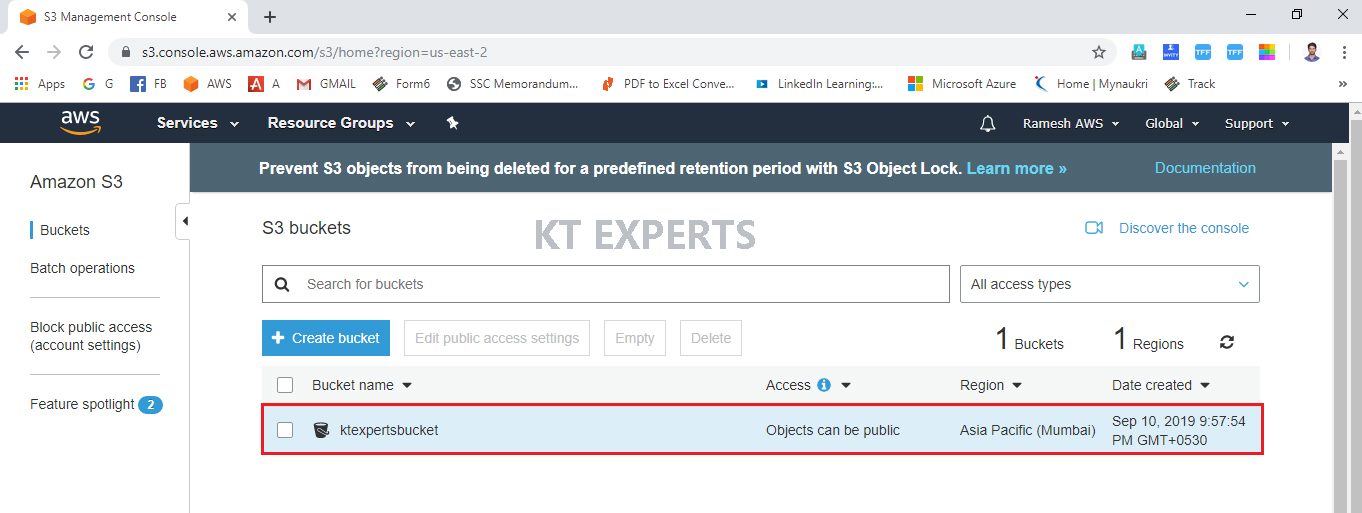
We can see the bucket “ktexpertsbucket”.
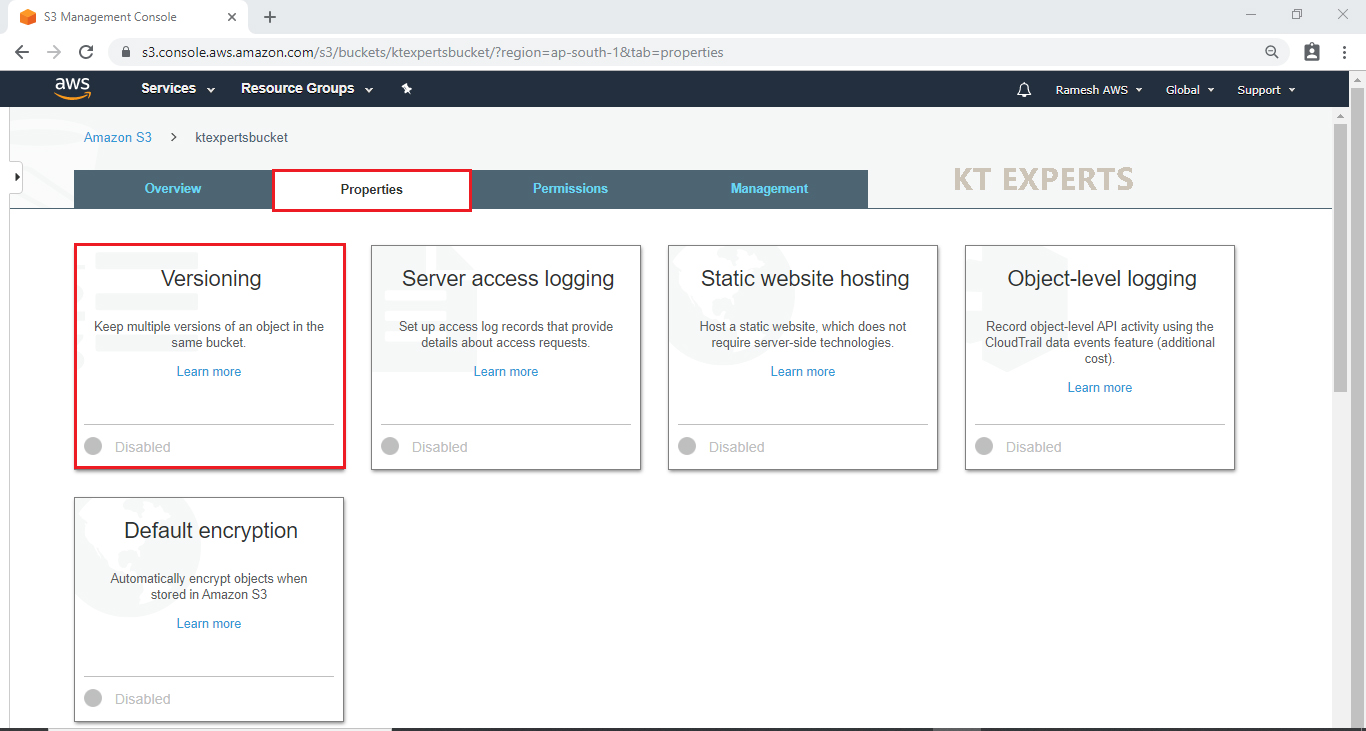
Enable Versioning
Go to bucket properties and click on versioning.
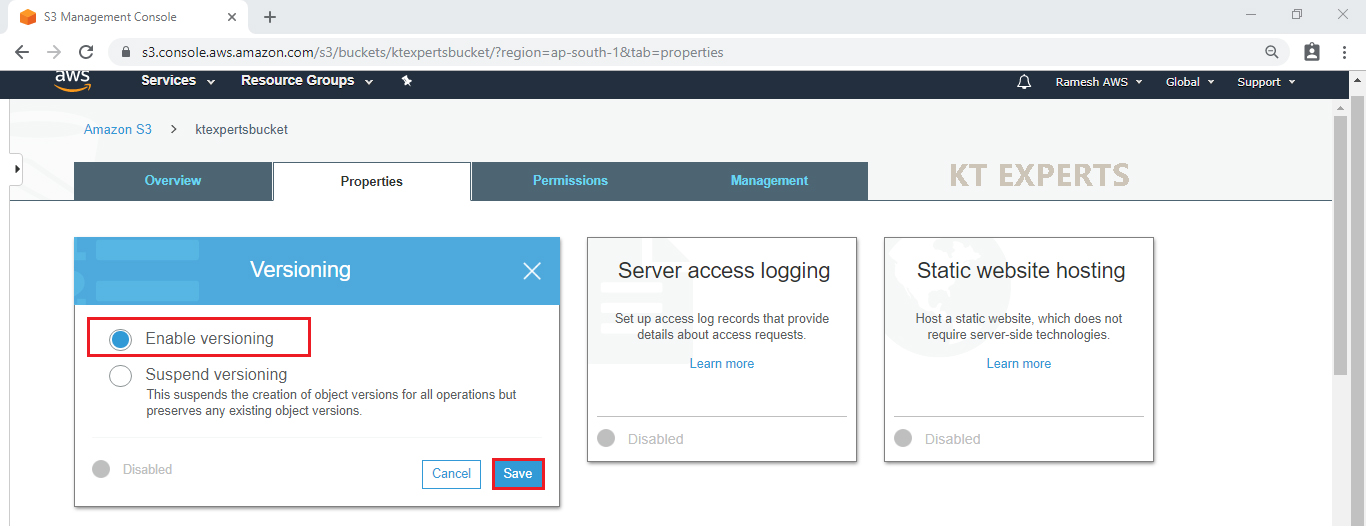
Click on Enable versioning then save it.
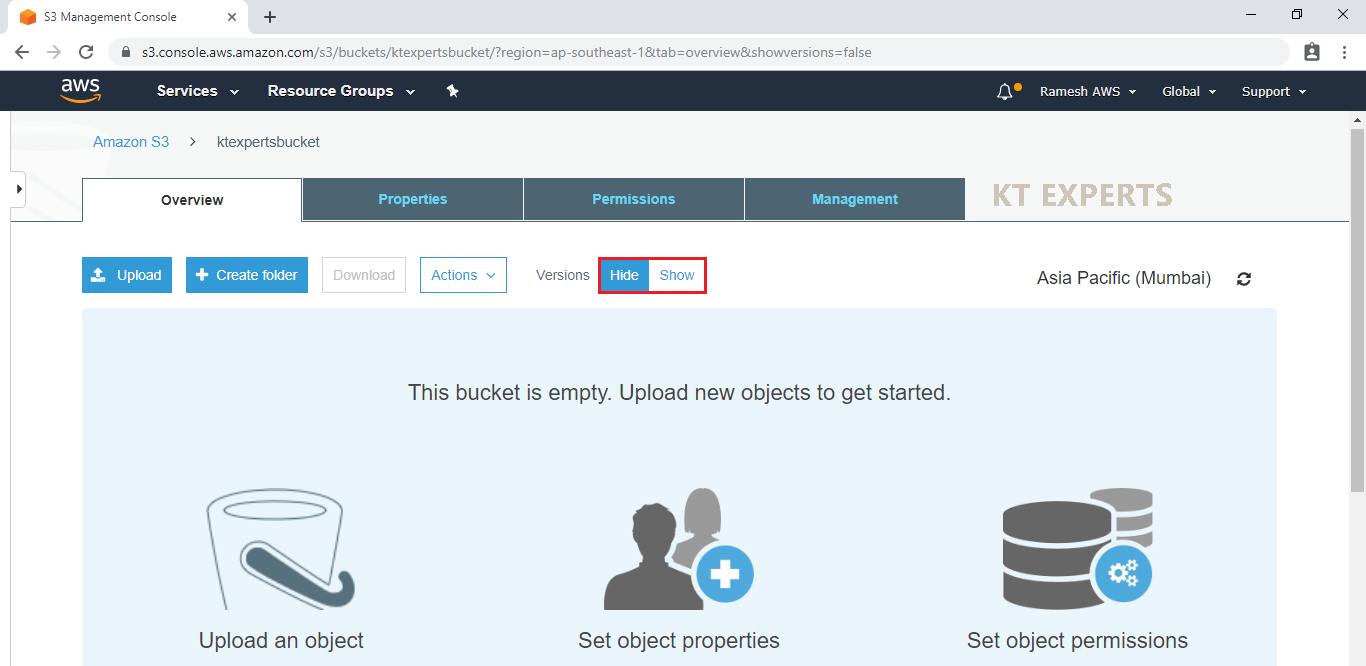
Now the versioning has been enabled.
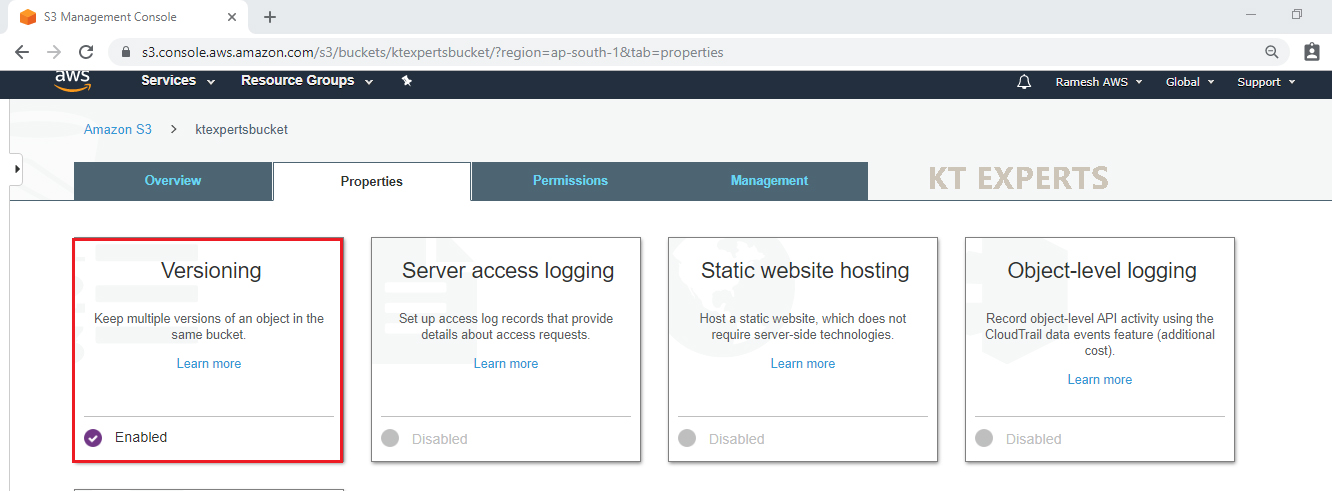
Once enabled the version , we can see hide , show options for uploaded objects.
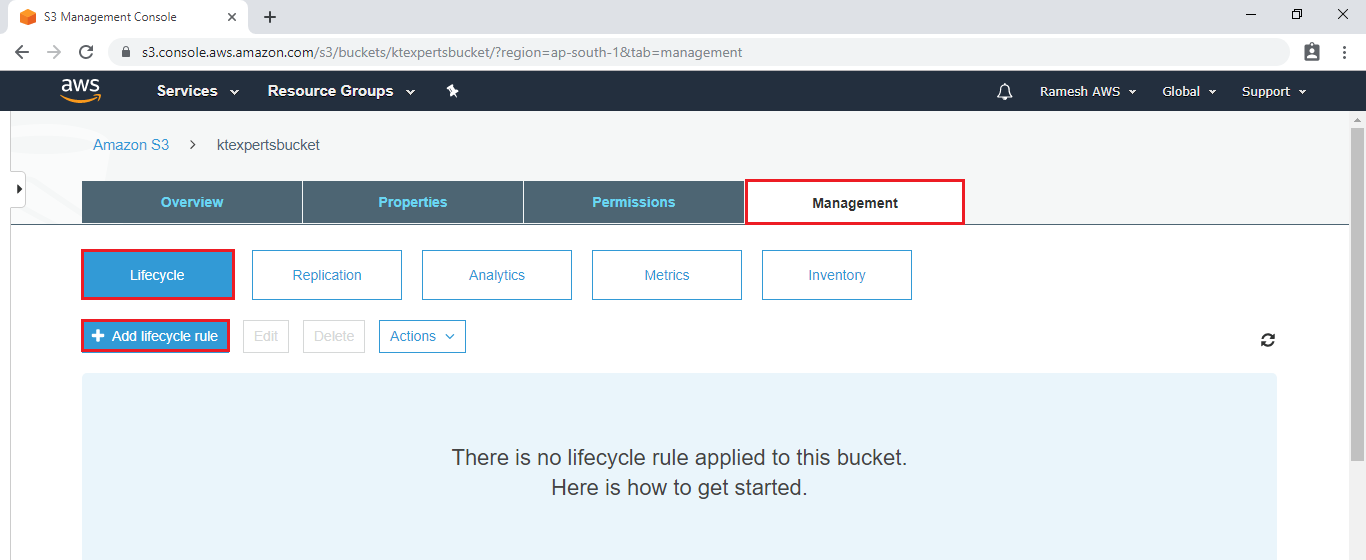
Configure Lifecycle Management
Add Life Cycle Rule
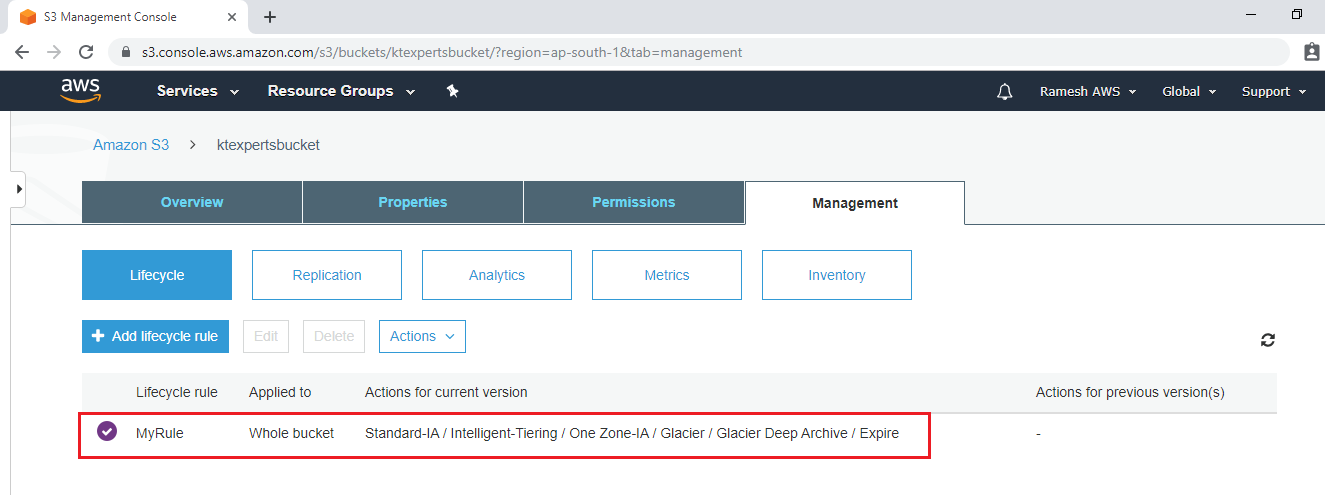
Go to management, click on Add Lifecycle rule in Lifecycle tab.
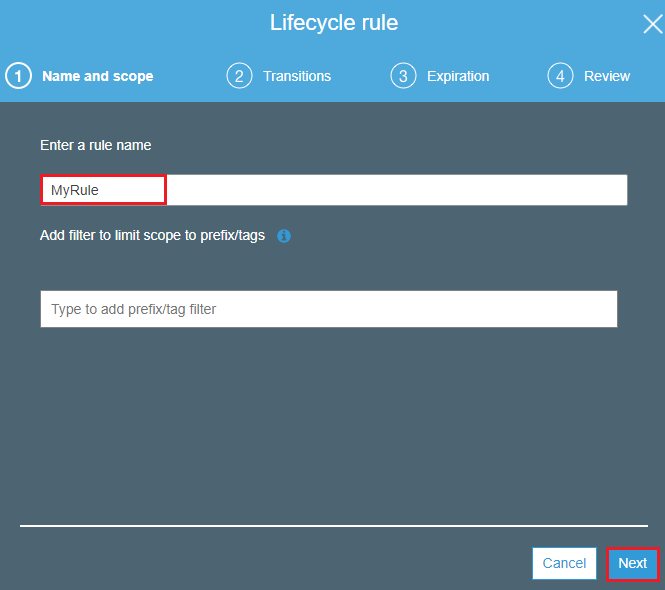
Specify rule name “MyRule” and click on Next.
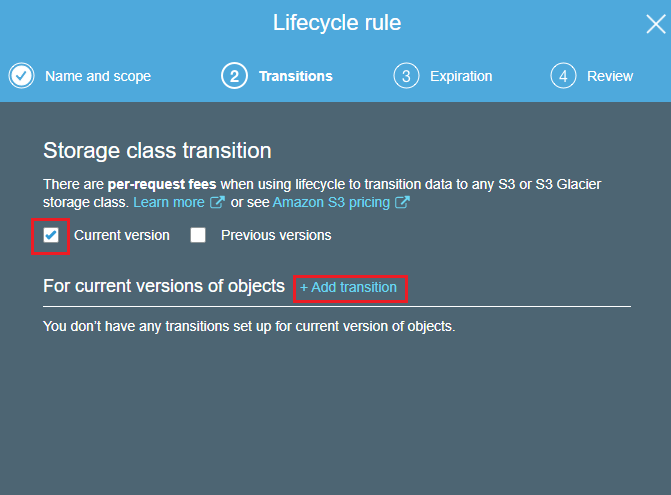
Storage class transition
Click on checkbox of the current version and click on Add transition.
Note
you can select previous versions if required.
Select storage classes and click on Next.
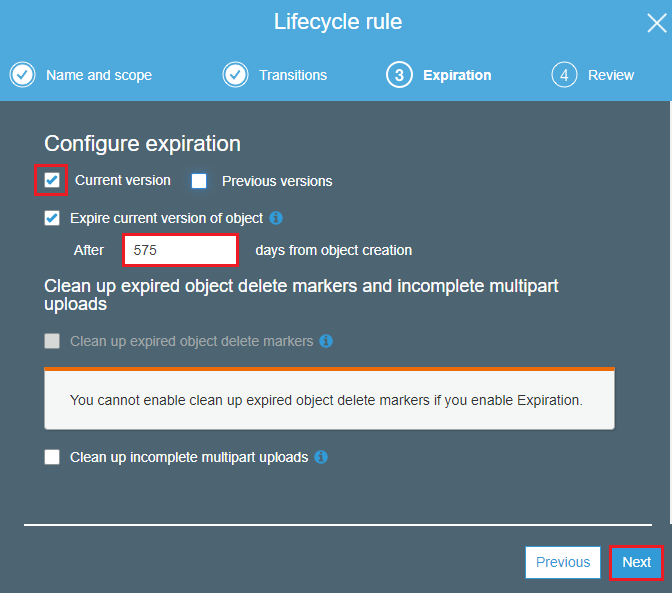
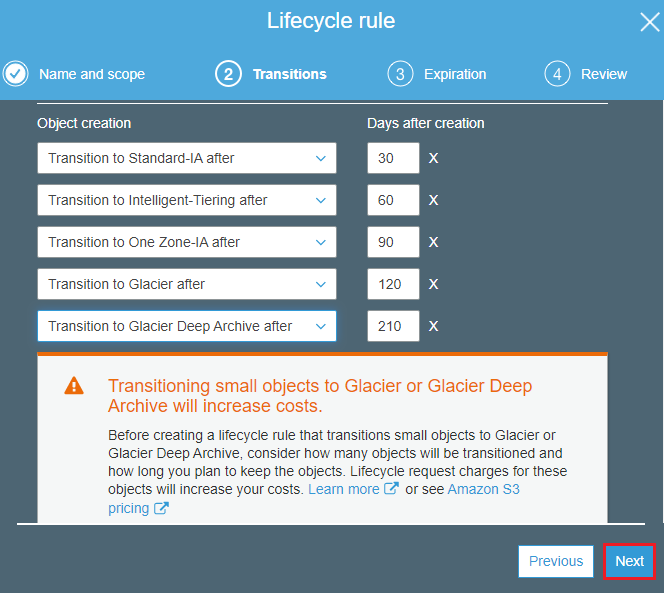 ‘Click on checkbox of the current version specify days from creation of object then click on Next.
Verify all details and click on save.
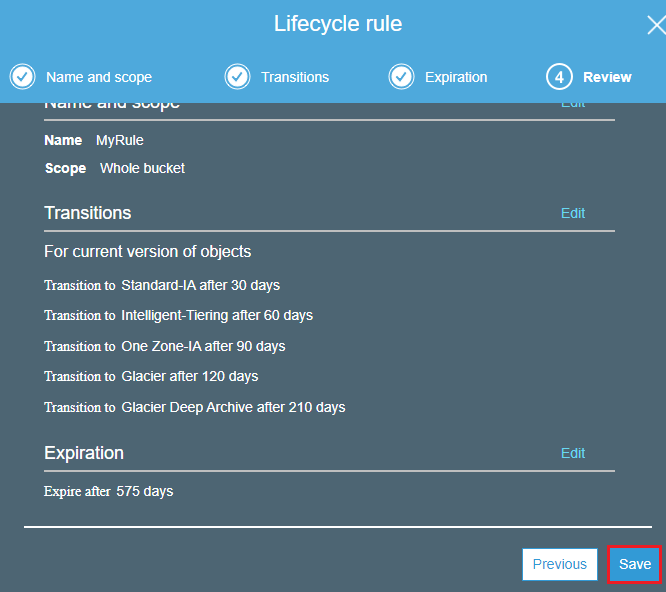
The lifecycle rule has been created successfully.
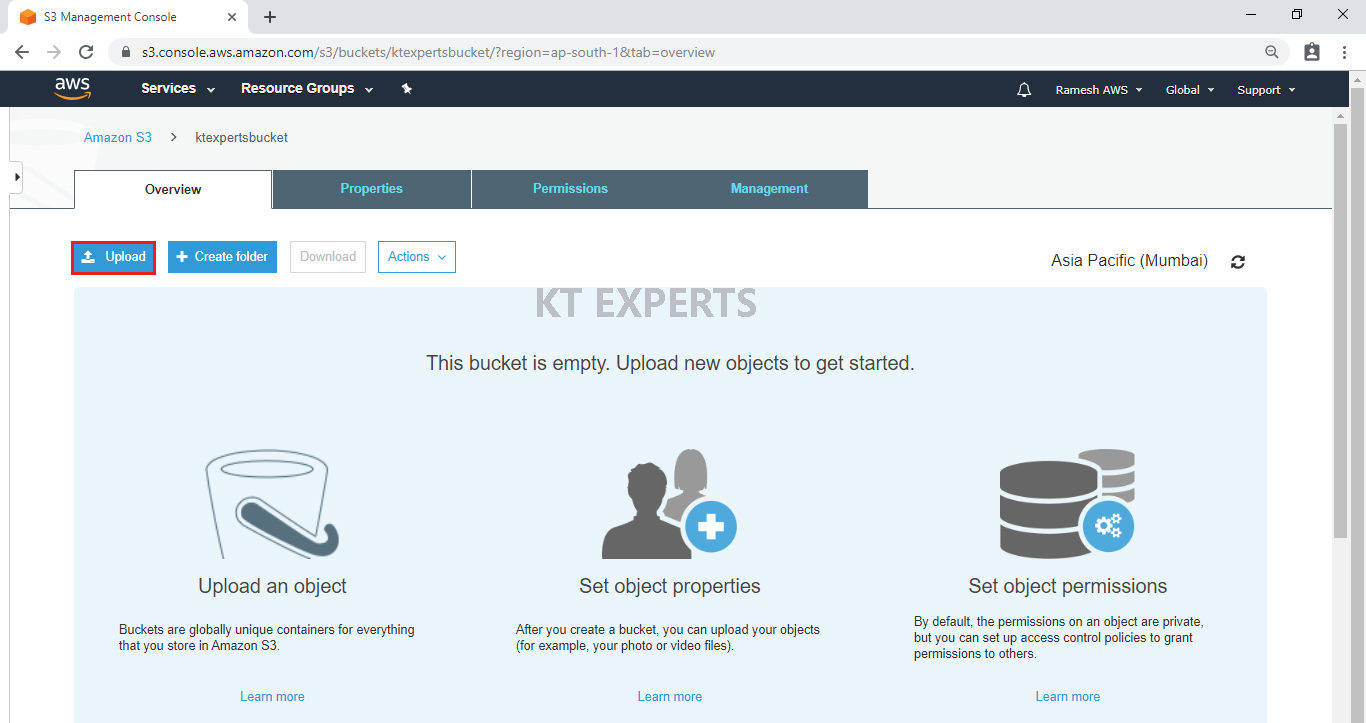
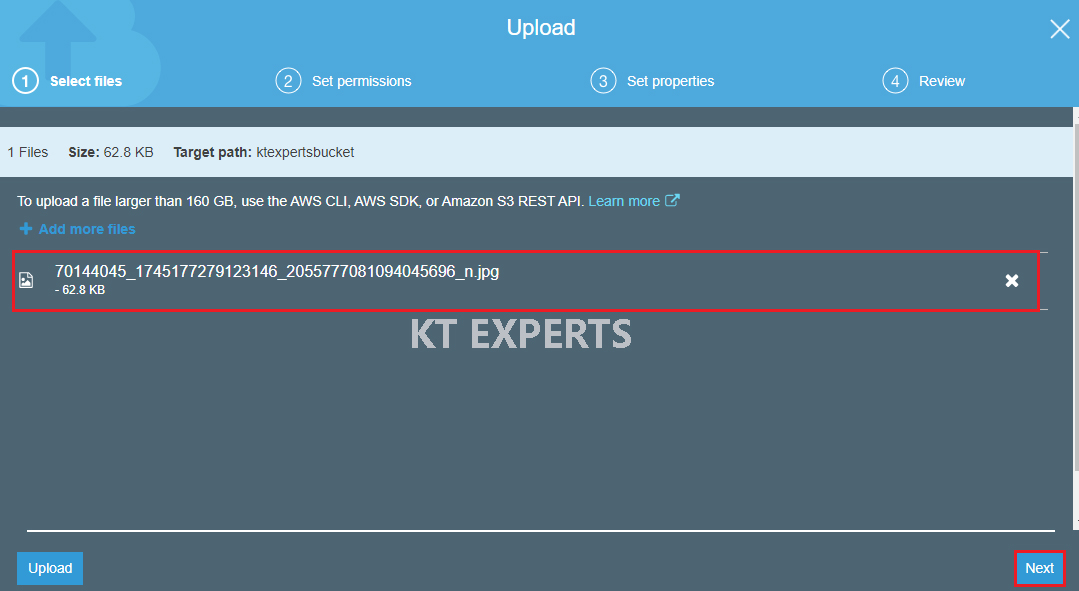
Upload Object in S3 bucket
Open the bucket ( click on the bucket name).
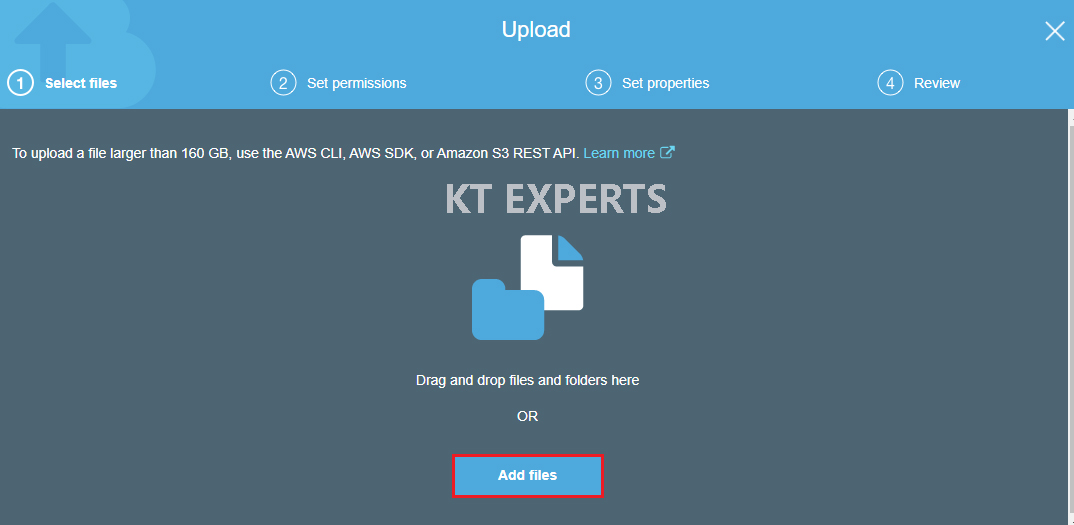
Click on upload to add files to your bucket.
Click on Add files.
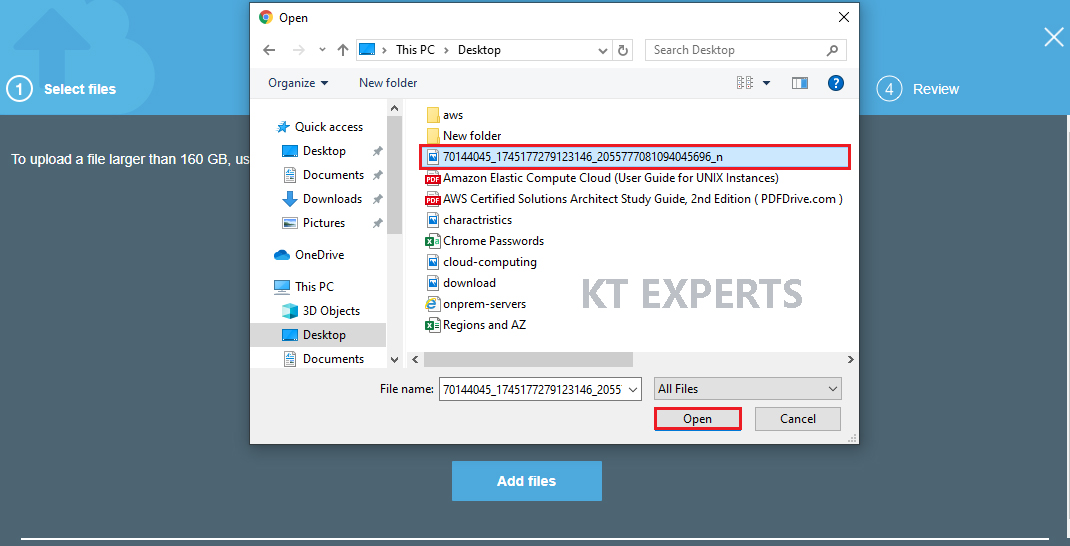
Choose the required file and click on open.
Click on Next.
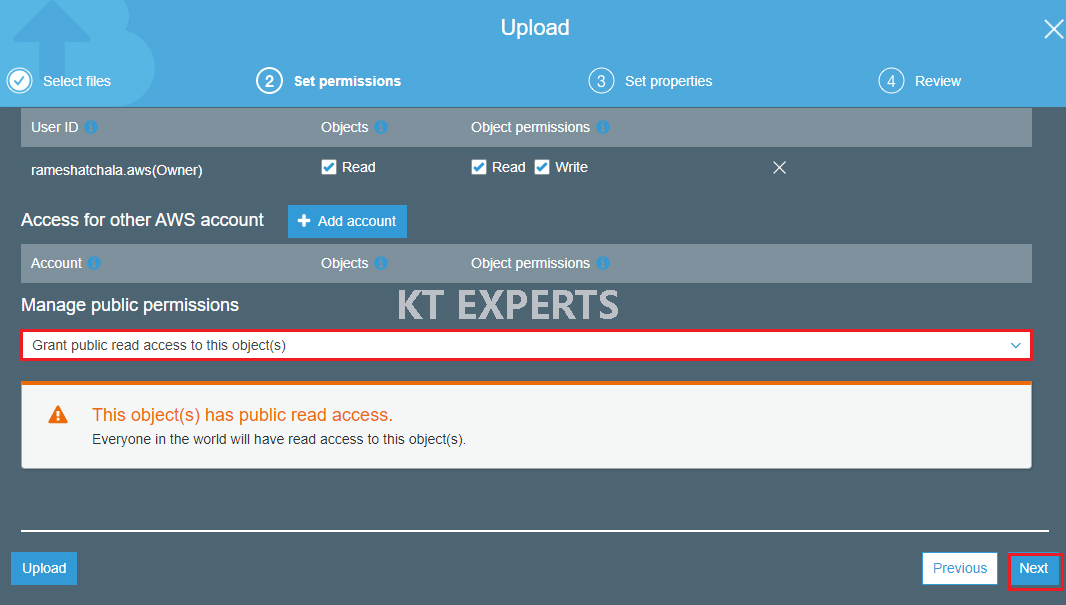
Make object public
Go to Manage Public permissions and choose grant public access to this object.
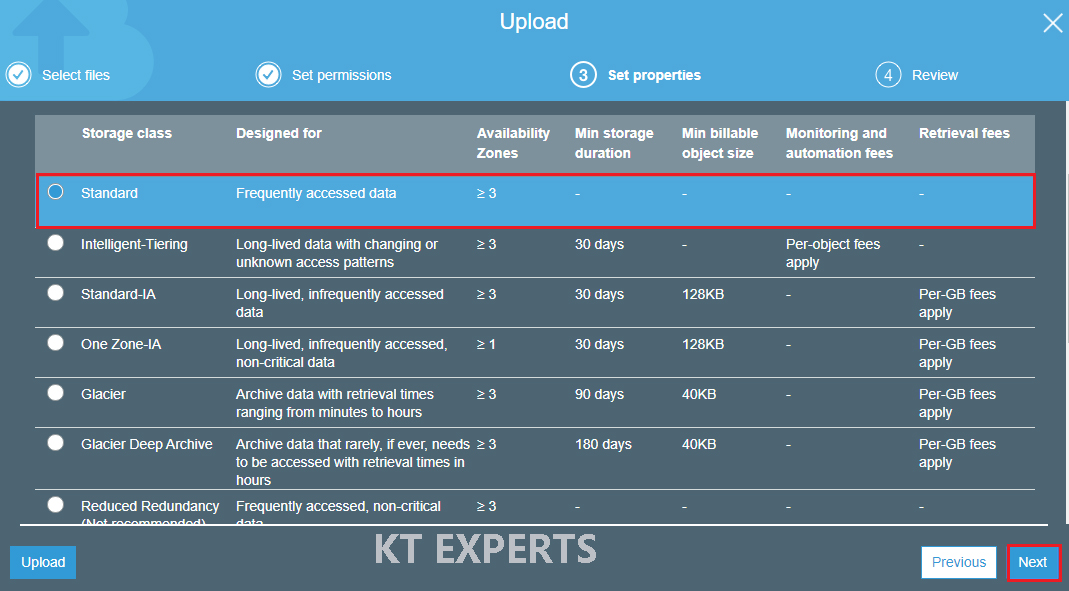
By default the storage class is standard skip and click on Next.
Verify all the details and click on upload.
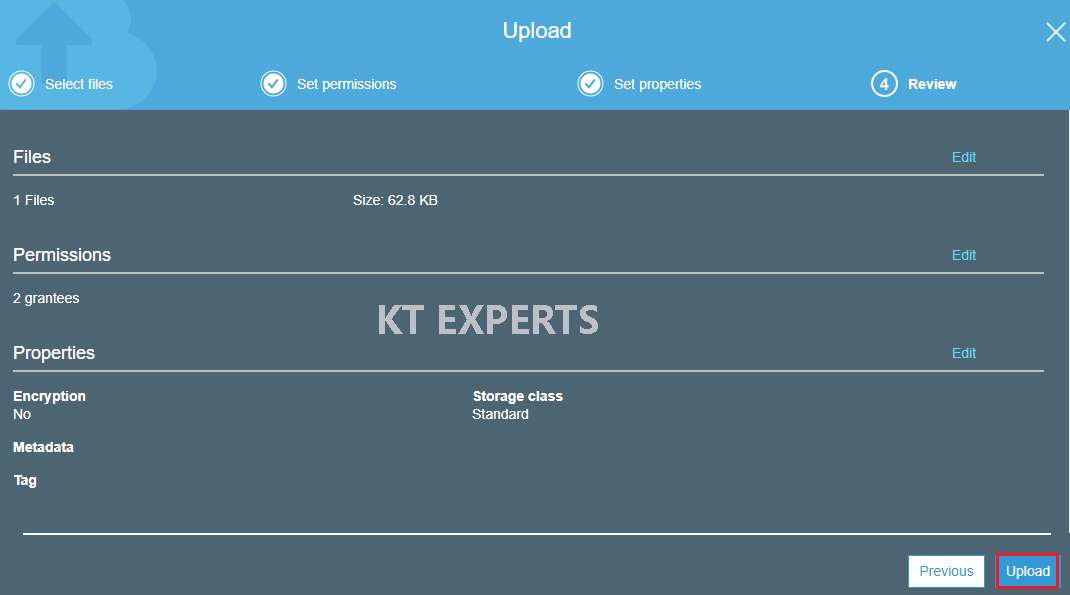
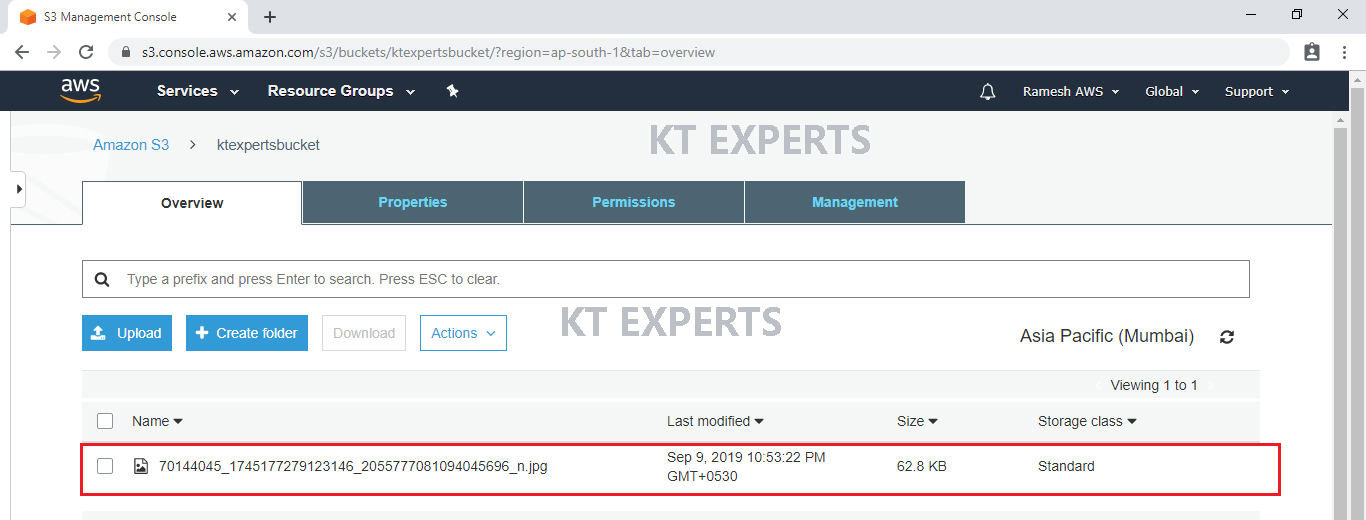
We can see the object has been uploaded successfully to the bucket.
Now the storage class of object is standard after 30 days it will changed to standard IA
Based on the add transitions it will be changed automatically.
Thank you for giving your valuable time to read the above information. Please click here to subscribe for further updates
KTEXPERTS is always active on below social media platforms.
Facebook : https://www.facebook.com/ktexperts/
LinkedIn : https://www.linkedin.com/company/ktexperts/
Twitter : https://twitter.com/ktexpertsadmin
YouTube : https://www.youtube.com/c/ktexperts
Instagram : https://www.instagram.com/knowledgesharingplatform
Once opened the o