Dear Readers,
In this article we will see Installing Oracle Virtual Box on WINDOWS and Creating Virtual machine

Oracle VM VirtualBox is a free and open-source hosted hypervisor for x86 virtualization, developed by Oracle Corporation. Created by Innotek GmbH, it was acquired by Sun Microsystems in 2008, which was, in turn, acquired by Oracle in 2010. VirtualBox may be installed on Windows, macOS, Linux, Solaris and OpenSolaris.
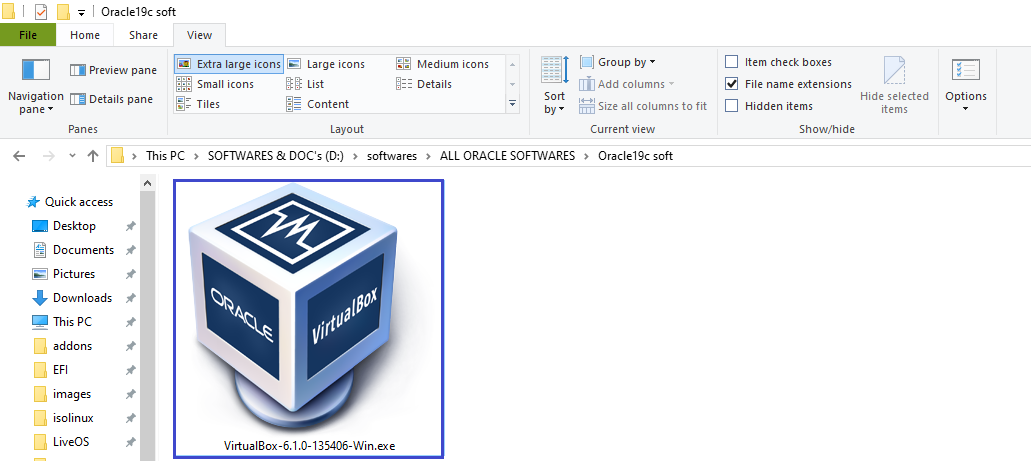
Please download Oracle Virtual box using below link.
https://download.virtualbox.org/virtualbox/6.1.2/VirtualBox-6.1.2-135663-Win.exe
Once we download Virtual box ,double tap on it
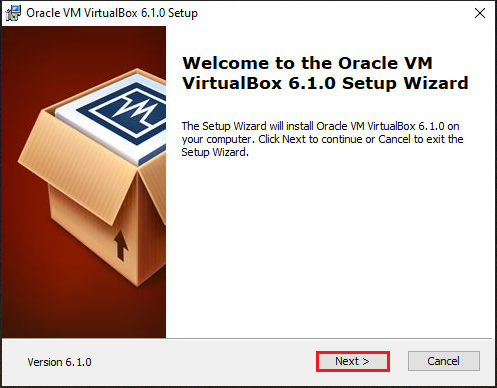
Click on Next
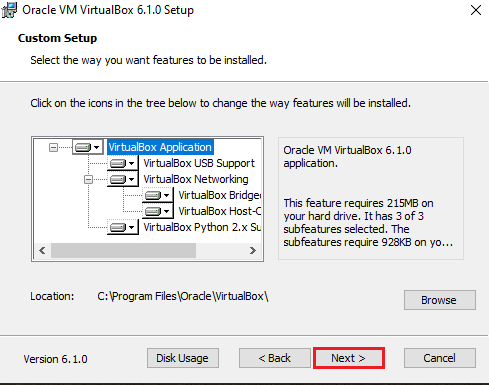
Choose VirtualBox Application and Click on Next.
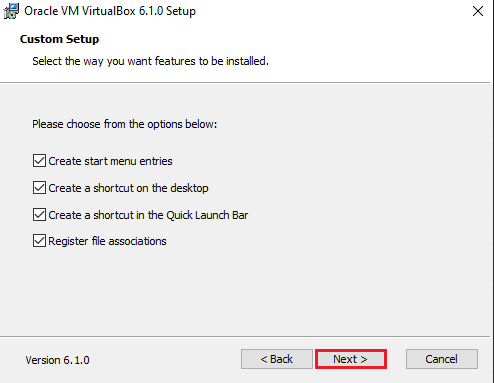
Click on Next.
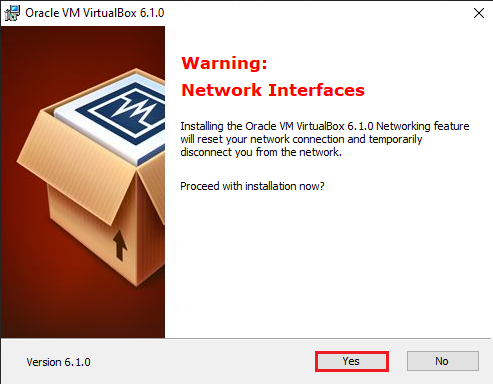
It shows a warning to Install Network Interfaces.
Click on YES
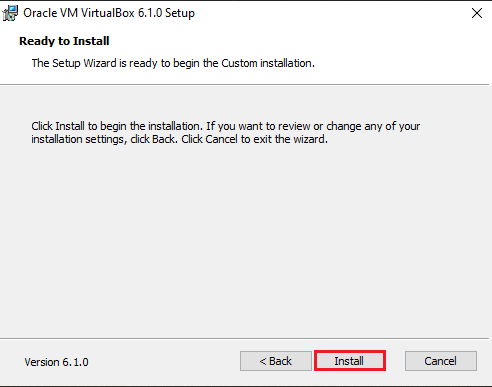
Click on Install.
Copying the files
Click on Finish
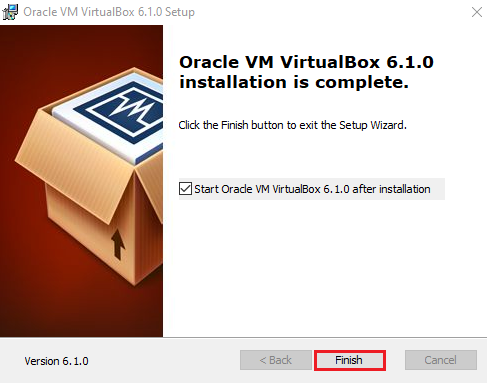
VirtualBox installed successfully completed.
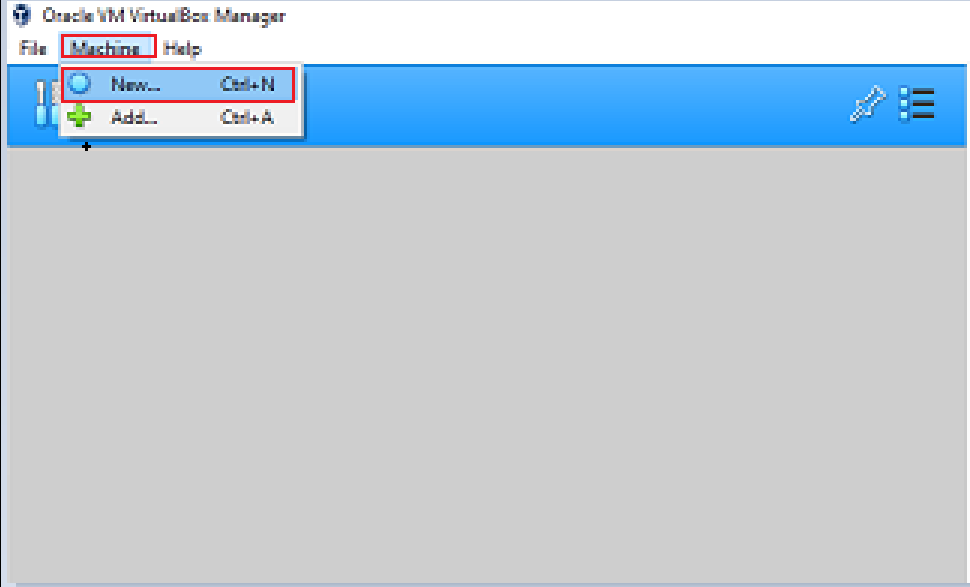
Open Virtual box on desktop and Create Virtual machine
Click on Machine and Click on NEW
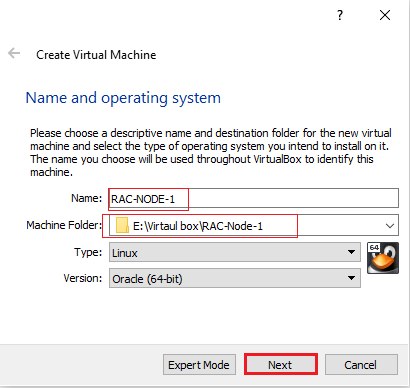
Specify the Node Name and Destination
Click on Next
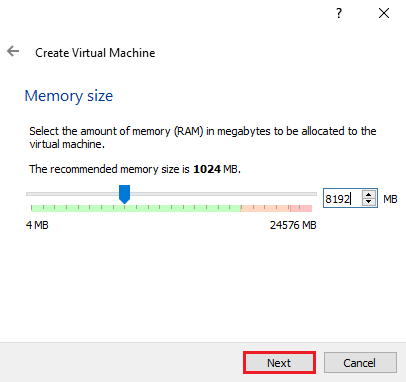
We can specify 8GB recommended value for Oracle 19c RAC or minimum value 4GB.
This is the amount of host memory (RAM) that VirtualBox assigns to the virtual machine when it runs.
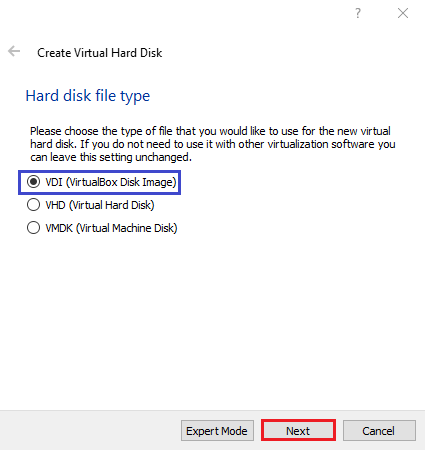
Oracle VM VirtualBox supports the following types of disk image files:
VDI. Normally, Oracle VM VirtualBox uses its own container format for guest hard disks. This is called a Virtual
Disk Image (VDI) file. This format is used when you create a new virtual machine with a new disk.
VMDK. Oracle VM VirtualBox also fully supports the popular and open VMDK container format that is used by
many other virtualization products, such as VMware.
VHD. Oracle VM VirtualBox also fully supports the VHD format used by Microsoft.
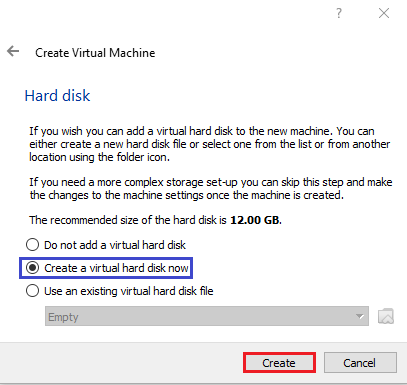
Choose the type of hard disk (VDI)
Click on Next
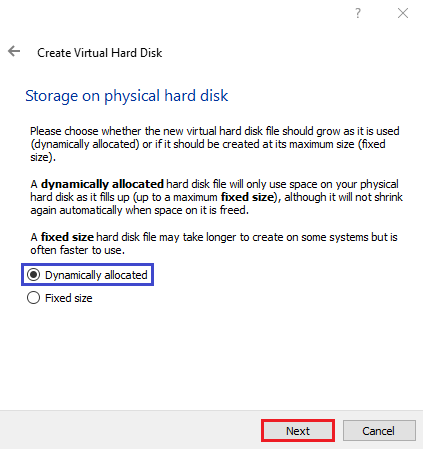
Choose Dynamically Allocated option and Click on Next.
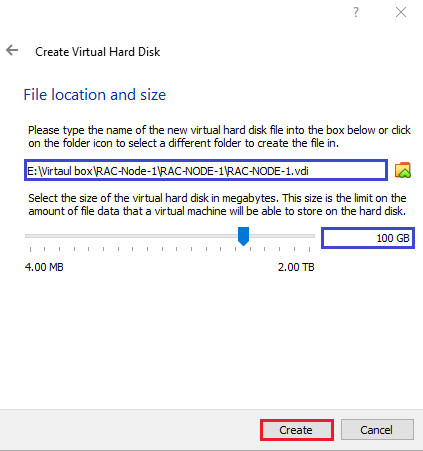
Specify the destination of machine and Size (100 GB Recommended)
Goto Settings and Click on Storage and upload Linux ISO image File

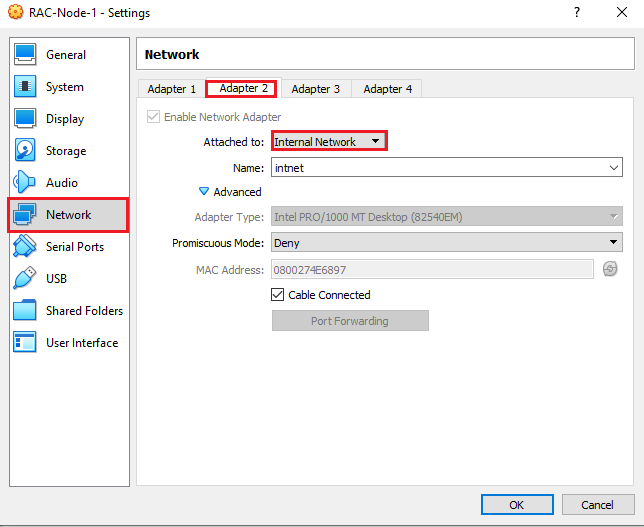
Click on Networks
We are going to use all four Adapters:
Adapter 1: Is used for Internet Connection So selected “NAT”.
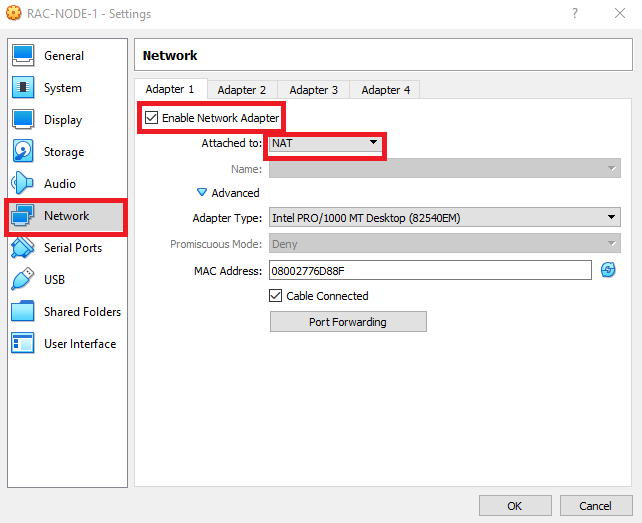
Adapter 2: is used for RAC PUBLIC IP, So selected “Internal Network”.
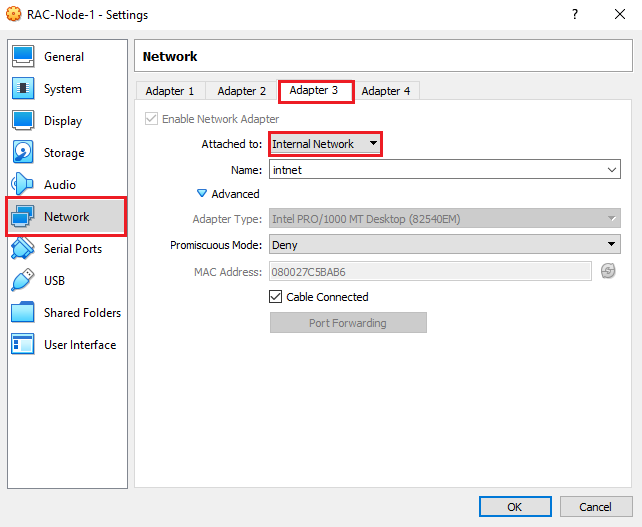
Adapter 3: is used for RAC VIP IP, So selected “Internal Network”. Same subnet of Public IP.
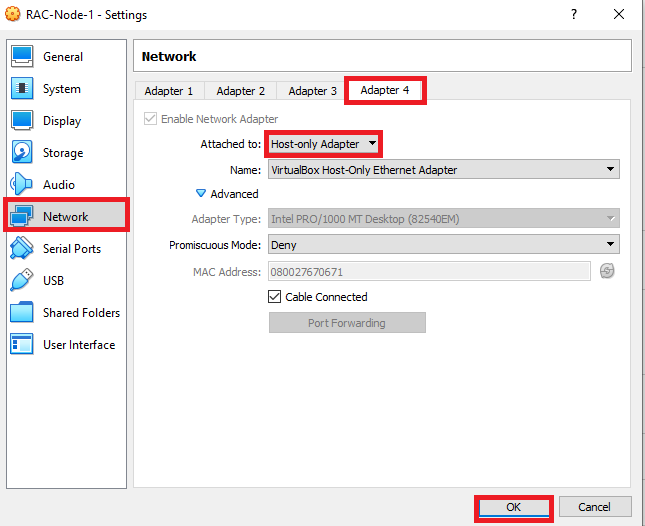
Adapter 4: is used for RAC PRIVATE IP, So selected “Host-only Adapter”.
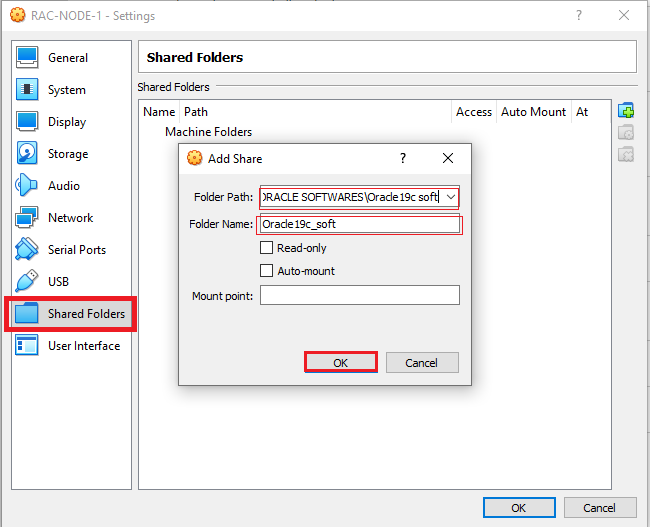
Click On Shared folders and specify the Software folder which have Oracle GRID Software and Oracle Database software
Click on OK
We have successfully installed Oracle Virtual box and Created a Virtual Machine
Check below link forl Install Linux Enterprise Edition 7.5
Thank you for giving your valuable time to read the above information. Please click here to subscribe for further updates
KTEXPERTS is always active on below social media platforms.
Facebook : https://www.facebook.com/ktexperts/
LinkedIn : https://www.linkedin.com/company/ktexperts/
Twitter : https://twitter.com/ktexpertsadmin
YouTube : https://www.youtube.com/c/ktexperts