
Dear Readers,
In this article, we will see the Auto Scaling in AWS.

For creating Auto Scaling we need to follow below steps.
- Create Load Balancer
- Launch Configurations
- Create Auto Scaling Groups
First, we need to AWS Console page by using below link
https://aws.amazon.com/console/
Click on sign in to Console button.
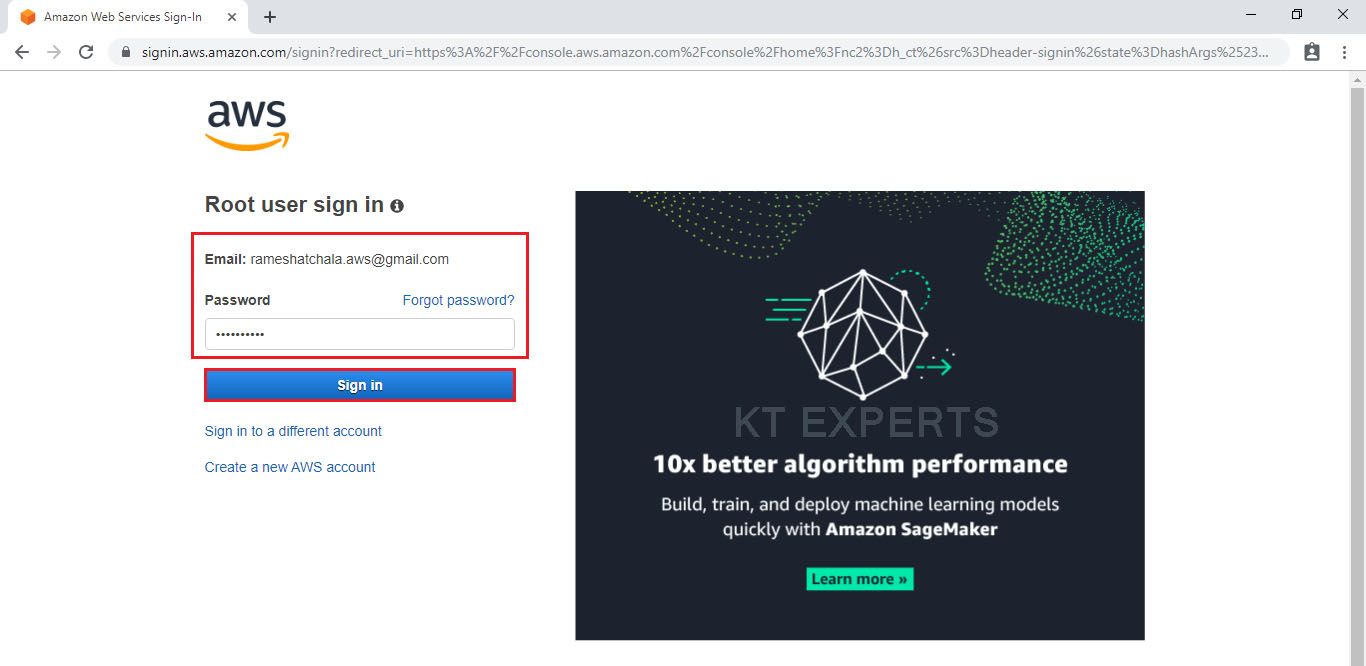
Logging to aws account
Provide username and password then click on sign in.
Enter to AWS Management Console
We can see the AWS Management Console Dashboard.
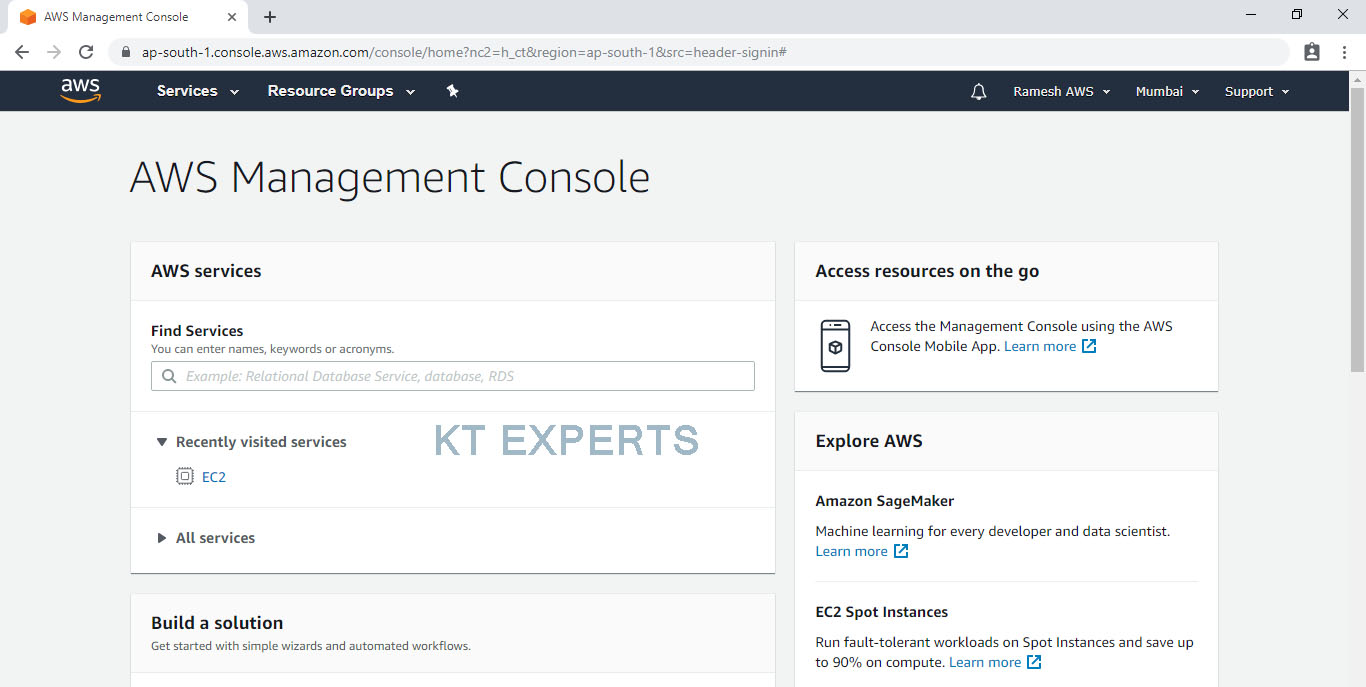
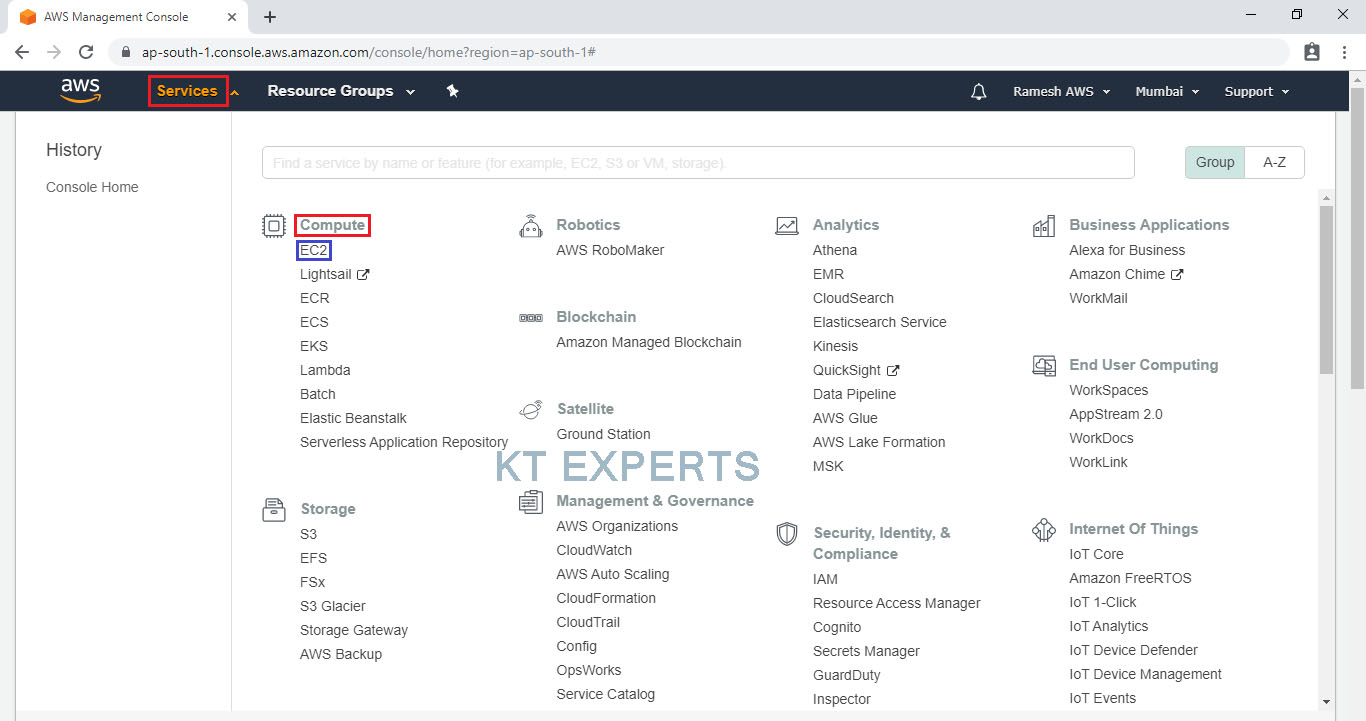
Go to Services, under the compute module click on EC2 service to open.
STEP 1
Create Load Balancer
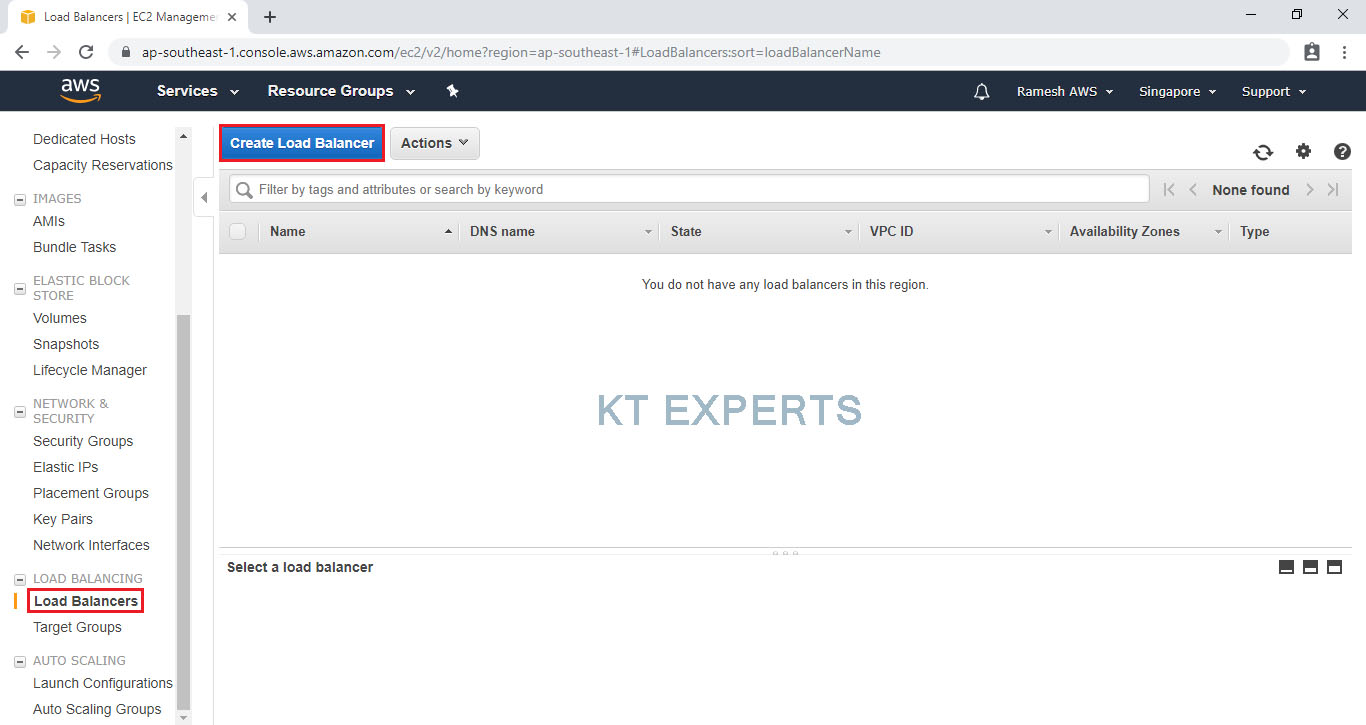
Now, in the left navigation scroll down and click on Load Balancers.
Click on Create Load Balancer button at the top.
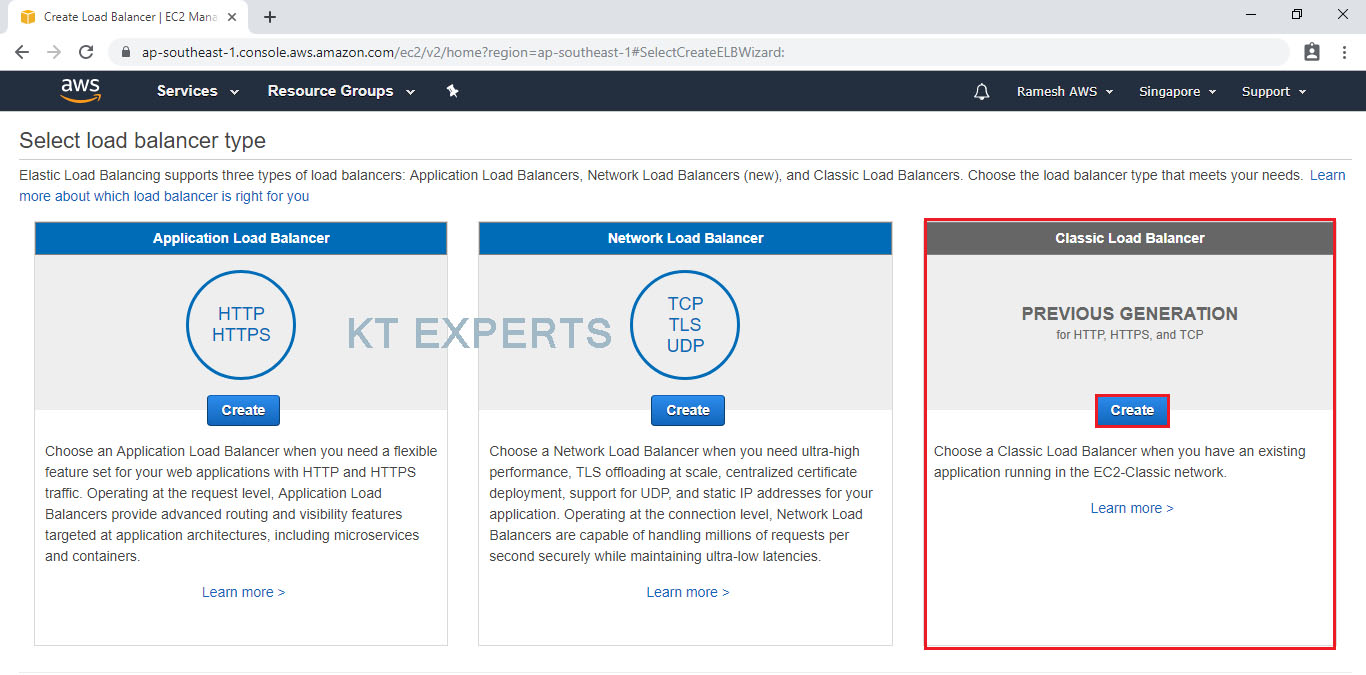
Choose the Classic Load Balancer.
Go to Classic Load Balancer and click on create.
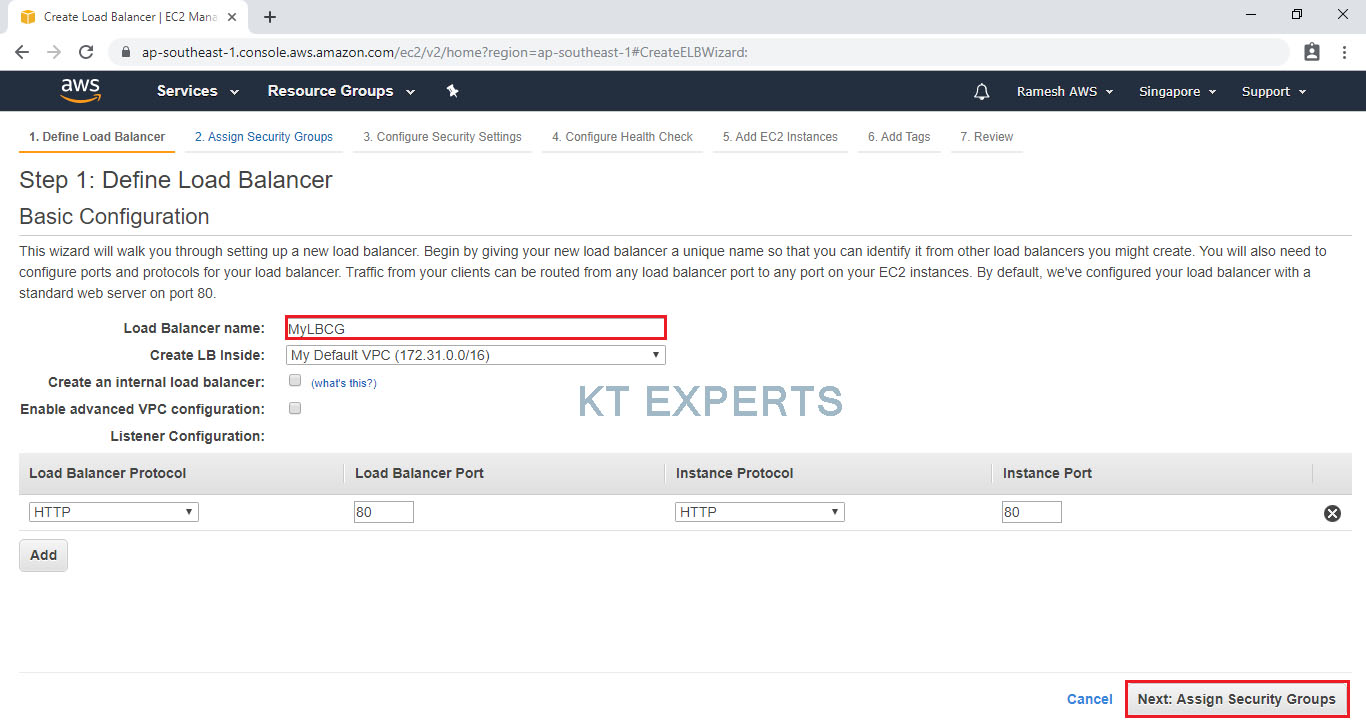
Define Load Balancer Basic Configuration
Give a name to your load balancer “MyLBCG” and select at least two availability zones for high availability and click on the Configure Security Settings button.
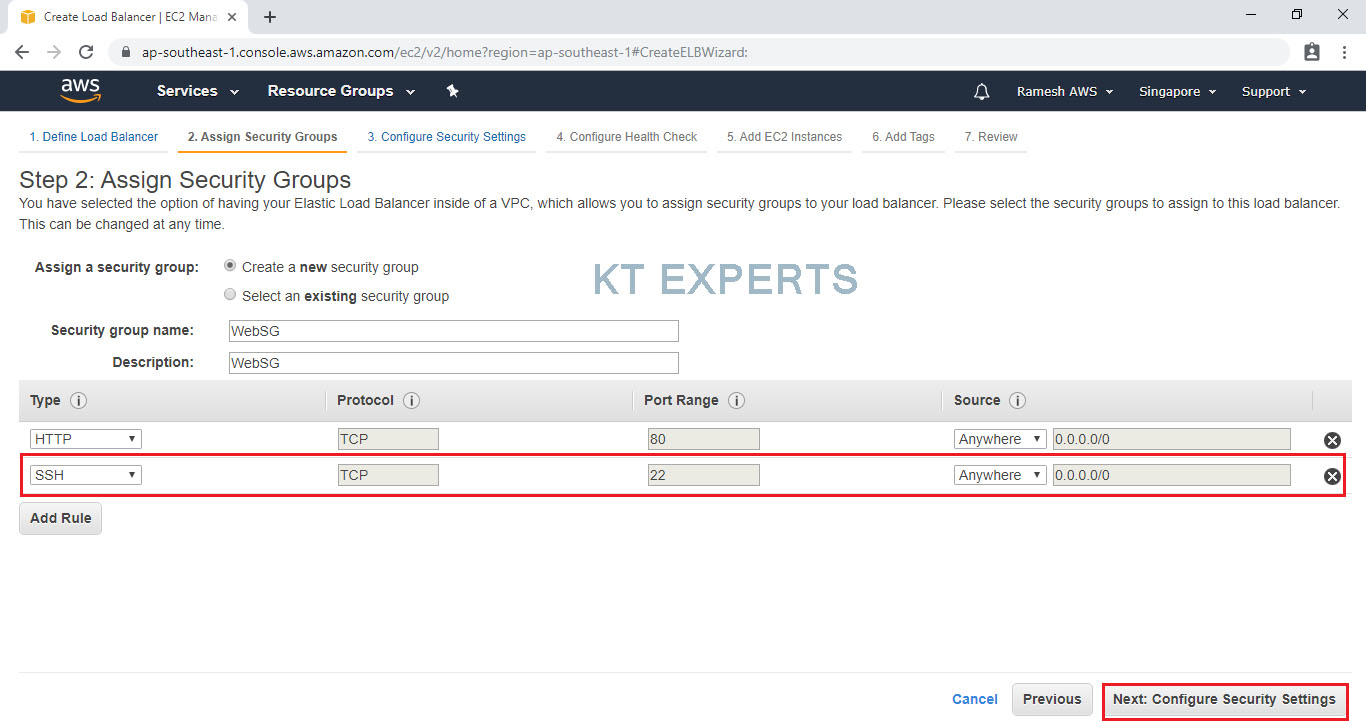
Assign Security Groups
Here select the new security group option and select the news security group that you provide security group name and description and click on Add Rule.
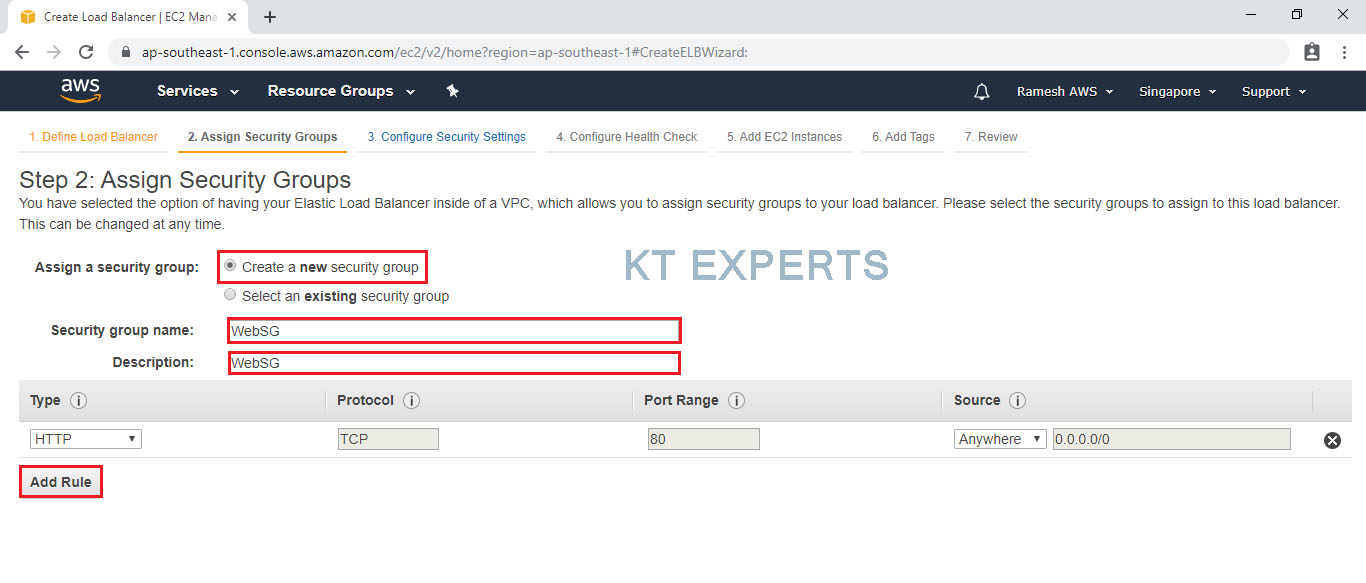
Add SSH port then click on Configure Security Settings.
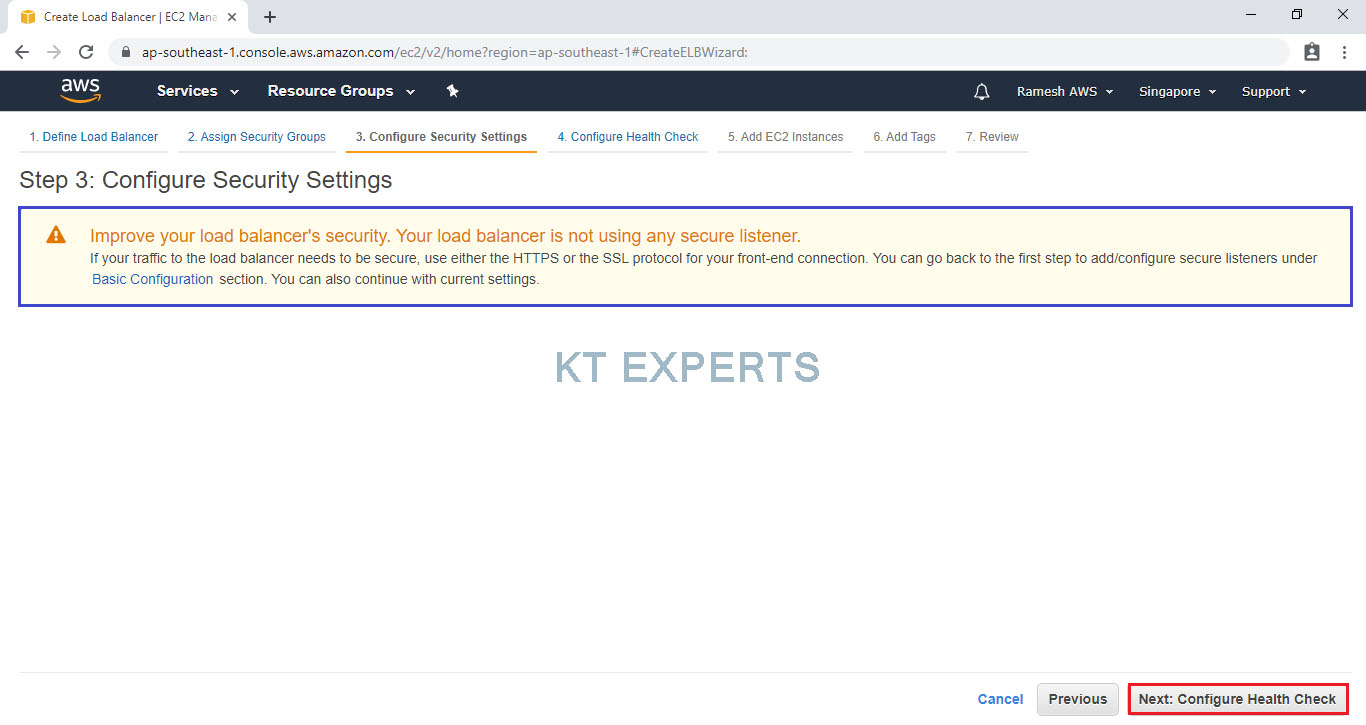
Configure Security Settings
You may see a warning message just ignore that and click on Configure Health Check.
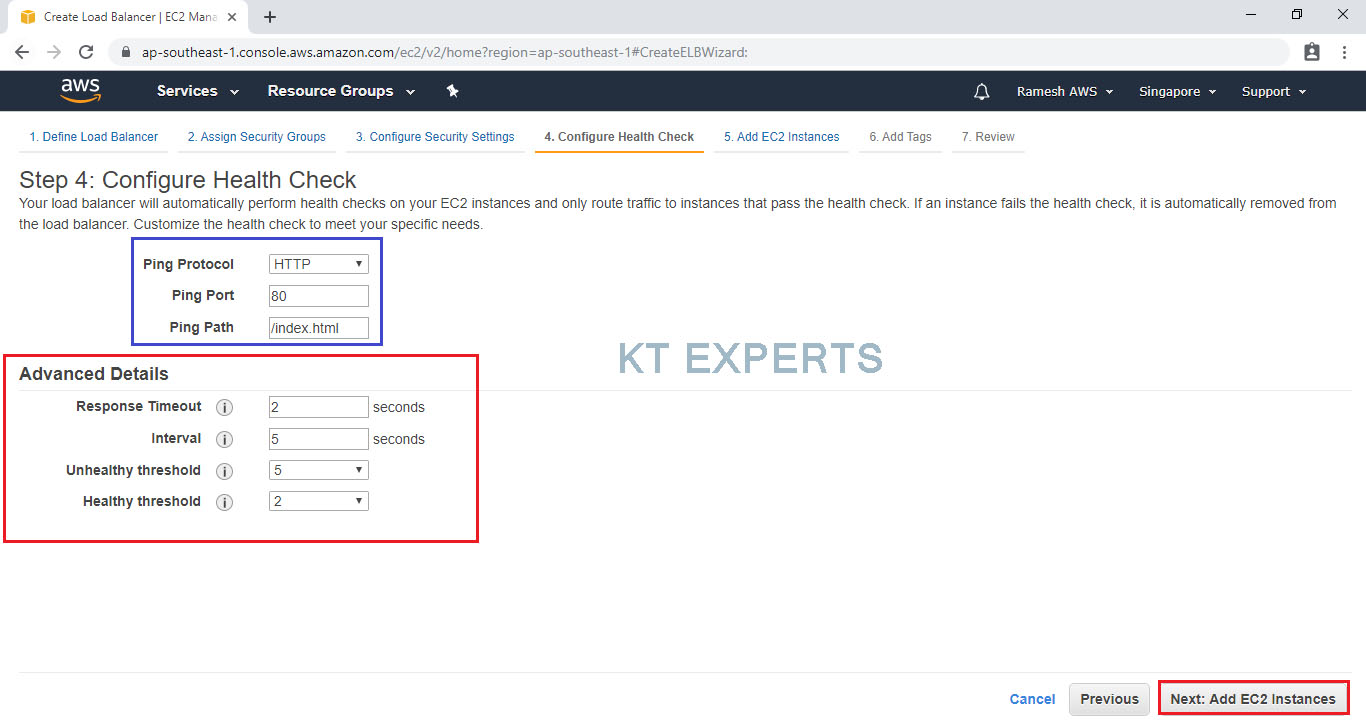
Configure Health Check
On the Configure Health Check page, leave Ping Protocol set to HTTP and Ping Port set to 80.
For Ping Path, replace the default value with a single forward slash (“/”). This tells Elastic Load Balancing to send health check queries to the default home page for your web server, such as index.html.
For Advanced Details, change the values if required
Choose Add EC2 Instances.
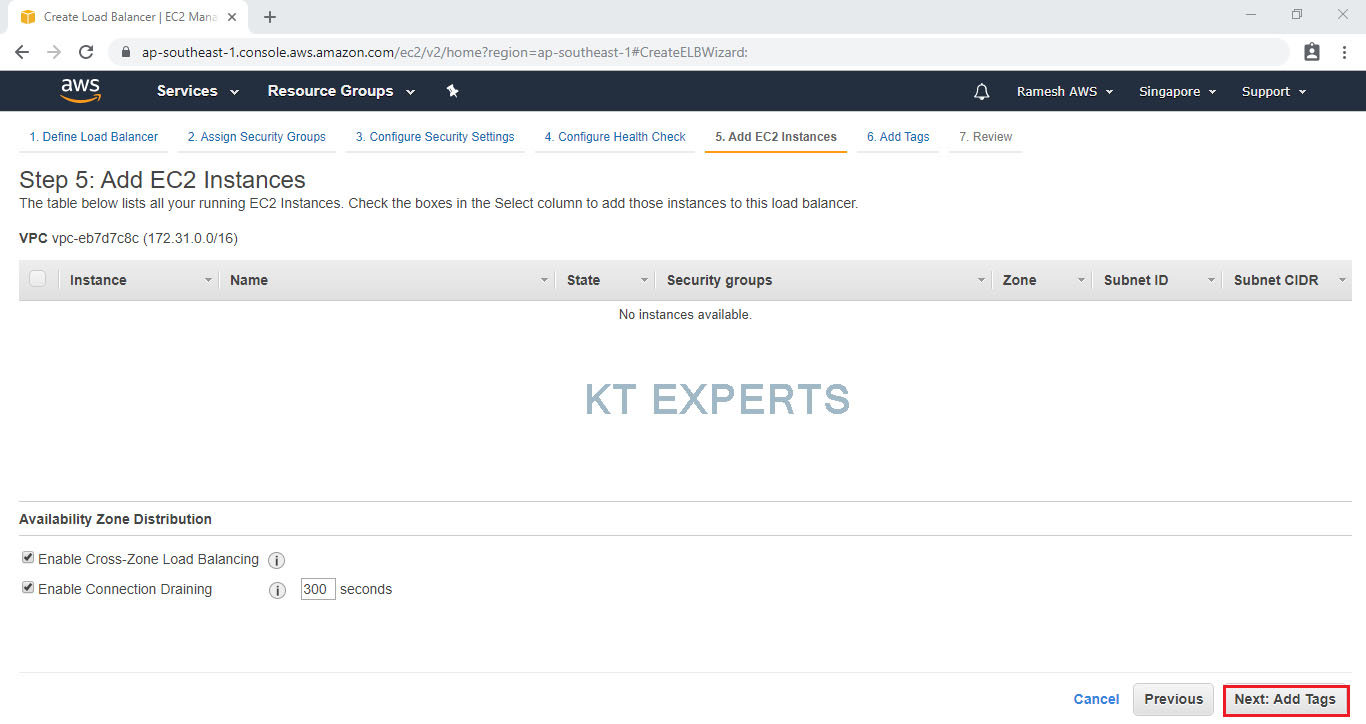
Add EC2 Instances
Click on Add Tags.
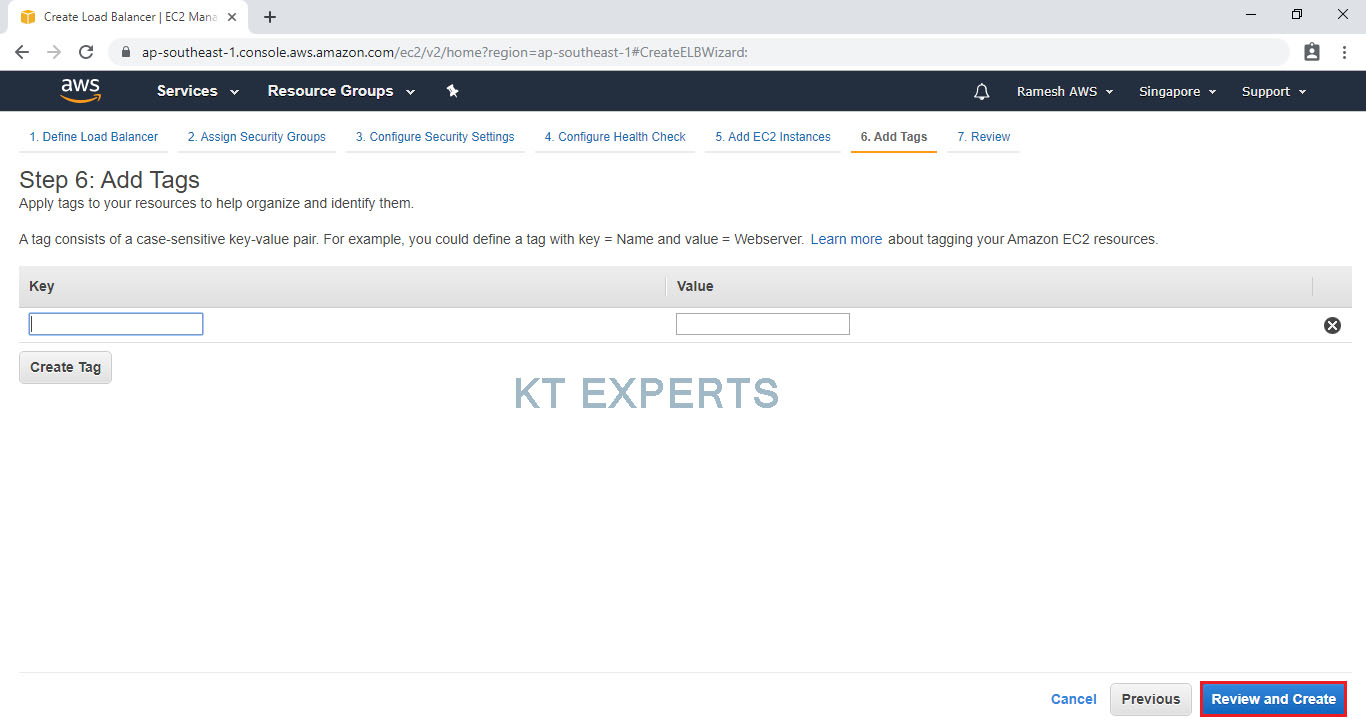
Add Tags
You can tag your load balancer, or continue to the next step then click on Review and Create.
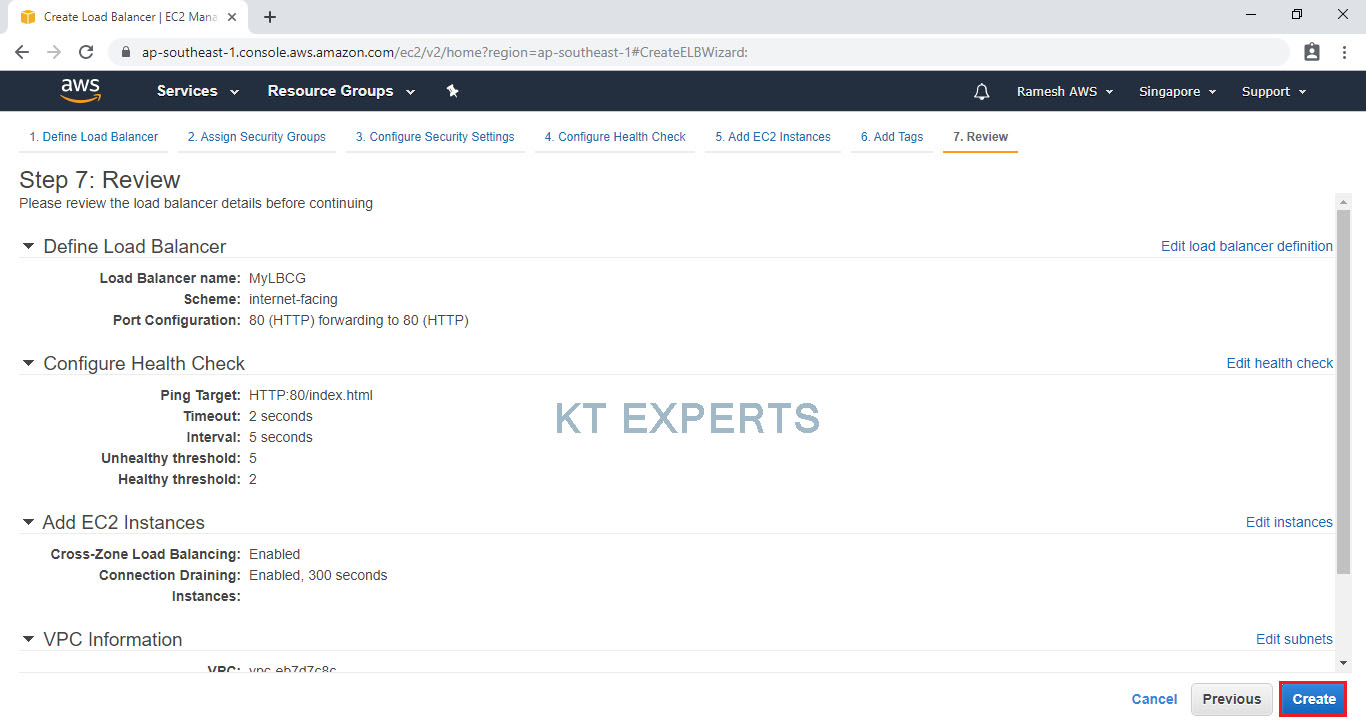
Review
Verify all the details and click on create.
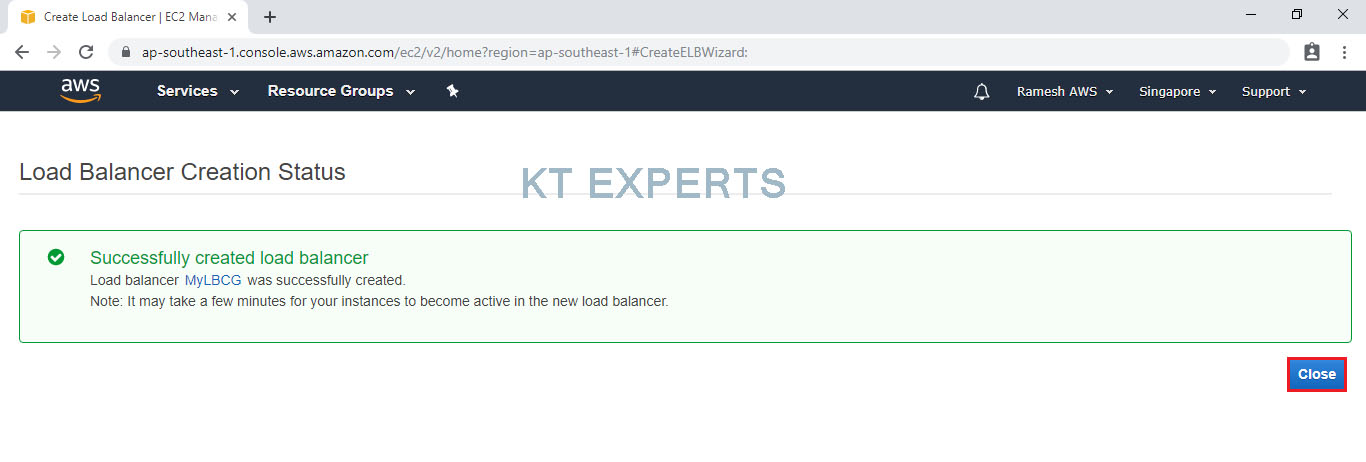
The load balancer has been successfully created then click on close.
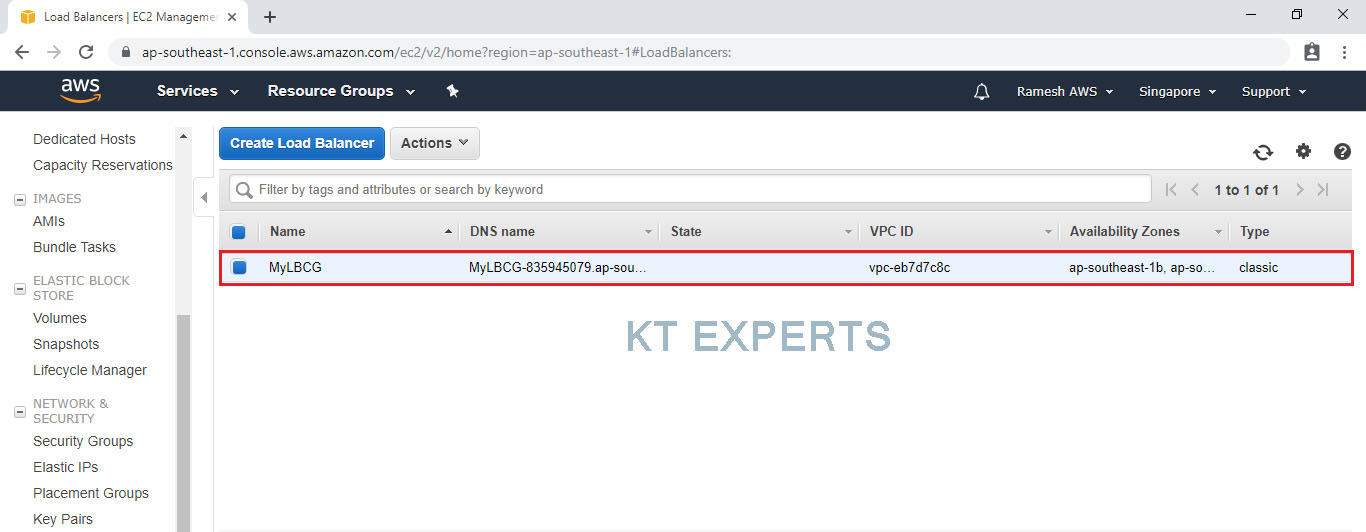
We can see the load balancer, select the load balancer then it will show all the details regarding to the load balancer.
STEP 2
Launch Configurations
Now, in the left navigation scroll down and click on Auto Scaling. Click on the Launch Configuration button at the top.
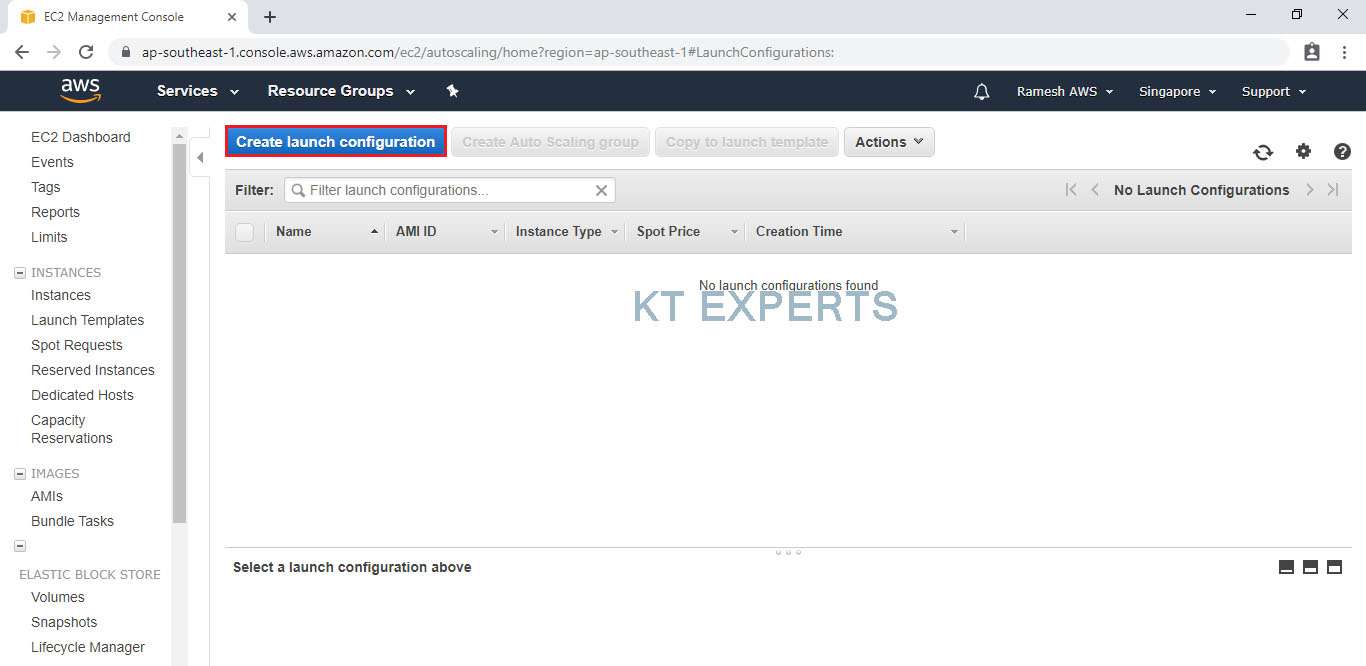
Click on Create Launch Configuration.
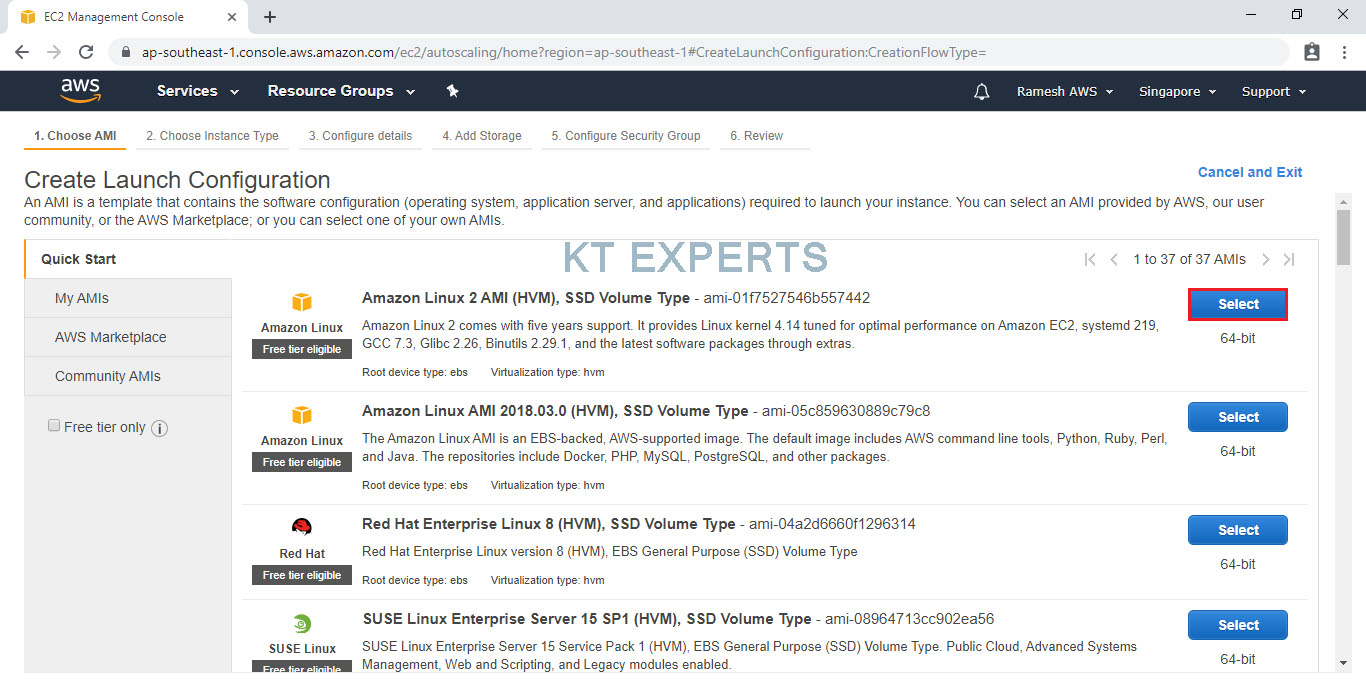
Choose an Amazon Machine Image (AMI)
Select the Operating system of the EC2 instance by choosing any of the Amazon Machine Images (AMI). Select the Amazon Linux 2 AMI.
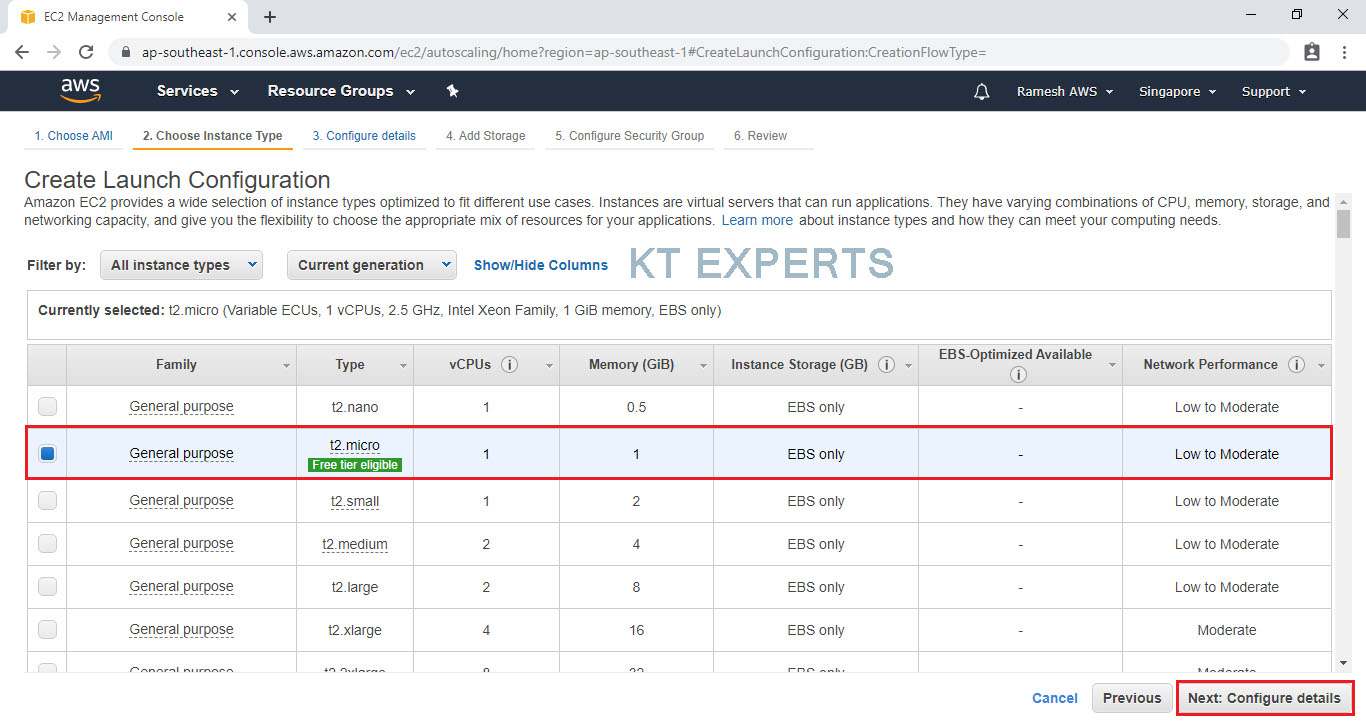
Choose an Instance type
Choose the Type of instance depending on your requirements.
Instance types comprise of varying combinations of CPU, memory, storage, and networking capacity so you can choose the appropriate mix for your applications.
select the default option of t2. micro – this instance type is covered within the free tier. Then click on Configure Instance Details.
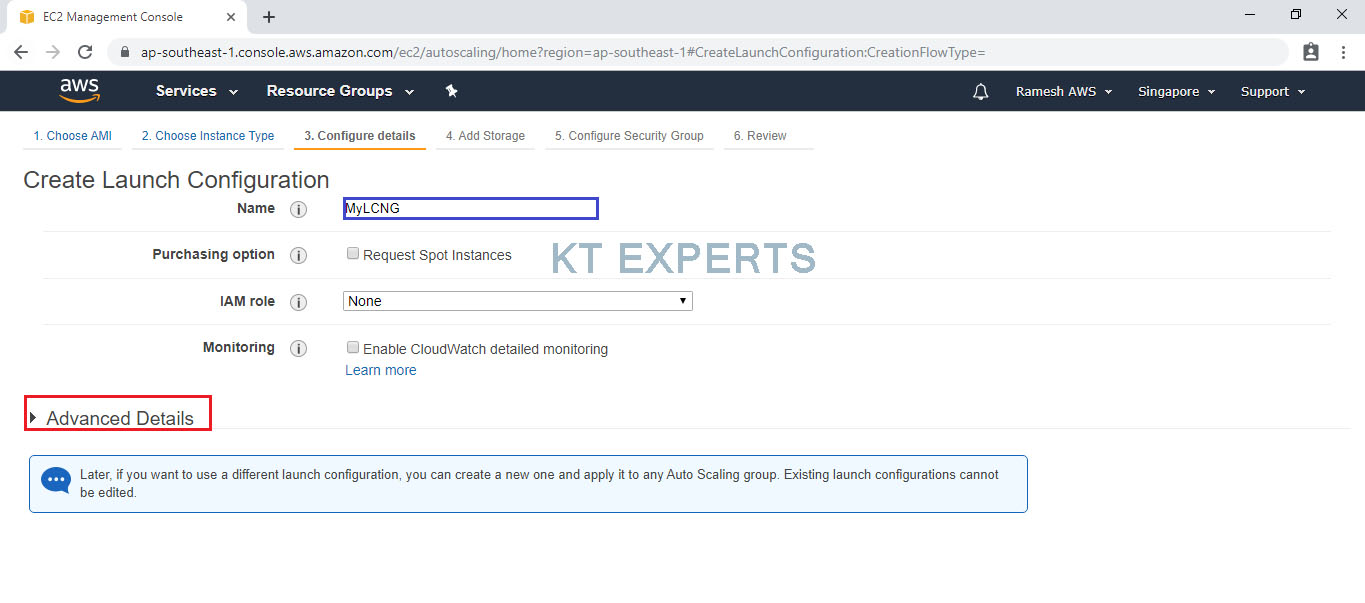
Configure Details
Provide name and click on Advanced Details.
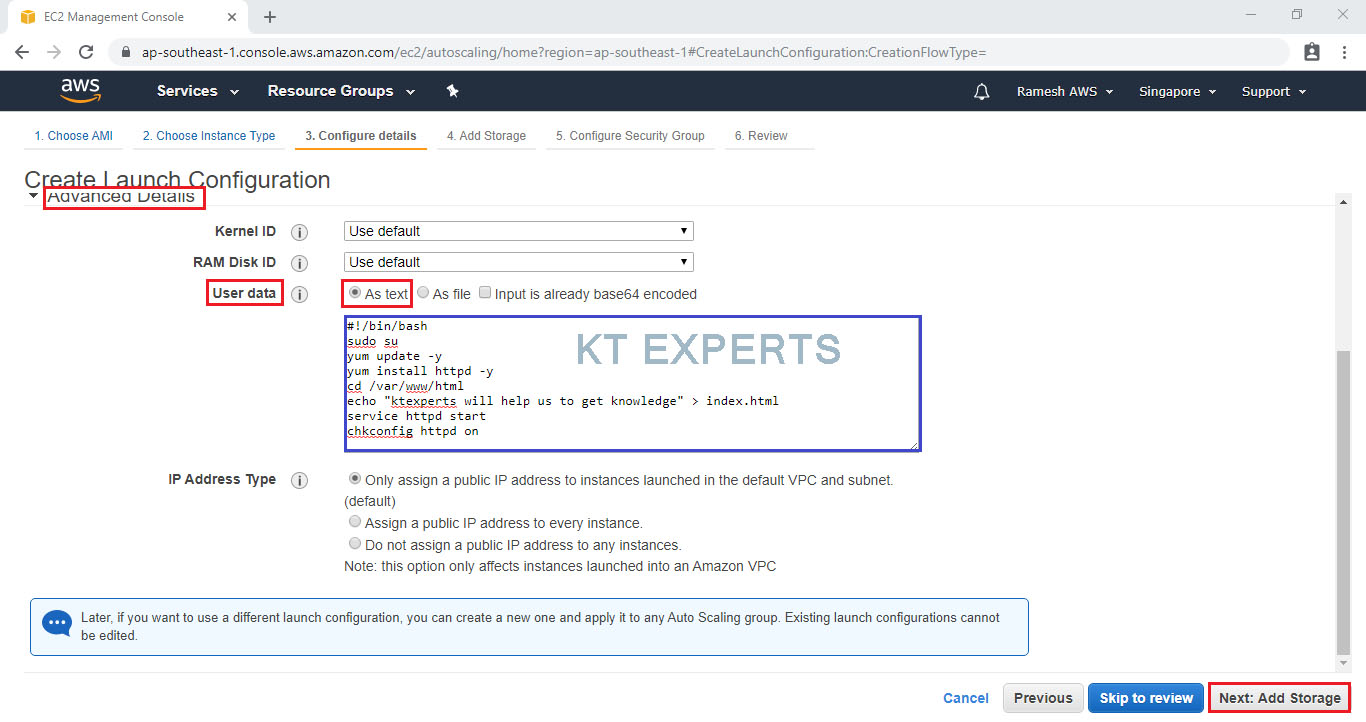
Go to Advanced Details and add required commands in user data
The commands are
#!/bin/bash
sudo su
yum update -y
yum install httpd -y
cd /var/www/html
echo “ktexperts will help us to get knowledge” > index.html
service httpd start
chkconfig httpd on
click on Add Storage.
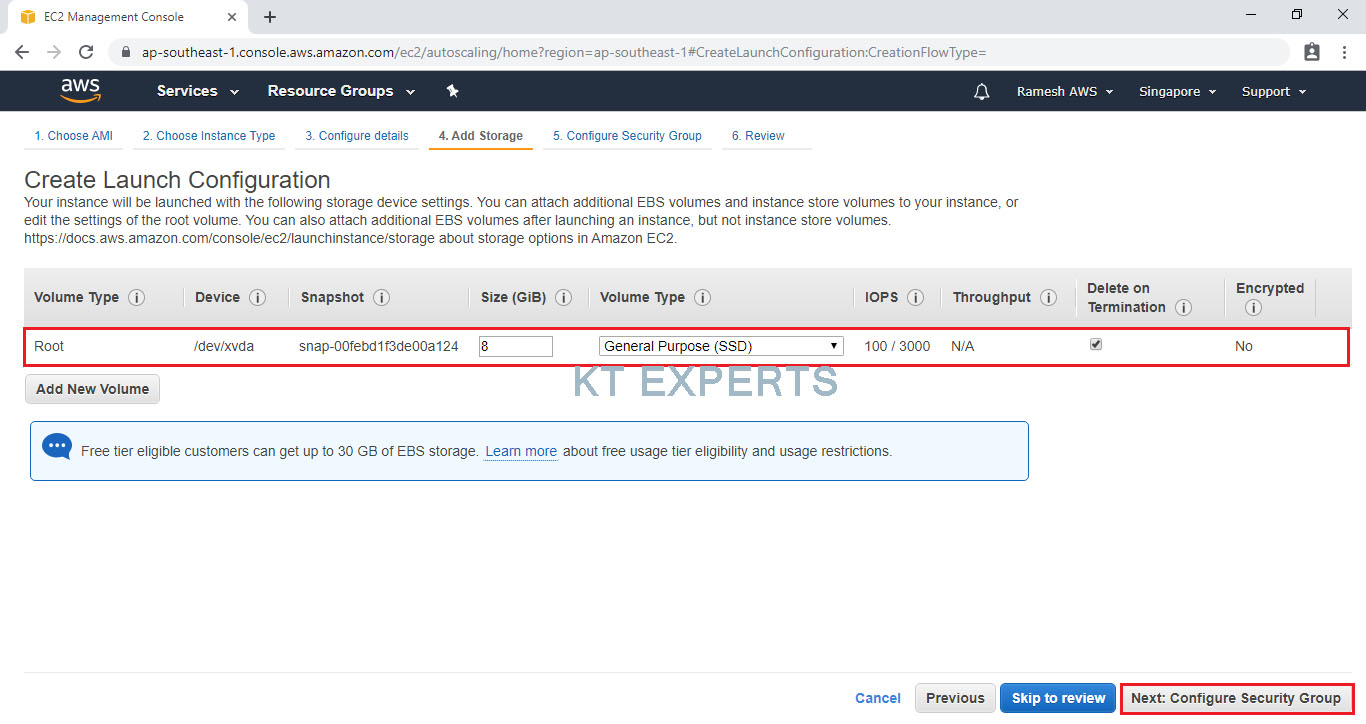
Add Storage
Here, we can see root volume by default and size of 8GB
Add a new volume if required and click on Configure Security Groups.
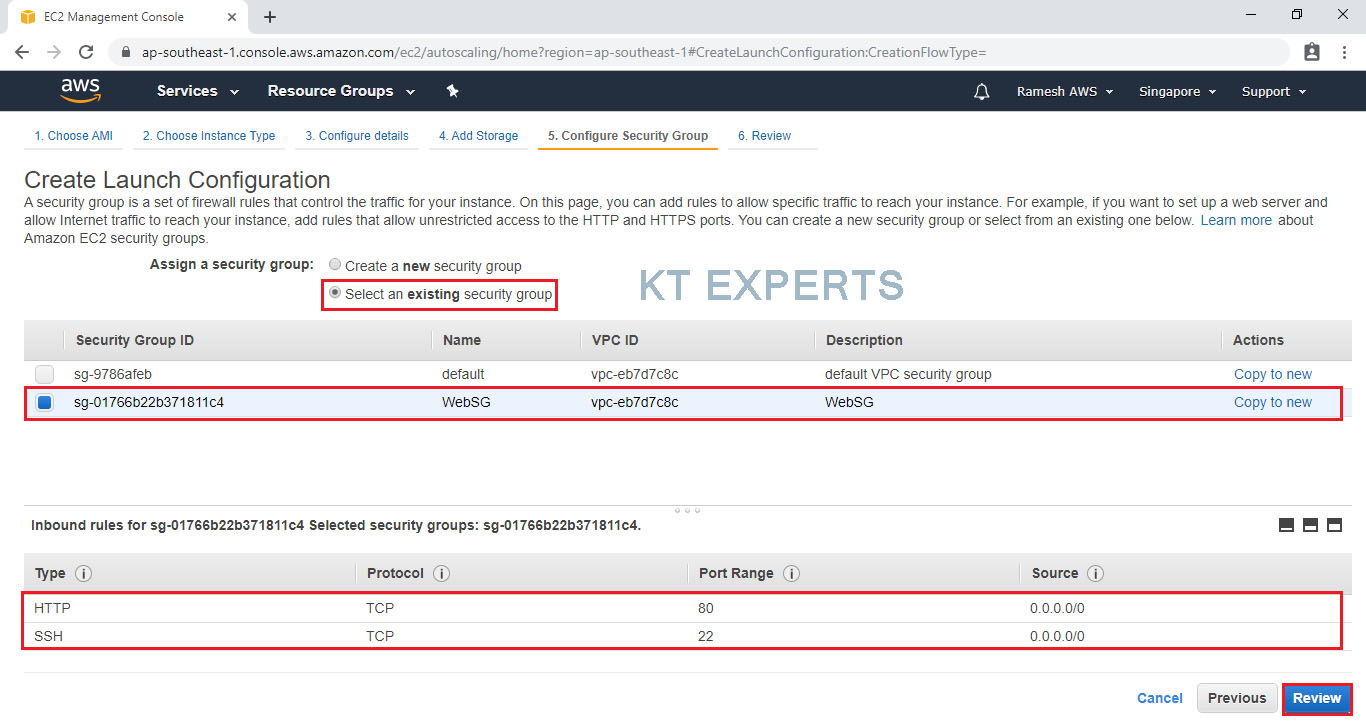
Select existing security group “WebSSG” and click on Review.

Verify all the details and click on Create Launch Configuration.
To connect to your virtual machine, you need a key pair. A key pair is used to log into your instance and select create a new key pair
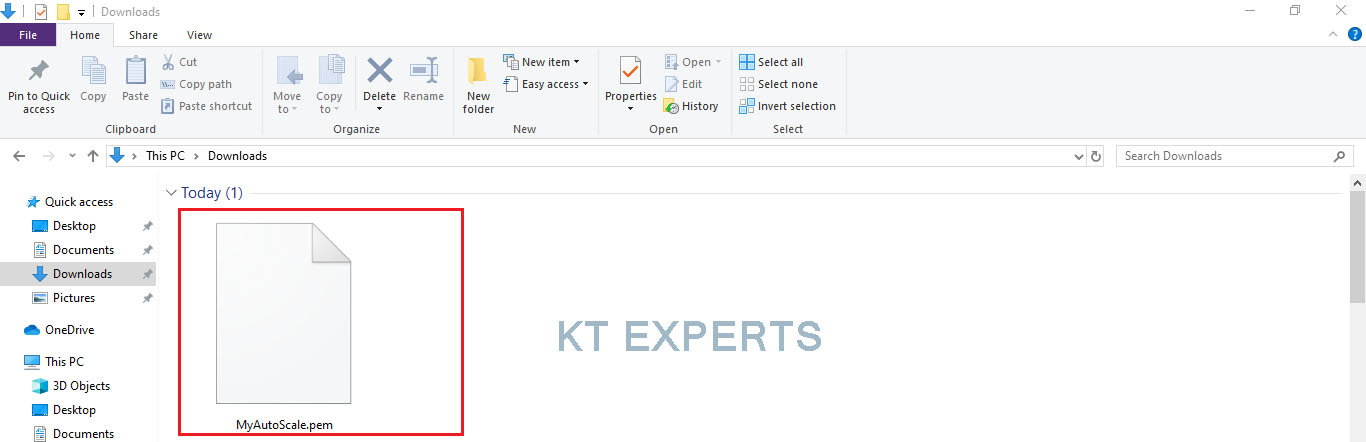
Create a new key pair and name it MyAutoScale. Then click Download Key Pair.
After you have downloaded and saved your key pair, click Create Launch Instance to start your Linux Server instance.
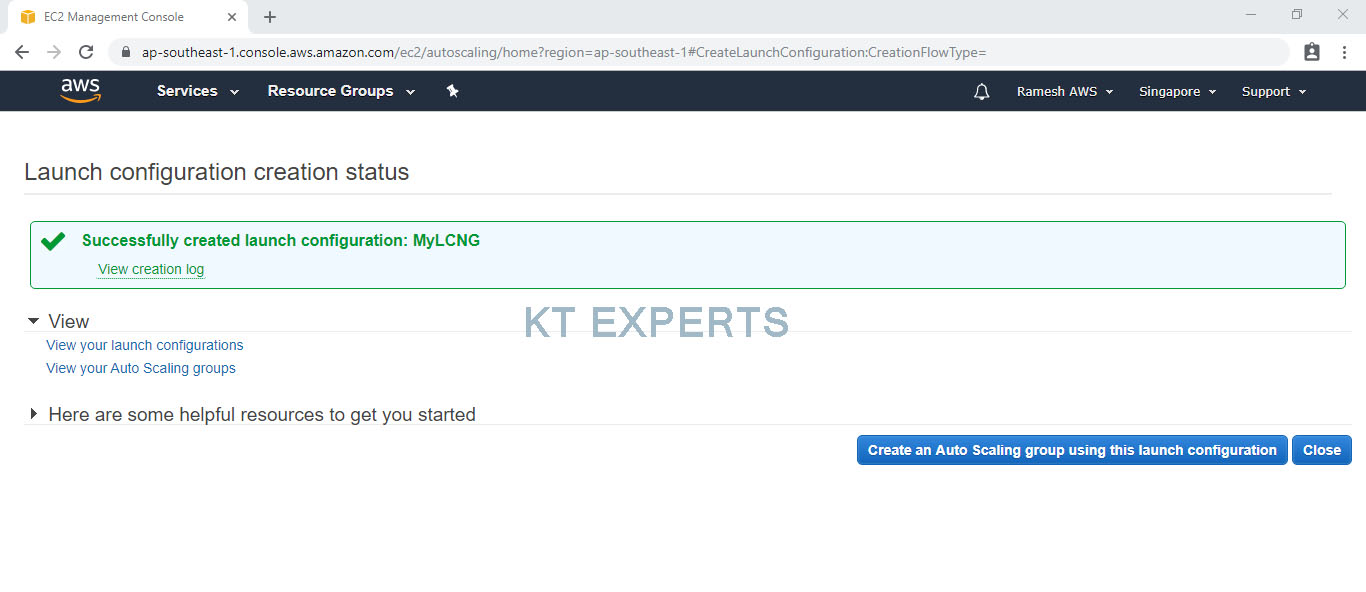
Click on Create Launch Configuration.
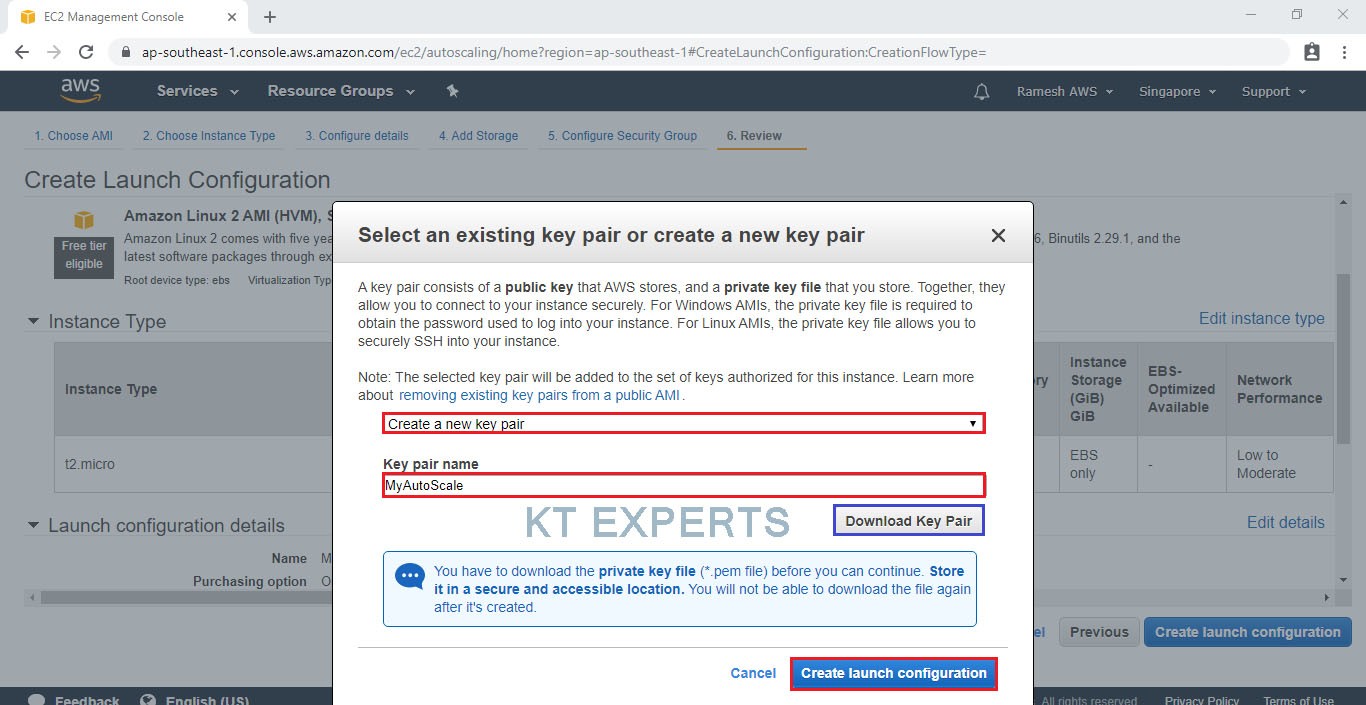
MyAutoScale.pem will be downloaded to your computer — make sure to save this key pair in a safe location on your computer.
STEP 3
Create Auto Scaling Groups
Click on Auto Scaling group using this launch configuration.

Configure Auto Scaling Group Details
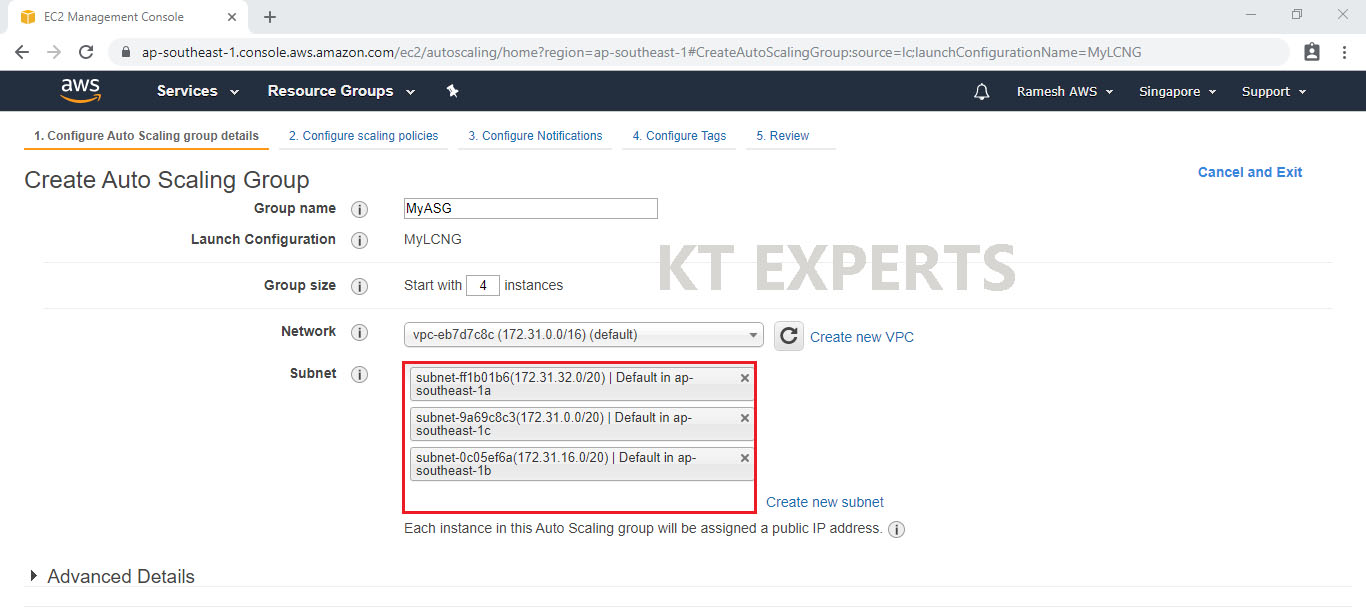
Provide Group Name, Group Size (how many instances are up and running always) and choose the subnet(Availability Zones).
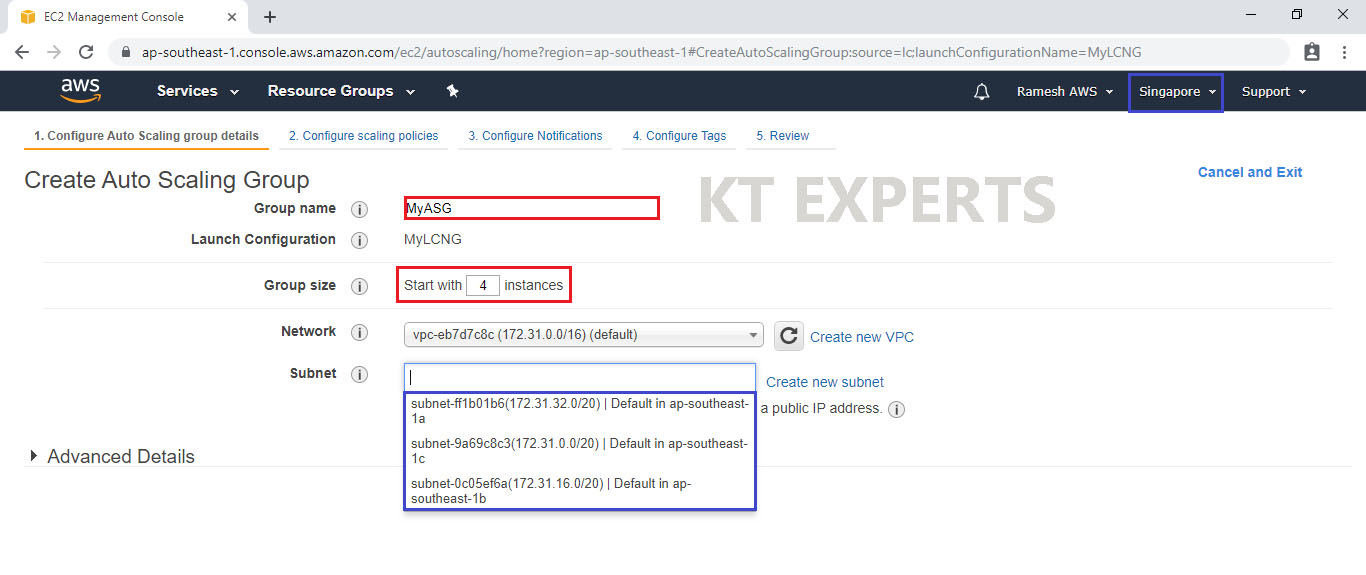
Select 3 availability zones one by one in sub net.
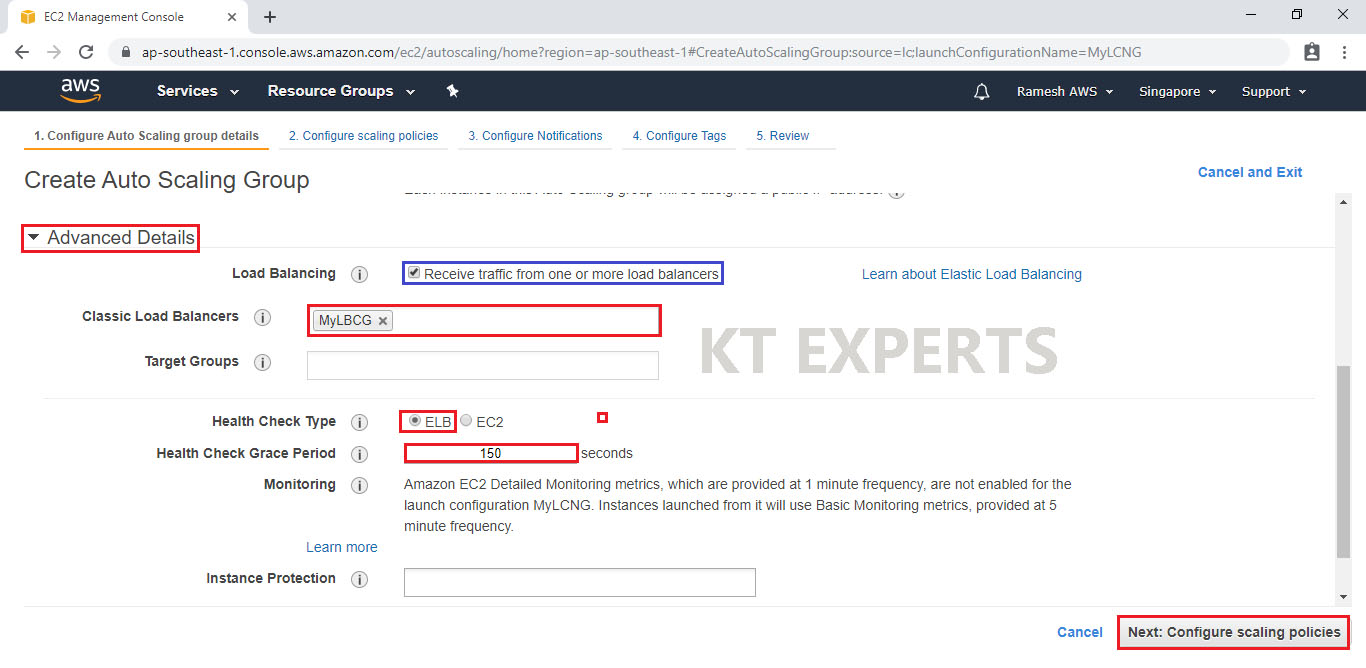
Go to Advanced Details and Enter required details.
Click on check box receiving traffic from one or more load balancers
Provide classic load balancer name, health check type, health check grace period and click on Configure Scaling Polices.
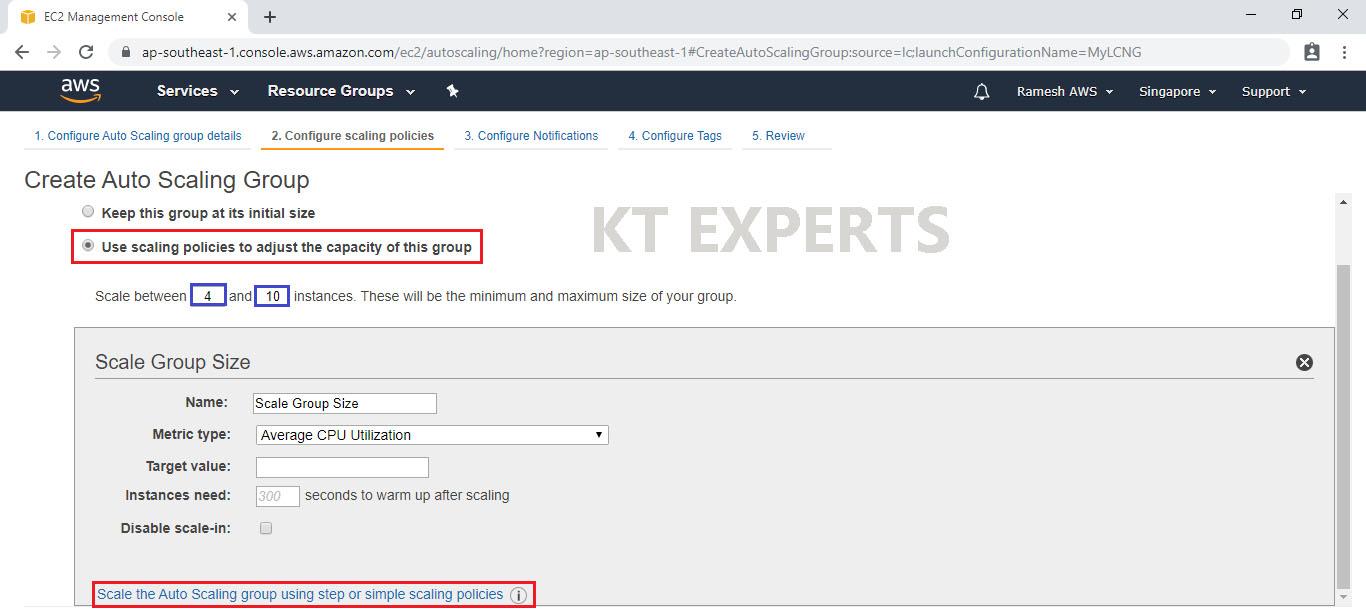
Configure Scaling Group
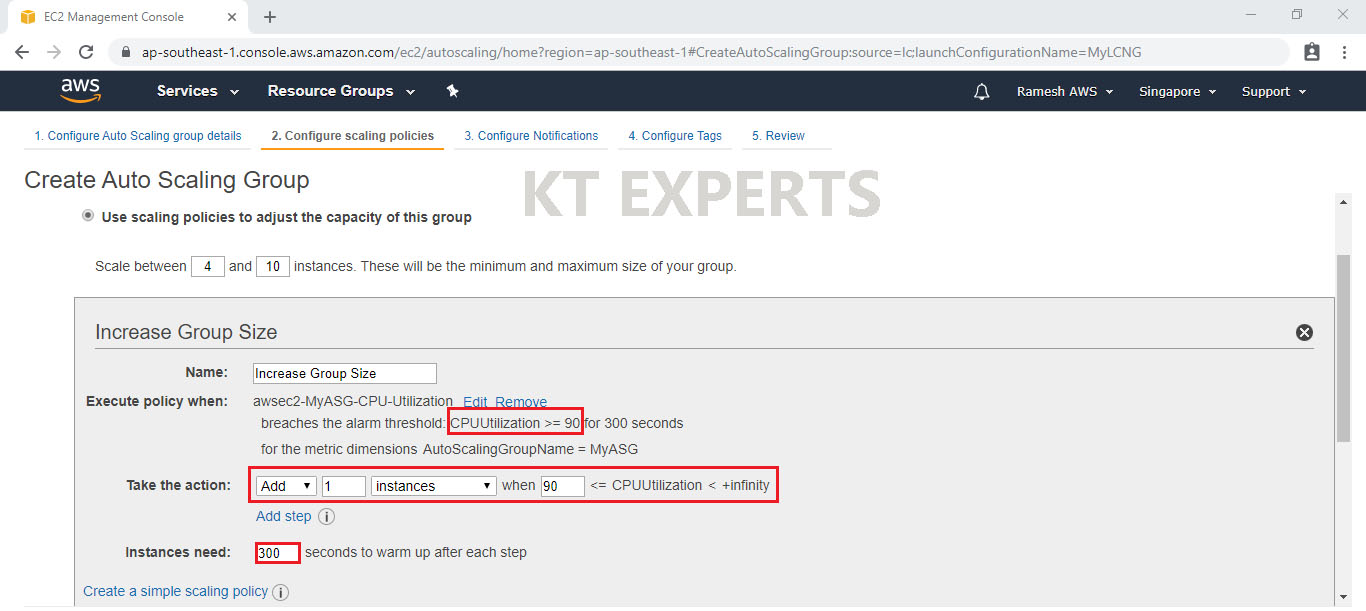
Click on use scaling policies to adjust capacity of this group and you can specify the minimum “4” and maximum number “10” of instance in this group.
Click on scale the auto scaling group using step or simple scaling policies.
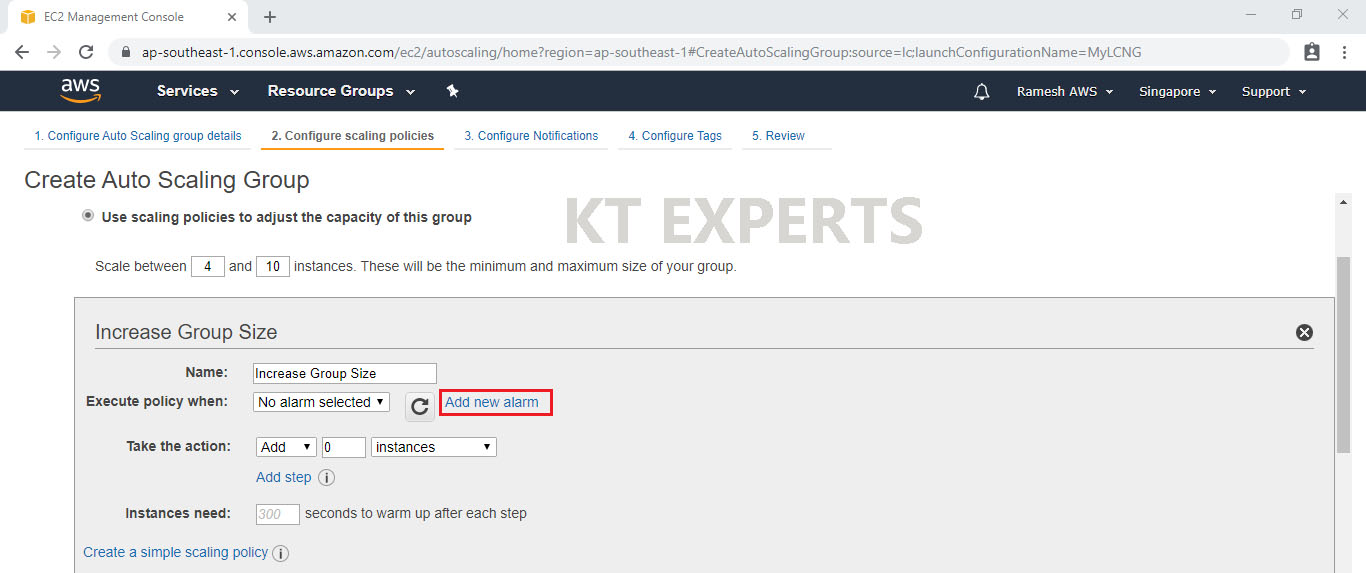
It works based on alarm, so first create the alarm by clicking on ‘add new alarm’.
Increase Group Size
Here the alarm created is based on CPU utilization above 90%. If CPU utilization crosses 90% 1 consecutive period of 5 minutes then the auto scaling launches 1 new instance based on the step action then click on Create Alarm.
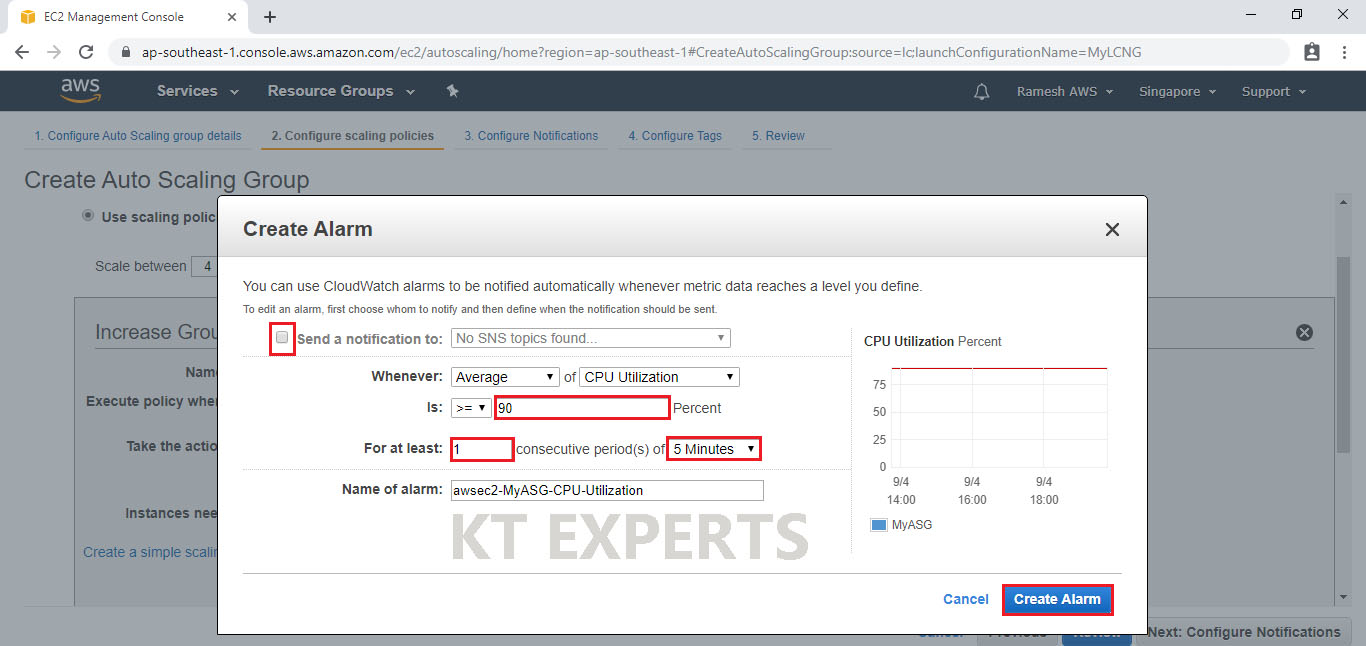
In the Take the action choose Add option and select instances number (I have selected 1 instance) and mention time for instance need (300sec).
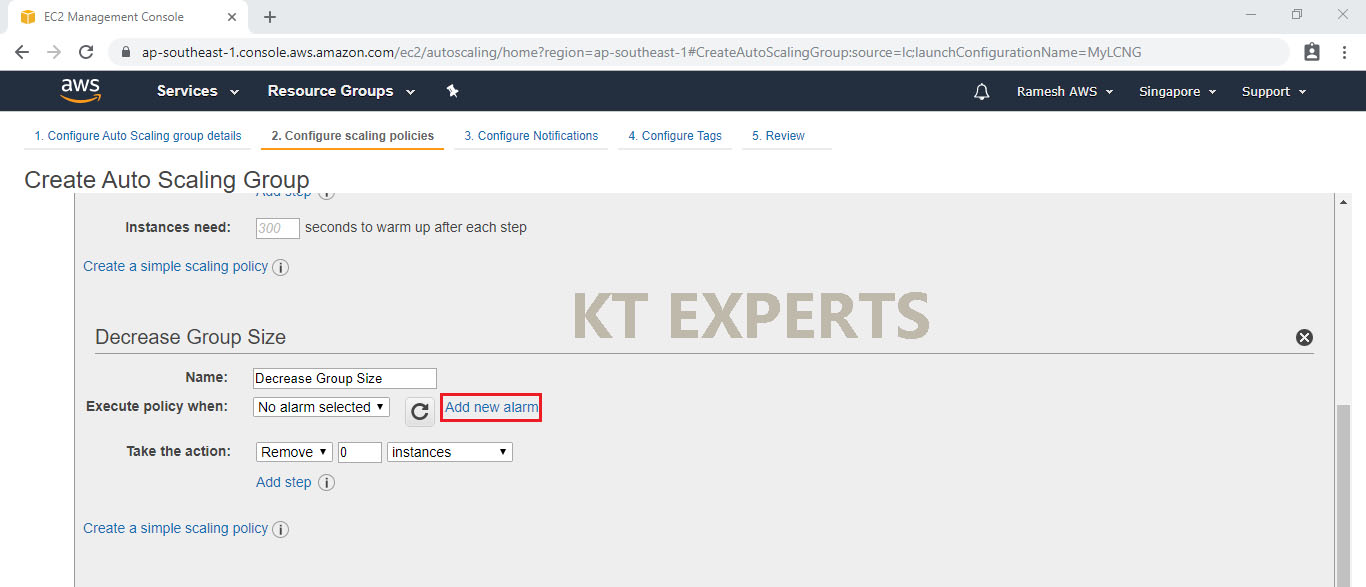
Decrease Group Size
It works based on alarm, so first create the alarm by clicking on ‘add new alarm’.
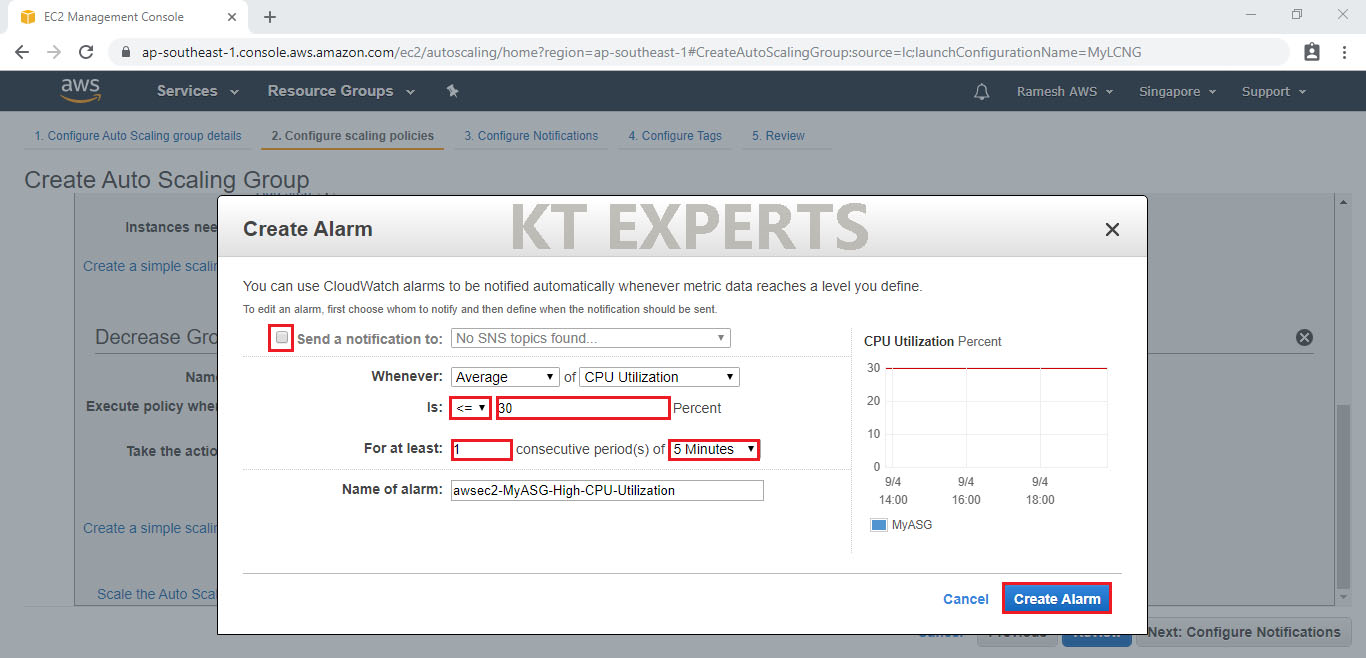
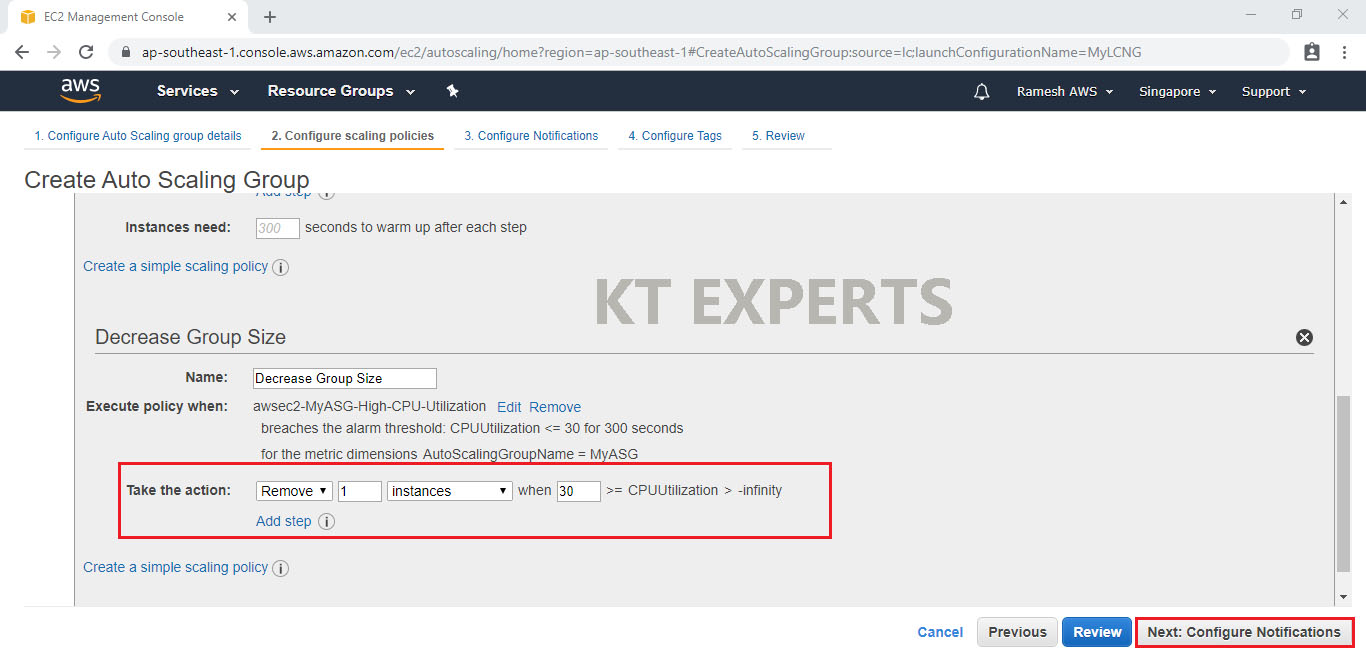
Here the alarm created is based on CPU utilization below 30%. If CPU utilization below 30% 1 consecutive period of 5 minutes then the auto scaling terminates 1 new instance based on the step action then click on Create Alarm..
In the Take the action choose Remove option and select instances number (I have selected 1 instance) then click on Configure Notifications.
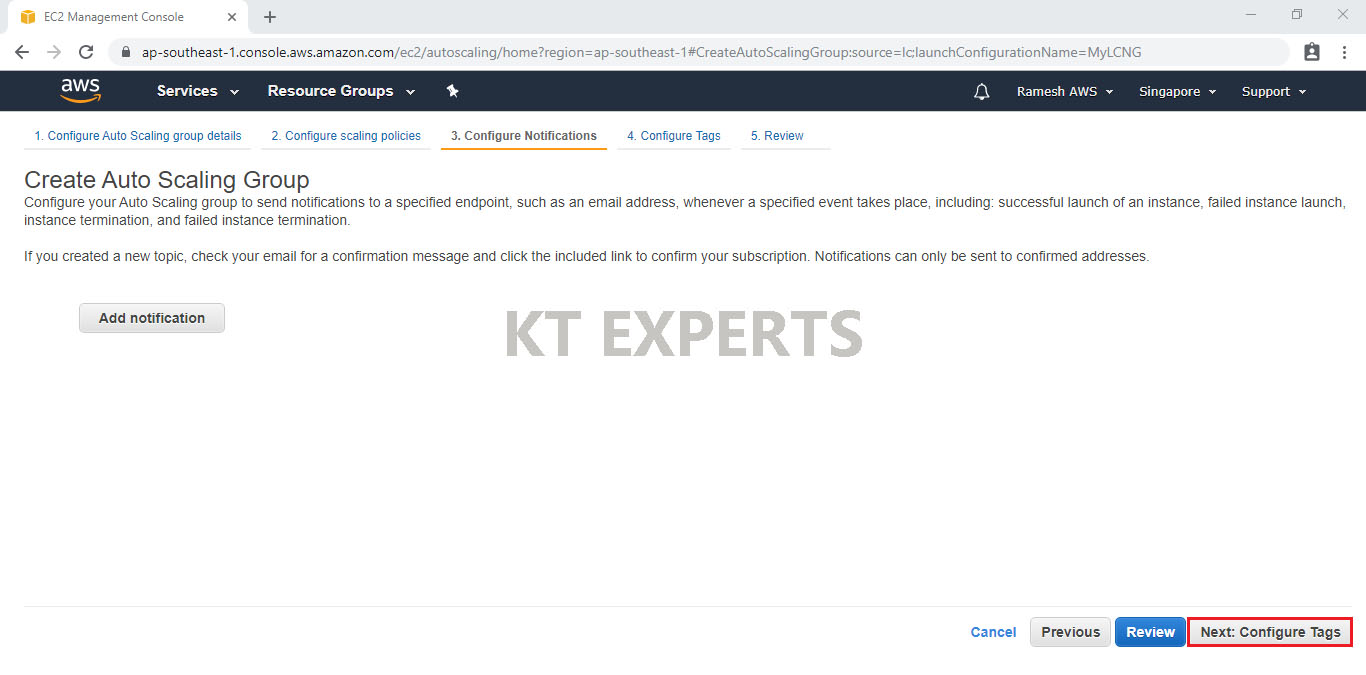
Configure Notifications
Skip the notifications and click on Configure Tags.
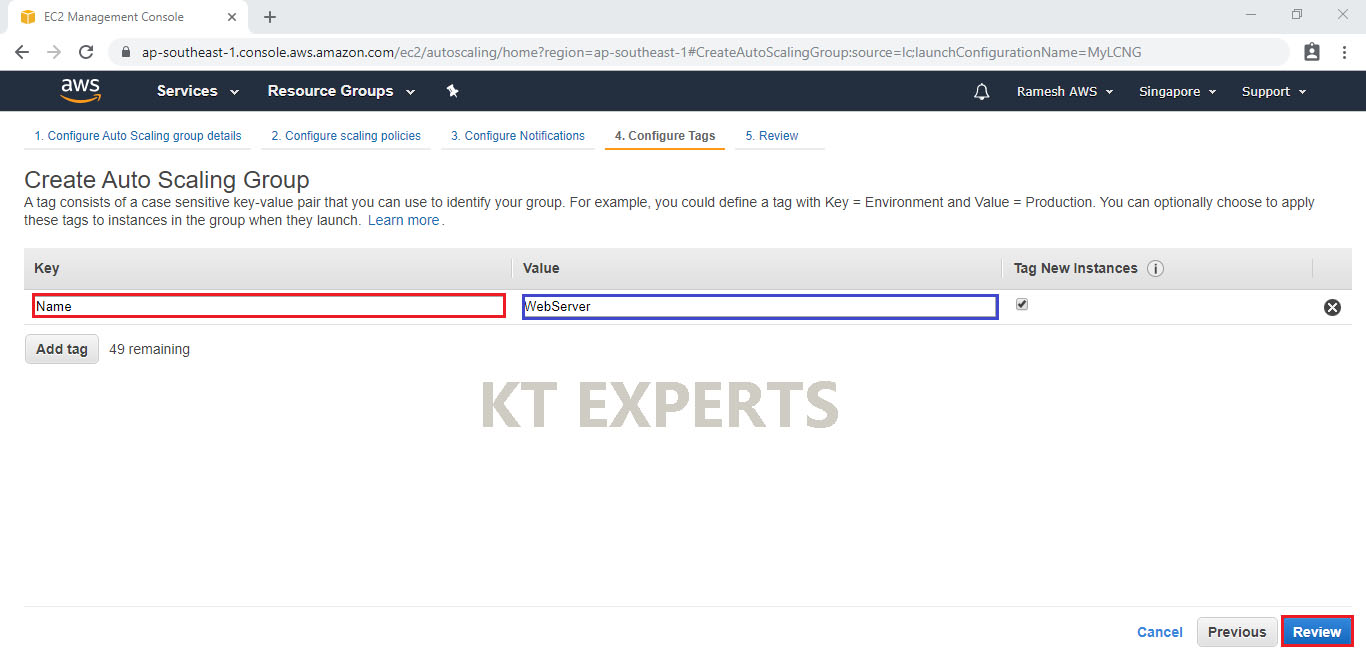
Configure Tags
Provide key “Name” and Value “WebServer” for webservers and click on Review.
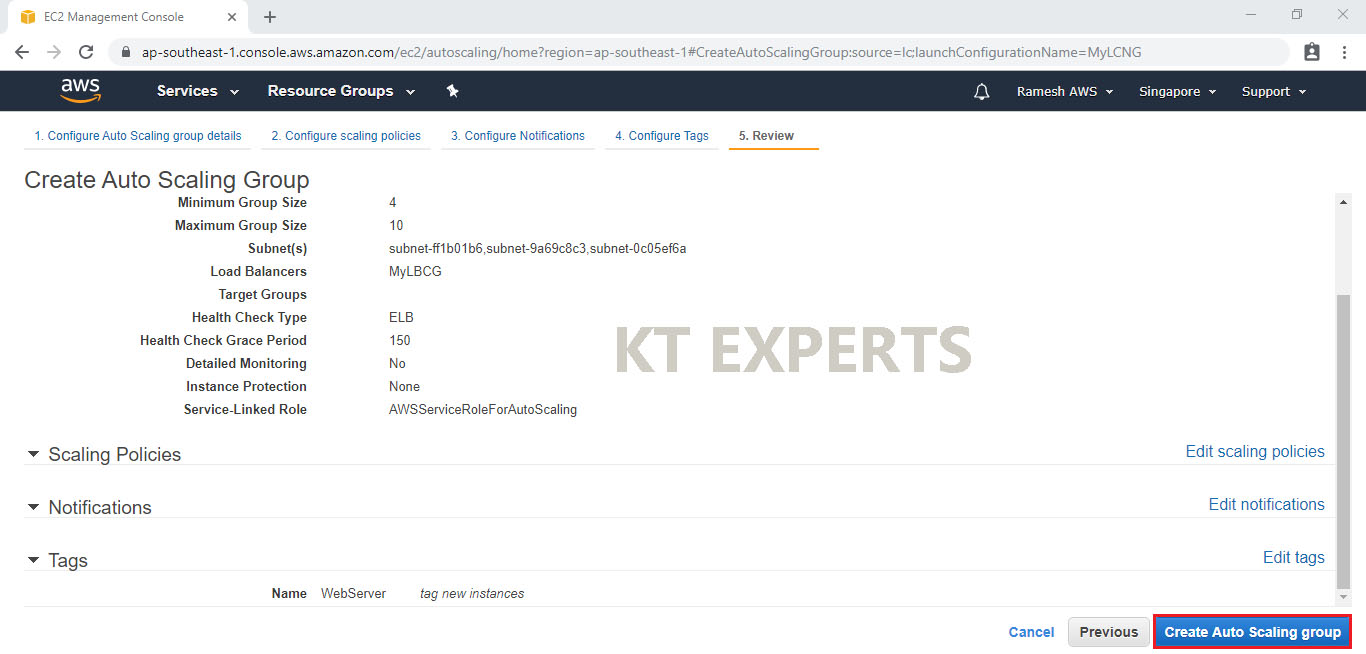
Review
Verify all the details and click on Create Auto Scaling Group.
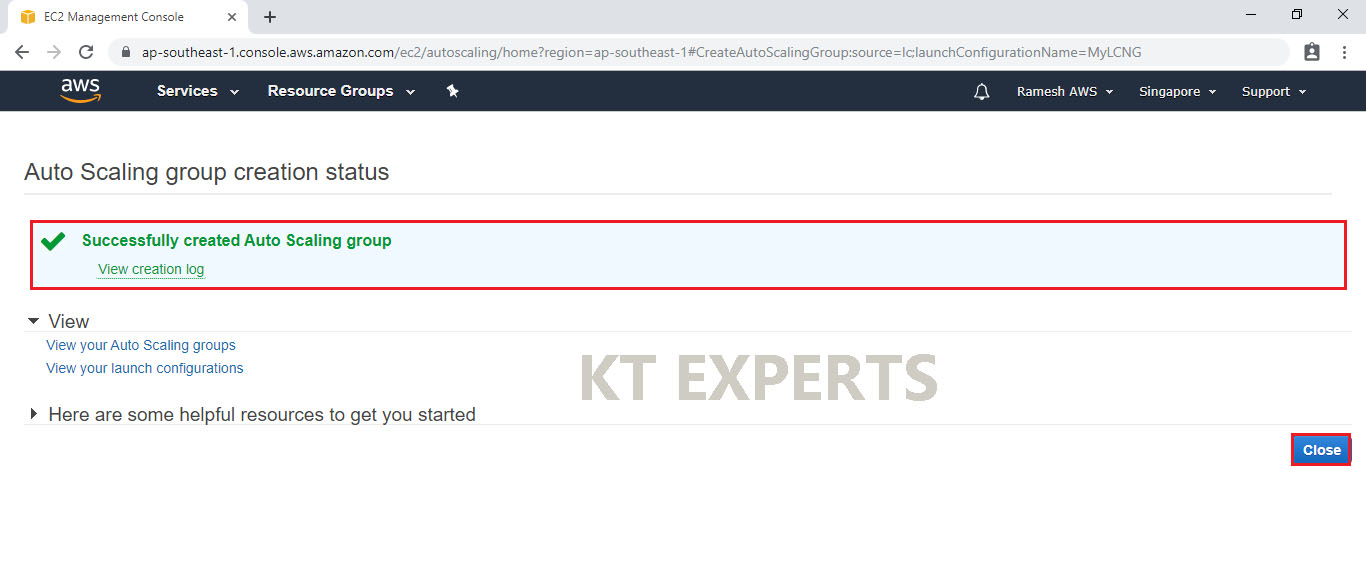
The Auto Scaling group has been created successfully and click on close.
We can see the Auto Scaling Group “MyASG”

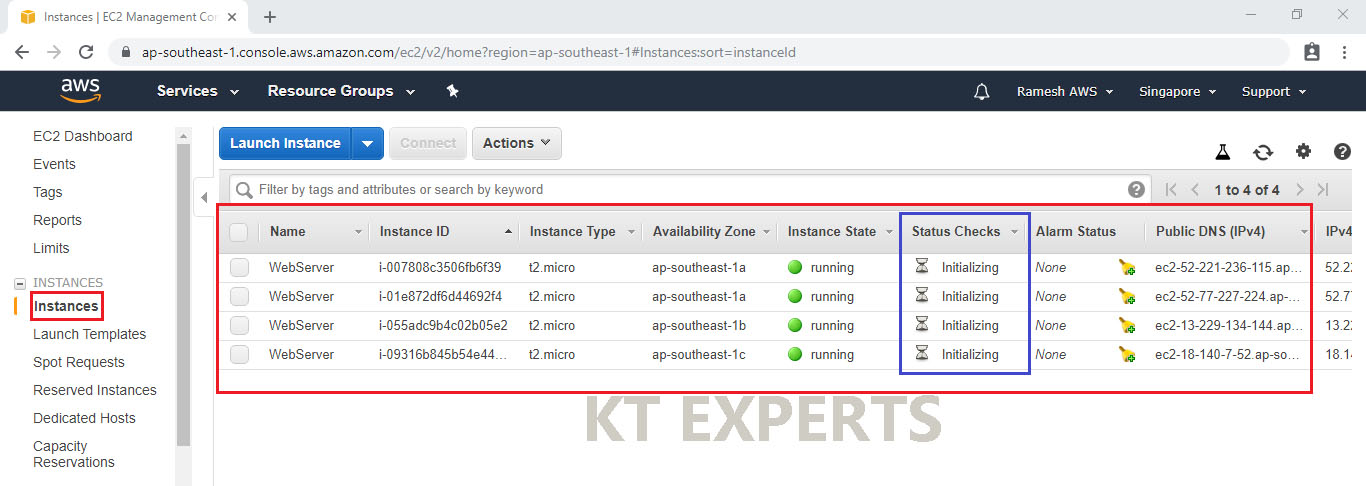
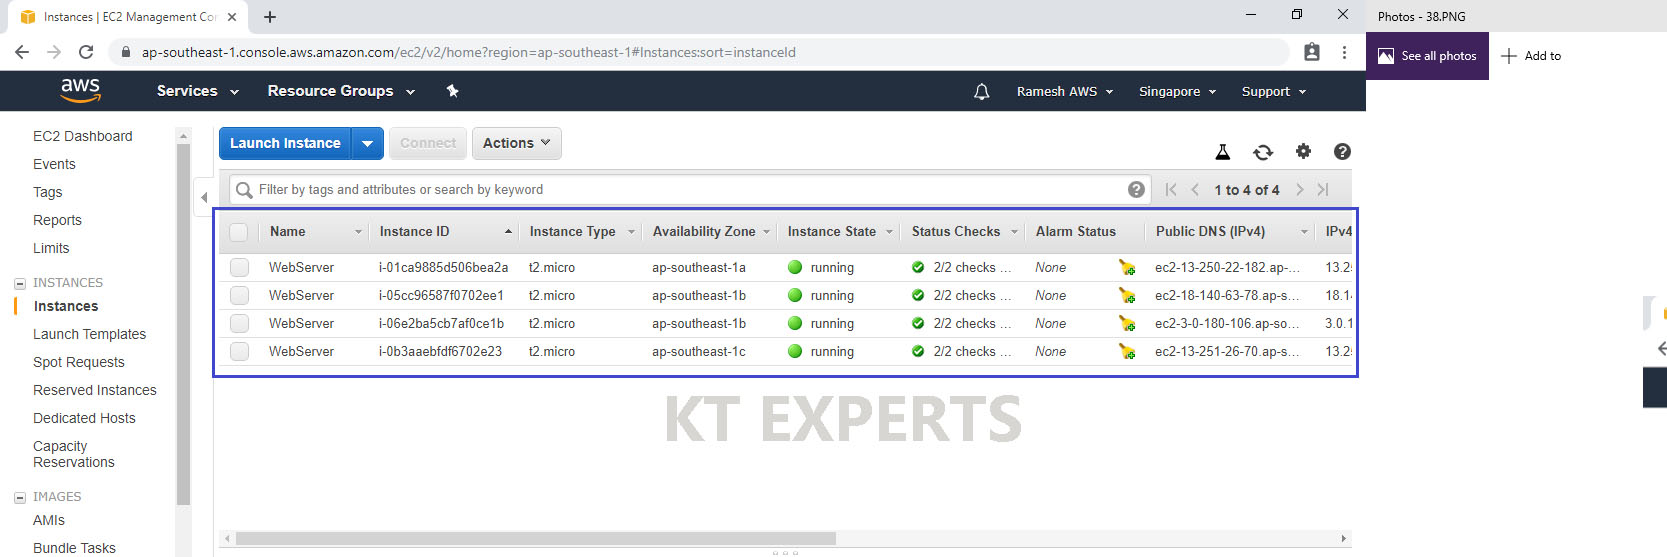
Go to Instances and check the webservers
Here 4 webservers are running and their status is initializing (it will take to some time to ready).
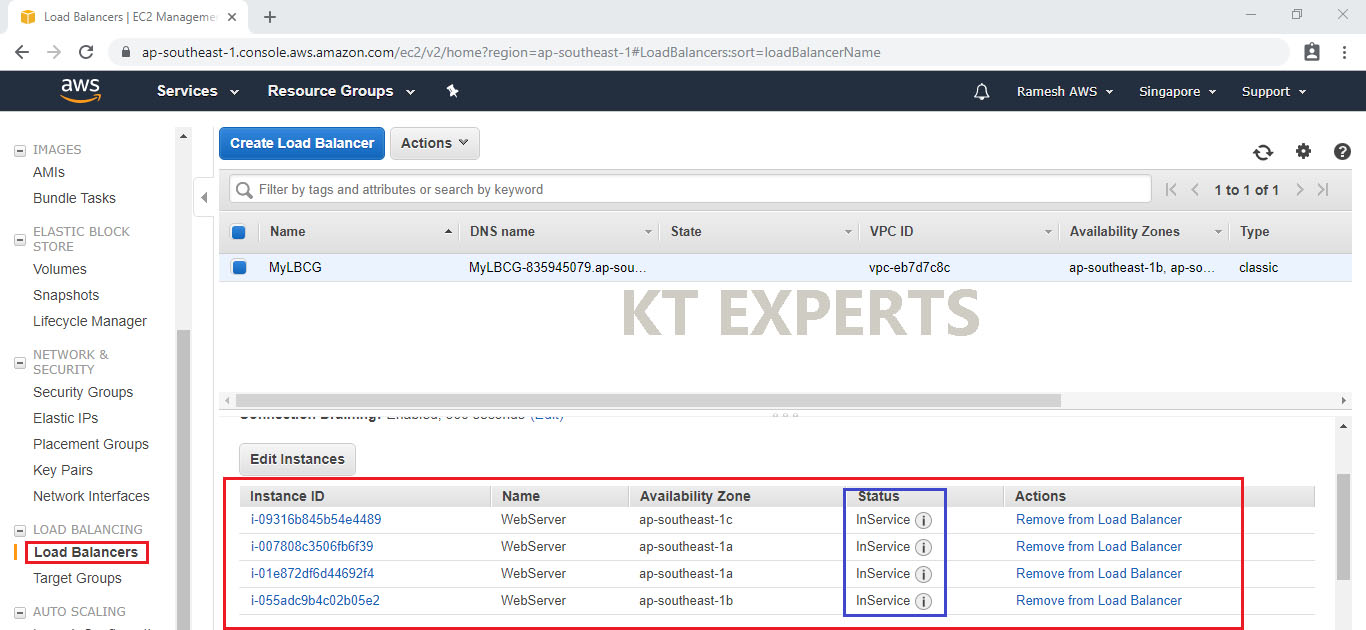
Go to Load Balancers then check status of all the webservers in the instances tab, the 4 webservers are in InService (Active State).
Go to Description copy DNS name.
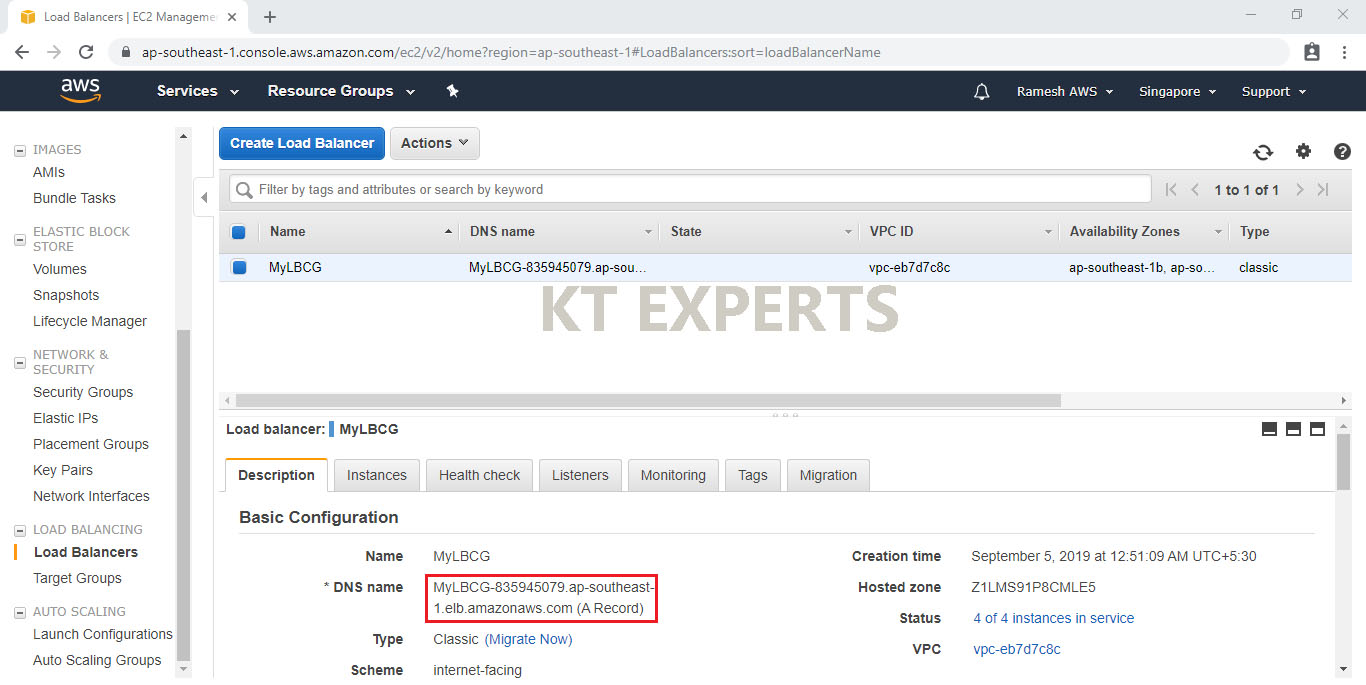
Search DNS name in browser URL.
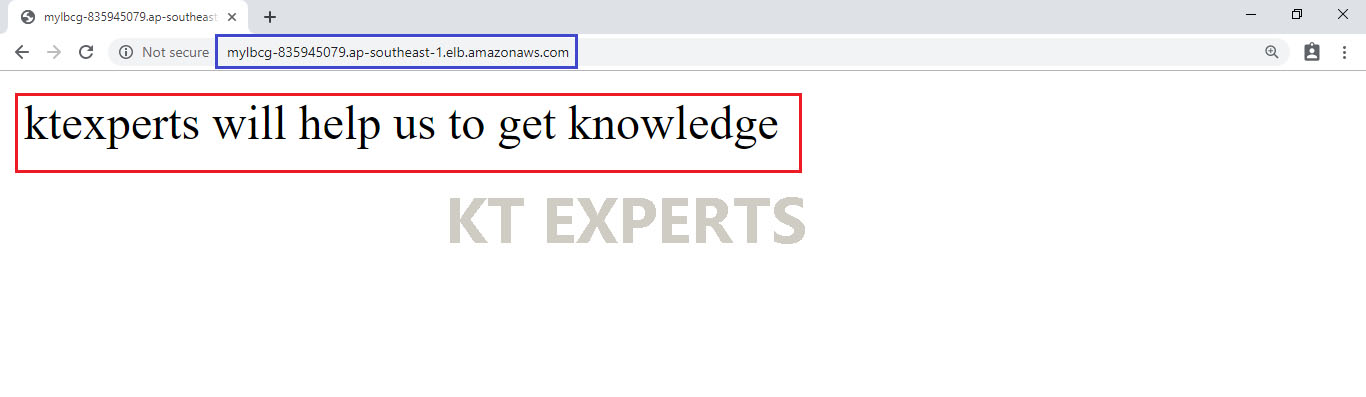
Testing
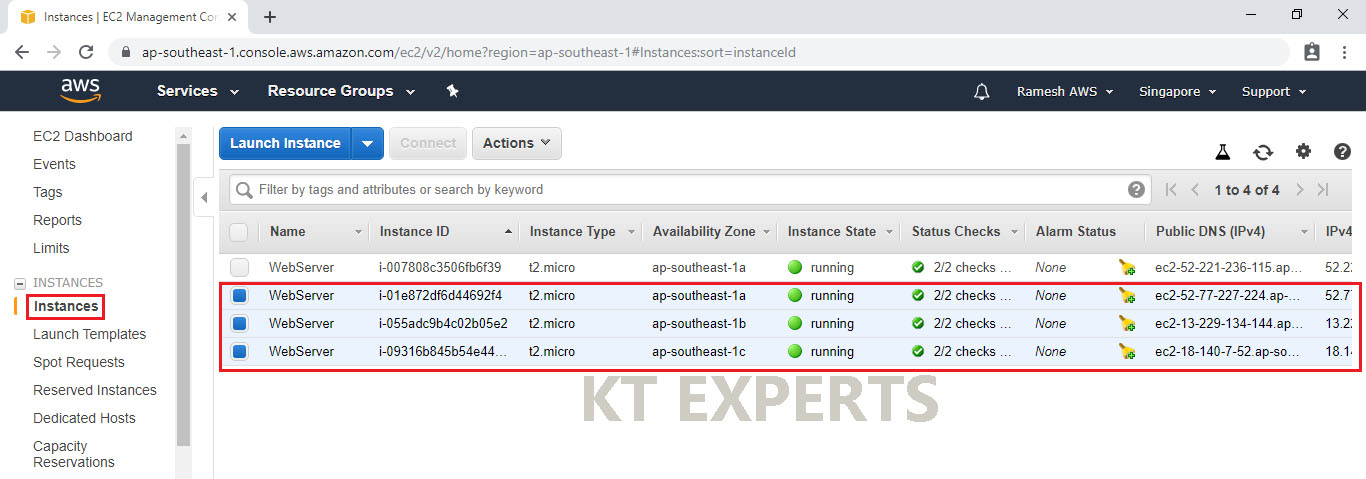
Terminate 3 webservers
Go to Instances and select 3 webservers.
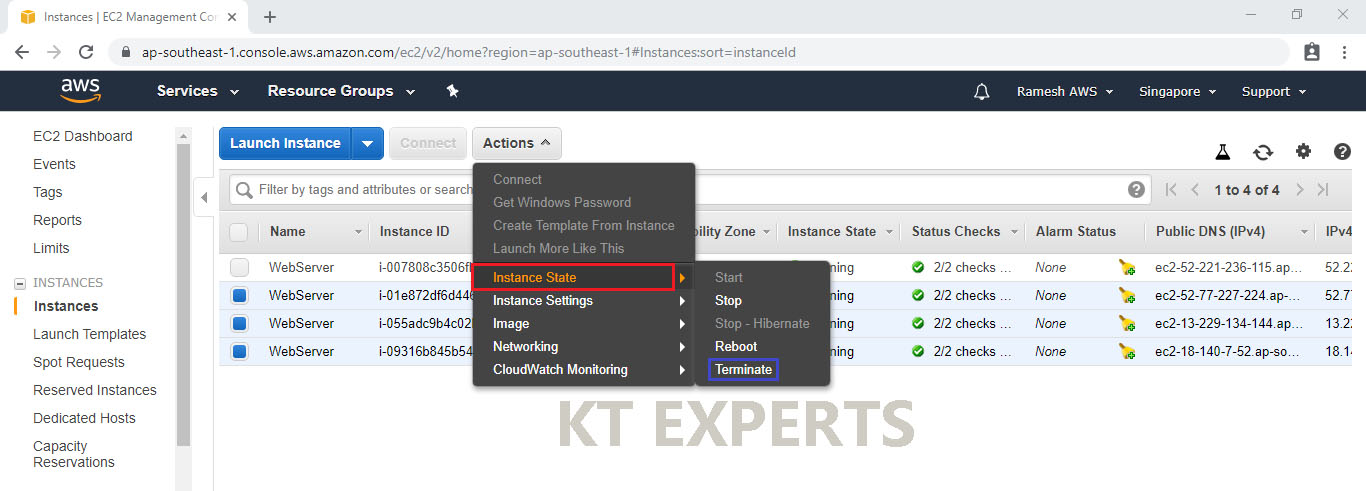
Go to Actions, click on Terminate in instance state.
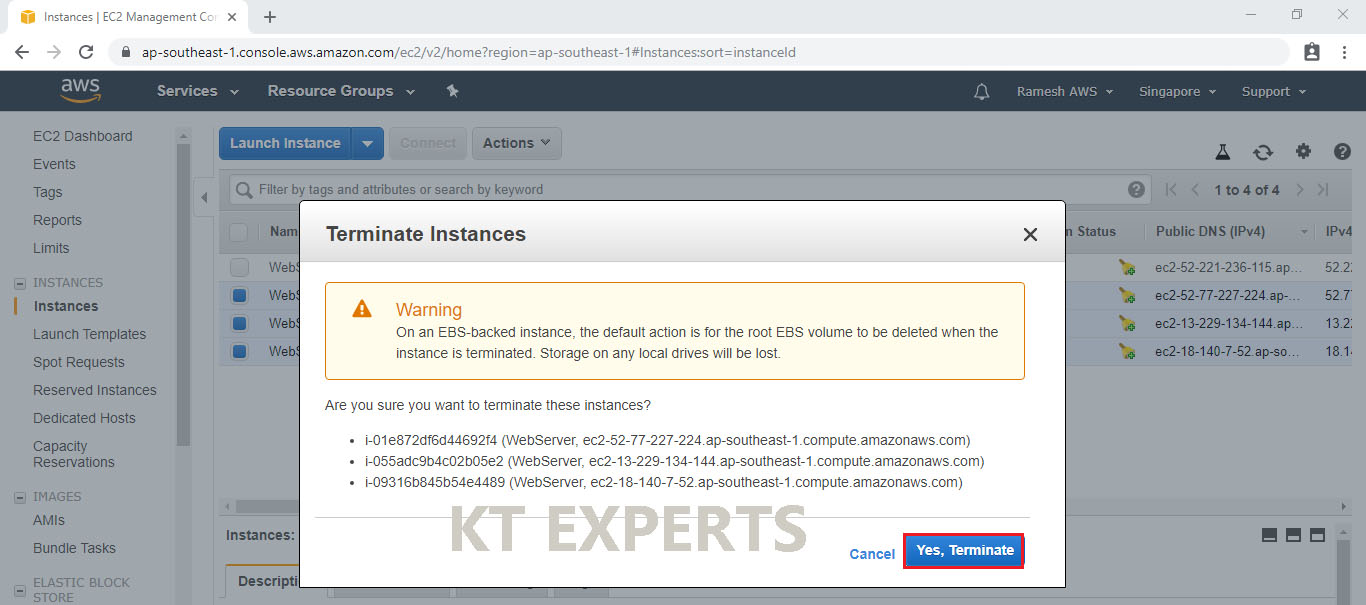
Click on Yes, Terminate.
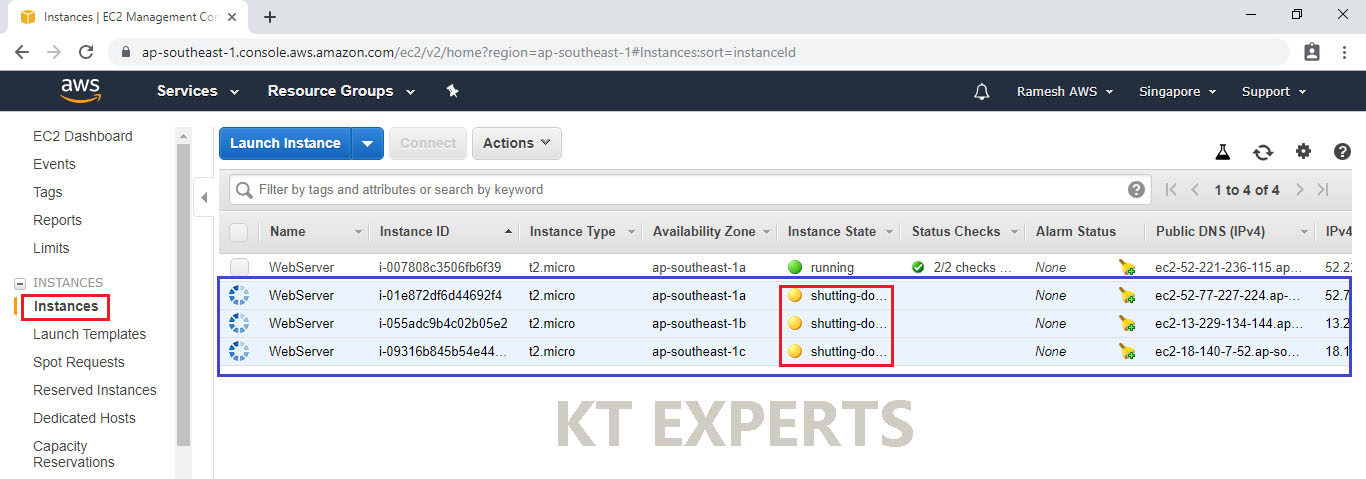
The selected 3 webservers are going to shutting down.
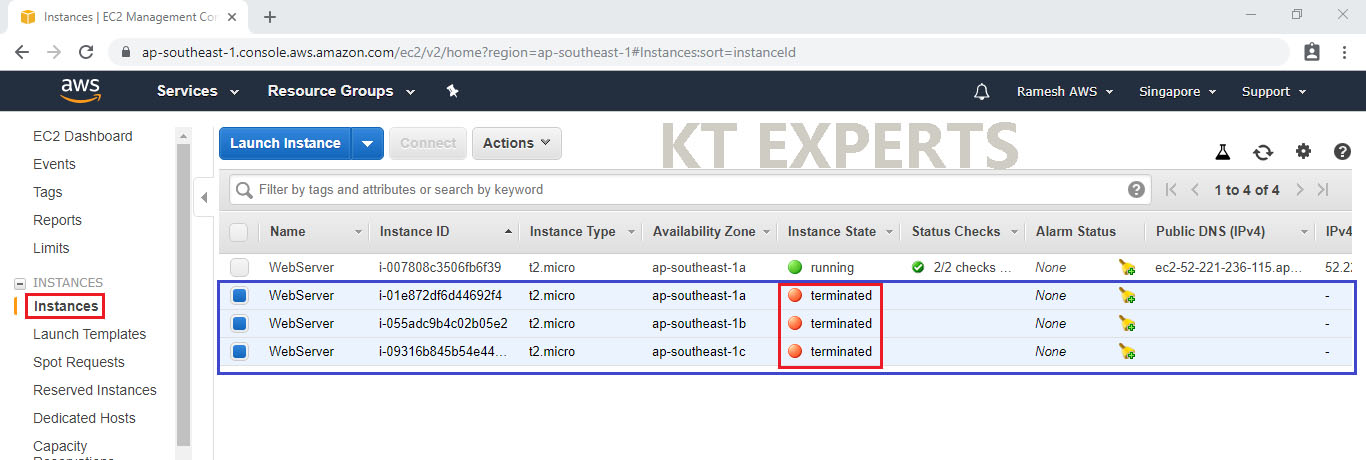
Now, only one is server is up and running.
Refresh the DNS name which was searched recently in browser URL.

The 3 webservers are terminated successfully
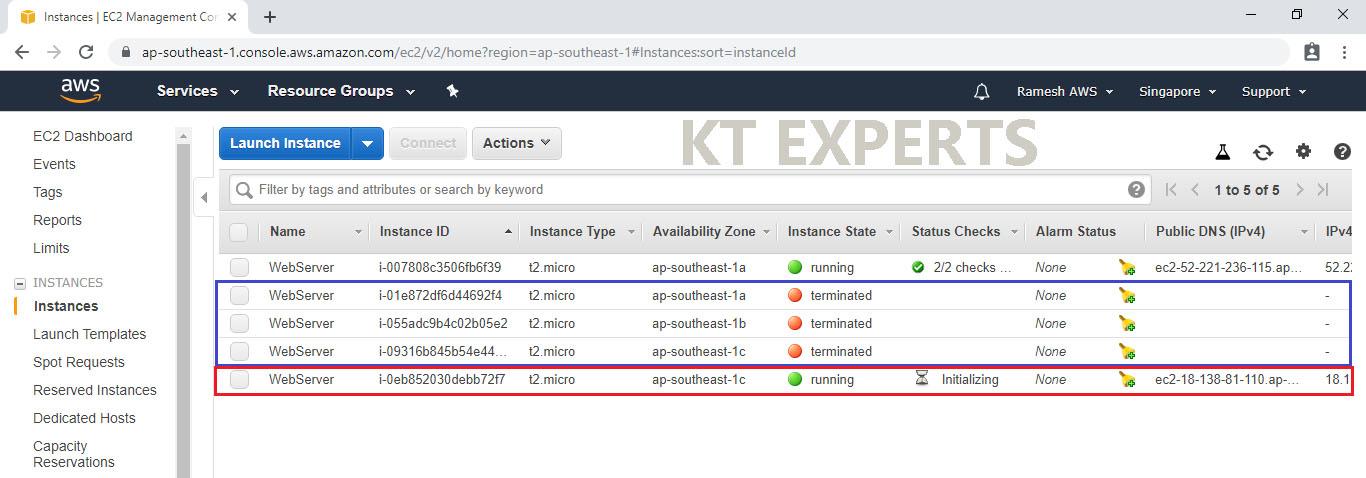
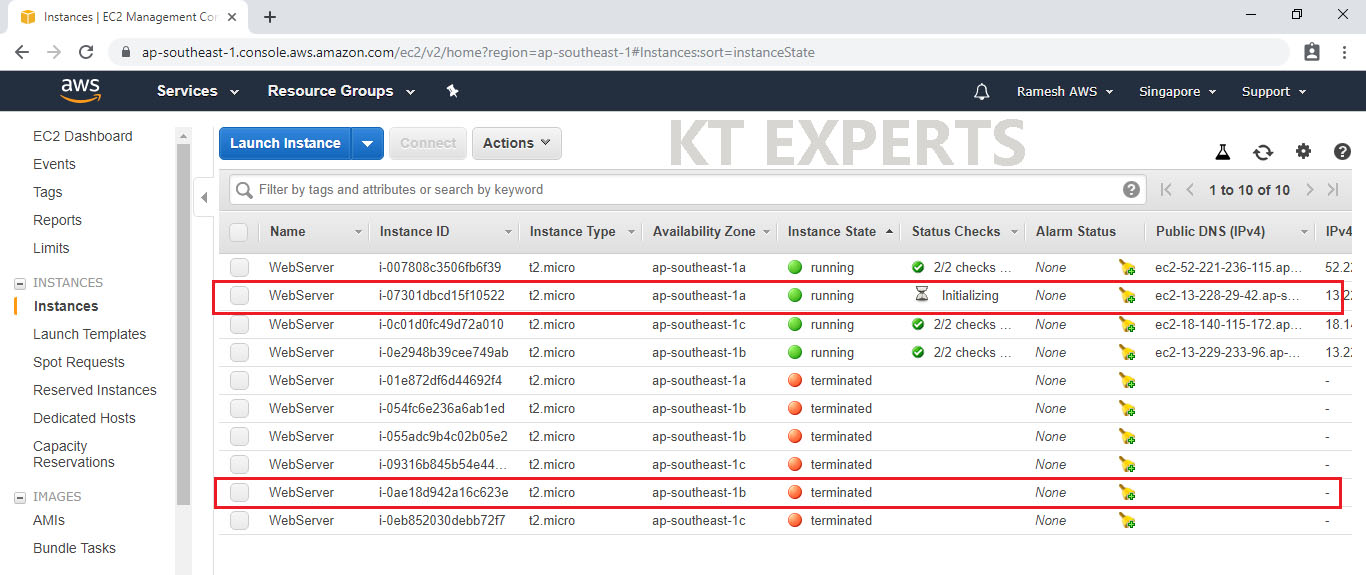
The auto scaling wait for 300 sec then it will create the one webserver
We can see one webserver is initializing (at the back end all the packages are running).
After successfully creation of one webserver the auto scaling take break again 300 sec then create one more webserver.
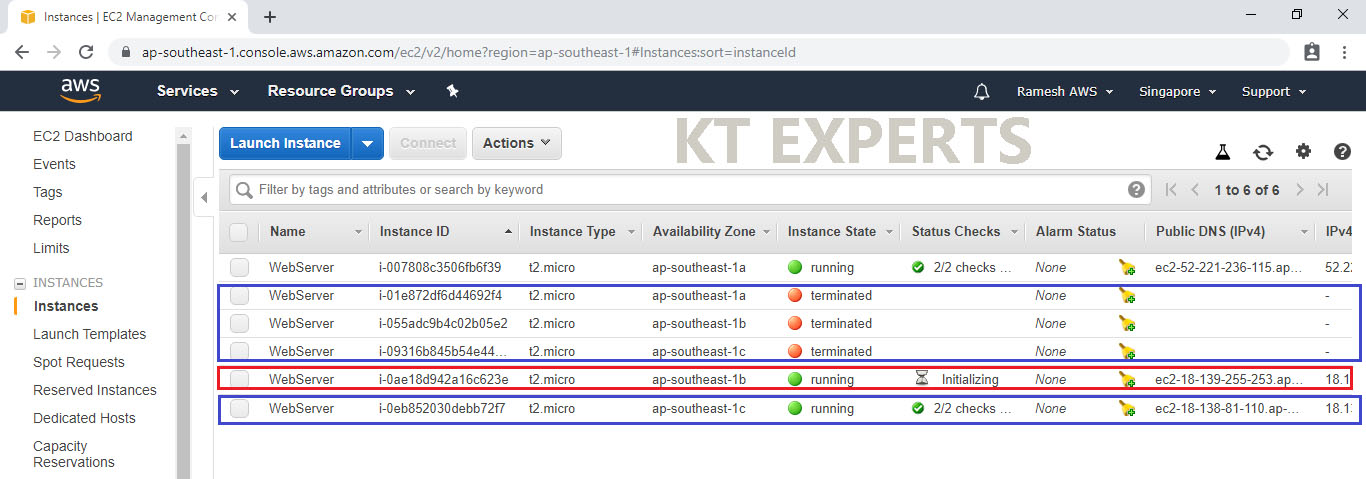
After successfully creation of one webserver the auto scaling take break again 300 sec then create one more webserver.
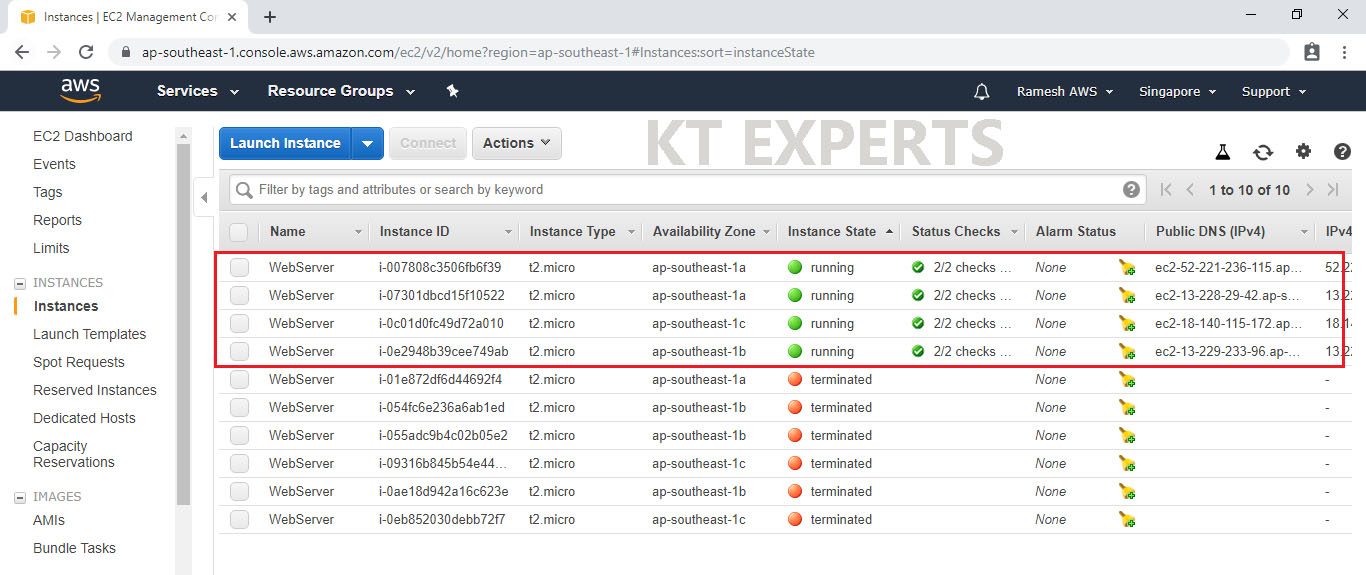
Now the 4 webservers are in up and running.
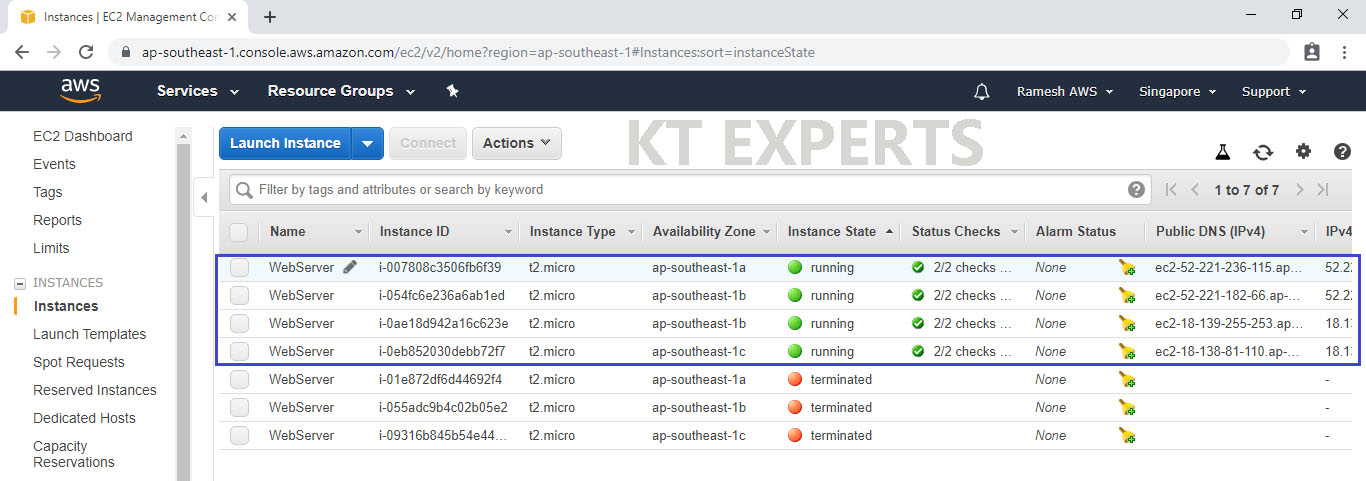
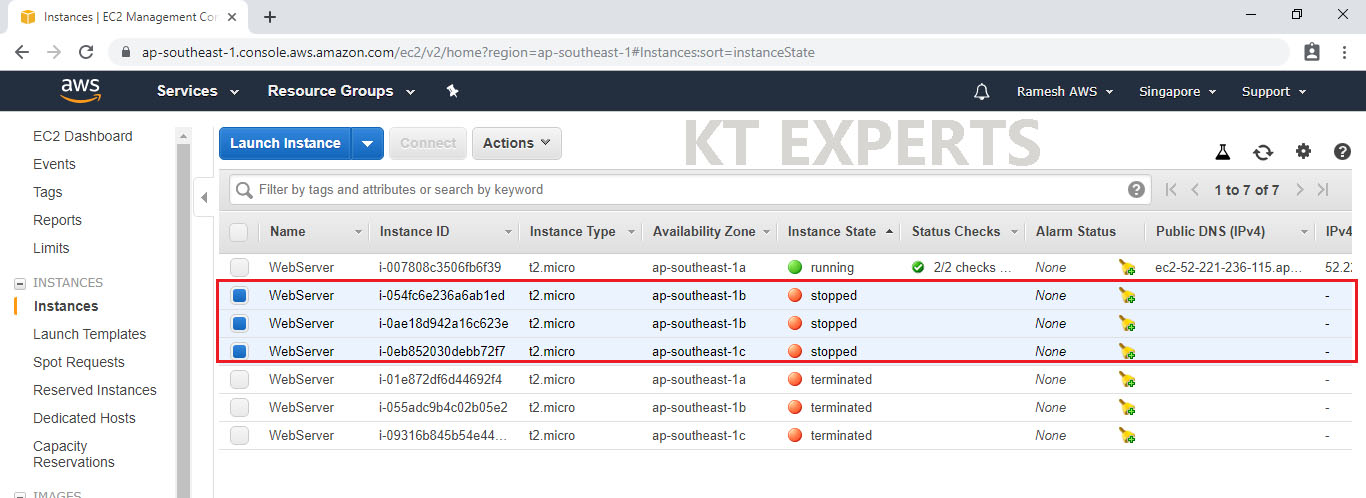
Stop 3 webservers
We need to select required webservers to stop ( I have selected 3 webservers).

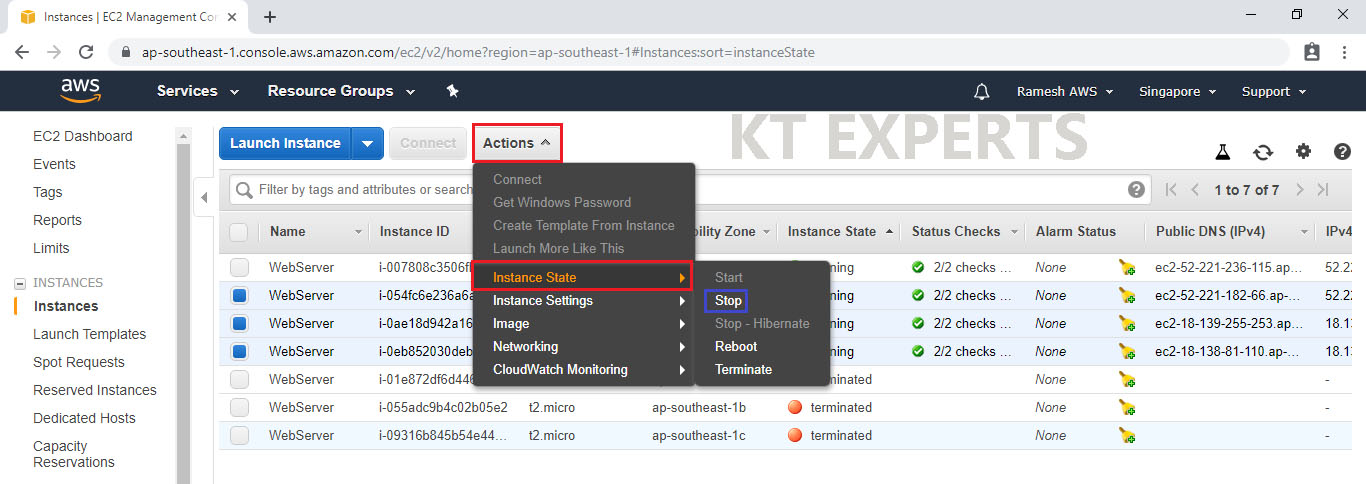
Go to Actions then click on stop in instance state.
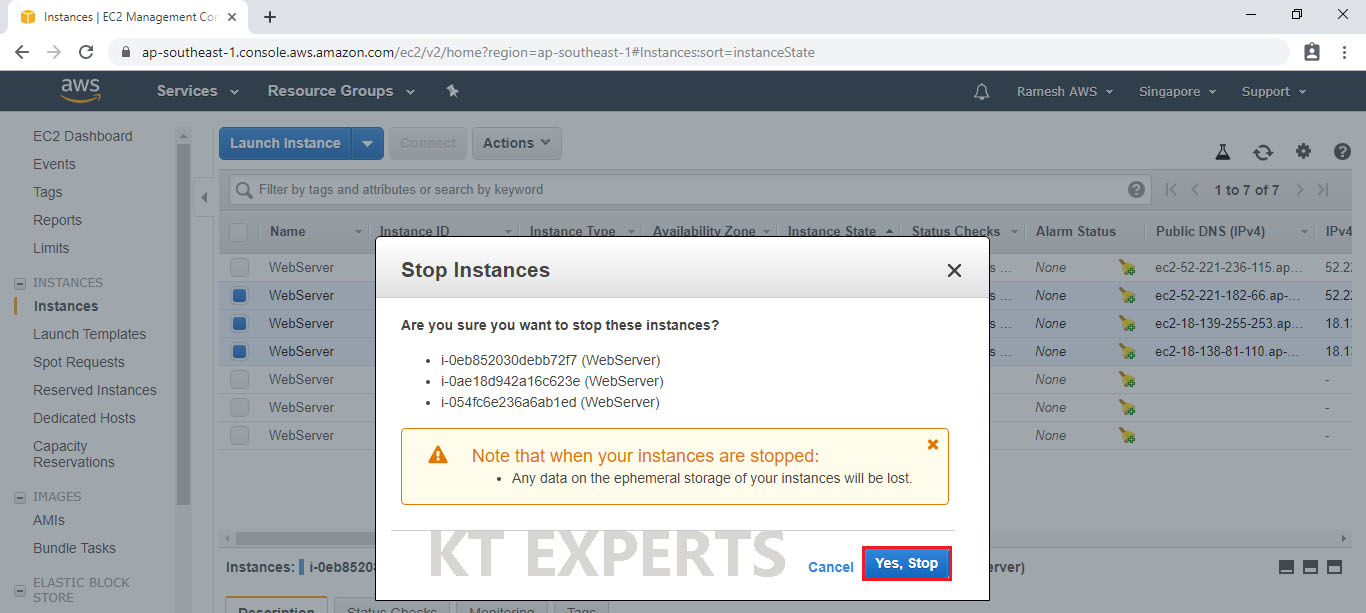
Click on Yes, Stop.
Now, The selected web servers are being stopped.
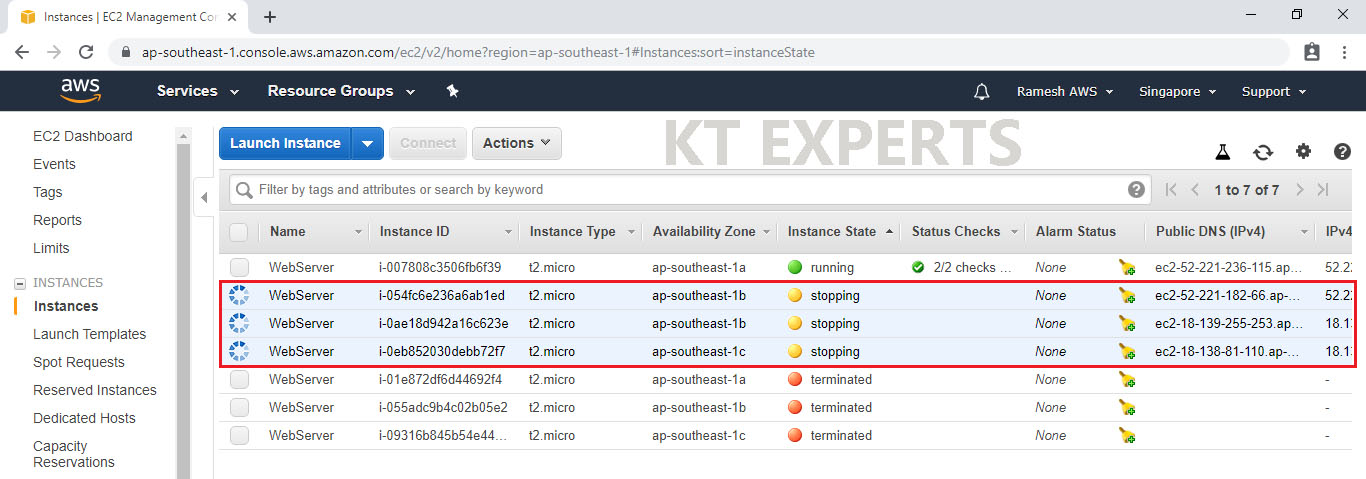
We can see the selected web servers has been stopped successfully
In the Singapore region will have 3 availability zones (ap-southeast-1a, ap-southeast-1b, ap-southeast-1c)
Here Only one webserver is running in ap-southeast-1a availability zone
The terminated webservers are in 3 availability zones are
- ap-southeast-1a
- ap-southeast-1b
- ap-southeast-1c
The stopped webservers are in 3 availability zones are
- ap-southeast-1b
- ap-southeast-1b
- ap-southeast-1c
After 300 sec the auto scaling came into the picture and terminate the stopped webserver automatically
Here we can see the stopped webserver is in ap-southeast-1c that to be terminated.
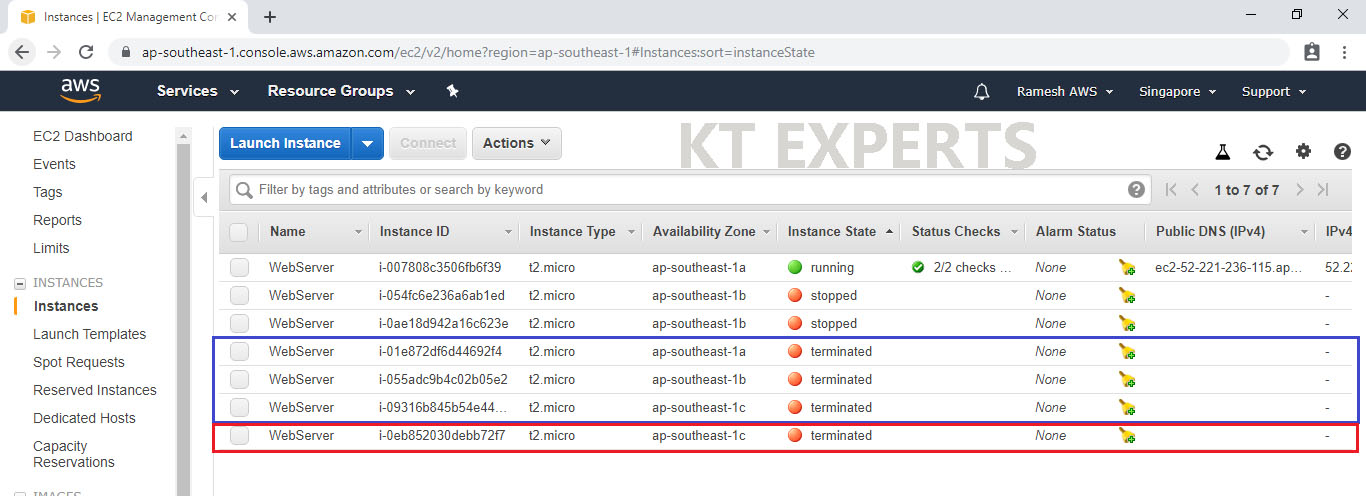
After 300 sec the auto scaling came into the picture and terminate the stopped webserver automatically
Here we can see the stopped webserver is in ap-southeast-1c that to be terminated.
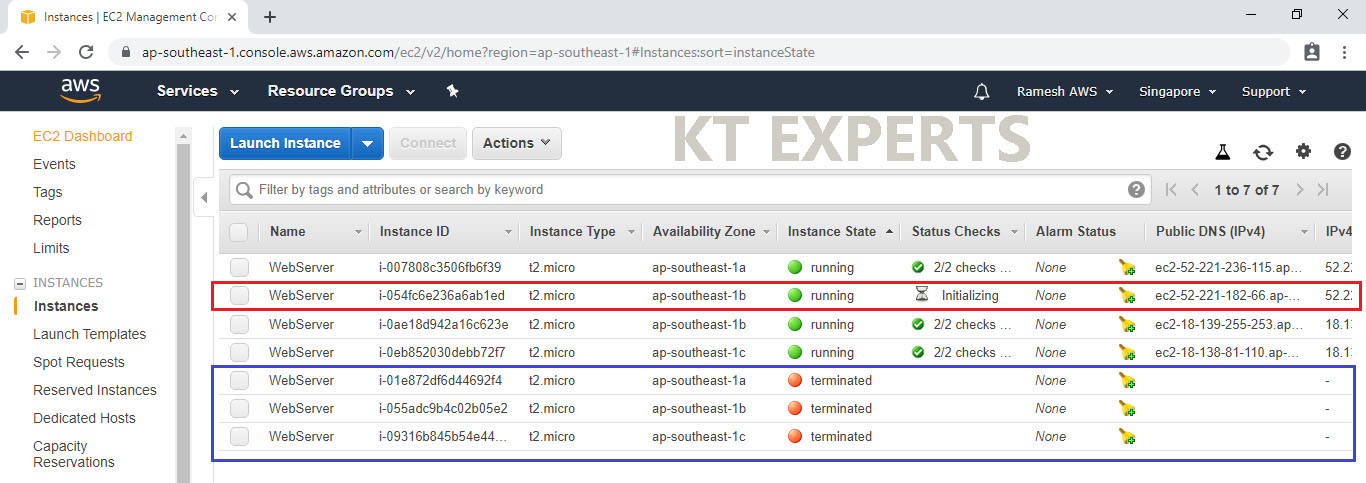
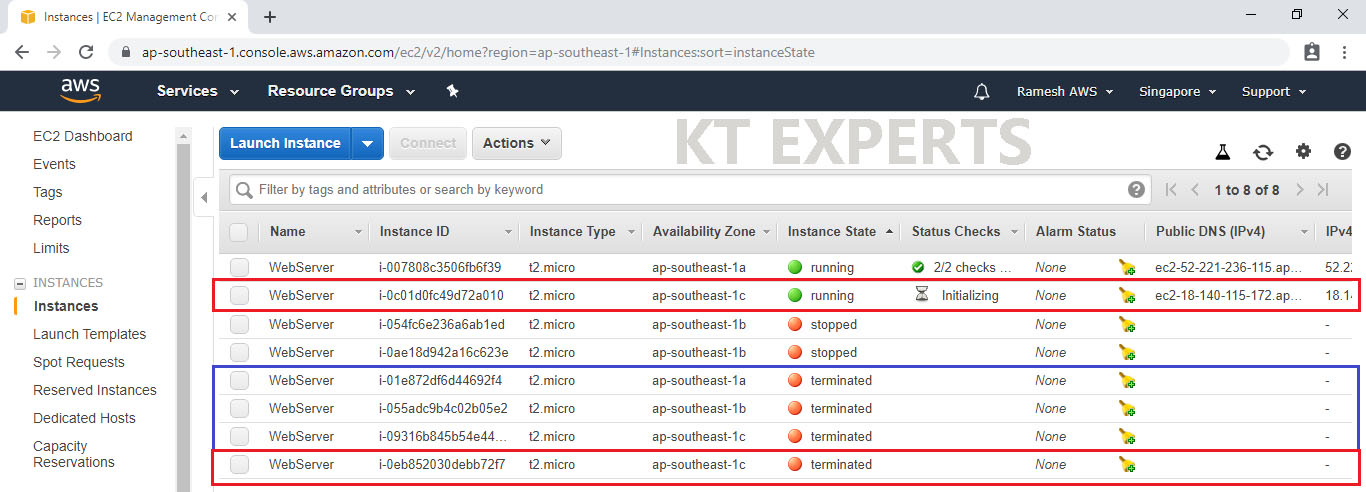
Having completed 300 sec Auto Scaling will create one webserver
The running 2 webservers are in 2 availability zones are
- ap-southeast-1a
- ap-southeast-1c
The terminated 4 webservers are in 3 availability zones are
- ap-southeast-1a
- ap-southeast-1b
- ap-southeast-1c
- ap-southeast-1c
The stopped webservers are in 2 availability zones are
- ap-southeast-1b
- ap-southeast-1b
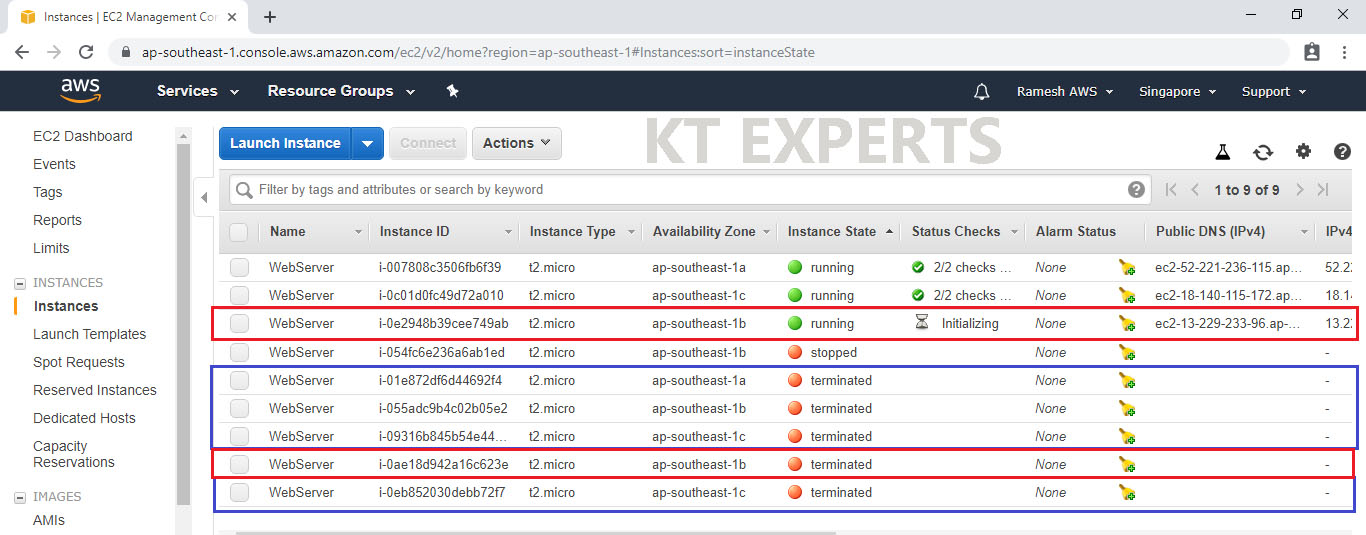
Here the auto scaling terminates the webserver which is in stopped state then take 300 sec breaks then create one webserver in the same availability zone
The running 3 webservers are in 3 availability zones are
- ap-southeast-1a
- ap-southeast-1c
- ap-southeast-1b
The terminated 5 webservers are in 3 availability zones are
- ap-southeast-1a
- ap-southeast-1b
- ap-southeast-1c
- ap-southeast-1c
- ap-southeast-1b
The stopped webservers are in one availability zone is
- ap-southeast-1b
Here The auto scaling terminates the webserver which is in stopped state under ap-southeast-1b availability zone then take 300 sec breaks then create one webserver in another availability zone is ap-southeast-1a
The running 4 webservers are in 3 availability zones are
- ap-southeast-1a
- ap-southeast-1c
- ap-southeast-1b
- ap-southeast-1a
The terminated 6 webservers are in 3 availability zones are
- ap-southeast-1a
- ap-southeast-1b
- ap-southeast-1c
- ap-southeast-1c
- ap-southeast-1b
- ap-southeast-1b
The 4 webservers running and remaining servers are in terminated state, auto scaling it self decides the availability zones we don’t have any control of that.
The running 4 webservers are in 3 availability zones are
- ap-southeast-1a
- ap-southeast-1c
- ap-southeast-1b
- ap-southeast-1a
After some time the terminated machines are not visible in instances list.
Thank you for giving your valuable time to read the above information. Please click here to subscribe for further updates
KTEXPERTS is always active on below social media platforms.
Facebook : https://www.facebook.com/ktexperts/
LinkedIn : https://www.linkedin.com/company/ktexperts/
Twitter : https://twitter.com/ktexpertsadmin
YouTube : https://www.youtube.com/c/ktexperts
Instagram : https://www.instagram.com/knowledgesharingplatform


Nayab
Nice effort ramesh. User friendly article. Hope u make an article on VPC also.
Ratnakiran
Nice article, Easy to understand and learn quickly and please try to release all the articles in AWS…
Surya
Great job bro. Thank you for sharing.