Hi Dears,
In this article,we will see Create Web Server On IIS Windows EC2 Instance.

Steps to Follow :
- Logging to AWS Account.
- Launch Windows Server.
- Connect to Windows Server through Remote Desktop Connection.
- Configure IIS Web Server through Server Manager.
- Take Public DNS (IPv4) / IPv4 Public IP and search in browser URL.
1. Logging to AWS Account
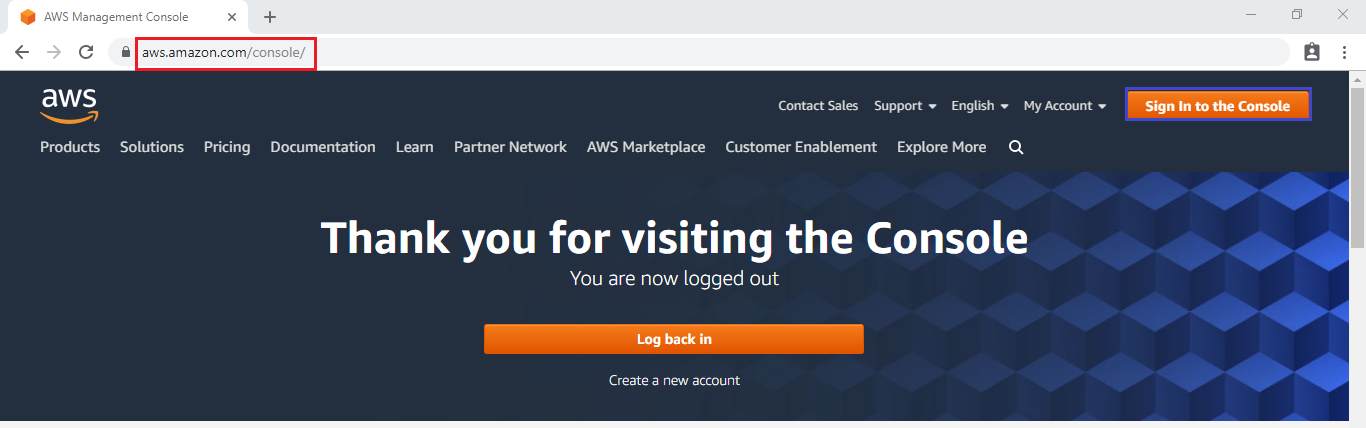
- First, we need to AWS Console page by using below link.
https://aws.amazon.com/console/
Click on sign in to Console button.
Logging to aws account
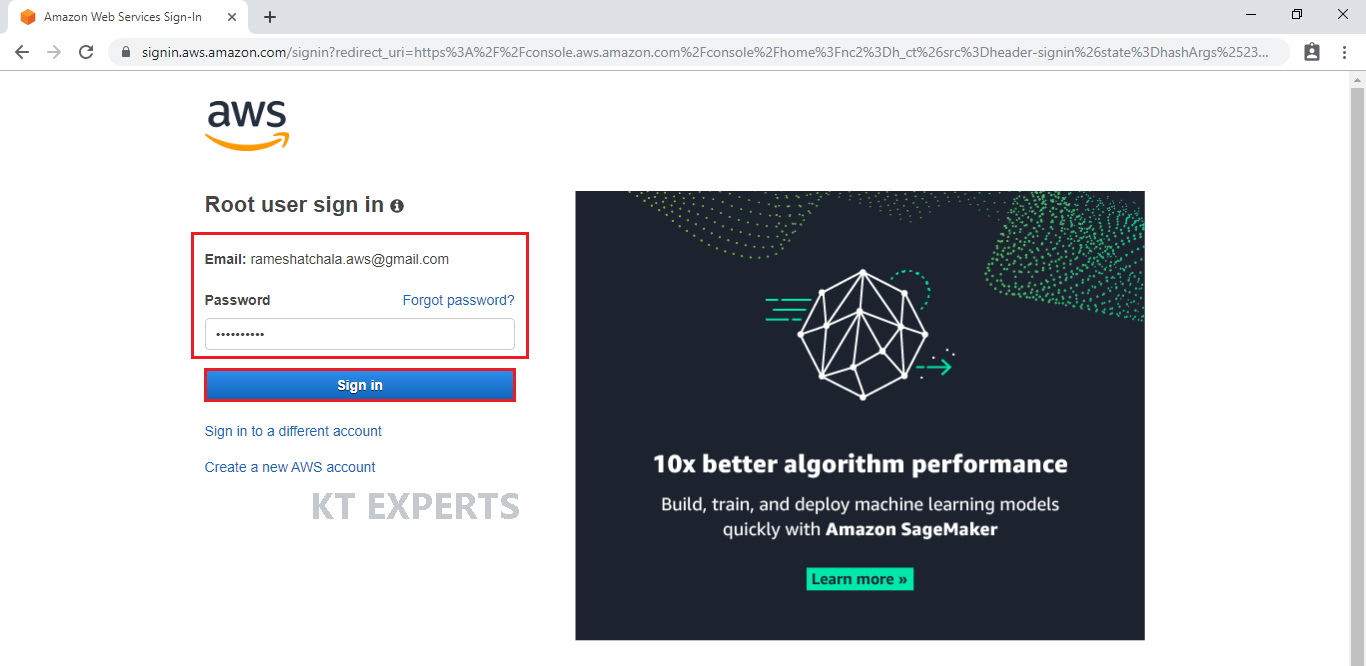
Provide username and password then click on sign in.
Enter into AWS Management Console Dashboard
We can see the AWS Management Console Dashboard.

2. Launch Windows Server
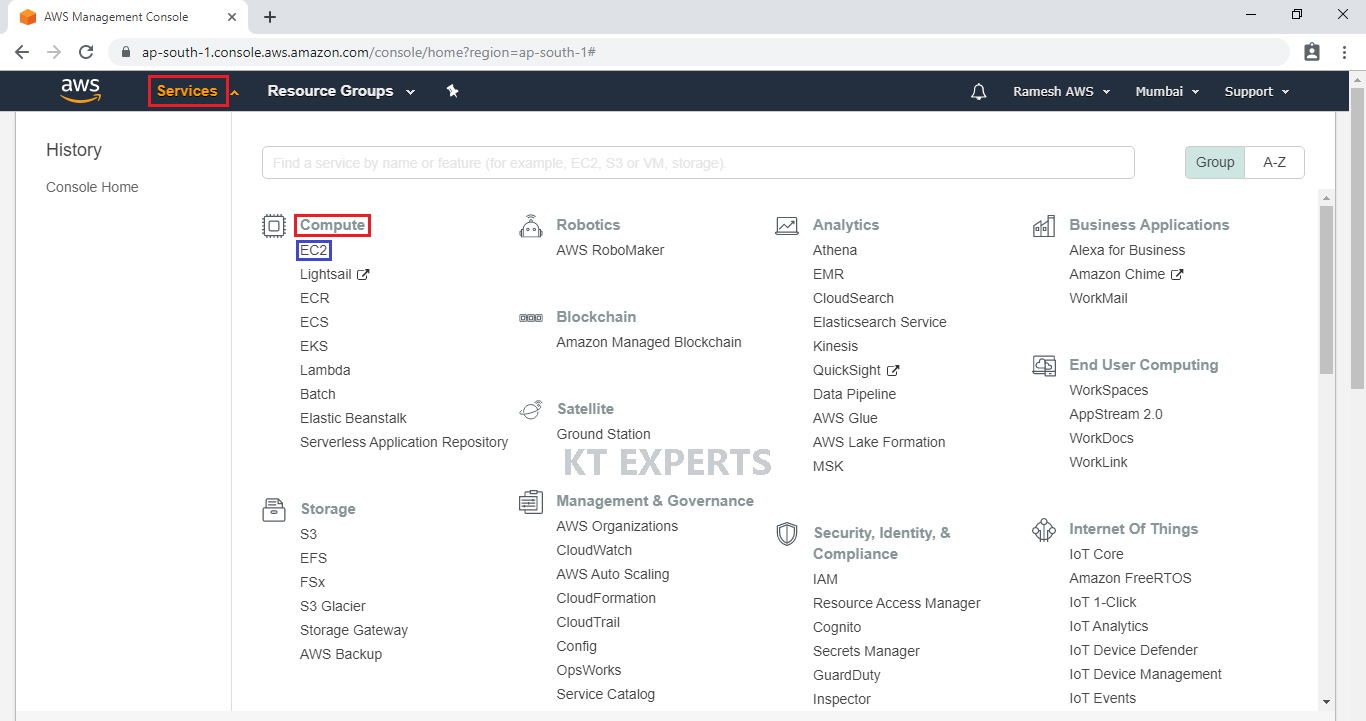
Go to Services, under the compute module click on EC2 service to open.
We can launch Windows Server by using below link.
We can see the windows server has been launched successfully.

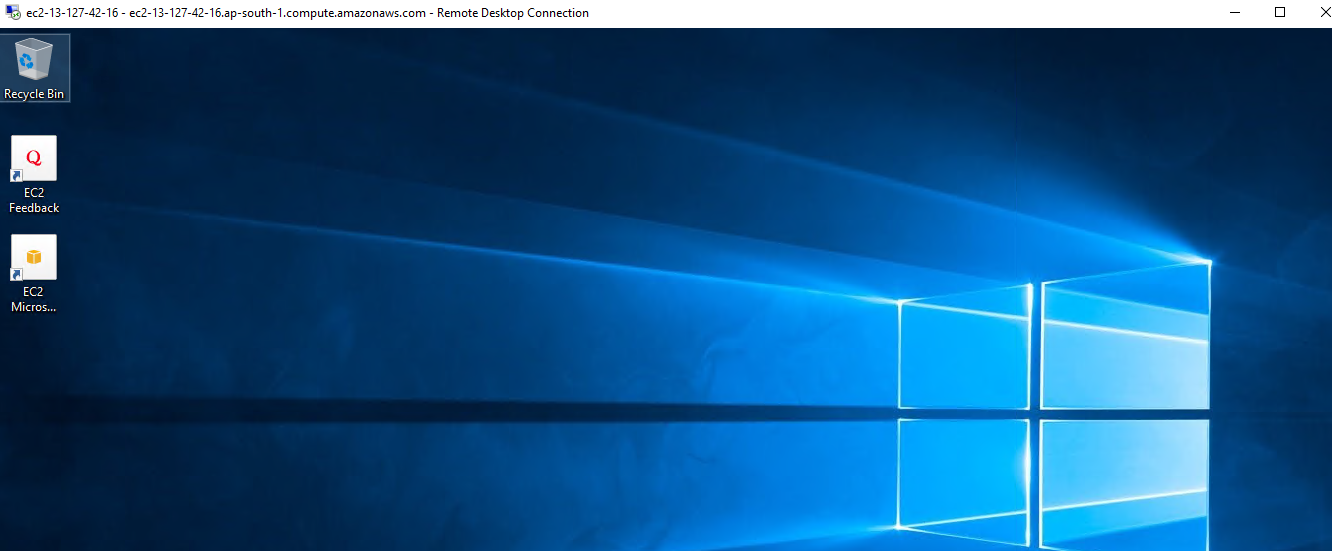
3. Connect to Windows Server through Remote Desktop Connection
We can use Remote Desktop Connection for connecting to Windows Server.
When connected, the desktop Windows server is displayed.
4.Configure IIS Web Server
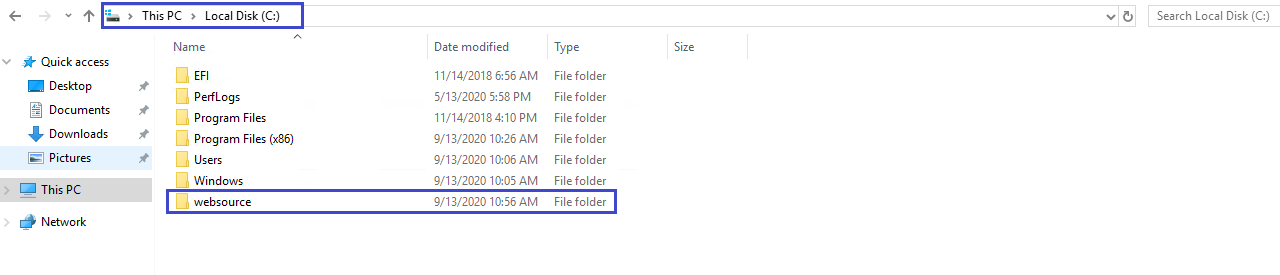
Go inside the Local Disk(C) and make folder called “websource”
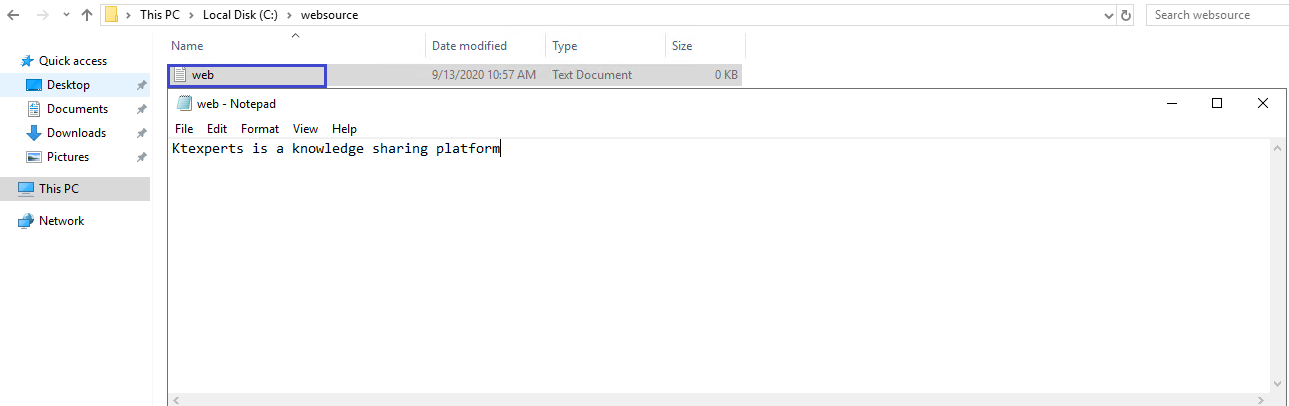
Make a file “web” and add content to the file in websource folder.
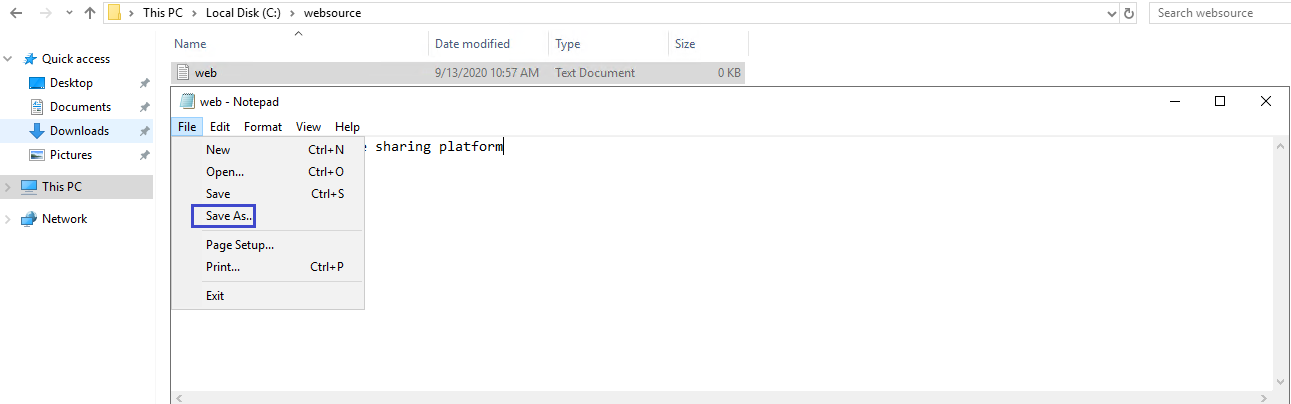
Save file “web” as web.html.
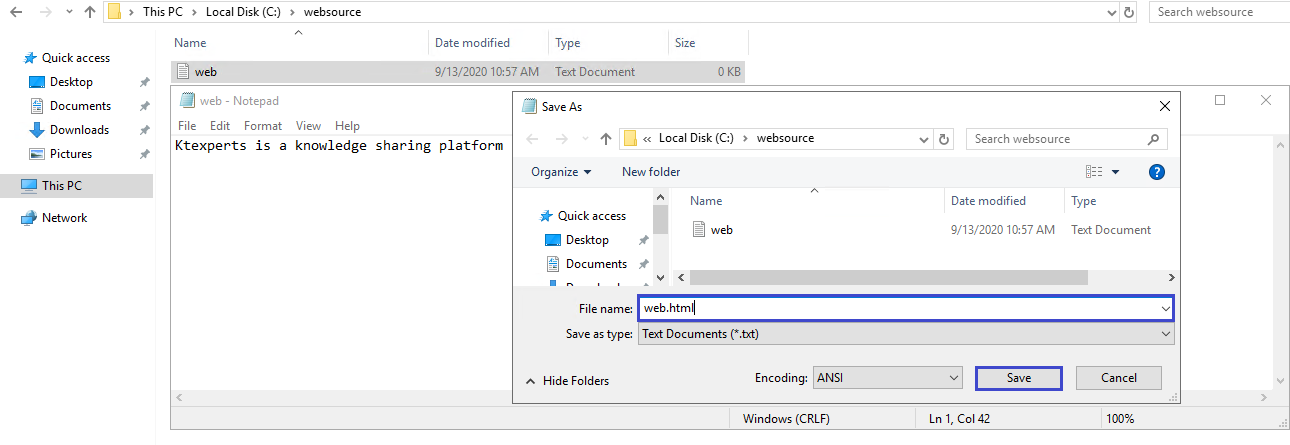
We can see web file in the form of html.

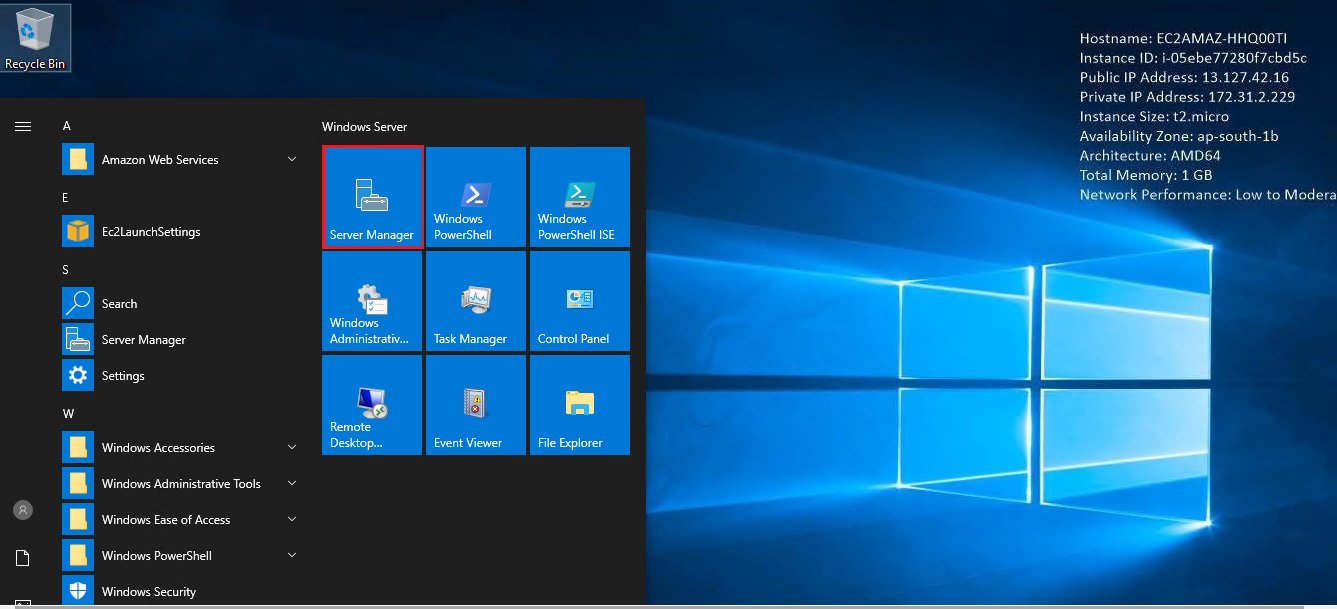
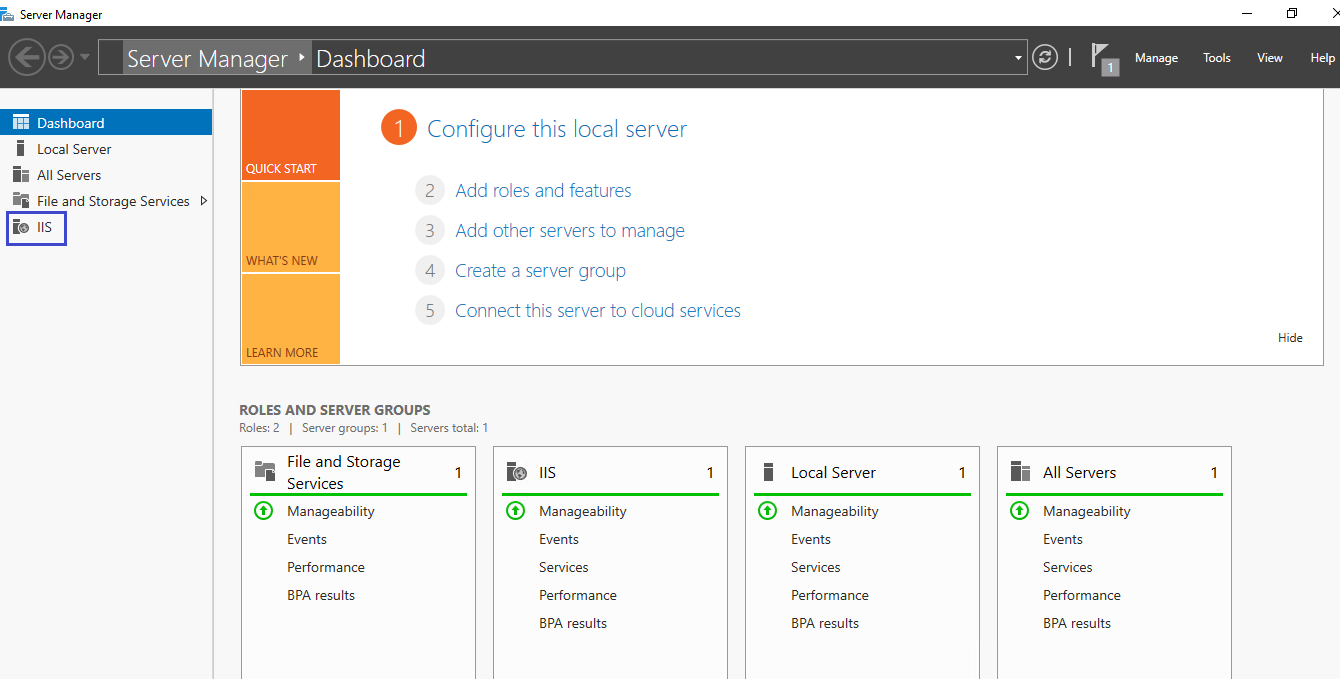
Go to windows,and click on Server Manager.
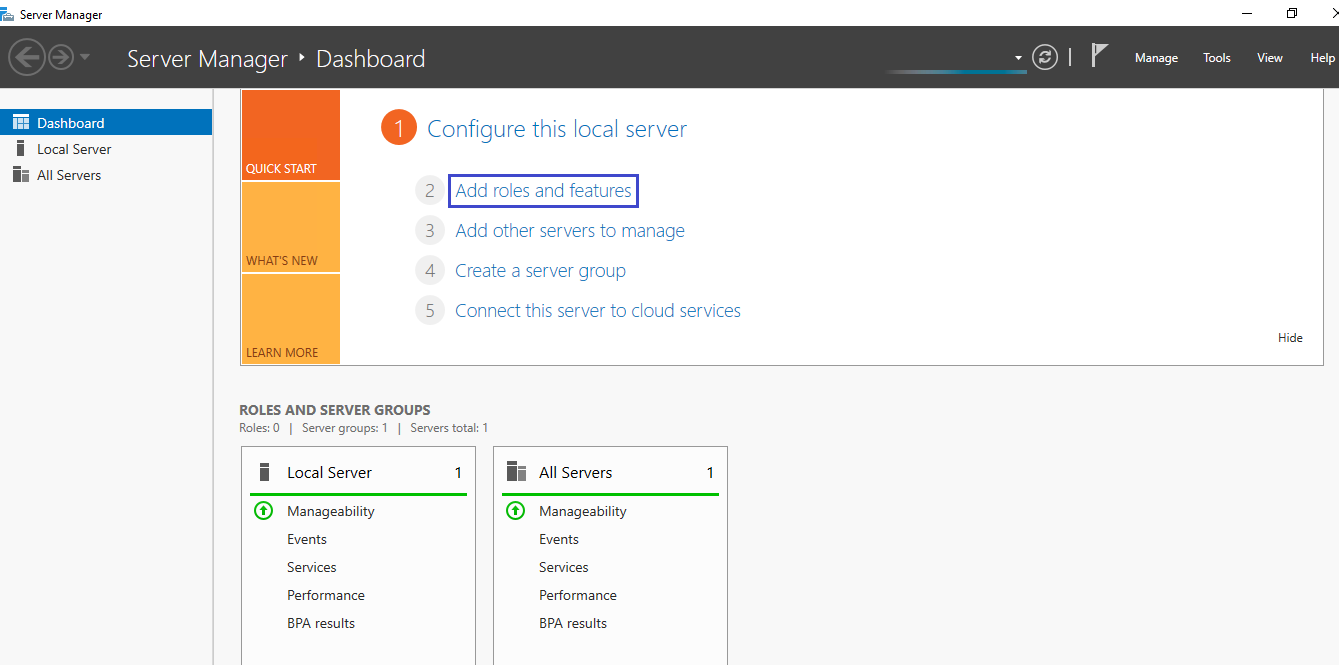
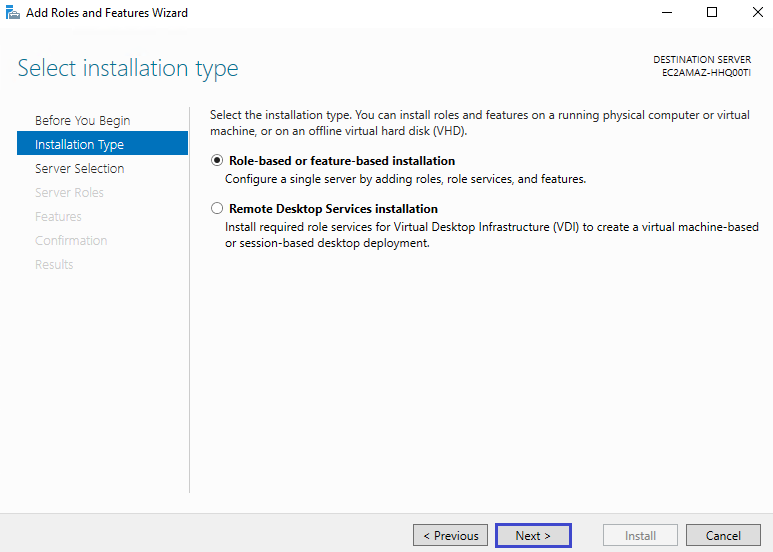
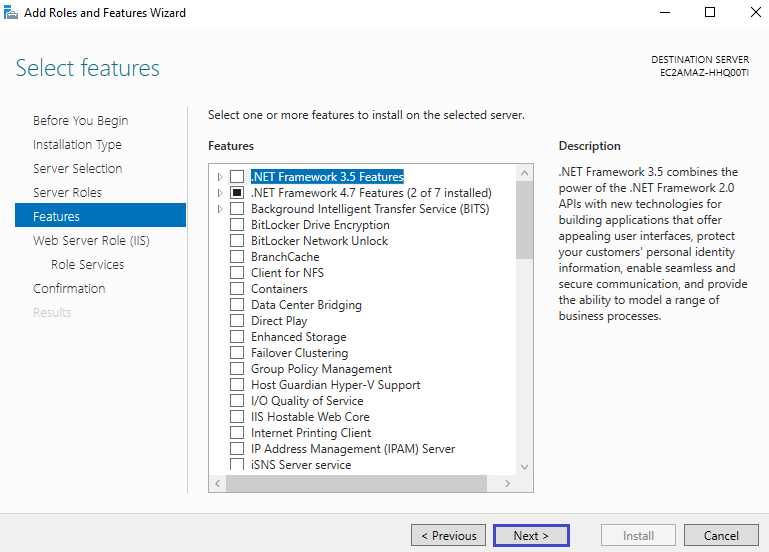
Click on Add roles and features.
Click on Next.
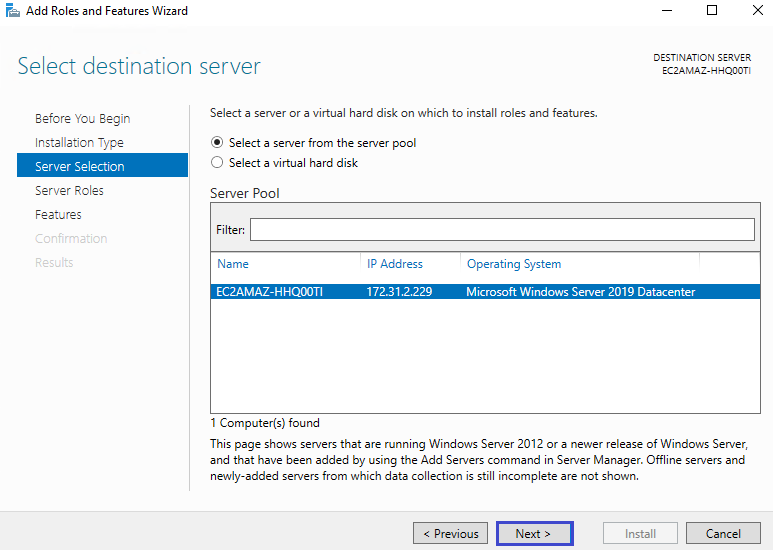
Click on Next.
Click on Next.
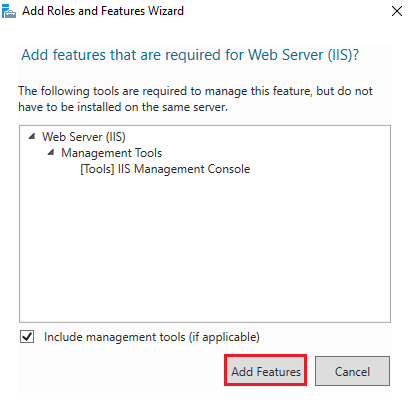
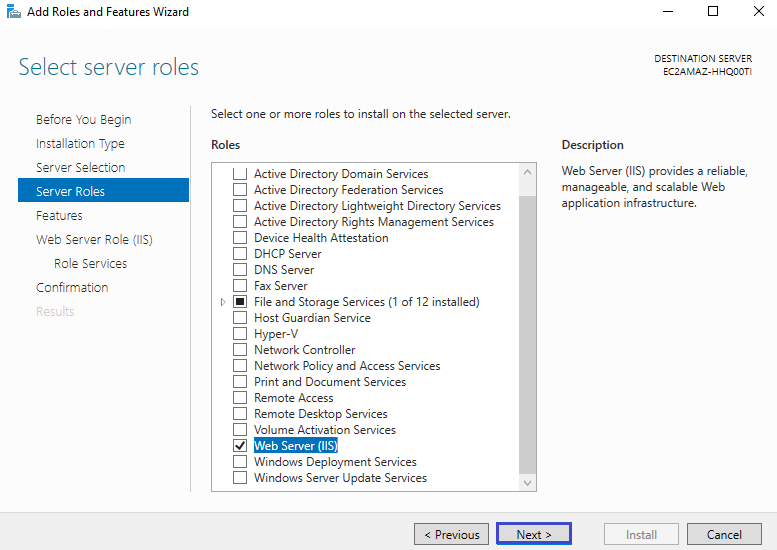
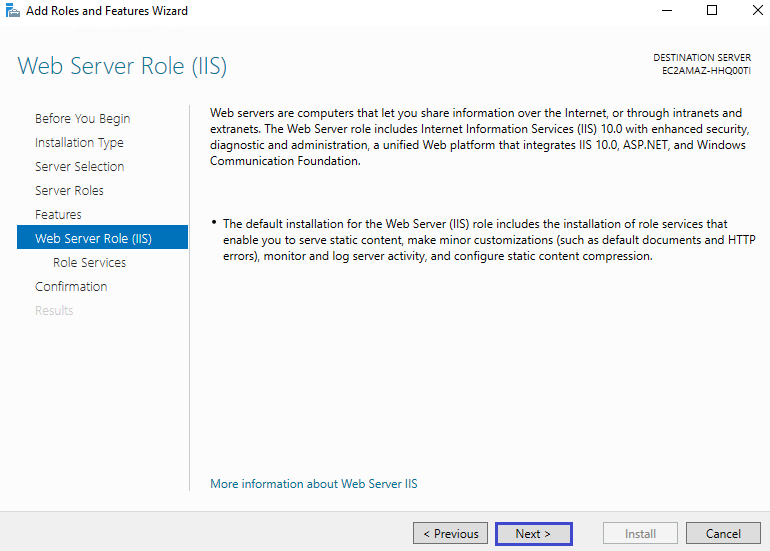
select web server (IIS).

Click on Add Features.
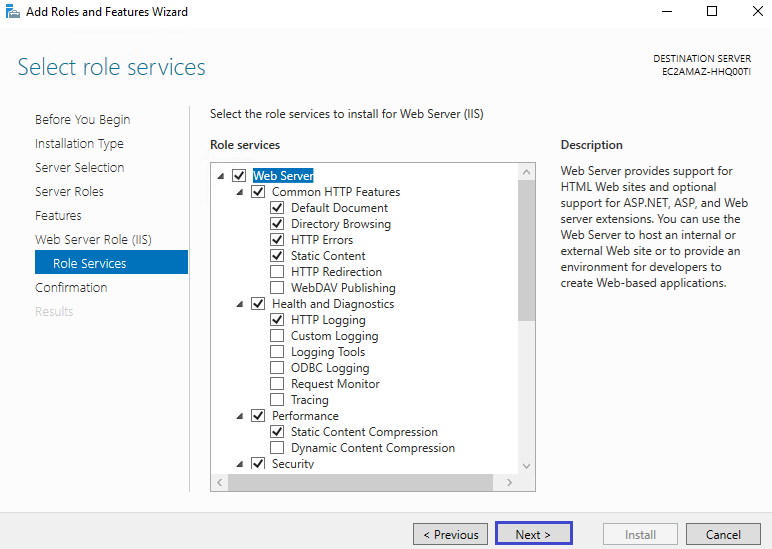
Click on Next.
Click on Next.
Click on Next.
Click on Next.
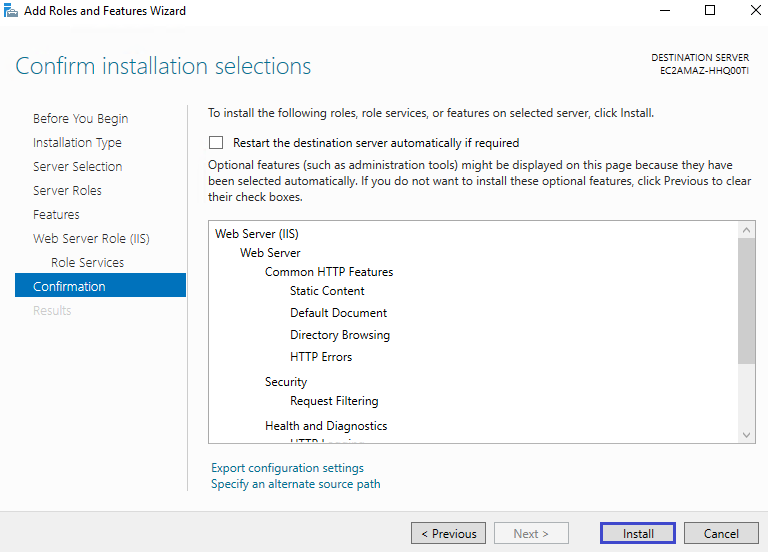
Click on Install.
Click on Close.
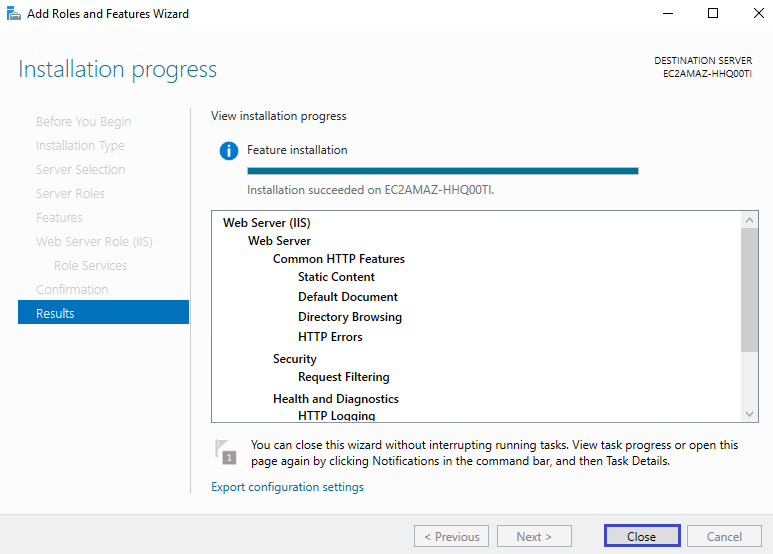
We can see IIS,the server manager has installed successfully.
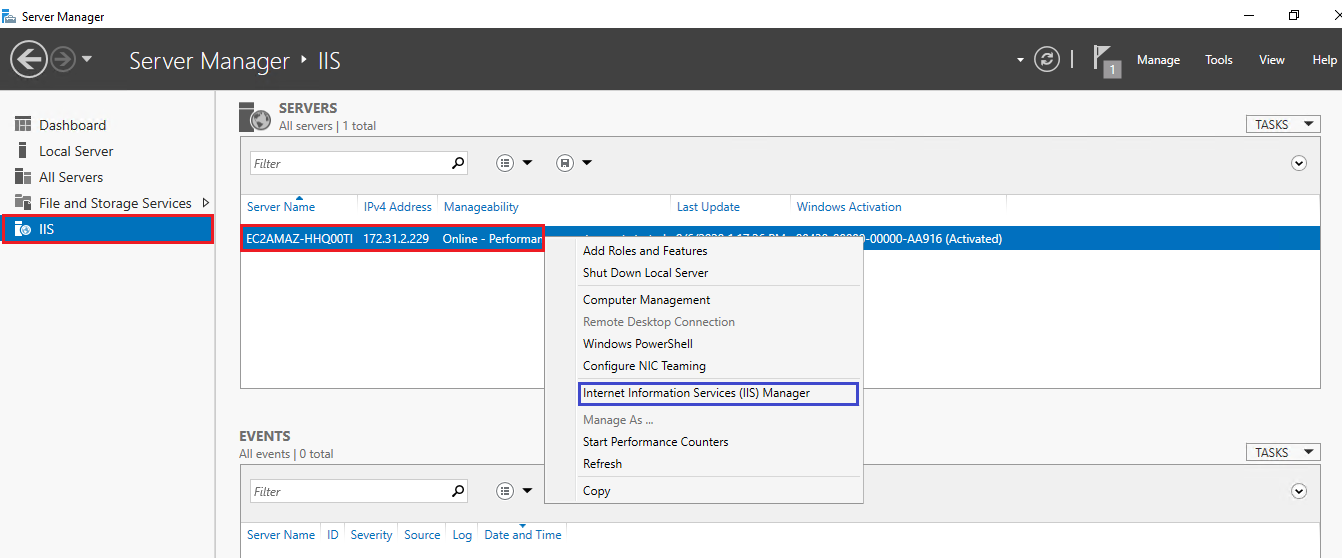
Select IIS,Right click on server name then click on Internet Information Services Manager.
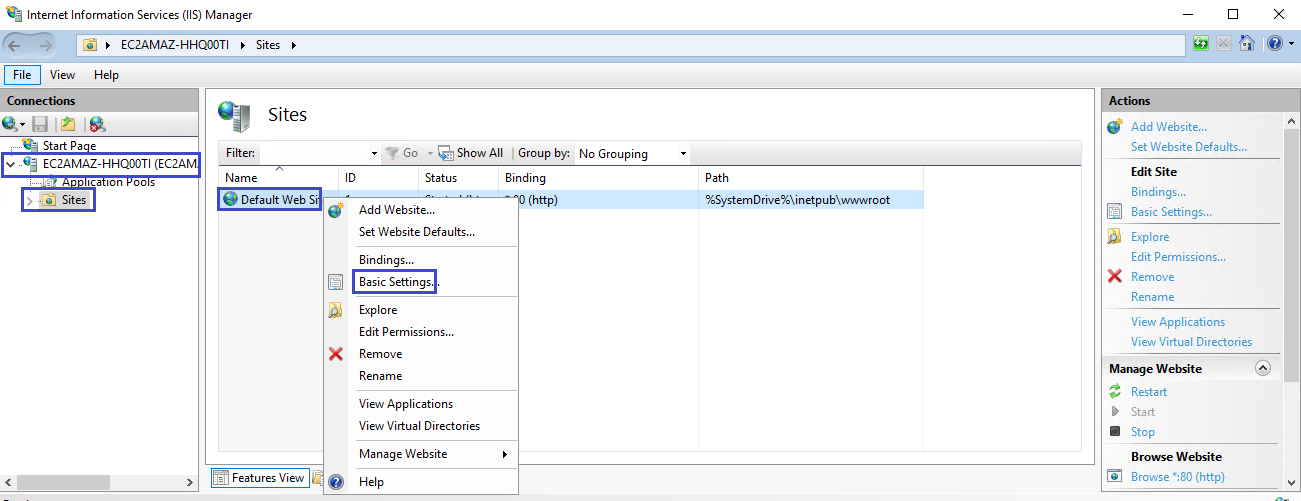
Go to sites,select default web server and give right click and select basic settings.
Give your webfile “web.html” location “websource”.
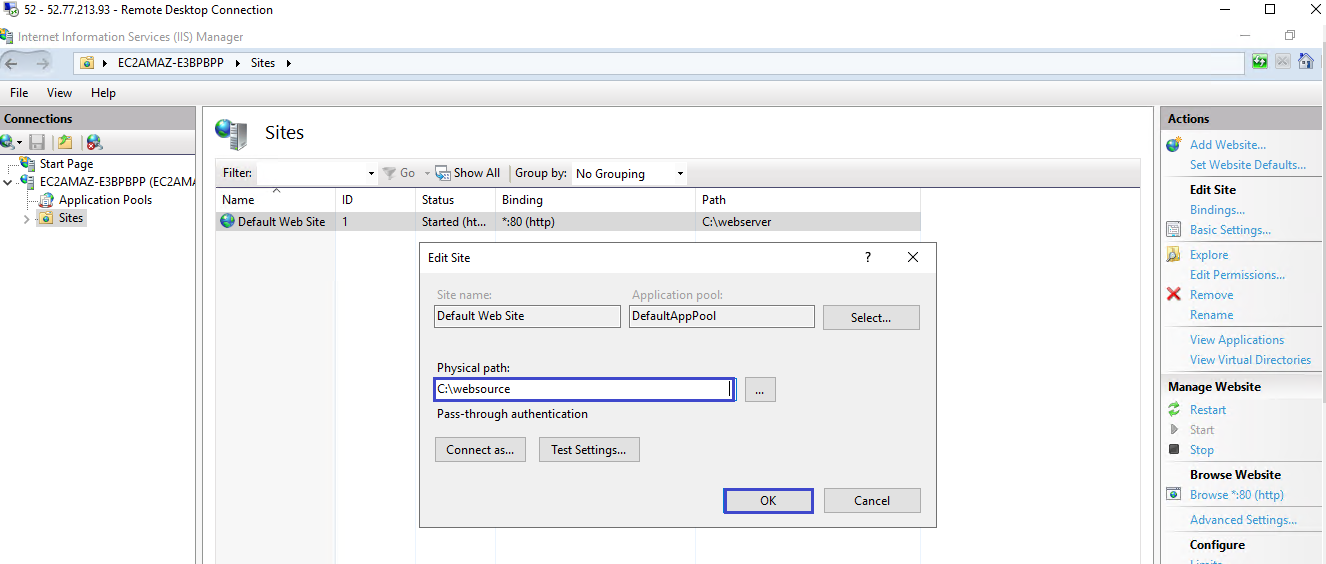
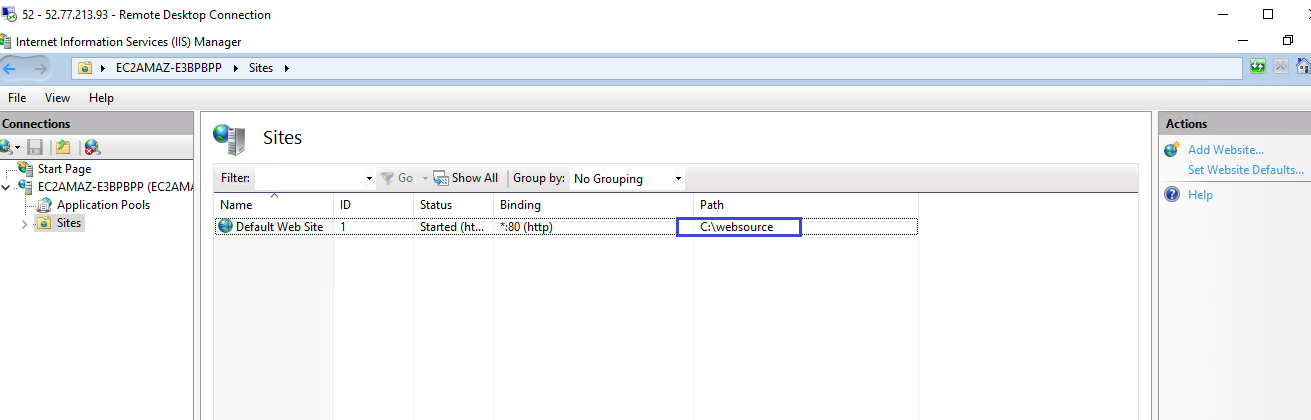
We have given the web file path successfully.
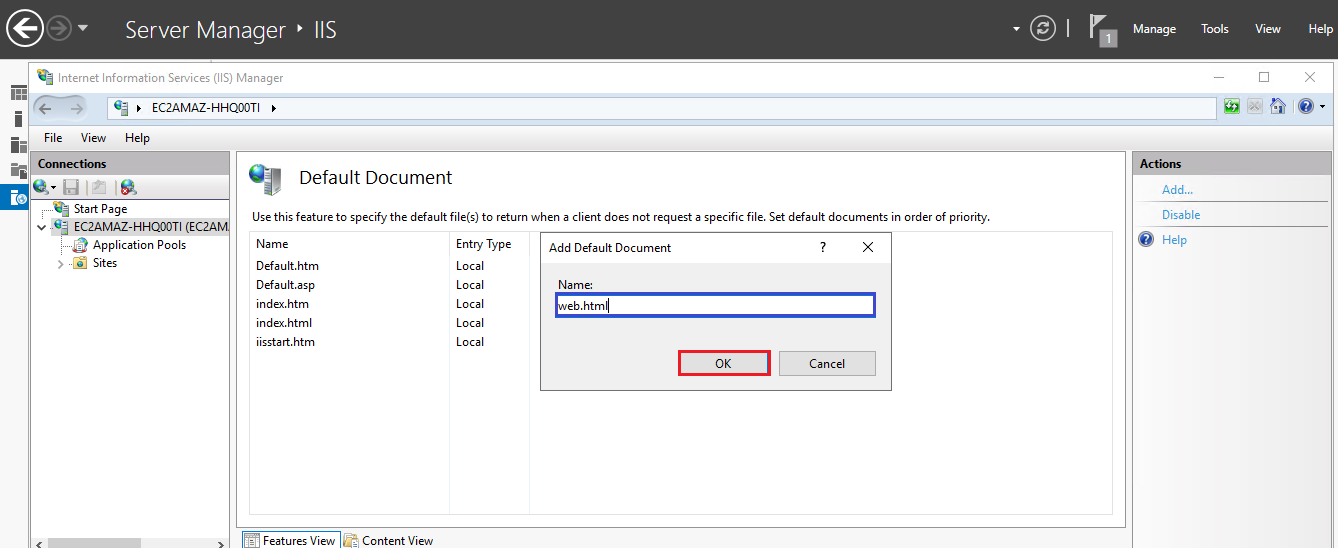
We need to give filename in the default document.
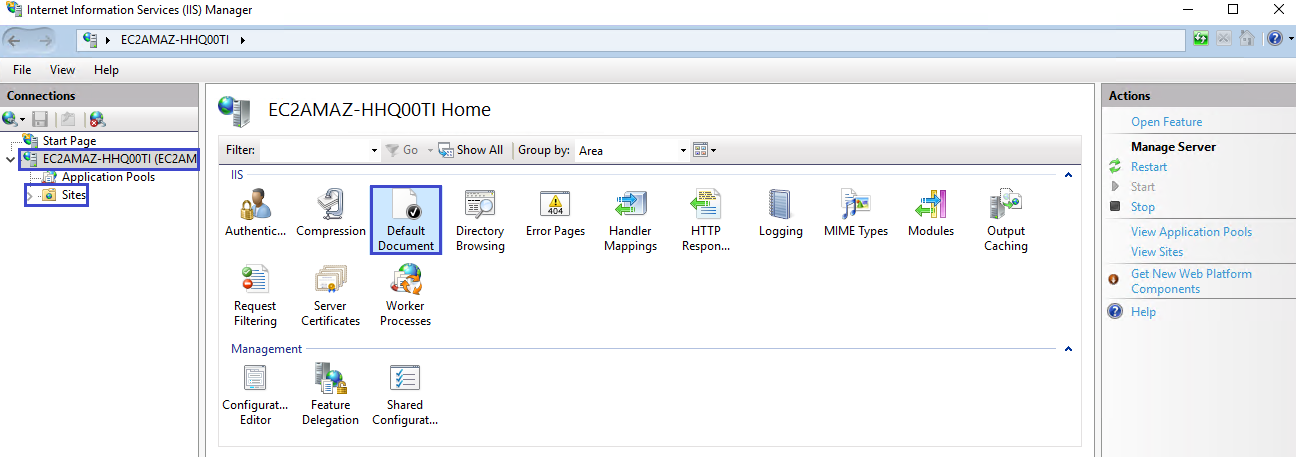
Open the default document and give right click and select Add.
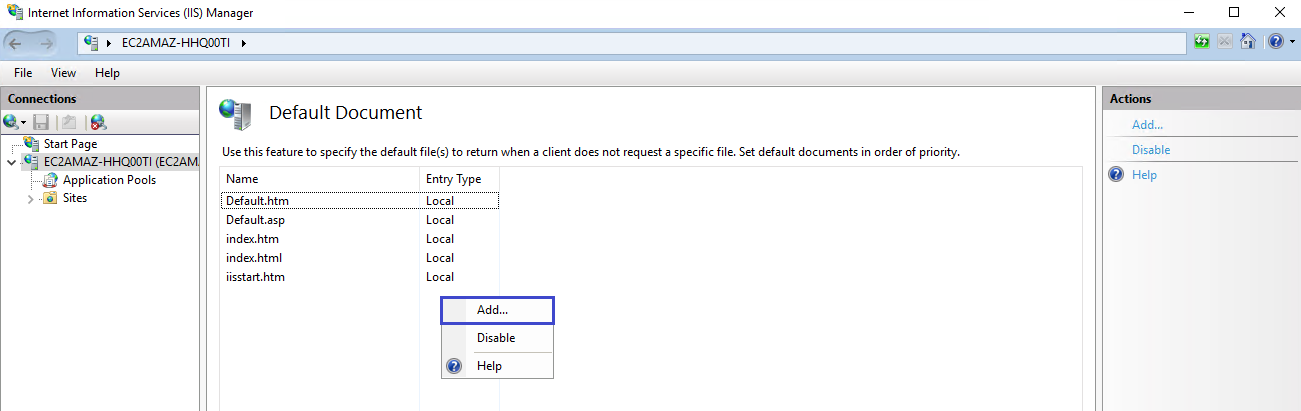
Specify filename “web.html” and click on ok.
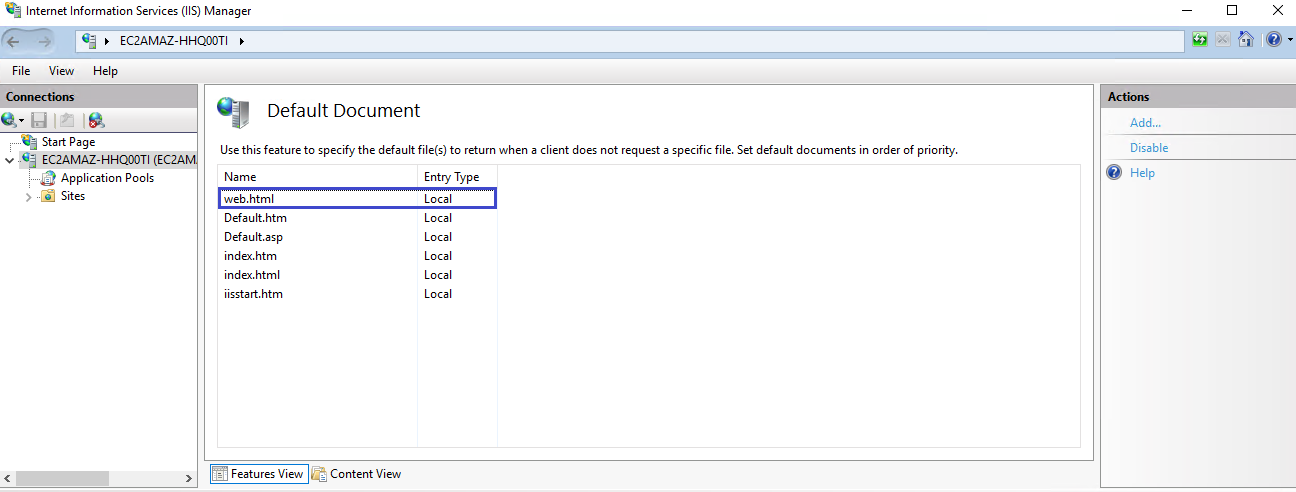
We can see the file “web.html” added successfully.
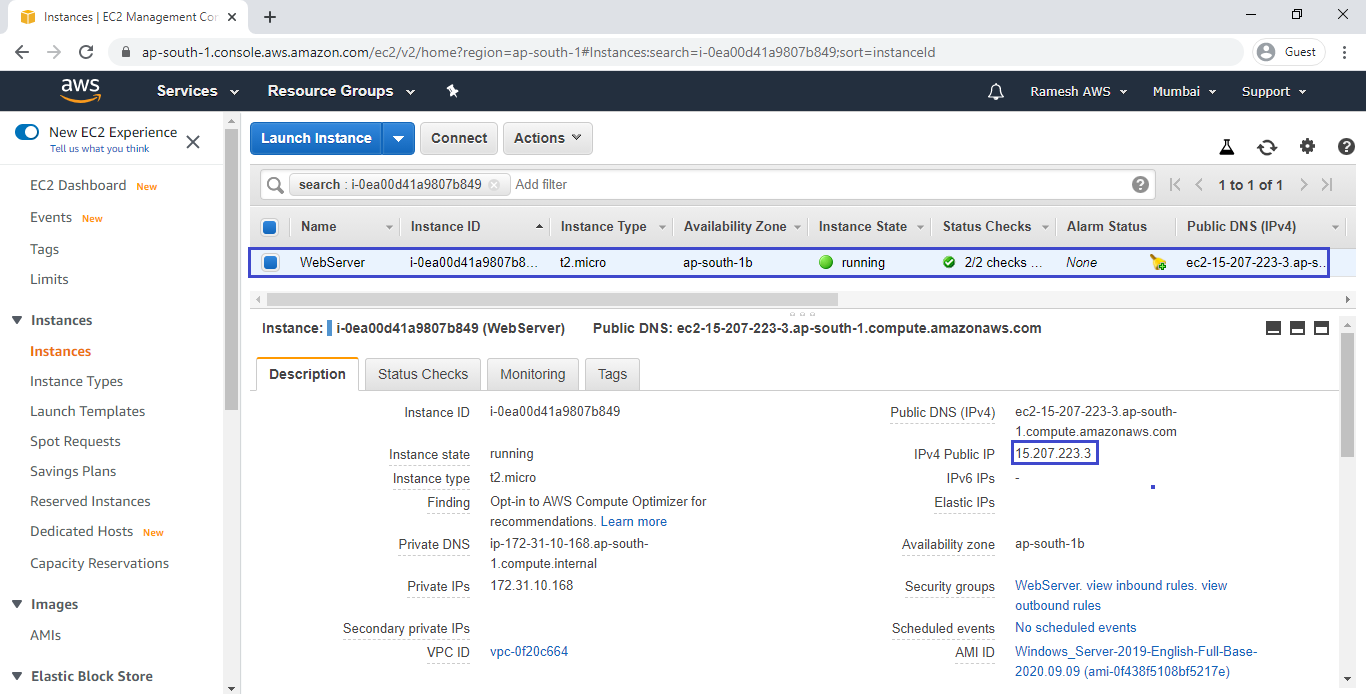
5. Take Public DNS (IPv4) / IPv4 Public IP and search in browser URL
Copy the either Public DNS (IPv4) or IPv4 Public
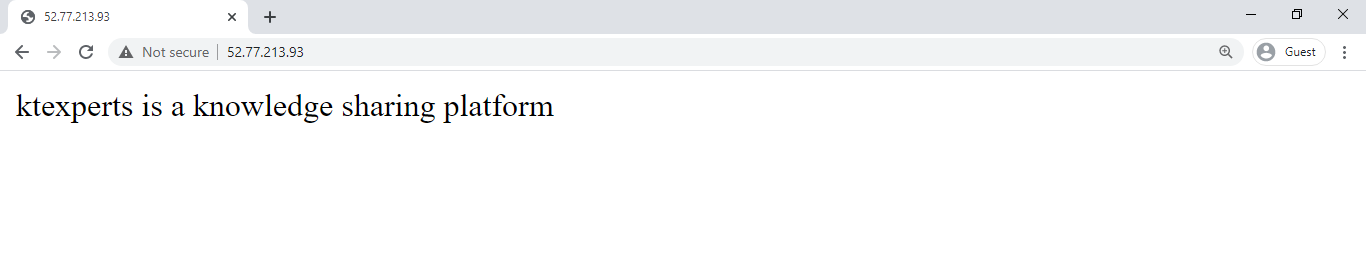
We can able to see the content anywhere in the world.
Thank you for giving your valuable time to read the above information.
Follow us on
Website : www.ktexperts.com
Facebook Page : KTexperts
Linkedin Page : KT EXPERTS
Follow Me
Ramesh’s Linkedin : Ramesh Atchala