Dear Readers,
In this article,we will see Creating Amazon CloudFront Distribution with S3 Origin in AWS .
- Follow below steps
- Create S3 bucket by making it public.
- Upload object by making it public.
- Search object URL in browser (Can see content with latency).
- Create CloudFront Distribution.
- Search CloudFront Distribution Domain Name in browser ((Can see content without latency).
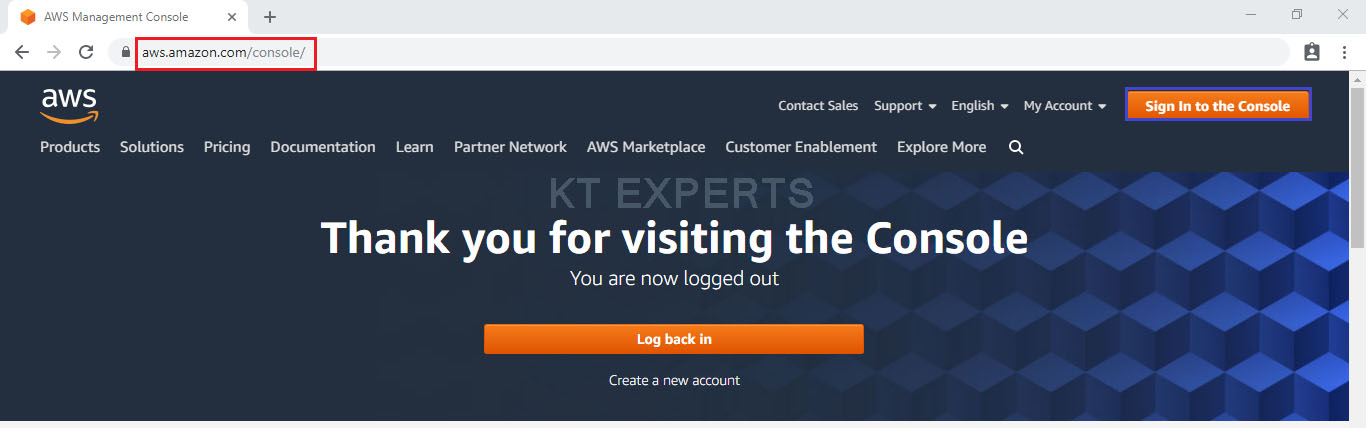
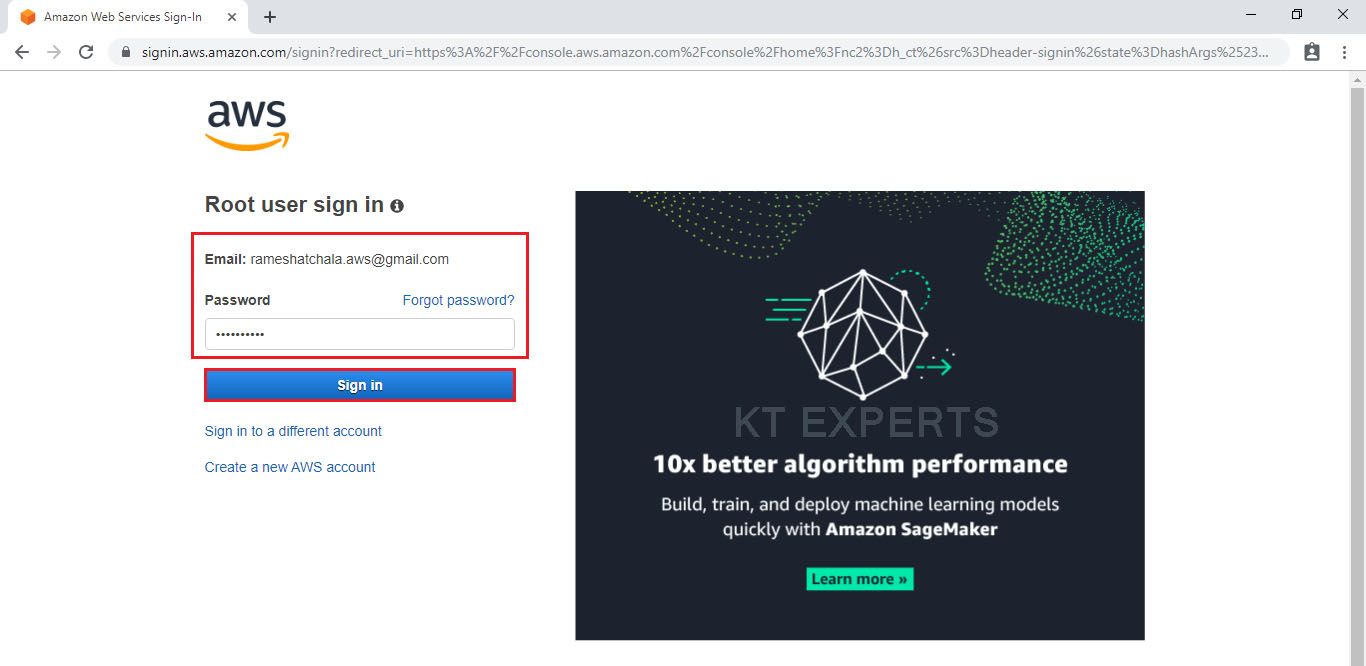
First, we need to AWS Console page by using below link.
https://aws.amazon.com/console/
Click on sign in to Console button.
Logging to aws account
Provide username and password then click on sign in.
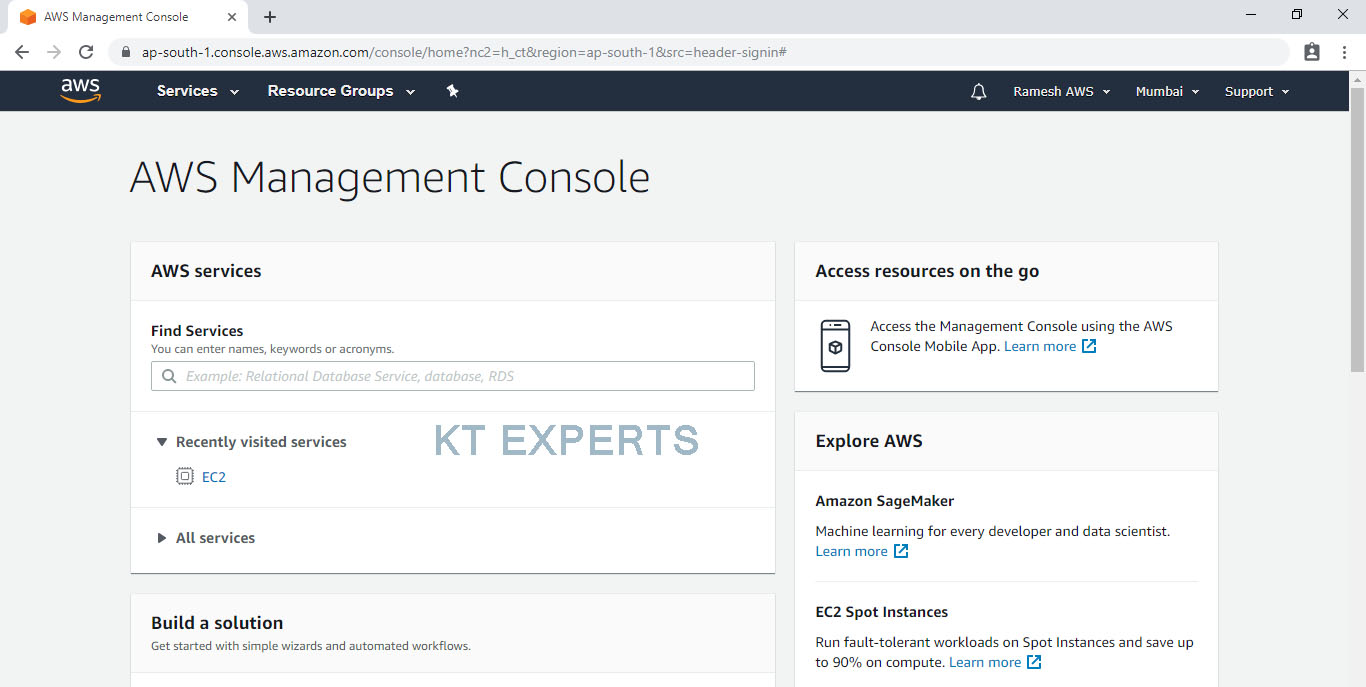
Enter to AWS Management Console
We can see the AWS Management Console Dashboard.
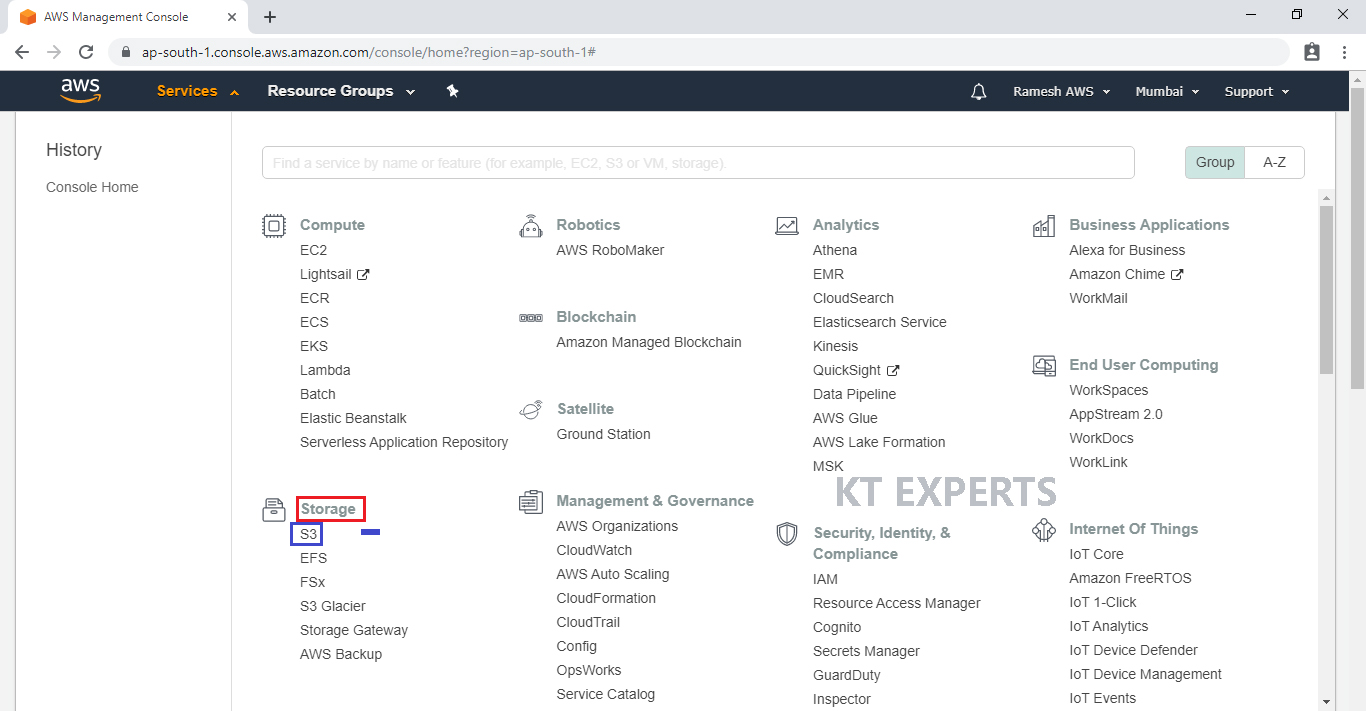
Create S3 Bucket
Go to Services, under the storage module click on S3 service to open.
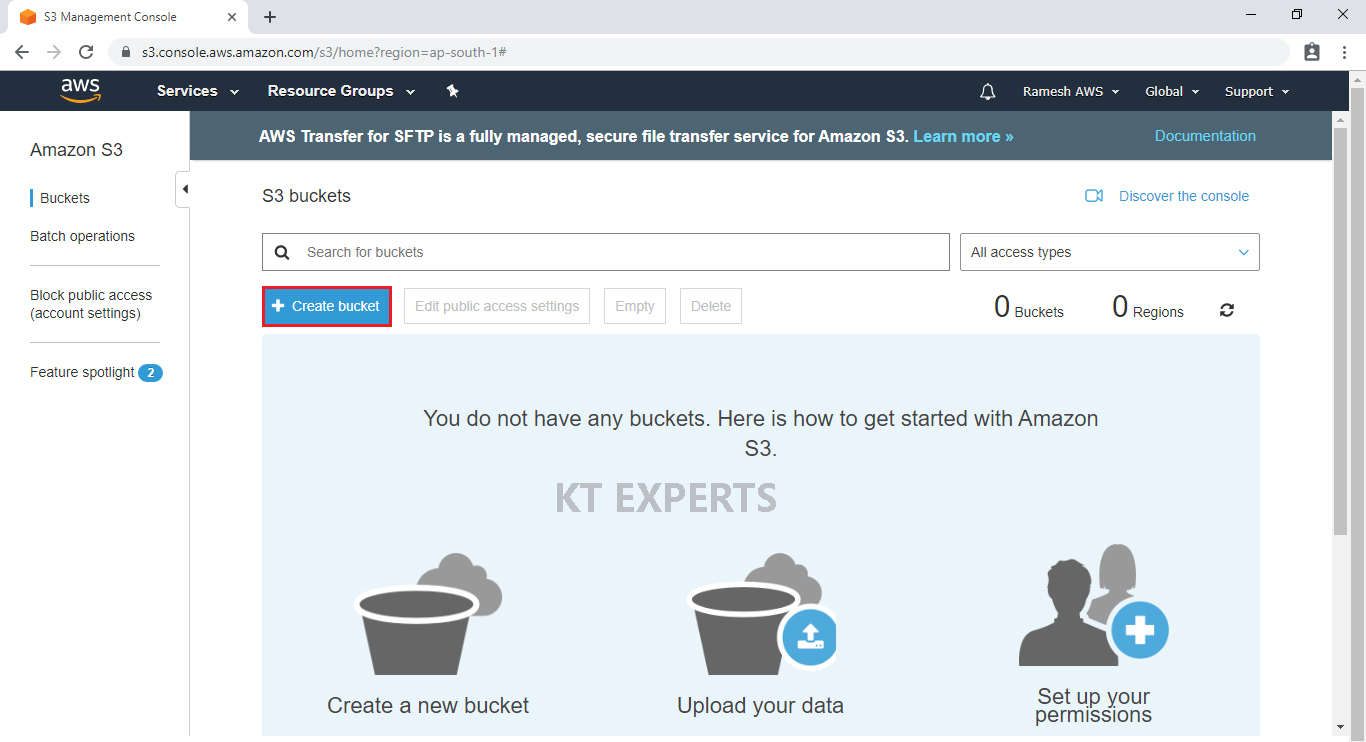
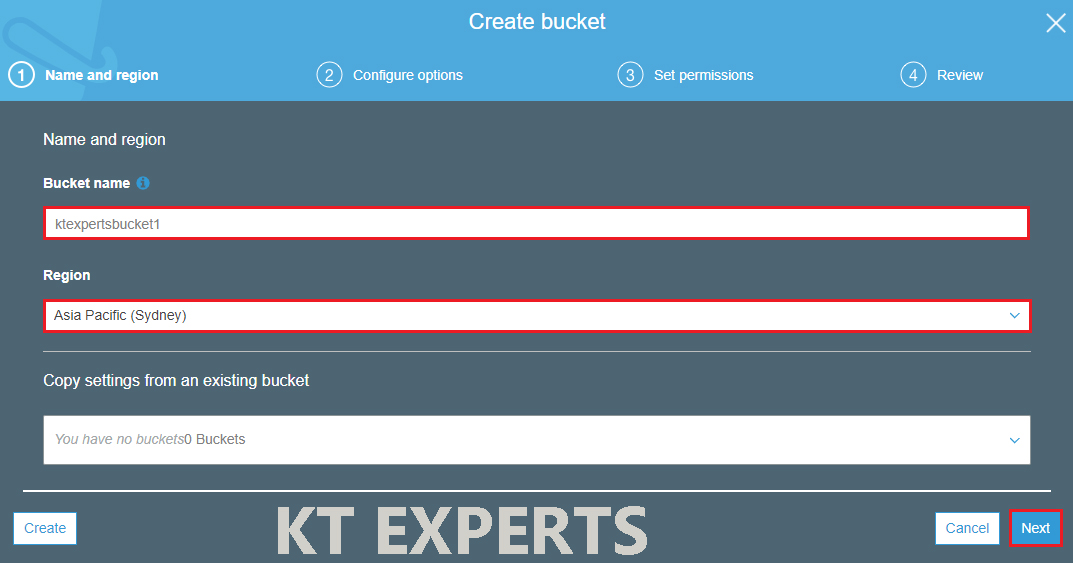
Click on create bucket.
Provide the bucket name must be globally unique across all existing bucket name in Amazon S3
In Region, Choose required region.
Click on Next.
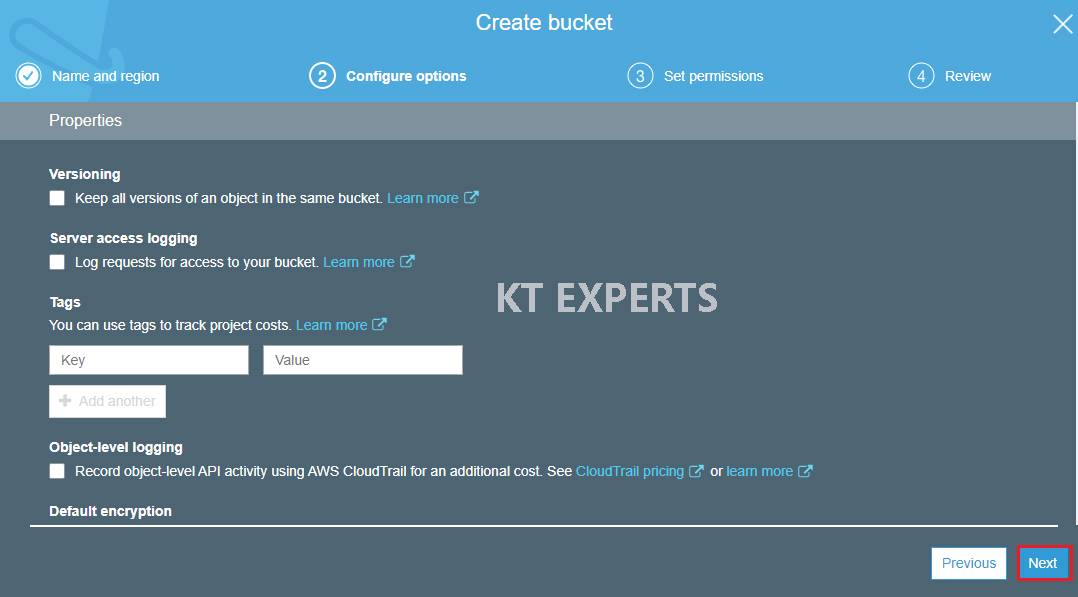
Click on Next.
Make bucket to public
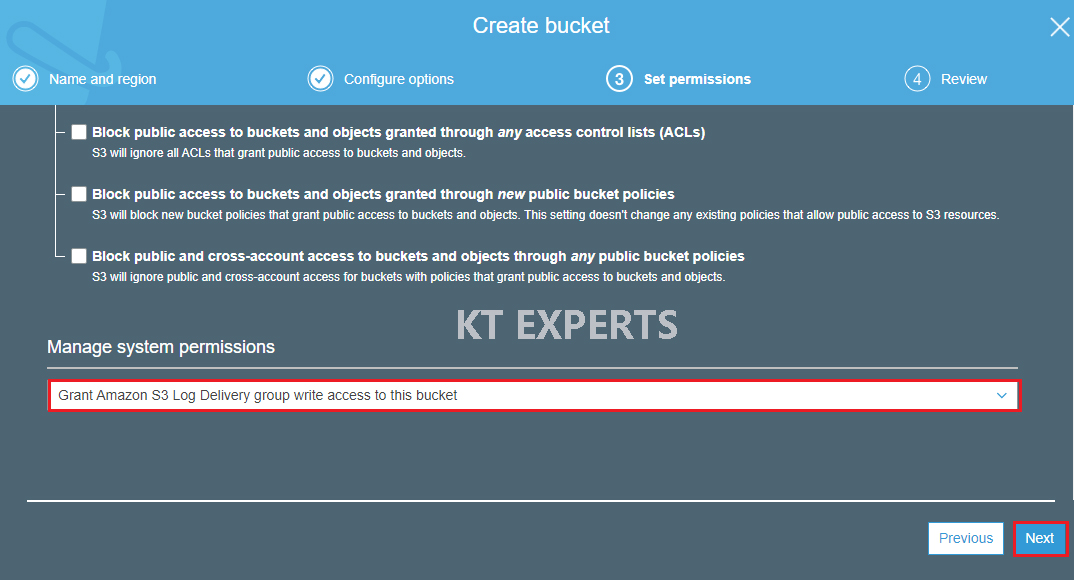
Unchecked Block all public access.
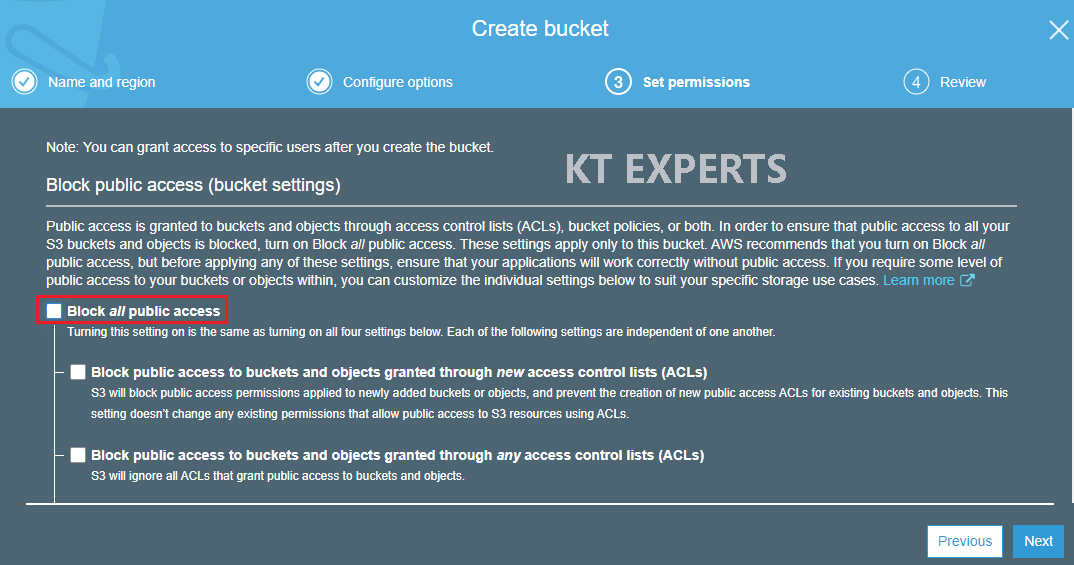
Go to Manage System permissions and choose Grant Amazon S3 Log Delivery group write access to this bucket then click on Next.
Verify all the details which has given by user then click on create bucket.
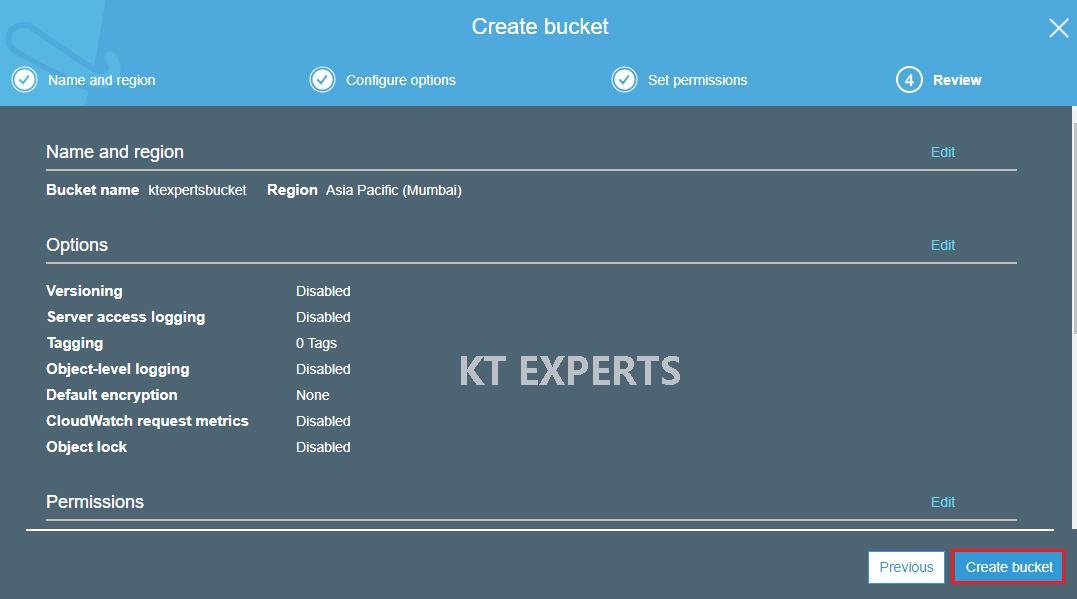
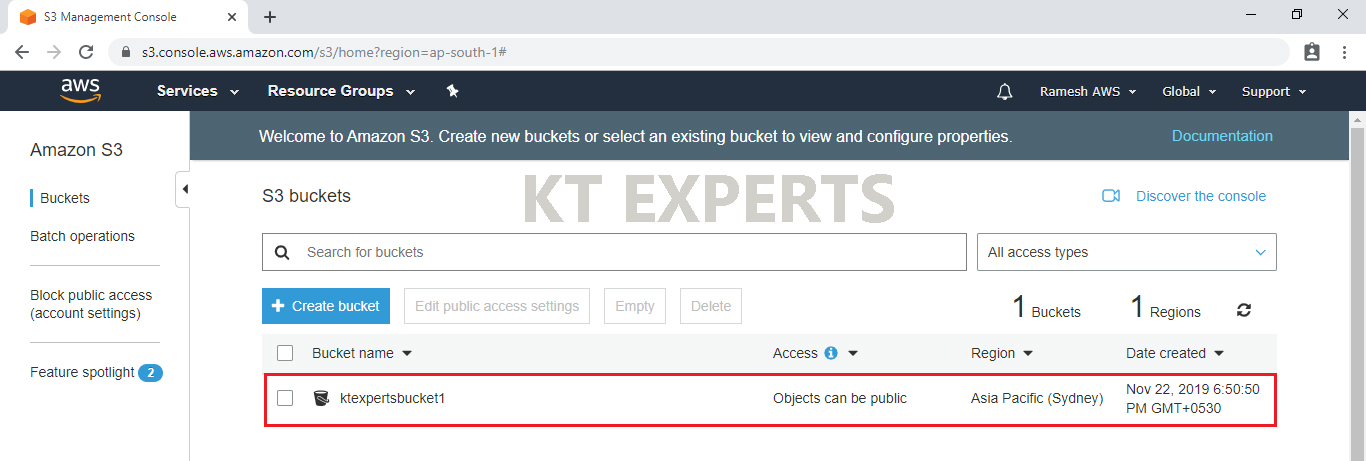
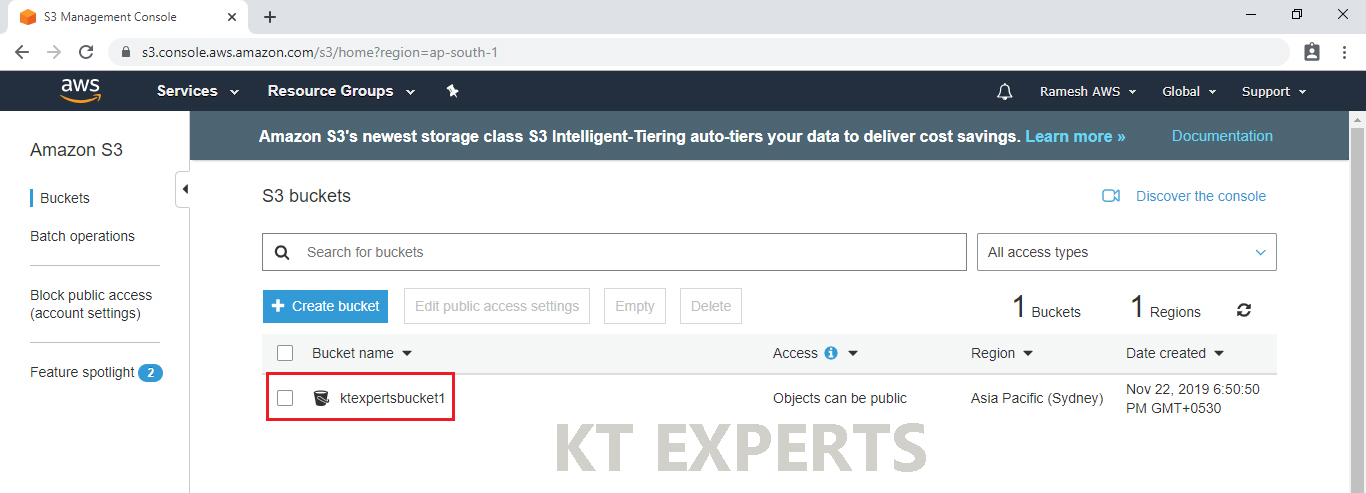
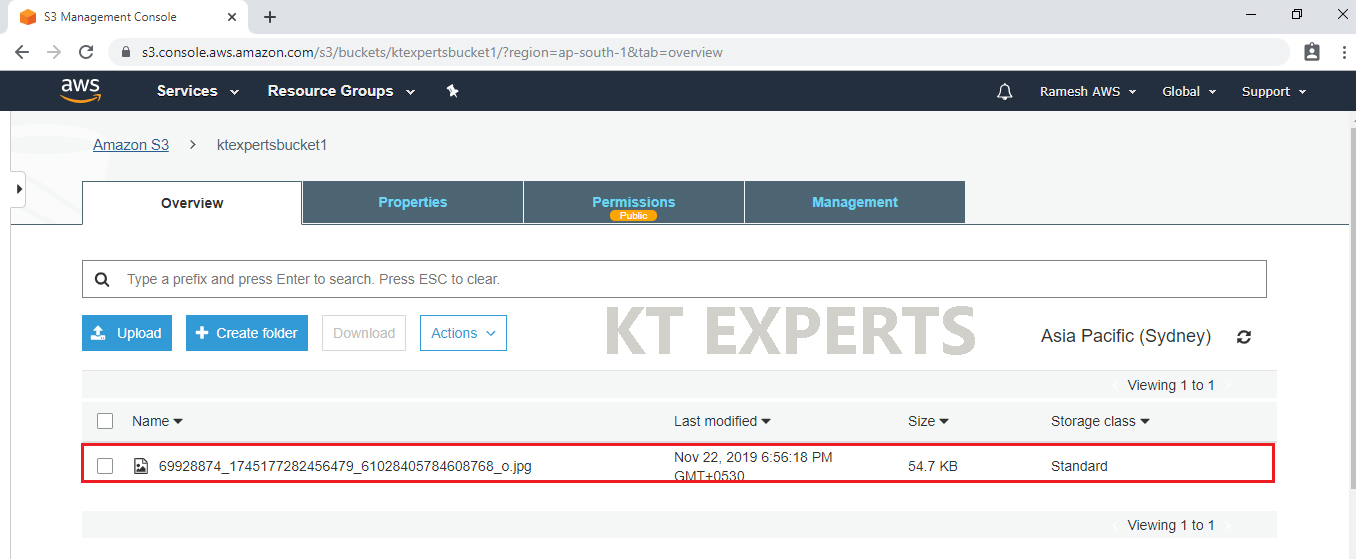
We can see the bucket “ktexpertsbucket”.
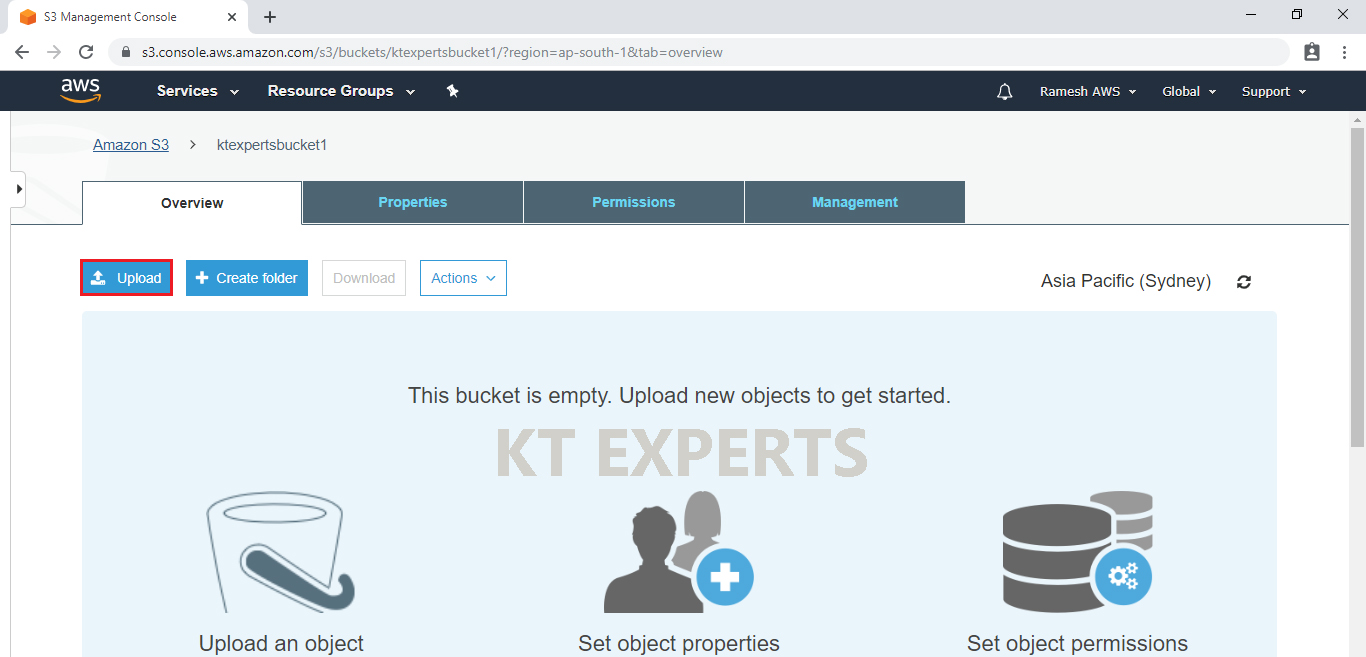
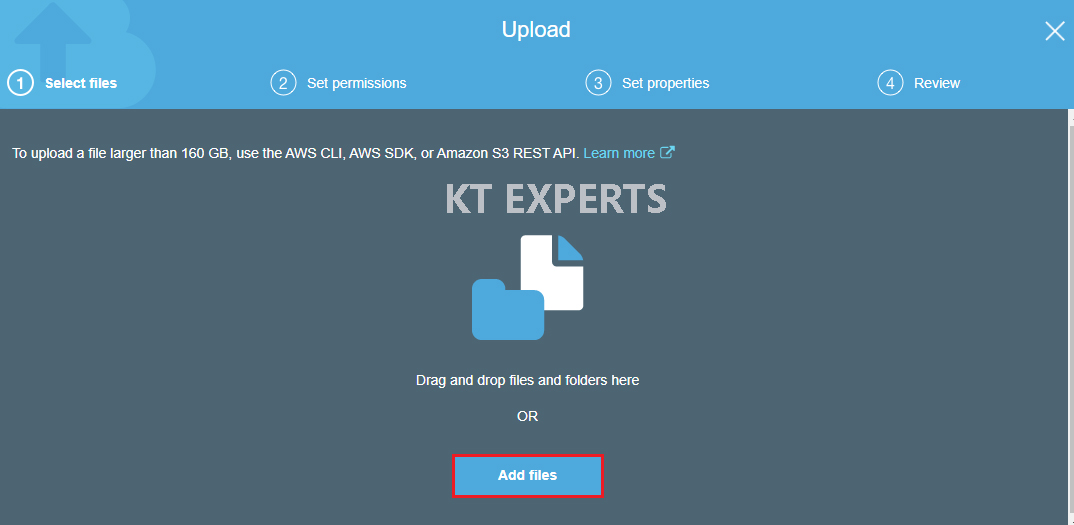
Upload Object in S3 Bucket.
Open the bucket ( click on the bucket name).
Click on upload to add files to your bucket.
Click on Add files.
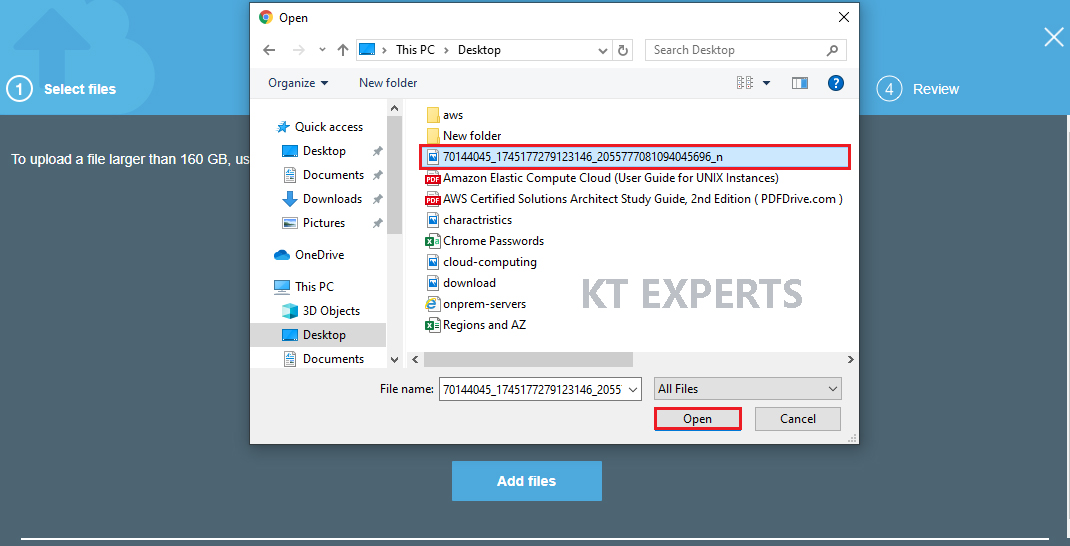
Choose the required file and click on open.
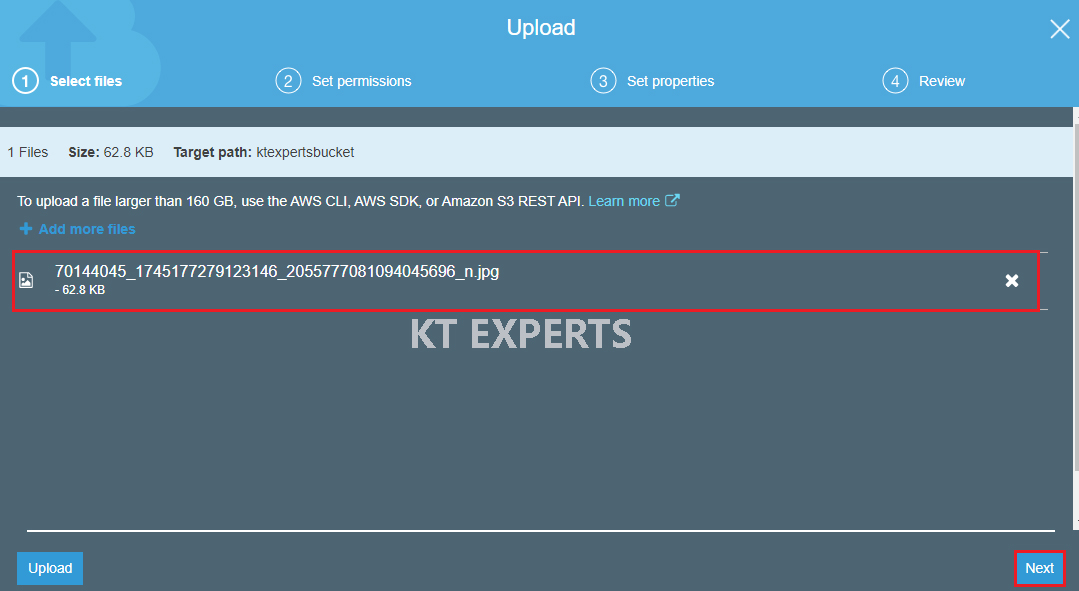
Click on Next.
Make object public
Go to Manage Public permissions and choose grant public access to this object.
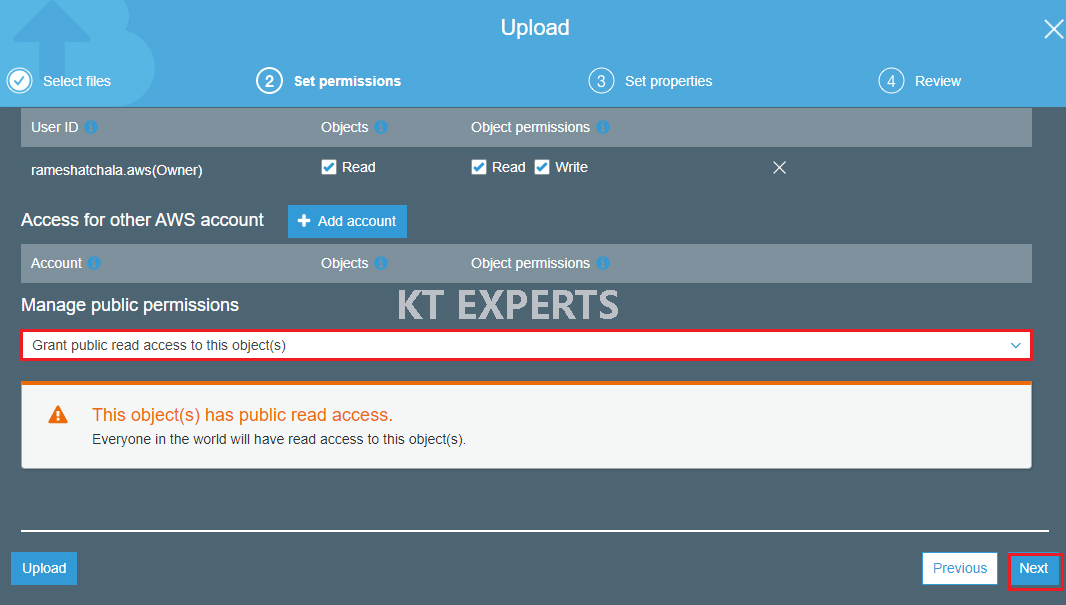
By default the storage class is standard skip and click on Next.
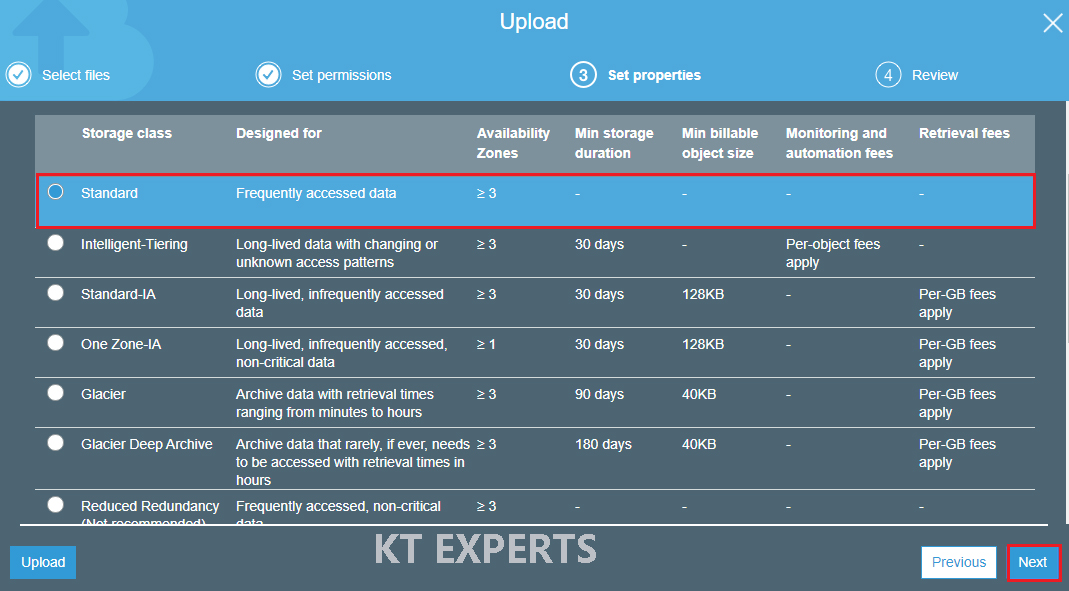
Verify all the details and click on upload.
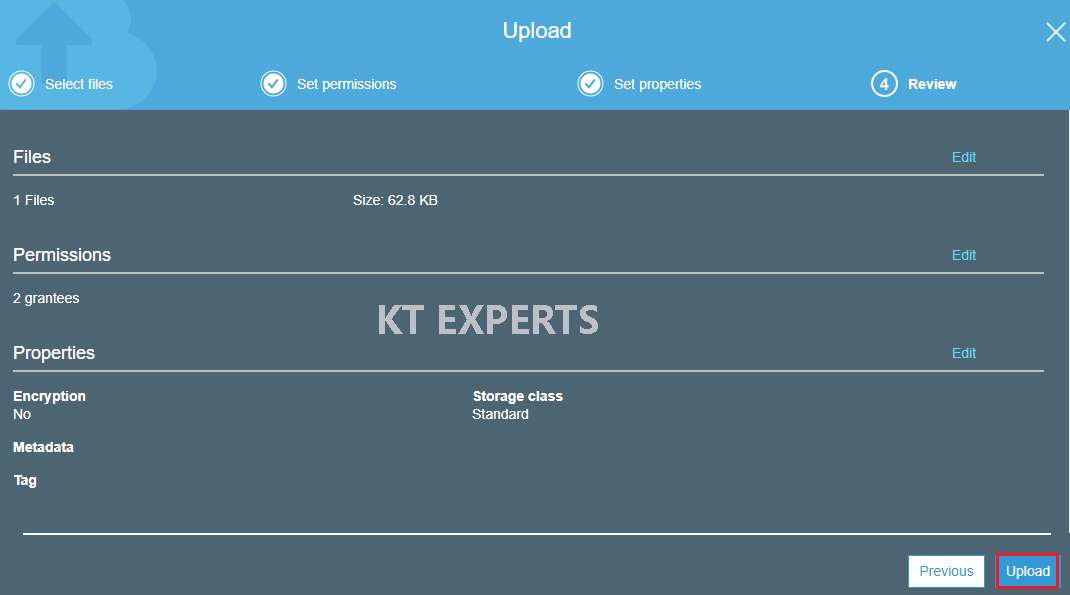
We can see the object has been uploaded successfully to the bucket.
Search object URL in browser
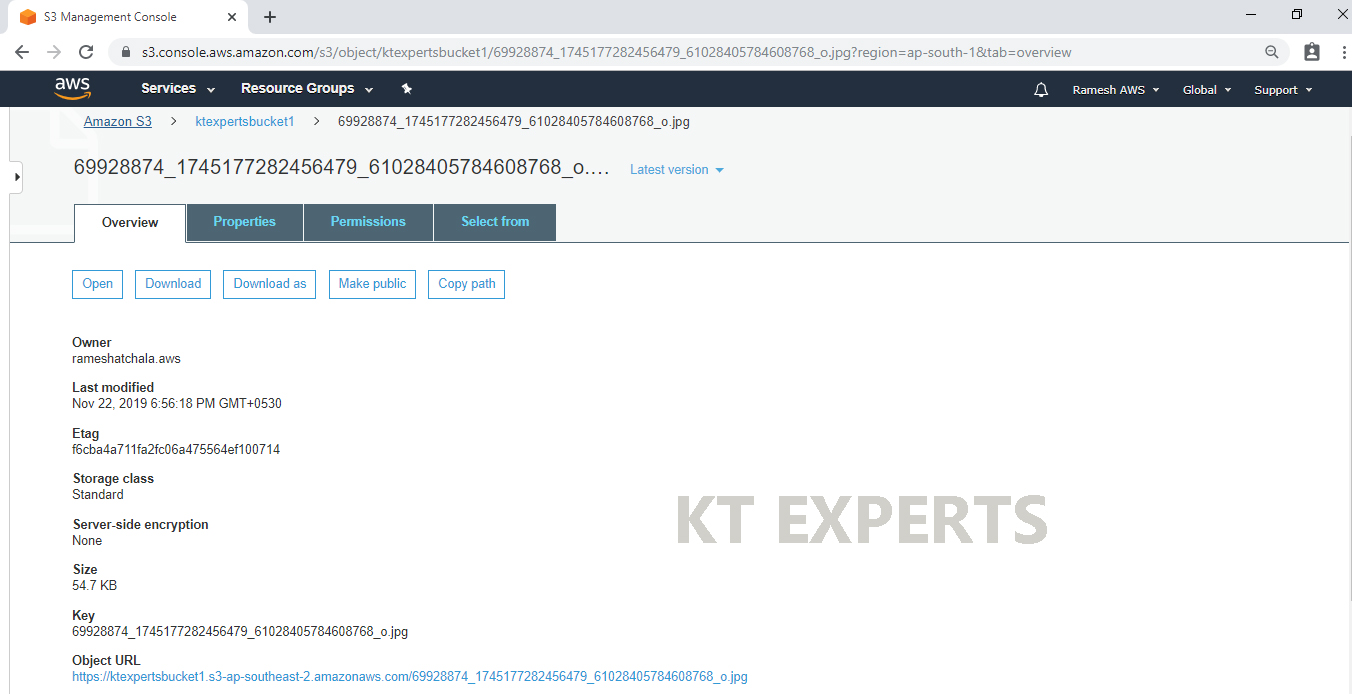
Once opened the object we see the overview of object (Information about to object).
At the bottom one URL can be visible Take copy the URL.
Search the URL in different browser.
We can see the object’s content as shown below.
Note
If you open object URL , your request is going to Sydney load the page then it will the show the content.
Our bucket is in Sydney. It is so far from you.
We can find some latency.
Latency means won’t get content immediately, it will take some time.
If you want to remove latency ,you can create cloudfront.
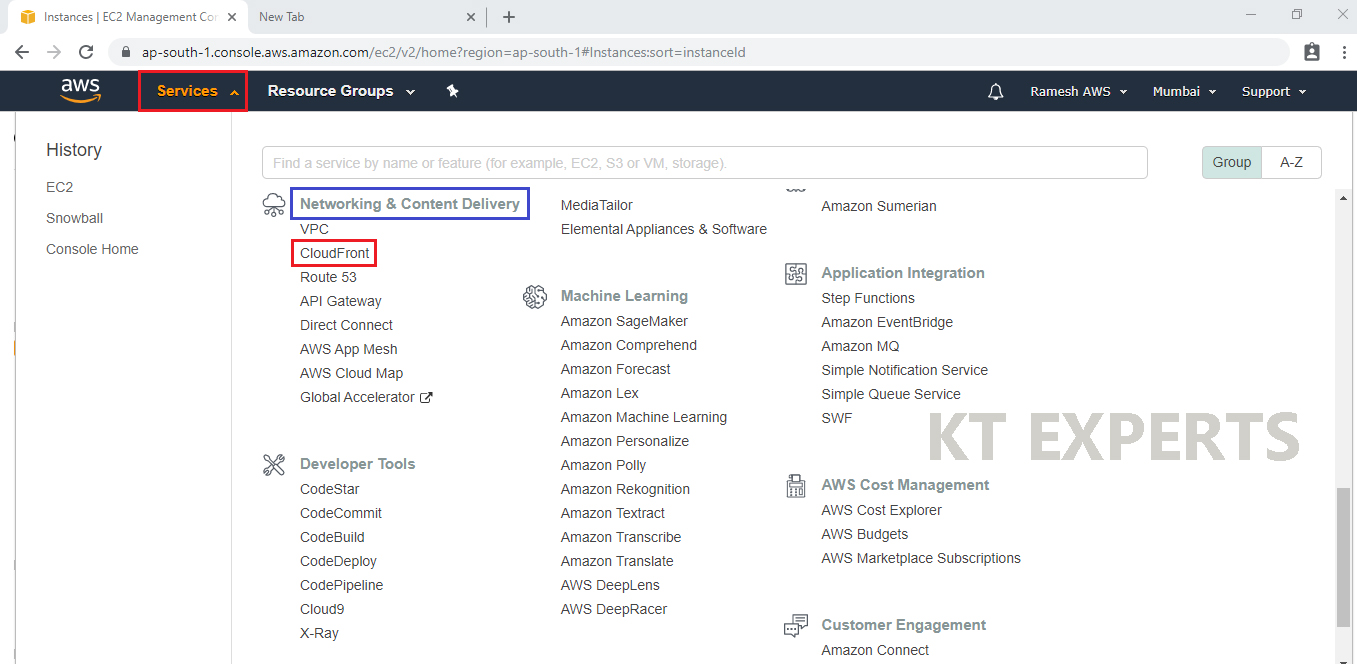
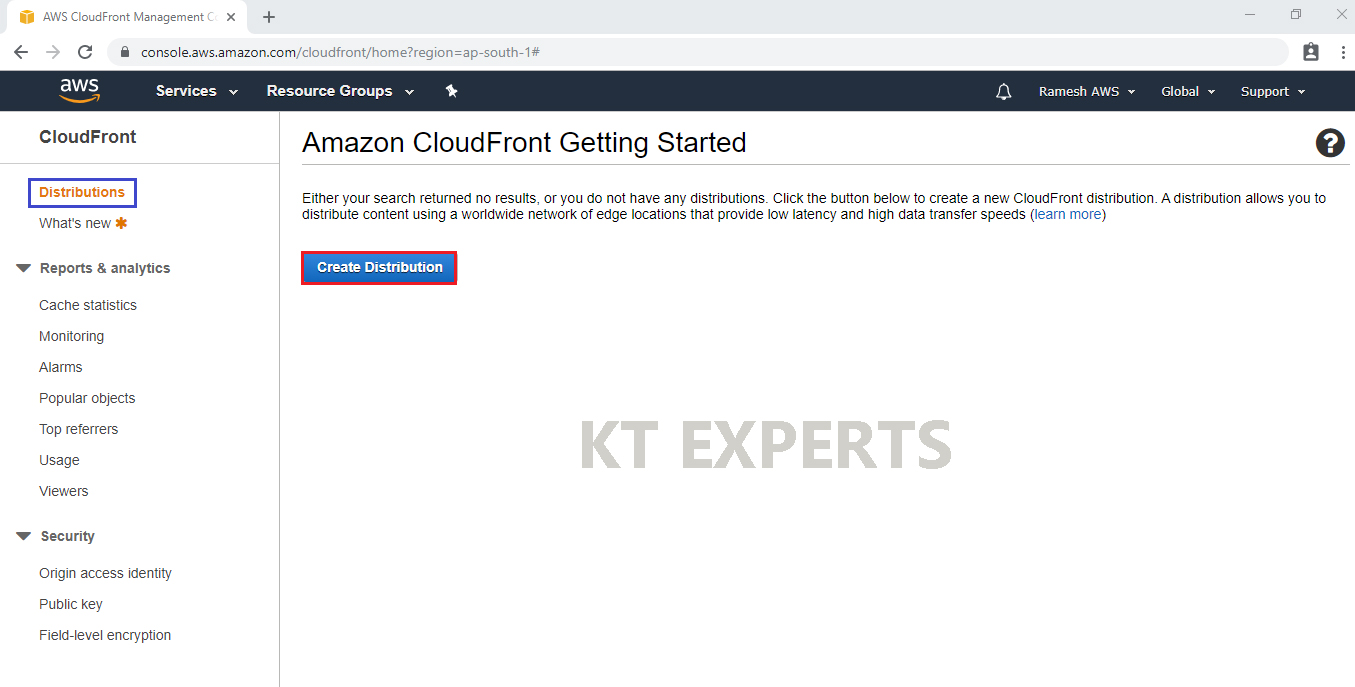
Create CloudFront Distribution
Go to services, click on CloudFront in the Networking & Content Delivery
Click on Create Distribution.
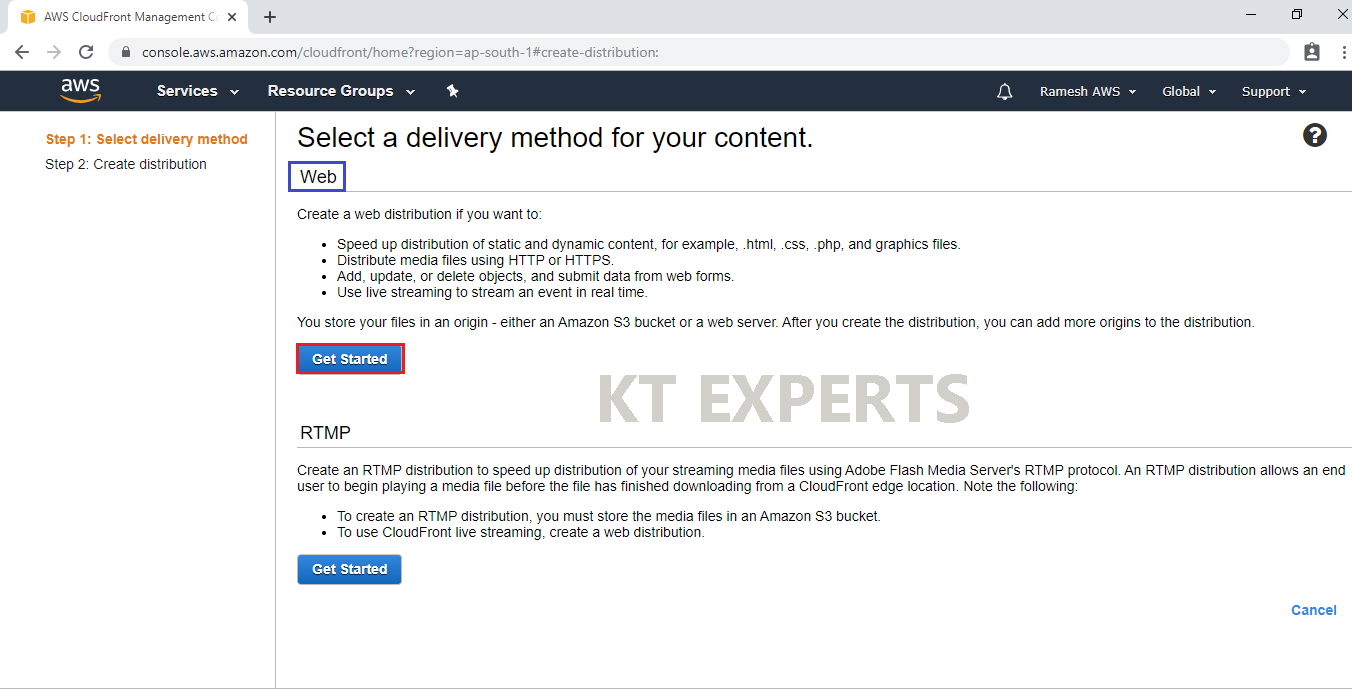
Choose Web, Click on Get Started.
Web is used for static and dynamic content whereas RTMP is used for streaming media files. So here we need to select Web as it’s a simple S3 Bucket..
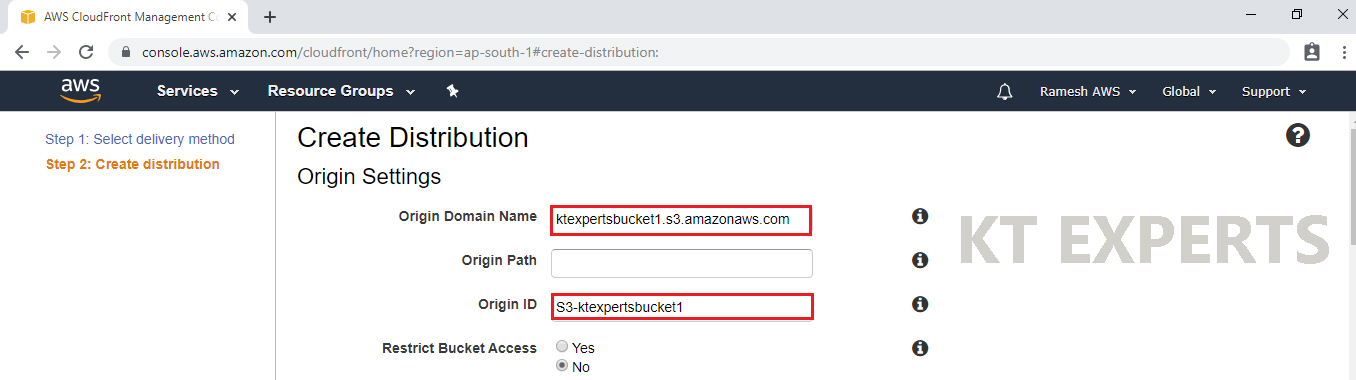
Select your created bucket in the Origin Domain Name then choose Origin ID.
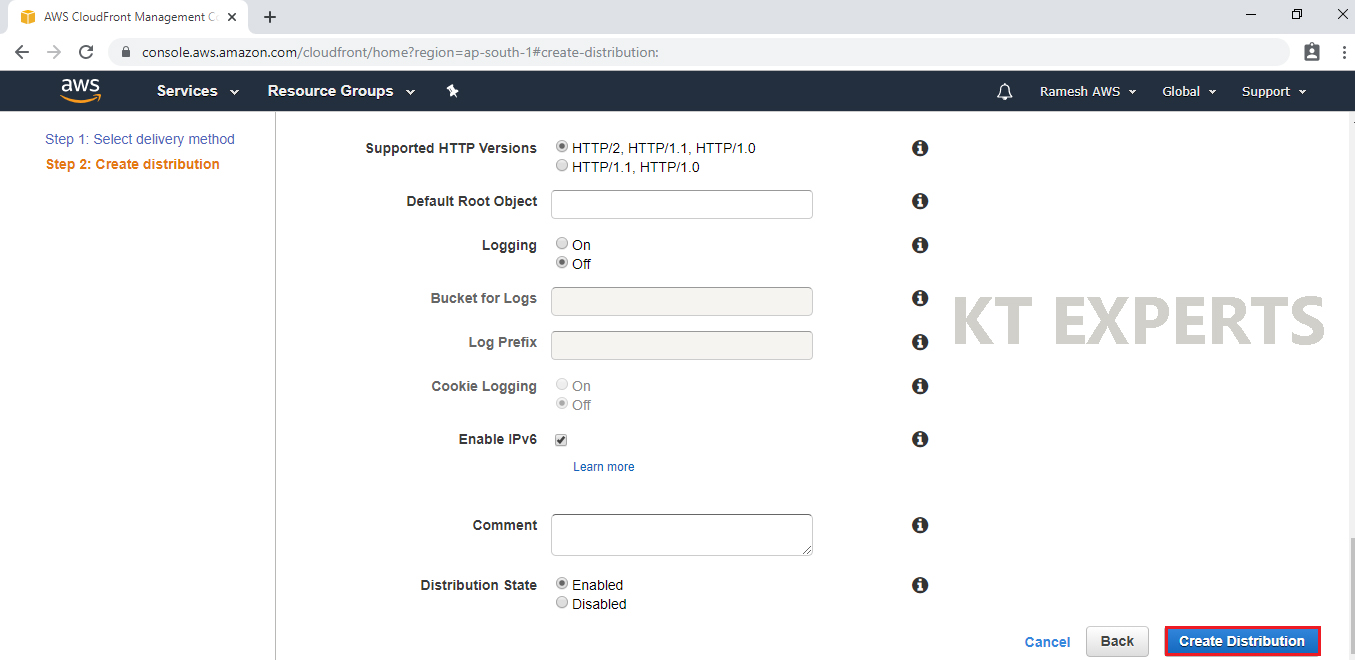
Click on Create Distribution.
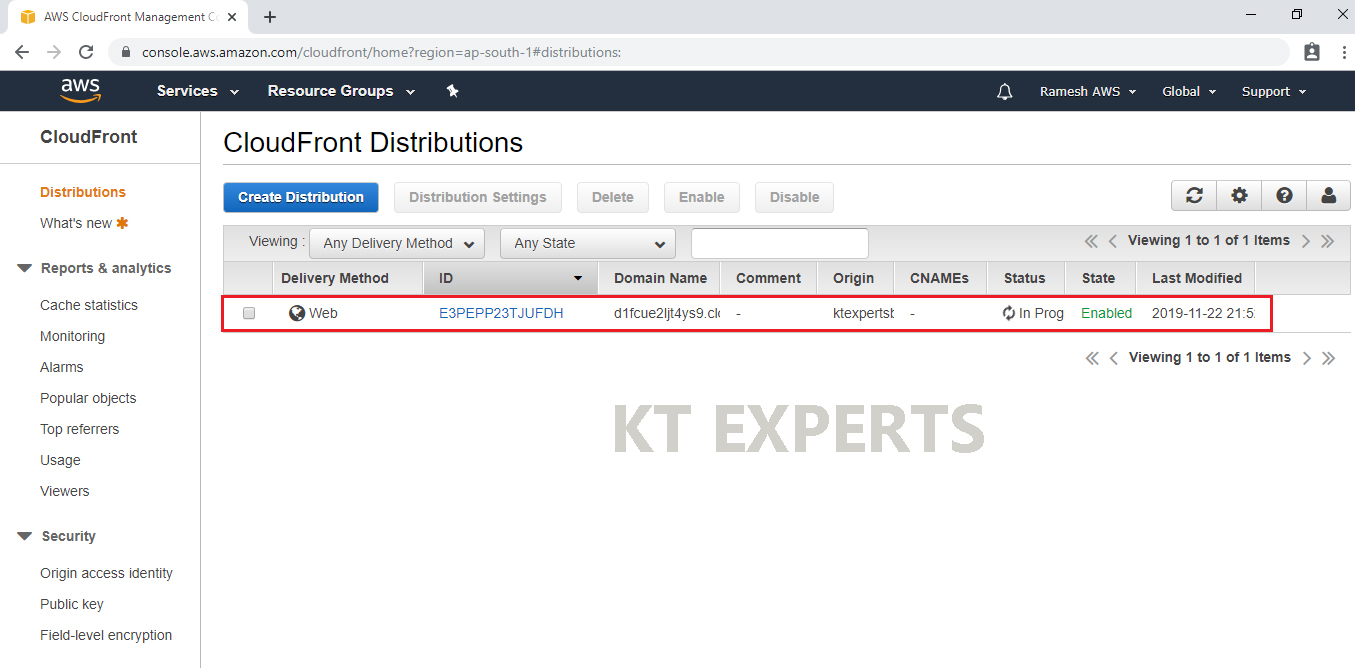
The distribution is being created.
It will take around 20 minutes to create.
It will push all the configurations to all regions that’s why it takes time.
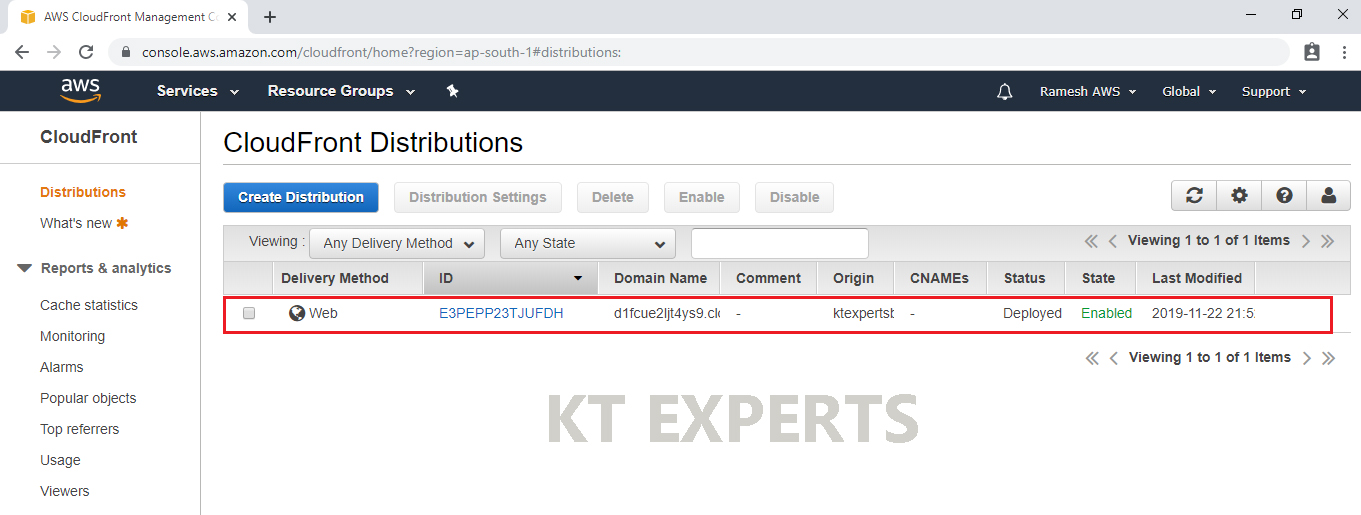
Now, the distribution is ready (Status is Deployed).
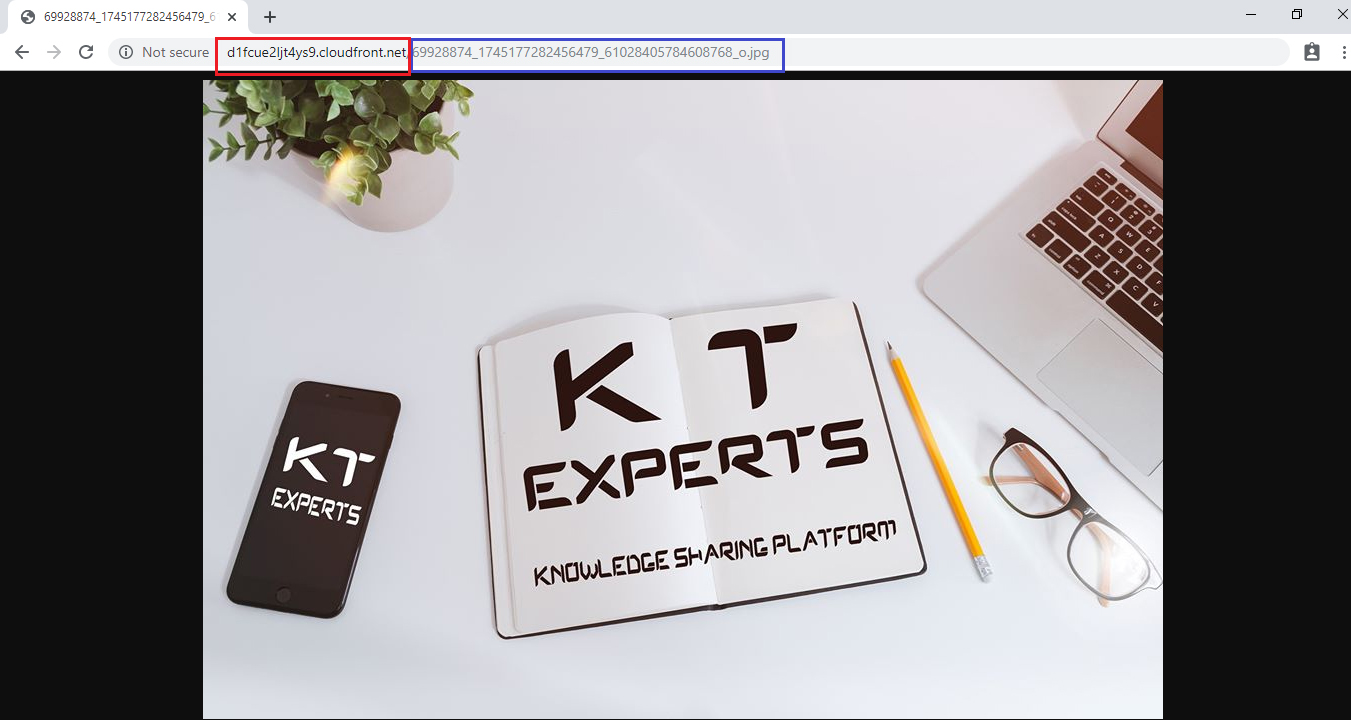
Search CloudFront Distribution Domain Name in browser
Copy Domain Name of the Distribution.
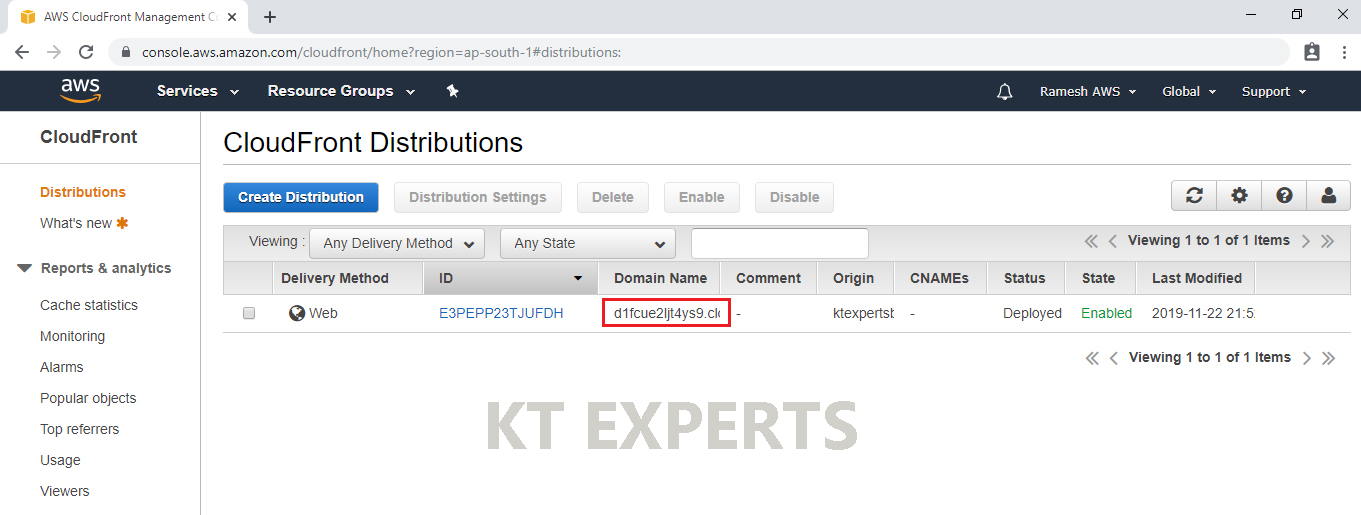
Copy the Domain Name and paste it in the address bar, followed by the file name. You will be able to access the file now and it’s happening through CloudFront distribution.(d1fuce2l4jys9.cloudfront.net/69928874_1745177282456479_61028405784608768_o) in browser..
Note
If you access cloudfront URL(Domain Name) ,First the request goes to nearest edge location from there it routes to your server (S3 bucket).
From S3 bucket the content is cached to nearest edge location (Content saved in edge location) then delivers the content.
First time the content will come from origin through edge location, so we can find some latency because there no content present in the edge location.
Second time onwards the content will come from edge location because the content already cached in the edge location.
The edge location delivers the content immediately (without latency).
Thank you for giving your valuable time to read the above information. Please click here to subscribe for further updates
KTEXPERTS is always active on below social media platforms.
Facebook : https://www.facebook.com/ktexperts/
LinkedIn : https://www.linkedin.com/company/ktexperts/
Twitter : https://twitter.com/ktexpertsadmin
YouTube : https://www.youtube.com/c/ktexperts
Instagram : https://www.instagram.com/knowledgesharingplatform