Hi Dears,
In this article,we will see Create Web Server On Linux EC2 Instance By Using Bootstrap Script.

Steps to Follow:
- Logging to AWS Account
- Create Web Server By Using Bootstrap Commands
- Go inside the Web Server through Putty & Verify Bootstrap Commands
- Verify content of Web Server in Browser
1. Logging to AWS Account
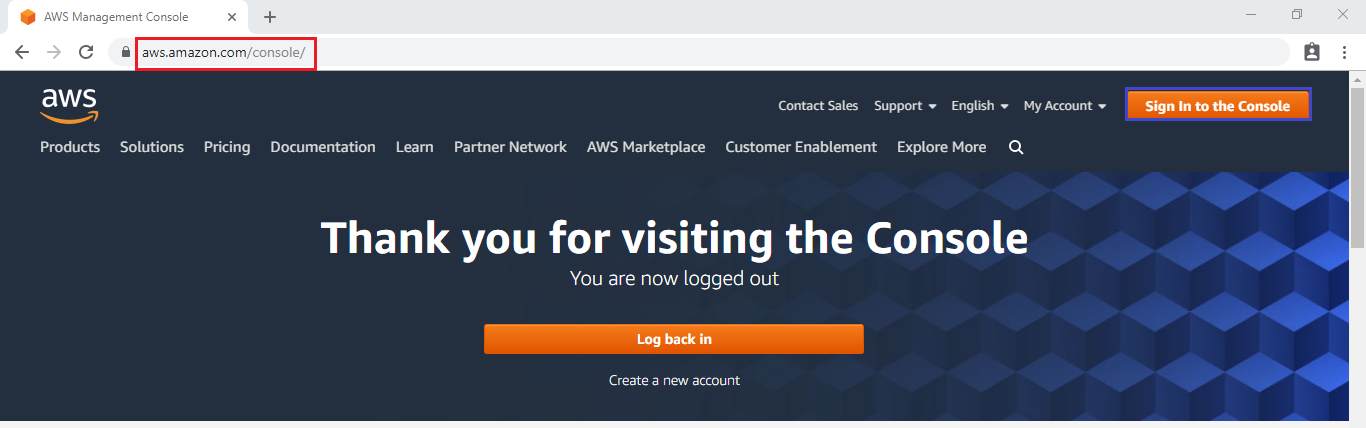
First, we need to AWS Console page by using below link.
https://aws.amazon.com/console/
Click on sign in to Console button.
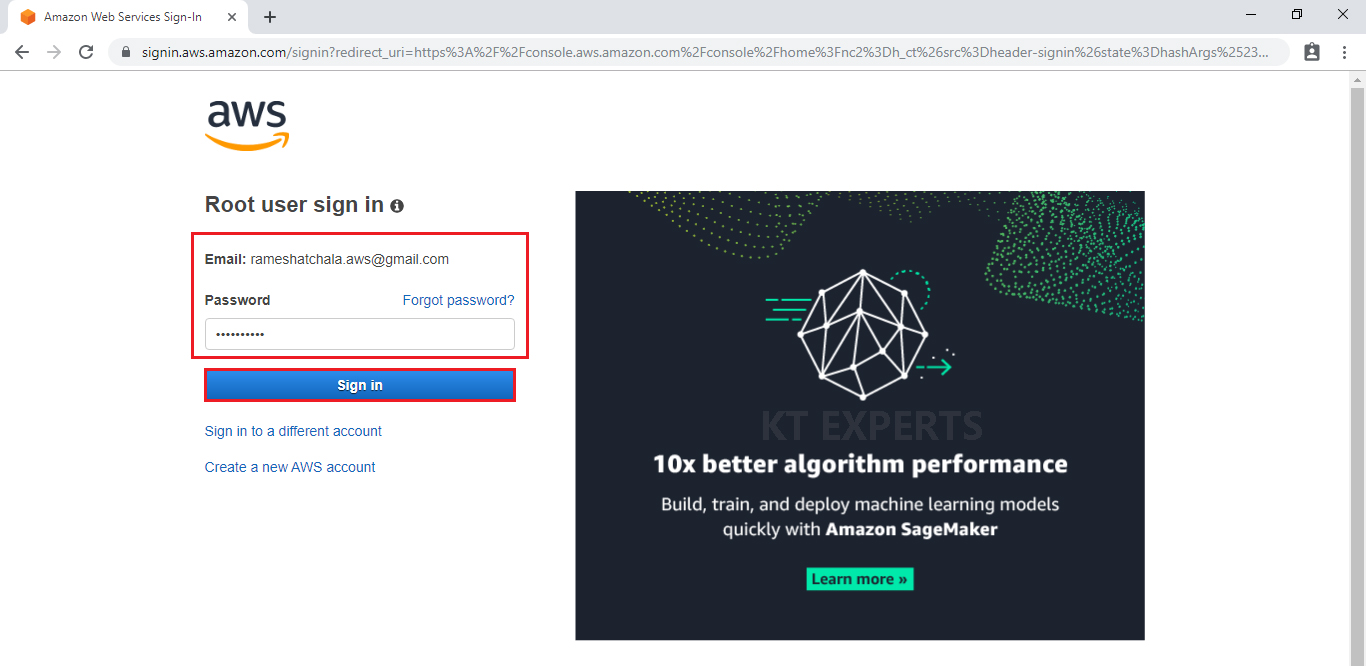
Logging to aws account
Login using username & password and click on sign in.
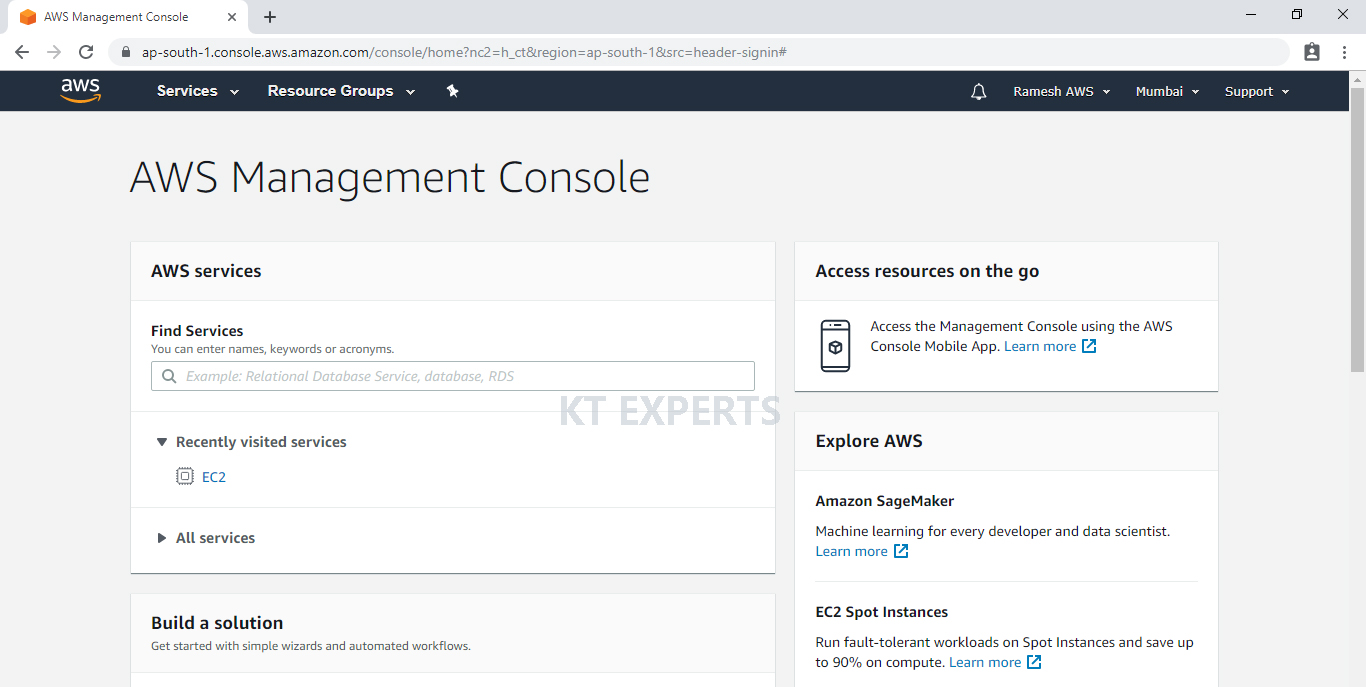
Enter to AWS Management Console
We can see the AWS Management Console Dashboard.
2. Create Web Server By Using Bootstrap Commands
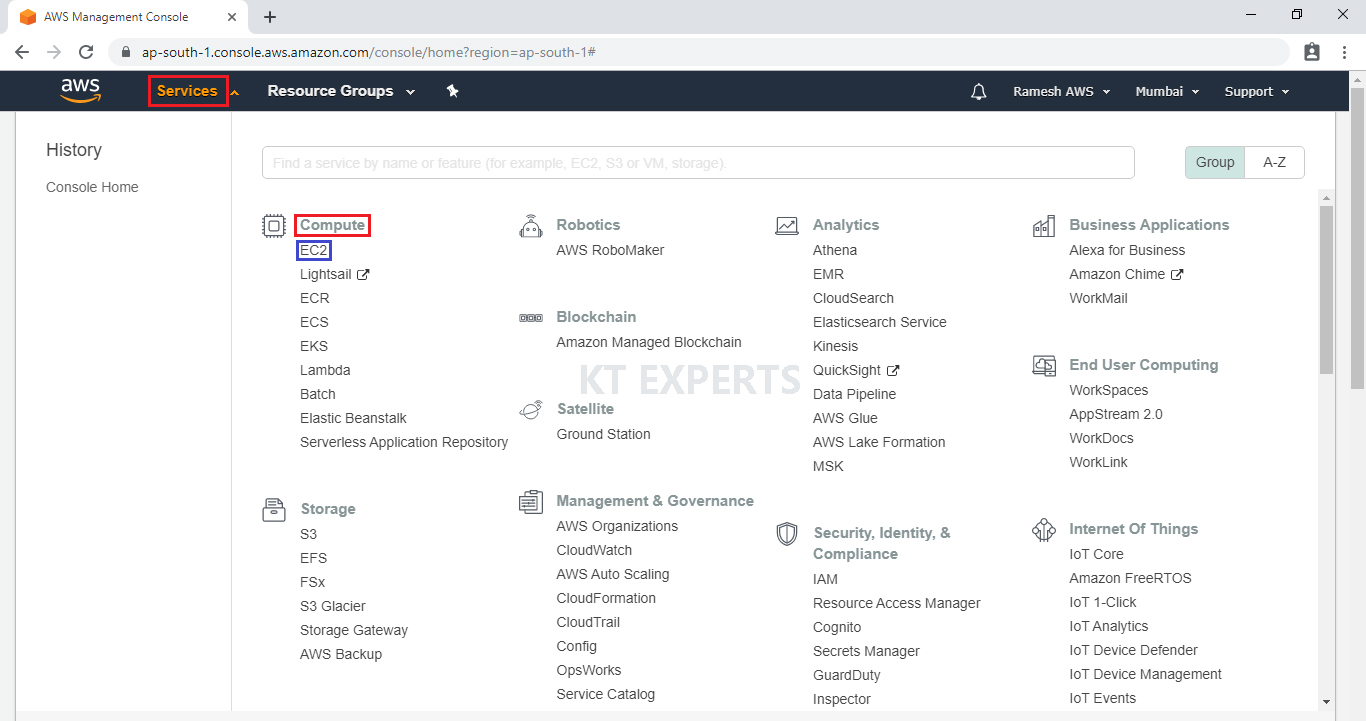
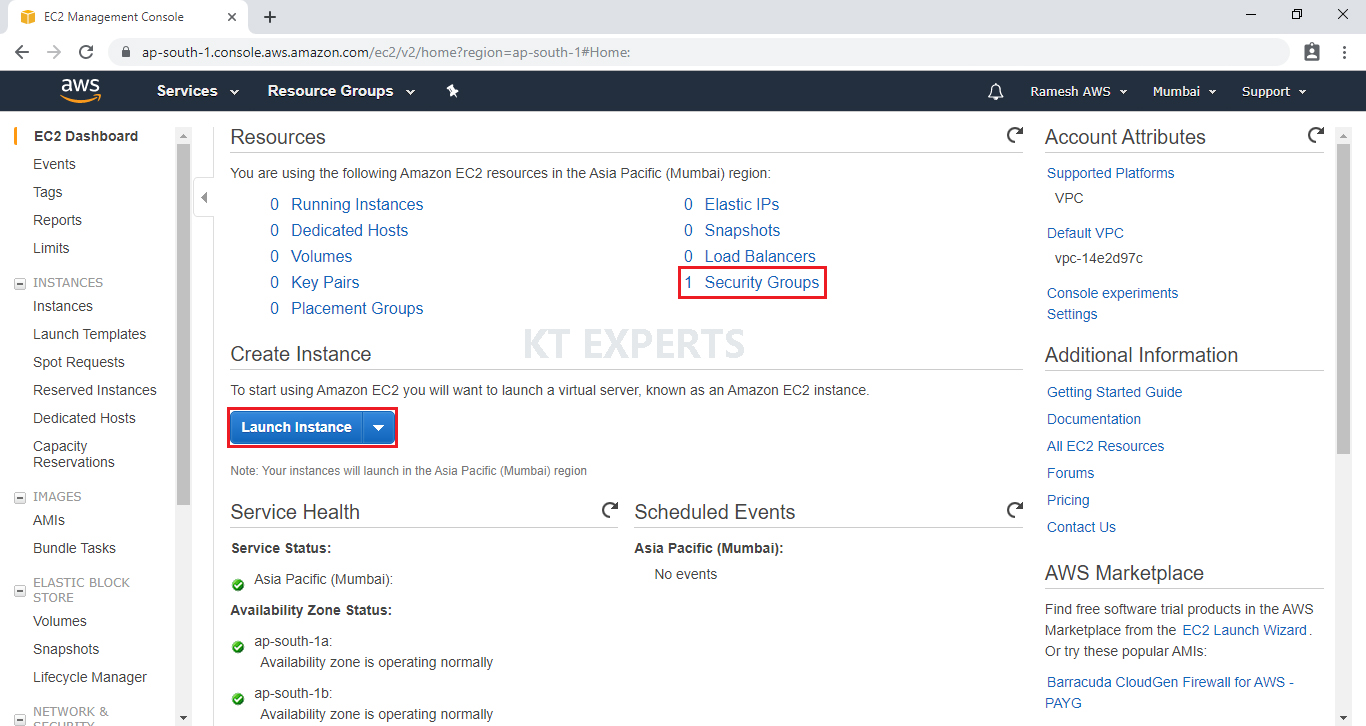
Go to Services, under the compute module click EC2 service to open.
In the EC2 Dashboard we can one security group is available by default and click on Launch Instance.
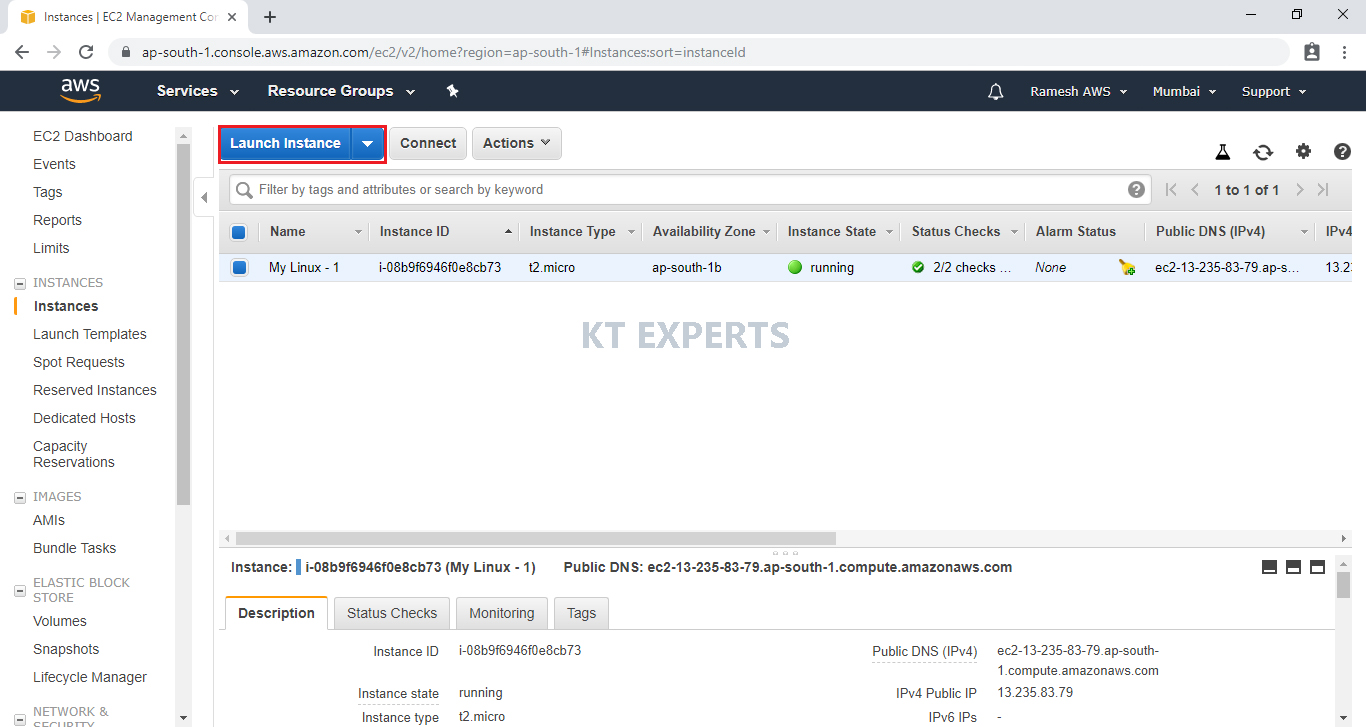
Go to Instances and click on Launch Instance.
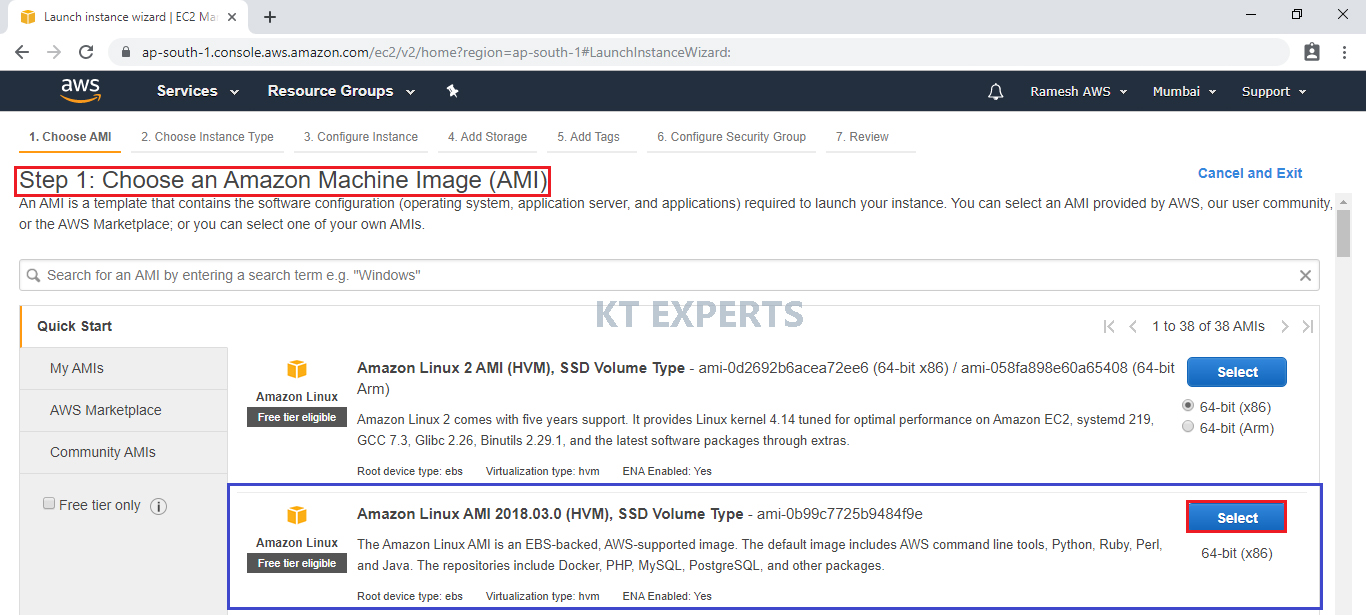
Choose an Amazon Machine Image (AMI)
Select the Operating system of the EC2 instance by choosing any of the Amazon Machine Images (AMI). Select the Microsoft Amazon Linux AMI.
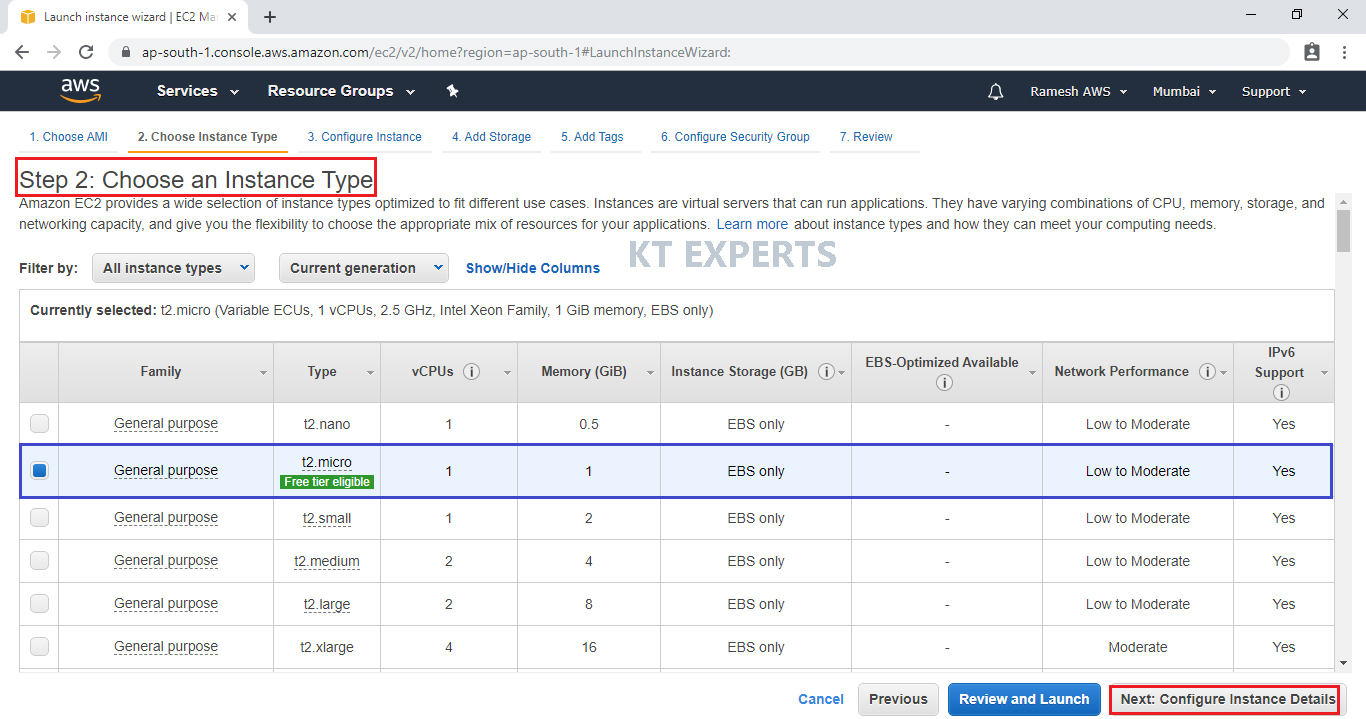
Choose an Instance type
Choose the Type of instance depending on your requirements.
Instance types comprise of varying combinations of CPU, memory, storage, and networking capacity.
select the default option of t2. micro – this instance type is covered within the free tier. Then click on Configure Instance Details.
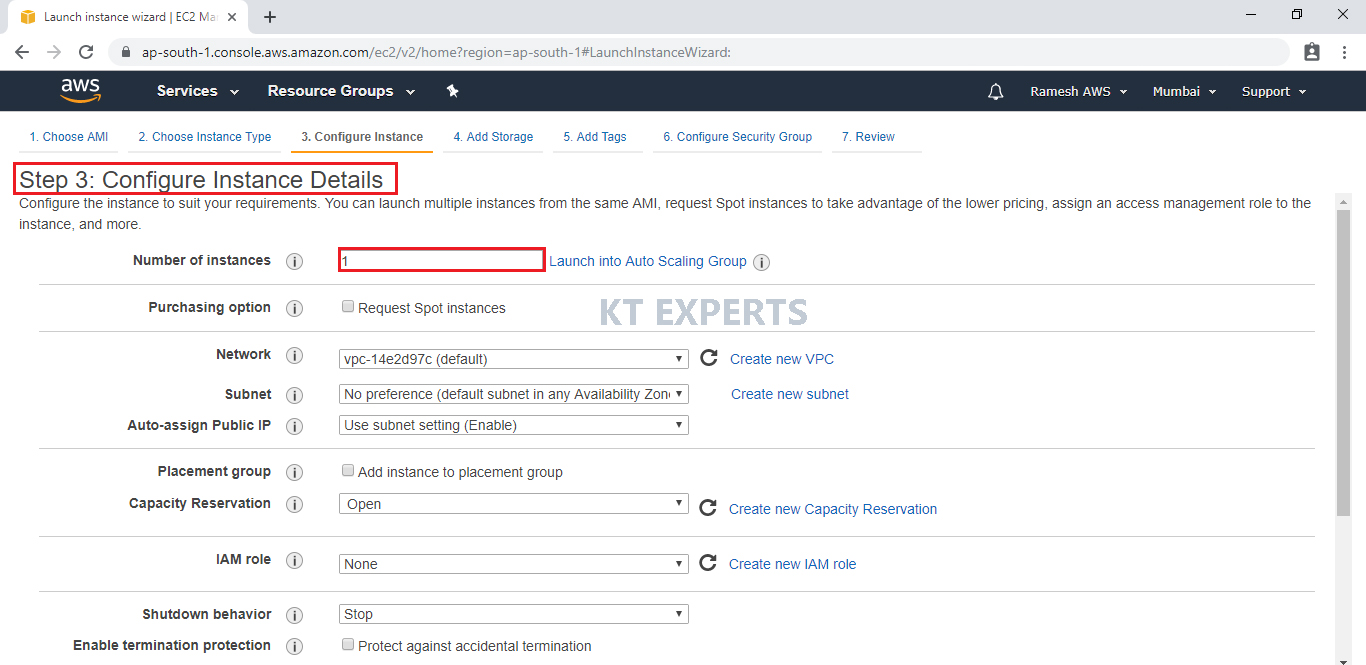
Configure Instance Details
Configure EC2 instance details as per requirements of your environment and click on Add Storage.
Choose the Type of instance depending on your requirements.
Instance types comprise of varying combinations of CPU, memory, storage, and networking capacity so you can choose the appropriate mix for your applications.
select the default option of t2.micro – this instance type is covered within the free tier. Then click on Configure Instance Details.
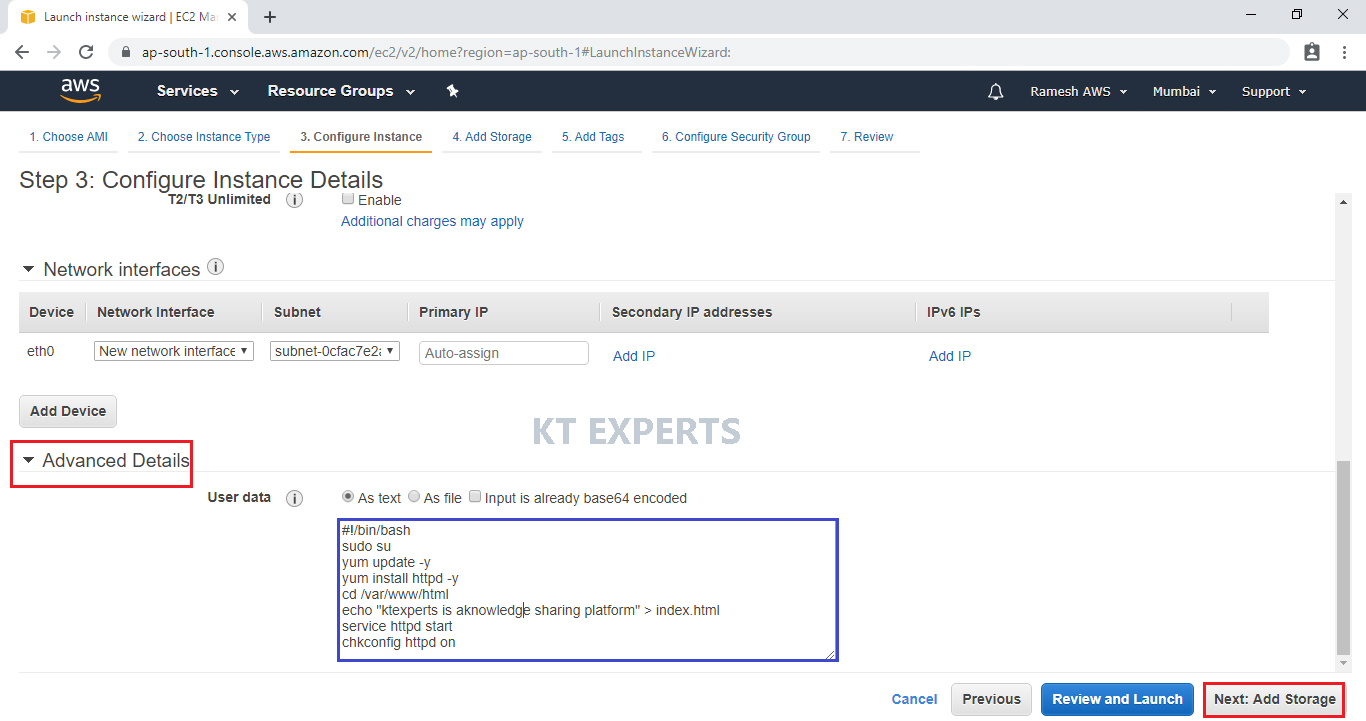
Go to Advanced Details and type commands for bootstrapping in user data.
The commands are
|
1 2 3 4 5 6 7 8 |
#!/bin/bash sudo su yum update -y yum install httpd -y cd /var/www/html echo ktexperts will help us to get knowledge > index.html service httpd start chkconfig httpd on |
Click on Add Storage.
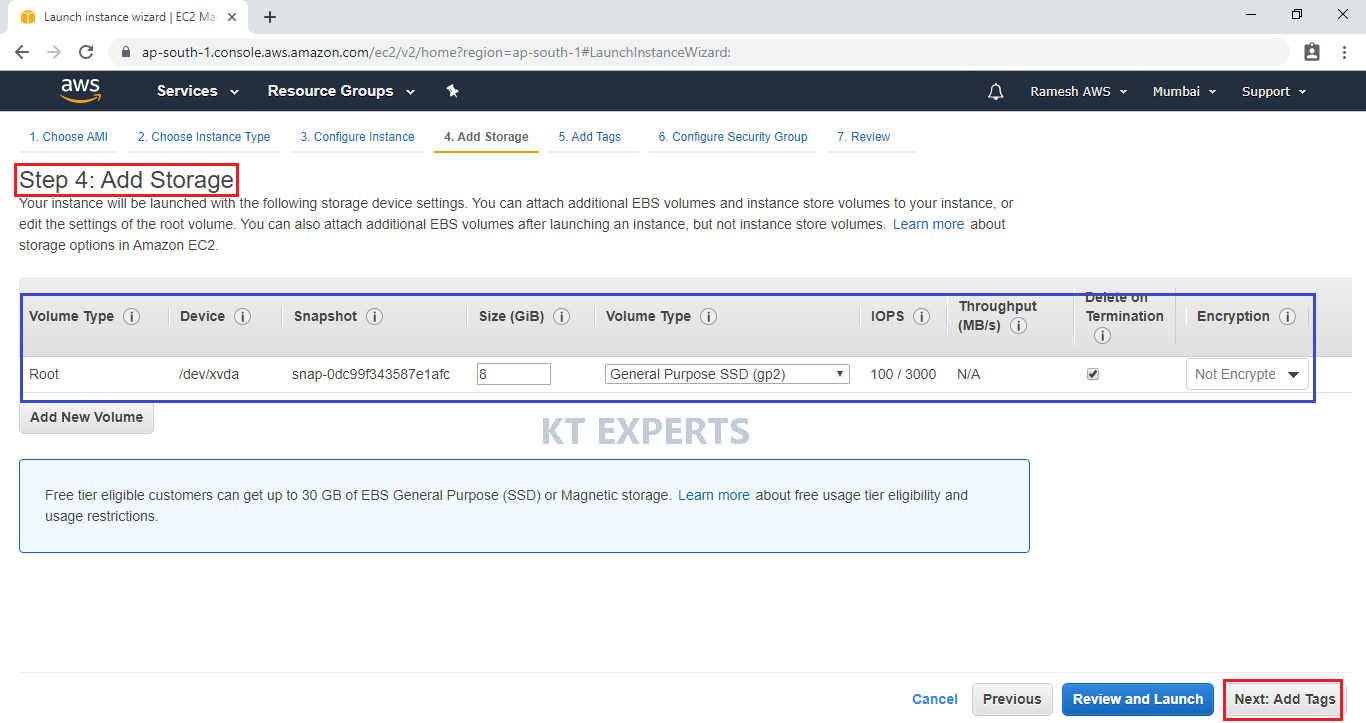
Add Storage
Here, we can see root volume by default and size of 8GB
Add a new volume if required
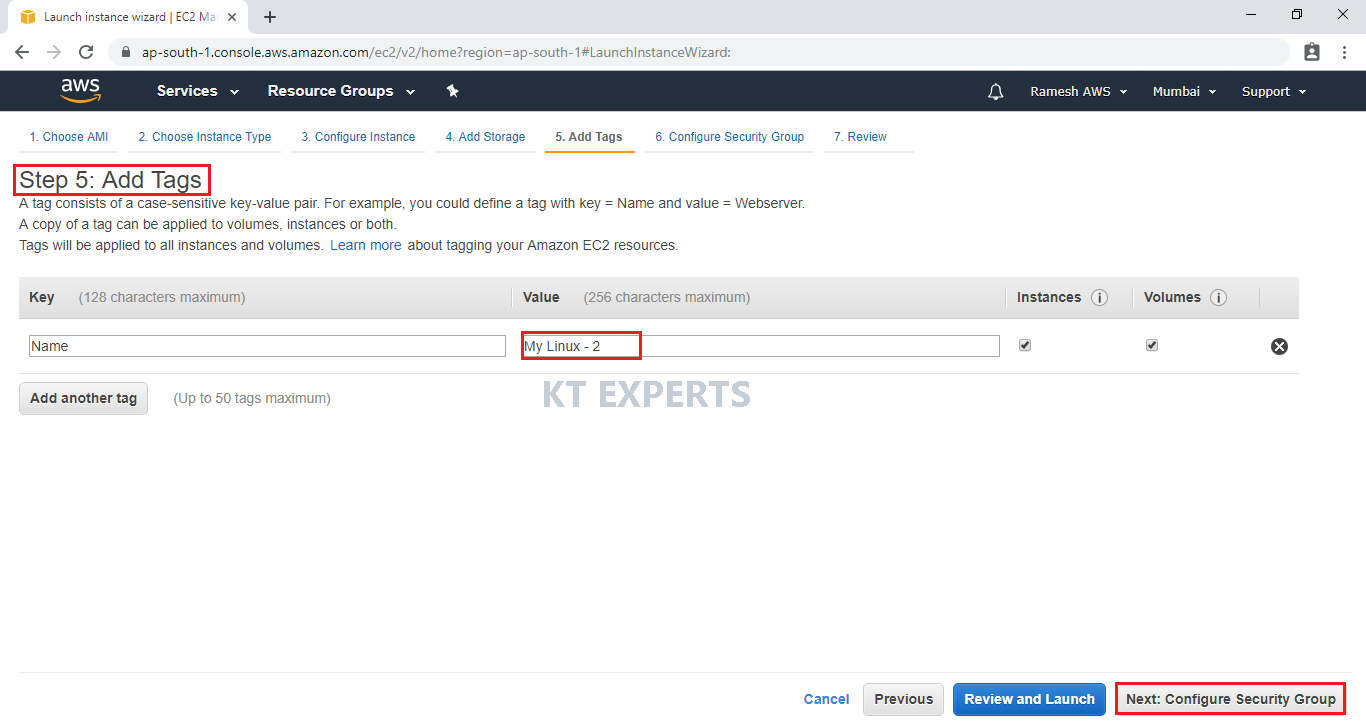
Click on Add Tags.
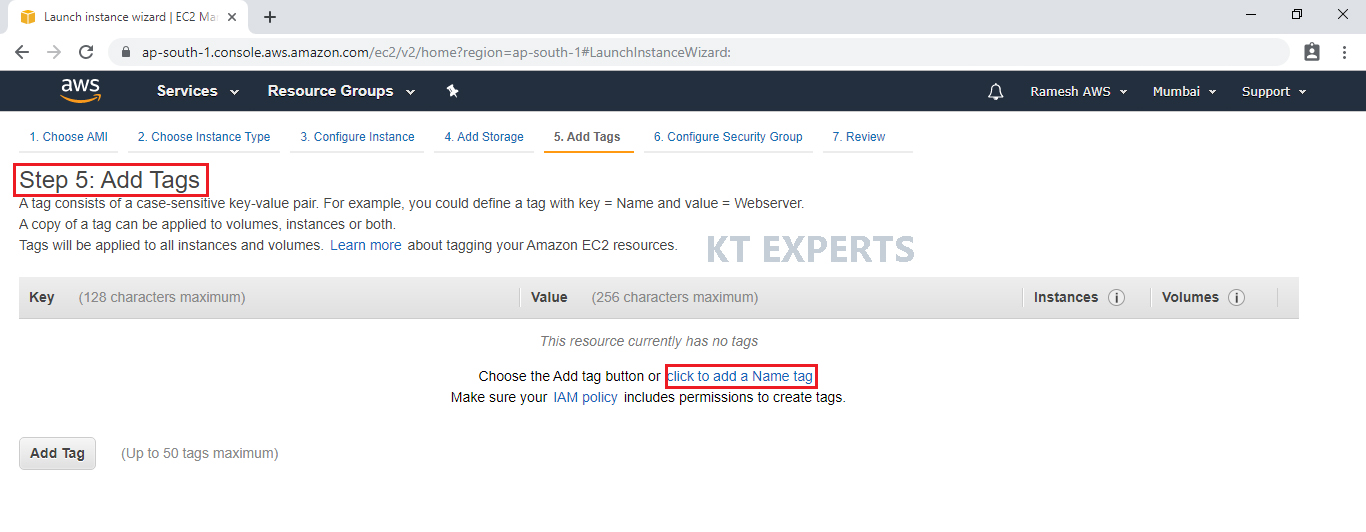
Add Tags
Tags assist in easier identification and classification of the various instances in your AWS environment.
Click on click to add a Name tag to provide name for our server.
Provide the name for the Linux virtual machine for easier understanding and click on Configure Security Groups.
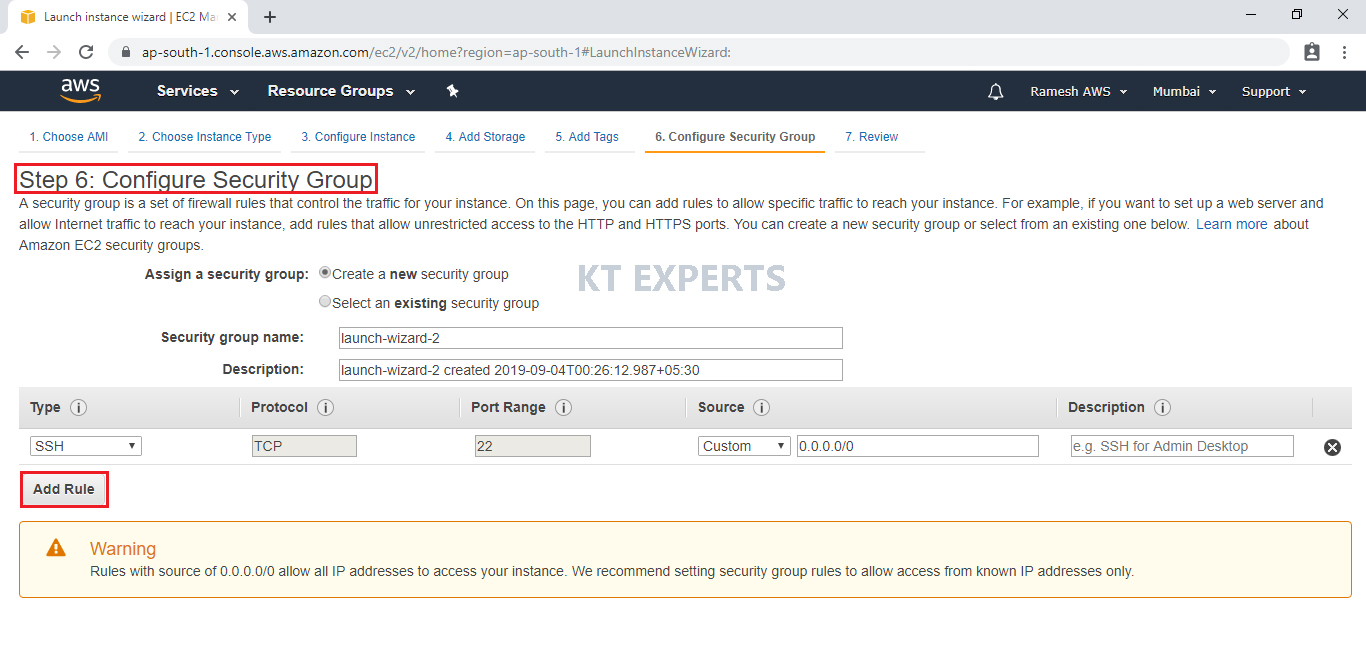
Configure Security Group
A security group allows configuring firewall rules to allow traffic as needed. Only one rule has been added to allow remote connection.
SSH Is enough to connect to our Linux virtual server and click on Review and Launch.
SSH – Secure Shell.
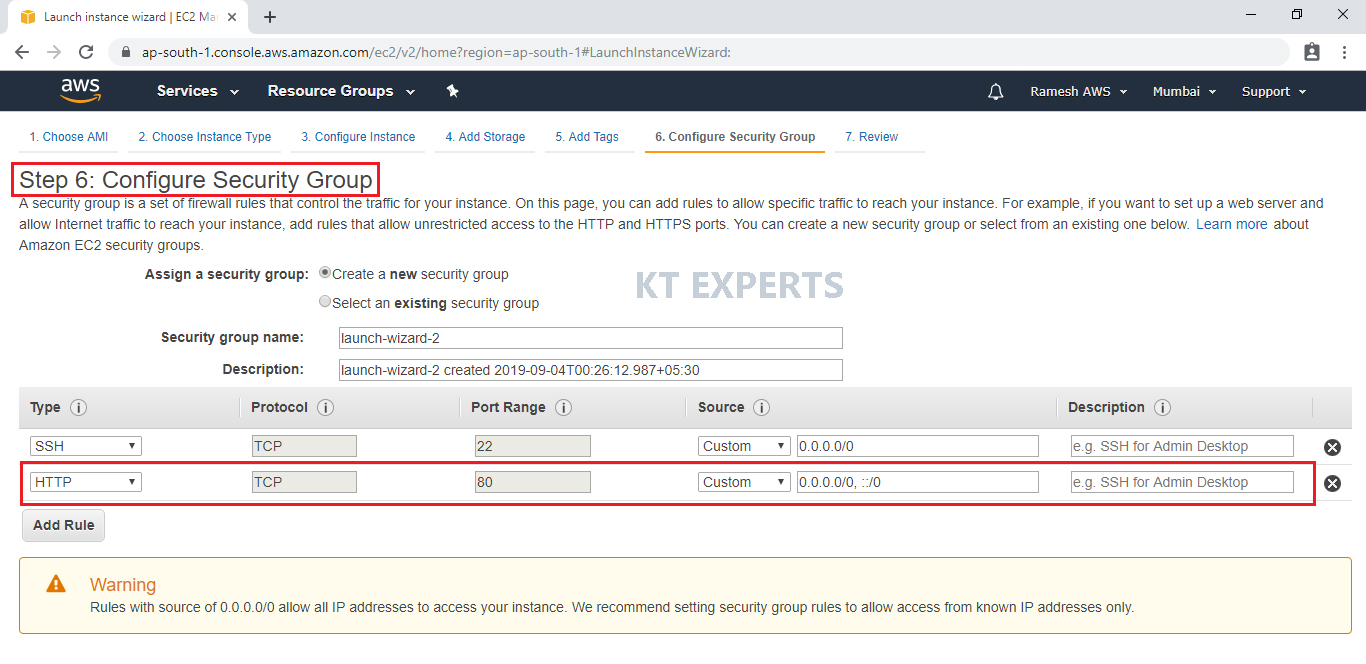
Select HTTP port
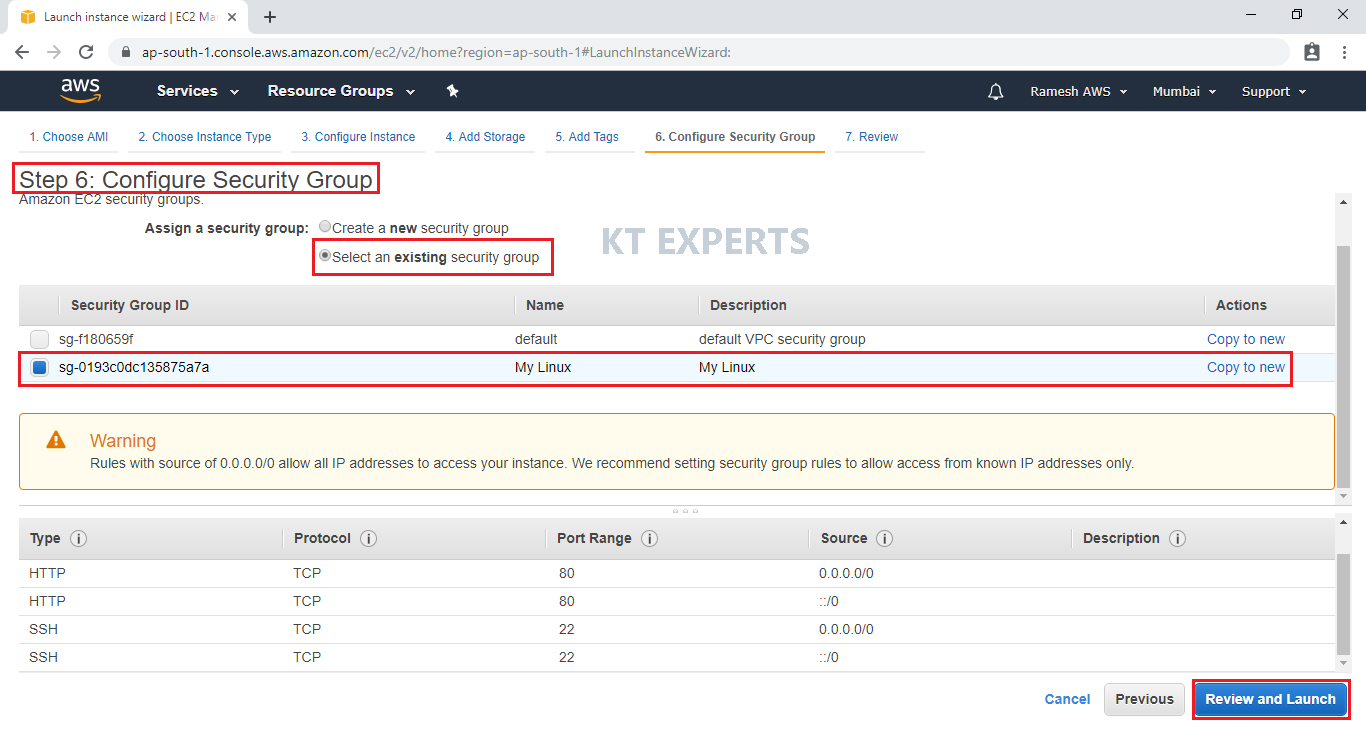
Select an existing security group and click on Review and Launch.
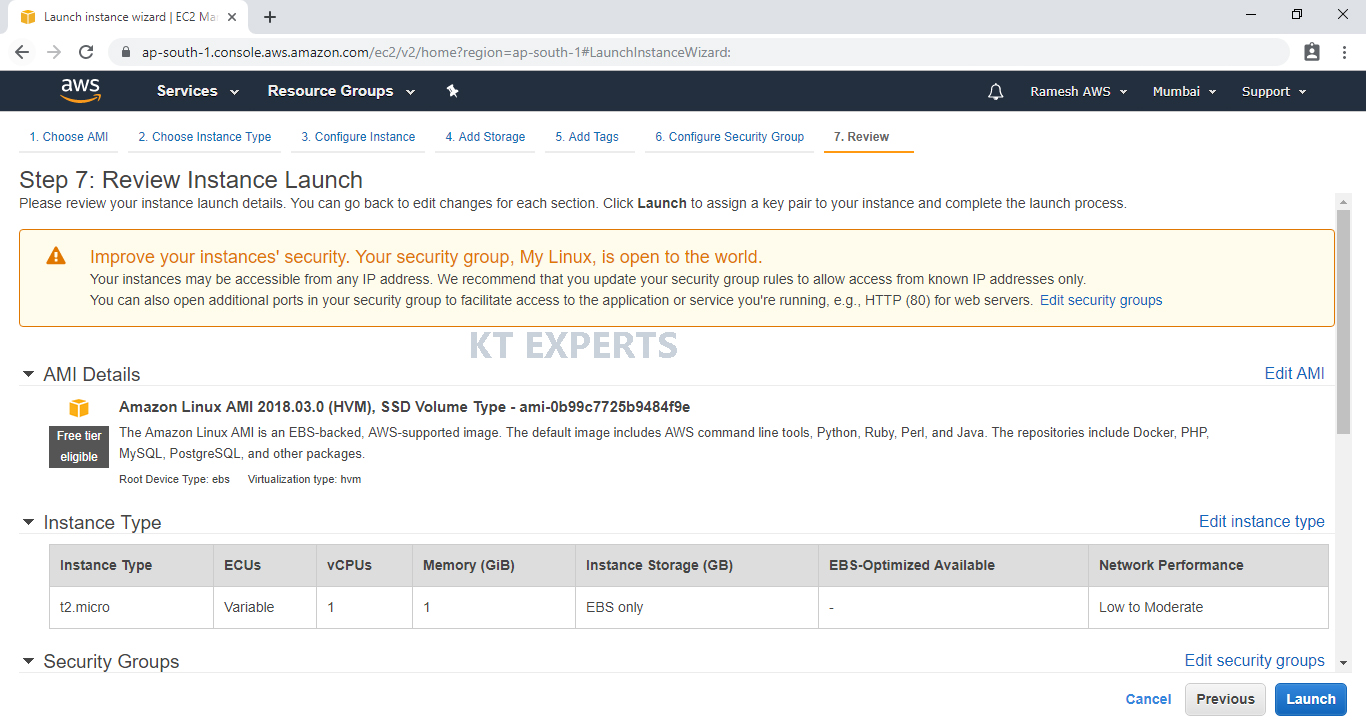
Review Instance Launch
Review and confirm the configuration of the instance. Click on the Edit button on each configuration item to make changes and click on Launch.
Choose existing Key Pair and Launch Your Instance
To connect to your virtual machine, you need a key pair. A key pair is used to log into your instance and select existing key pair.

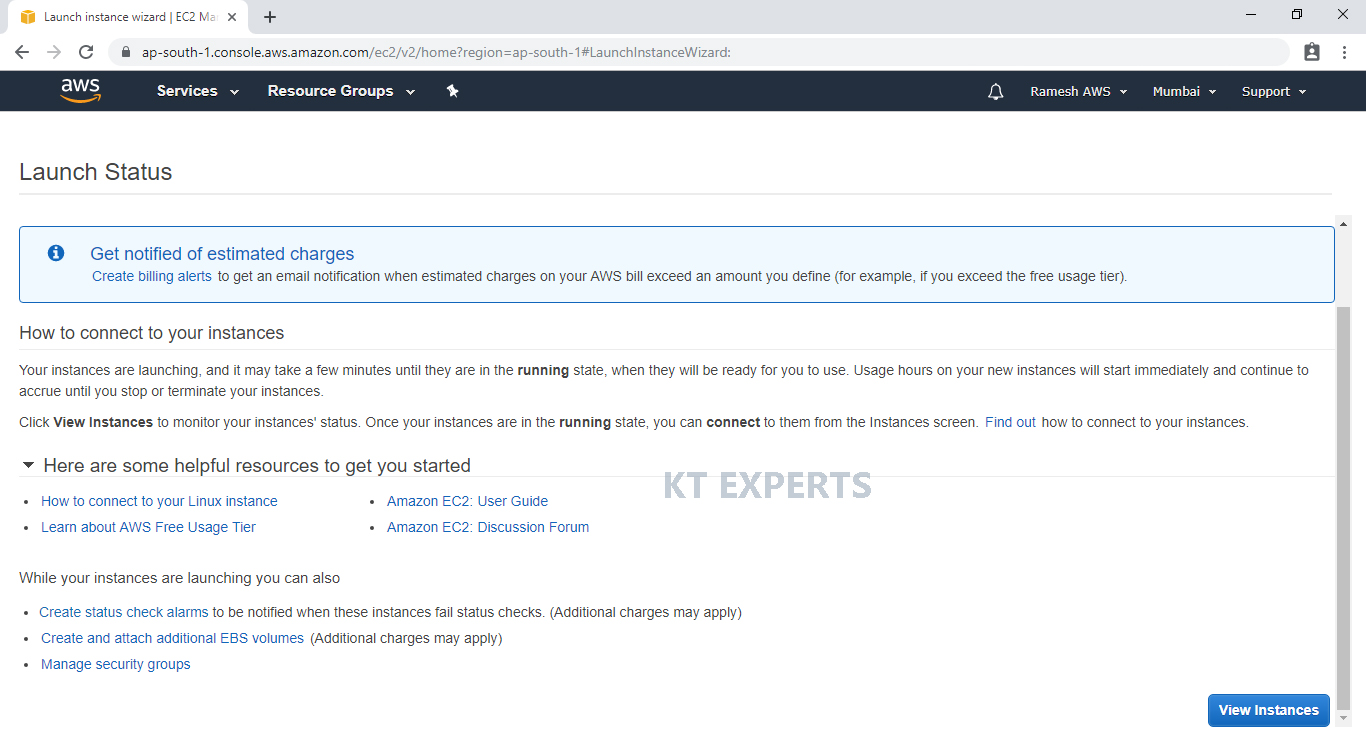
click View Instances to view the instance you have just created and see its status.
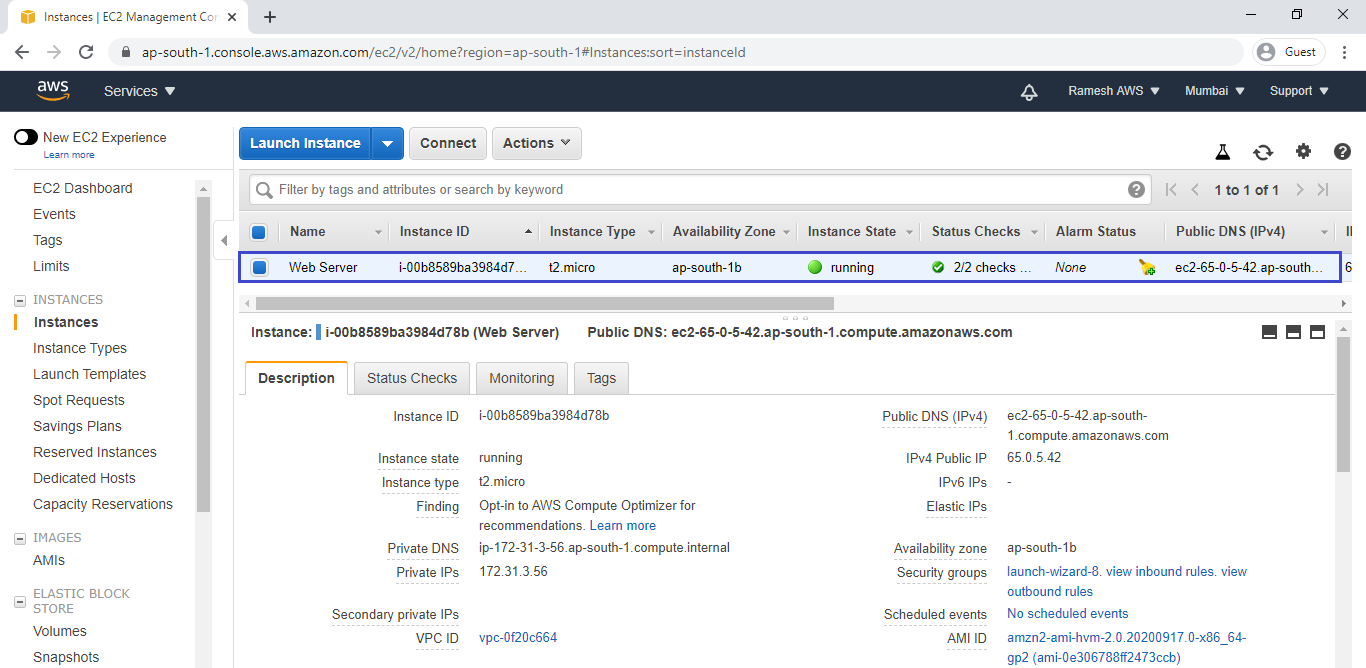
We can see the instance “Web Server” has been created successfully.
3. Go inside the Web Server through Putty & Verify Bootstrap Commands
- We can go inside the Web Server by providing public IP & ppk file in the putty

Verify Bootstrap commands
|
1 2 3 4 5 |
[ec2-user@ip-172-31-3-56 ~]$ sudo yum history Loaded plugins: extras_suggestions, langpacks, priorities, update-motd ID | Command line | Date and time | Action(s) | Altered ------------------------------------------------------------------------------- 1 | install httpd -y | 2020-09-24 04:59 | Install | 9 |
Verify the status of Apache HTTP Server
|
1 2 3 4 5 6 7 8 9 10 11 12 13 14 15 16 17 18 19 |
[ec2-user@ip-172-31-3-56 ~]$ service httpd status Redirecting to /bin/systemctl status httpd.service ● httpd.service - The Apache HTTP Server Loaded: loaded (/usr/lib/systemd/system/httpd.service; enabled; vendor preset: disabled) Active: active (running) since Thu 2020-09-24 08:21:52 UTC; 6min ago Docs: man:httpd.service(8) Main PID: 3057 (httpd) Status: "Total requests: 2; Idle/Busy workers 100/0;Requests/sec: 0.00542; Bytes served/sec: 4 B/sec" CGroup: /system.slice/httpd.service ├─3057 /usr/sbin/httpd -DFOREGROUND ├─3082 /usr/sbin/httpd -DFOREGROUND ├─3083 /usr/sbin/httpd -DFOREGROUND ├─3084 /usr/sbin/httpd -DFOREGROUND ├─3085 /usr/sbin/httpd -DFOREGROUND ├─3086 /usr/sbin/httpd -DFOREGROUND └─3411 /usr/sbin/httpd -DFOREGROUND Sep 24 08:21:52 ip-172-31-3-56.ap-south-1.compute.internal systemd[1]: Starting The Apache HT... Sep 24 08:21:52 ip-172-31-3-56.ap-south-1.compute.internal systemd[1]: Started The Apache HTT... |
4. Verify content of Web Server in Browser
Copy public IP of webserver as shown below.
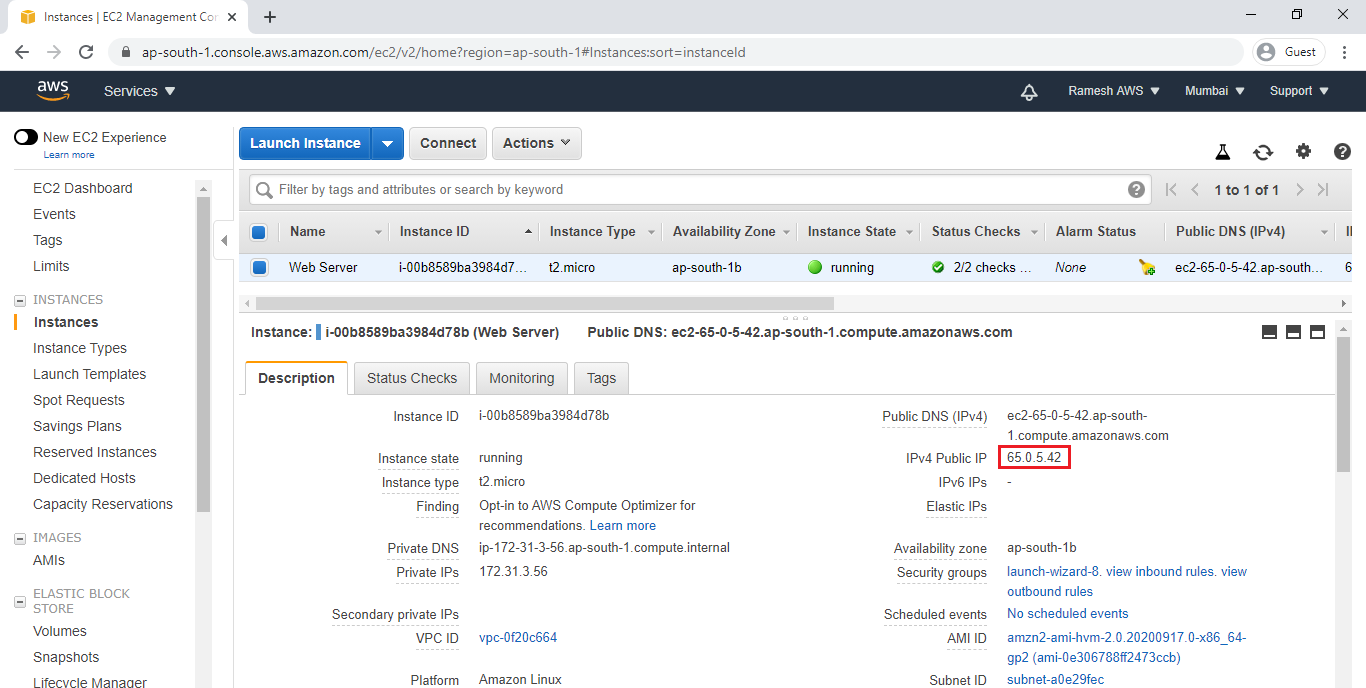
Search Public IP of Web Server which was copied.

Thank you for giving your valuable time to read the above information.
Follow us on
Website : www.ktexperts.com
Facebook Page : KTexperts
Linkedin Page : KT EXPERTS
Follow Me
Ramesh’s Linkedin : Ramesh Atchala