How to Install VMware Workstation On Windows.
VMware Workstation is a hosted hypervisor that runs on x64 versions of Windows and Linux operating systems (an x86 version of earlier releases was available);[3] it enables users to set up virtual machines (VMs) on a single physical machine, and use them simultaneously along with the actual machine.
Each virtual machine can execute its own operating system, including versions of Microsoft Windows, Linux, BSD, and MS-DOS.
VMware Workstation is developed and sold by VMware, Inc., a division of Dell Technologies. There is a free-of-charge version.
VMware Workstation supports bridging existing host network adapters and sharing physical disk drives and USB devices with a virtual machine. It can simulate disk drives; an ISO image file can be mounted as a virtual optical disc drive, and virtual hard disk drives are implemented as .vmdk files.
Step 1 :
We need to download VMware workstation by using below link.
https://my.vmware.com/web/vmware/info/slug/desktop_end_user_computing/vmware_workstation_pro/14_0

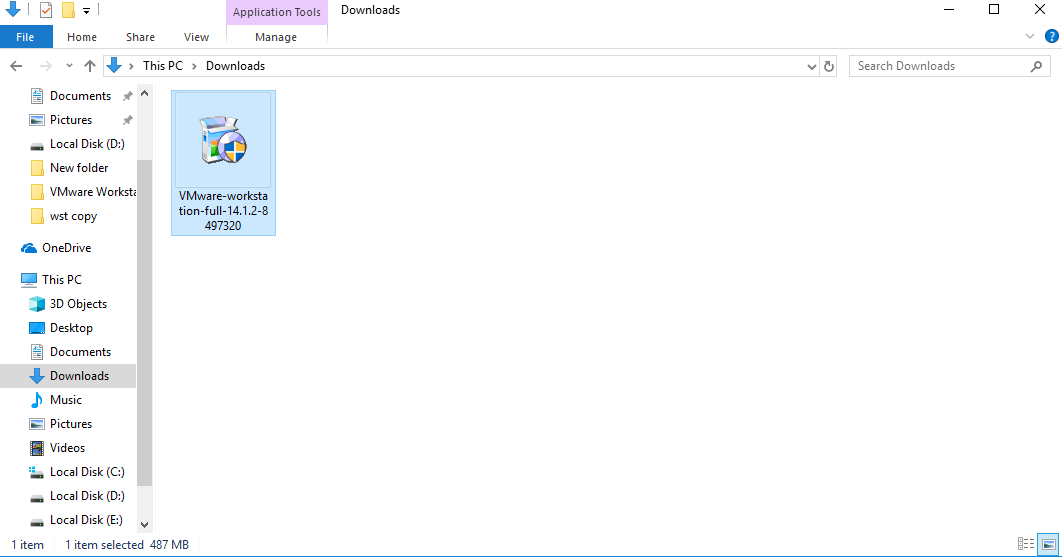
Step 2 :
Go to downloads location and double tap on below file.
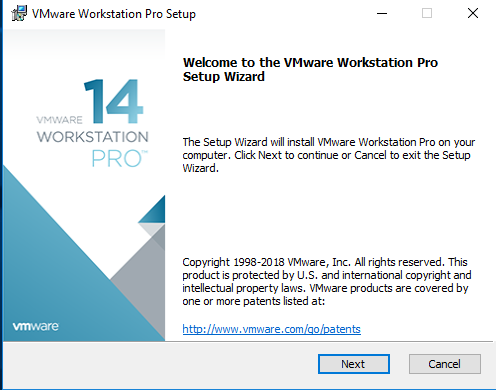
Step 3 :
It prompts below Image.
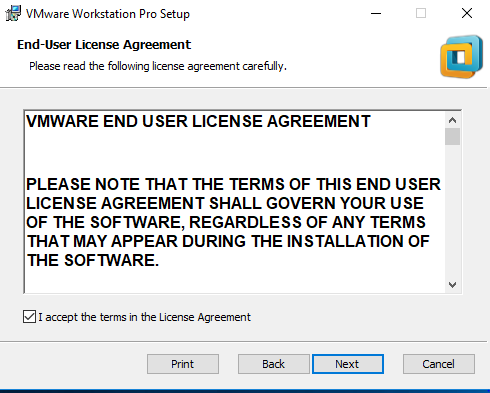
Step 4 :
Accept the License Agreement.
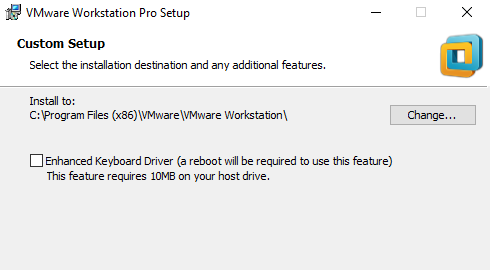
Step 5 :
Unclick the Enhanced Keyboard Driver.
Step 6 :
Unclick the software updates.
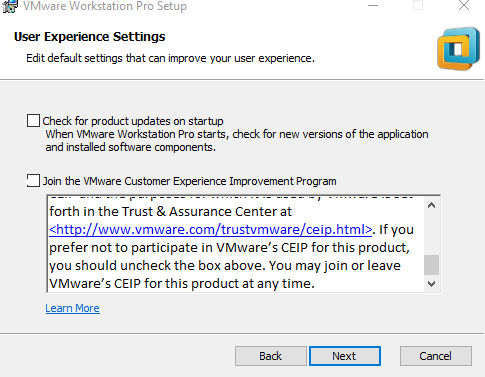
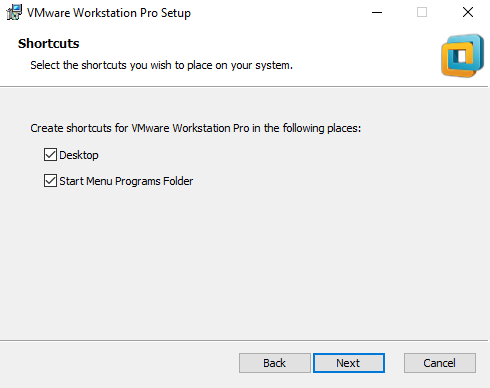
Step 7:
Click next to continue .
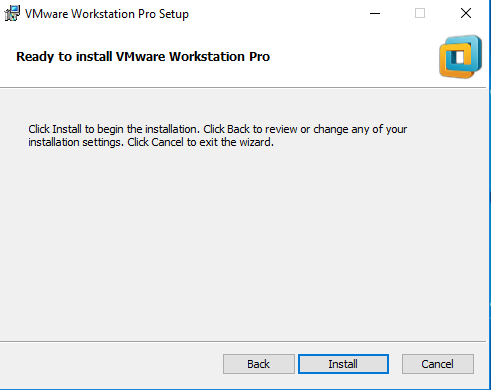
Step 8 :
Click on install
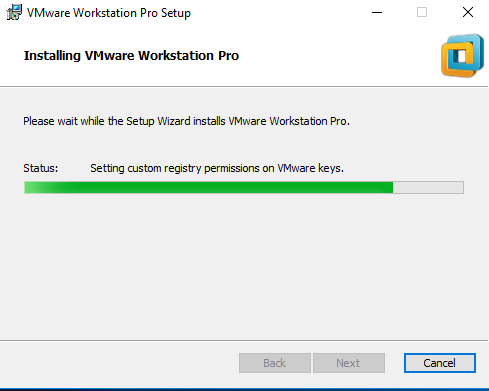
Step 9 :
Installation is on progress.
Step 10 :
Click on Licence agreement.
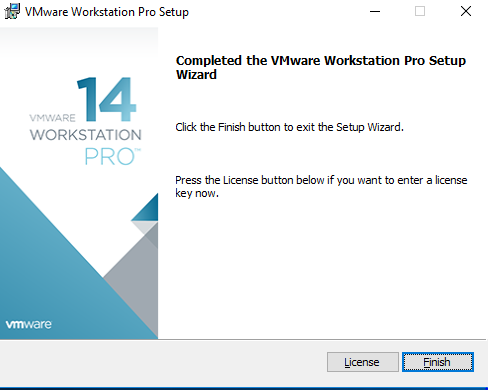
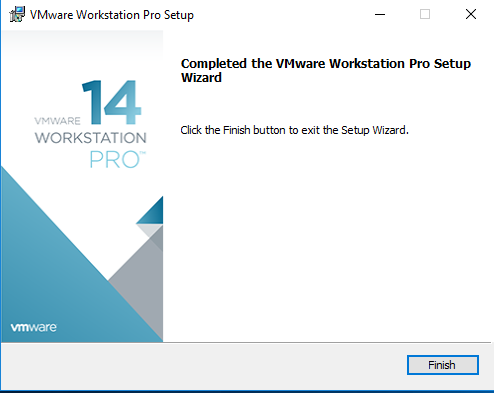
Step 11 :
Click on finish .
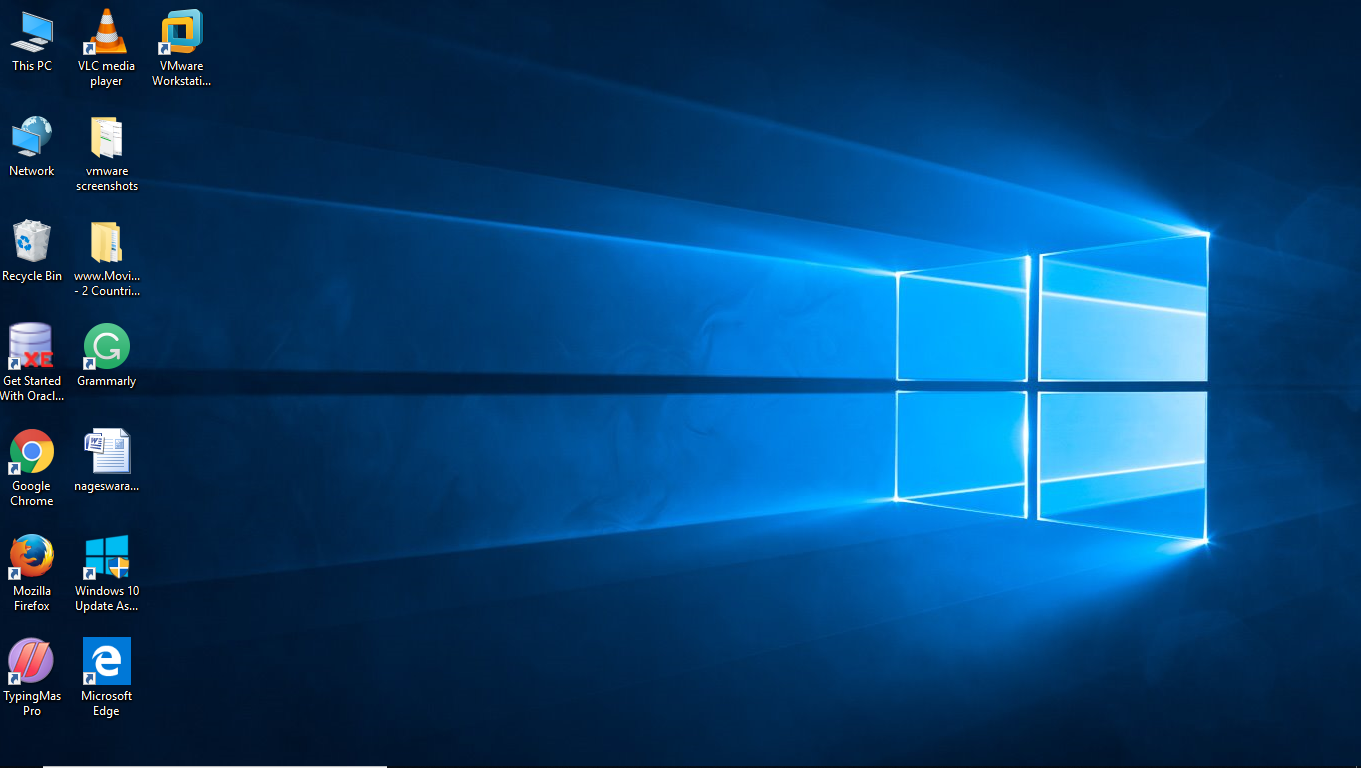
Step 12 :
On the Home screen its creates VMware workstation Icon.
Step 13 :
Home screen of VMware
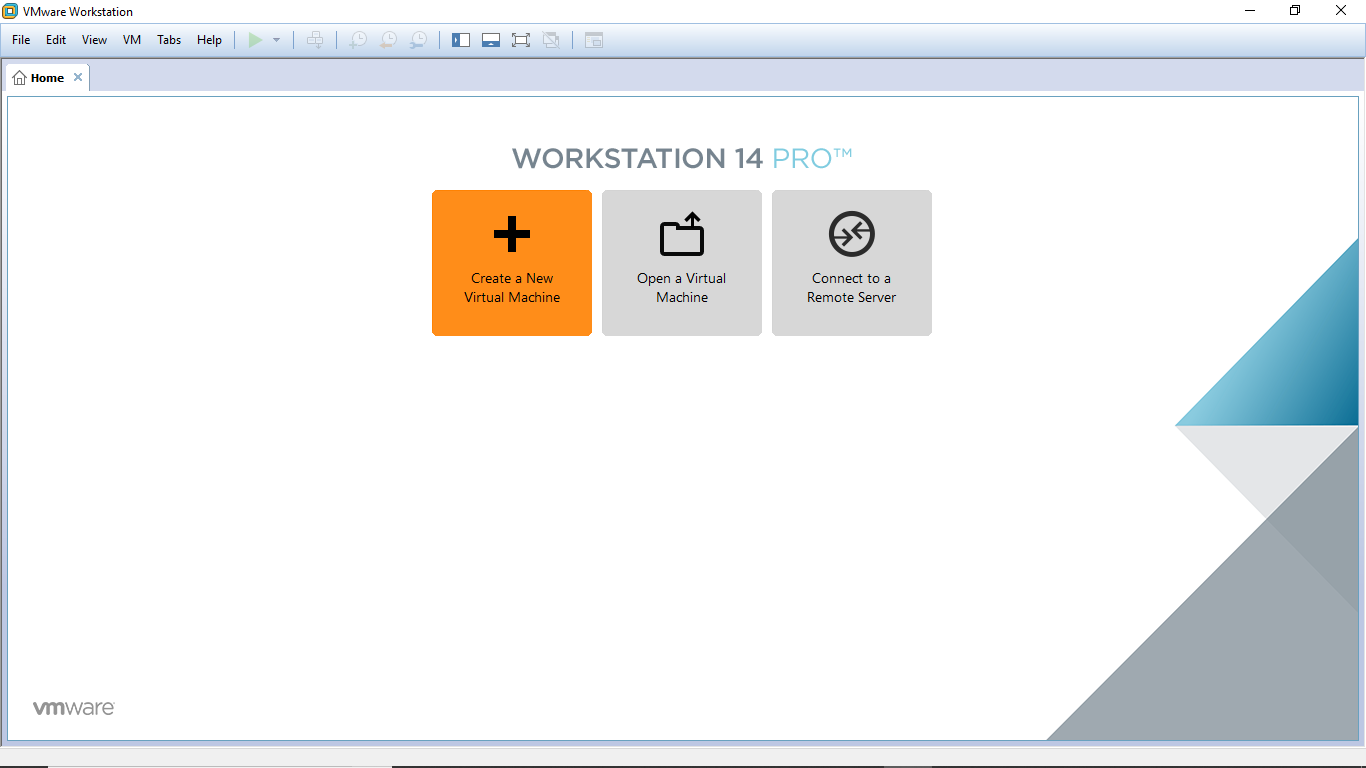
From here we can New Virtual Machines…….