Invoke Linux GUI On windows using Xming software
Today we will understand how to invoke Linux GUI on windows using Xming software. To complete this configuration we need to follow the below steps and I will also share the issue and its resolution which I have faced during configuration.
- Download the putty software.
- Download the Xming software.
- Connect Virtual Machine through Putty.
- Invoke Linux GUI using Xming software.
- Issue and it resolution during configuration.
So now let’s start the step by step configuration.
Download the putty software: –
Please use below link to download the putty software: –
Link: – https://www.putty.org/
Download the Xming software: –
Please use below link to download the Xming software: –
Link: – https://sourceforge.net/projects/xming/
Connect Virtual Machine through Putty: –
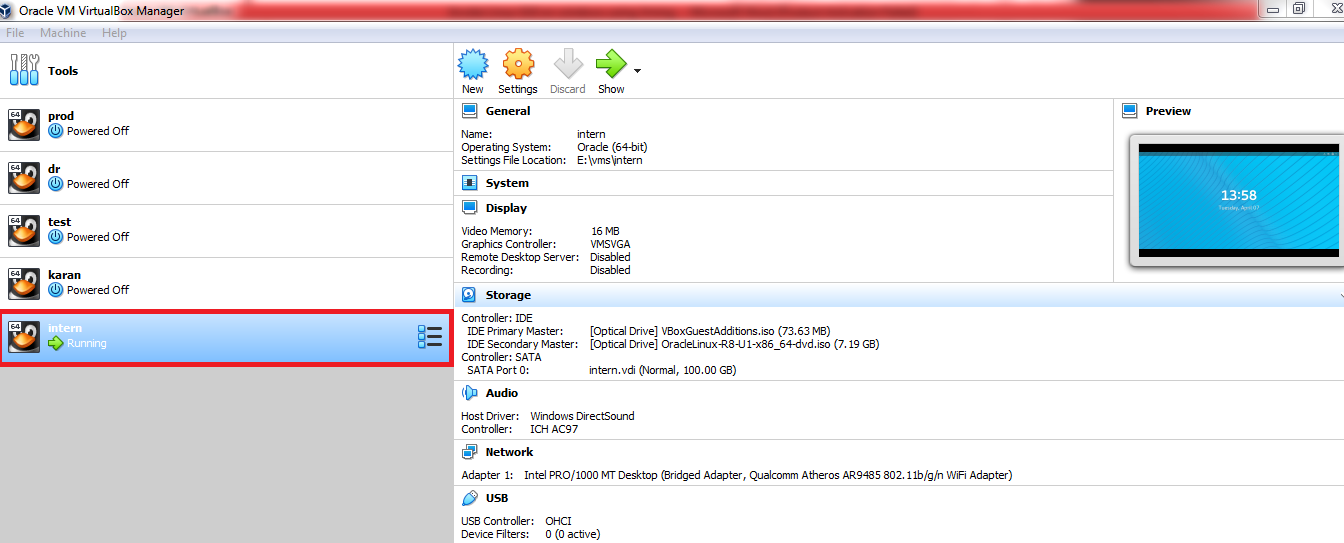
Step 1 : My virtual Machine name is “Intern” and it is already running, for your case you just need to start your machine by click on the “Start” tab.
Note: – Here I am using OEL 8.1 ISO image.
Step 2 : I am assuming that you have already done with the necessary parts like groups creation, user creation, copy of zip files, and extraction of zip files.
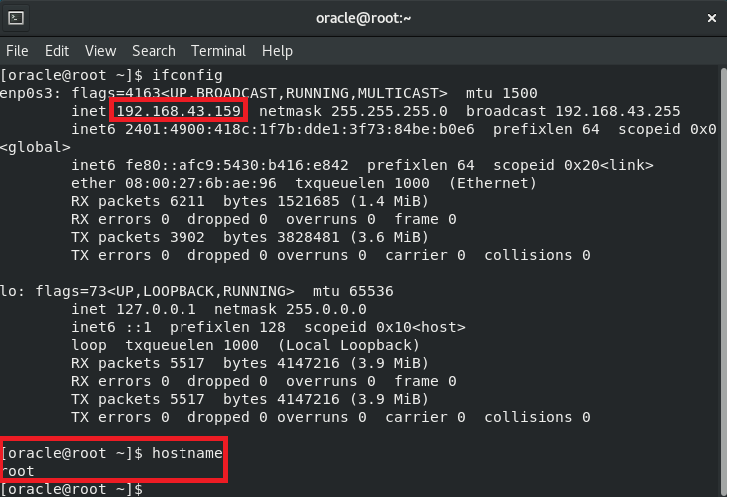
Now check the ipaddress, host name of the machine and check both should be pingable.
Ipaddress and host name Information: –
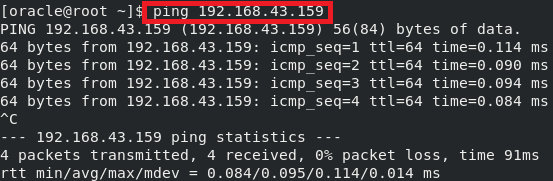
Step 3 : Use below command to check both ipaddress and host name are pingable.
Ping through Ipaddress: –
Ping through Hostname:- 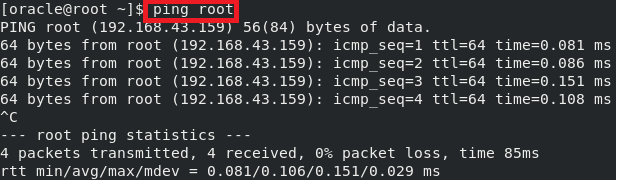
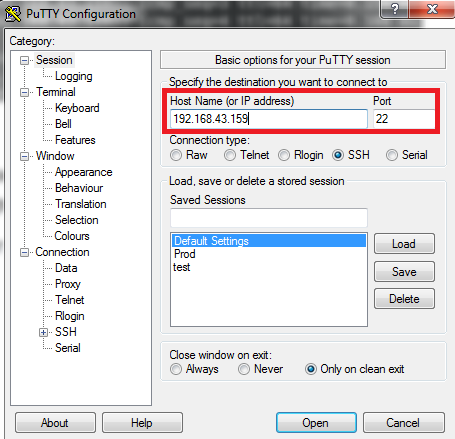
Step 4 : Now we need to use putty to save our connection but before that we need to make some settings in putty so that we can see GUI interface.
Put your “hostname or ipaddress” under hostname and ipaddress tab.
Note: – In my case below are my ipaddress and hostname which I mentioned above as well in screenshots.
Ipaddress: – 192.168.43.159
Hostname: – root
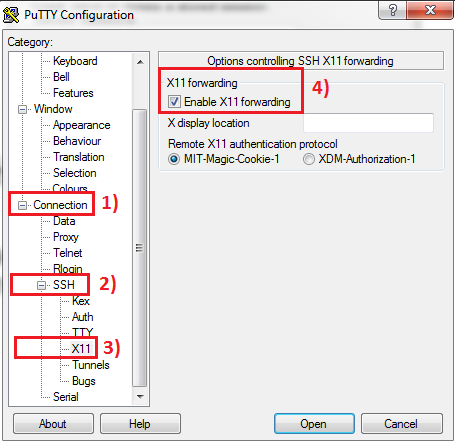
Now drop down the SSH tab which is under connection then click on X11 tab then enable X11 forwarding option to invoke GUI interface through Xming.
Connection—> 2) SSH—> 3) X11—> Enable X11 Forwarding option.
Now save the session by giving any name under saved session’s option and then click on open tab.
Note: – I am giving my hostname “root” to save the sessions with above settings.
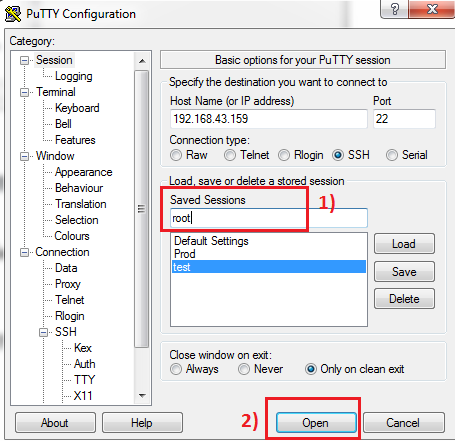
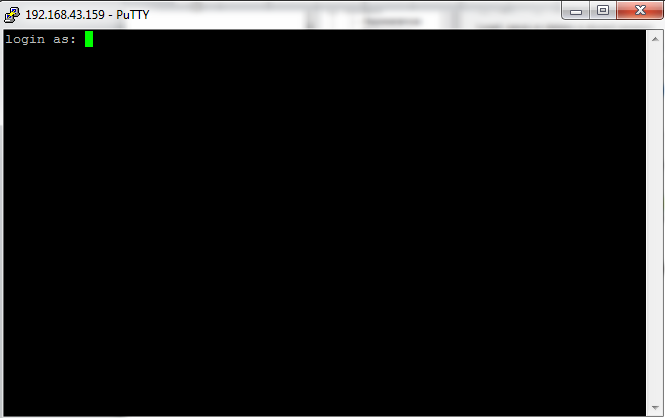
After that you will get another login window as below.
 Invoke Linux GUI using Xming software: –
Step 1 : Now you can login from your respective user’s and make sure you have open your Xming software as well to invoke the GUI.
Note: – I have login with my oracle user and password and going to invoke the GUI, but before that you need to check your display variable has been set or not, if that is not set then you have to set it before invoking the GUI.
Command to check the display variable: – echo $DISPLAY;
Command to set the display variable: – export DISPLAY=localhost:10.0
![]()
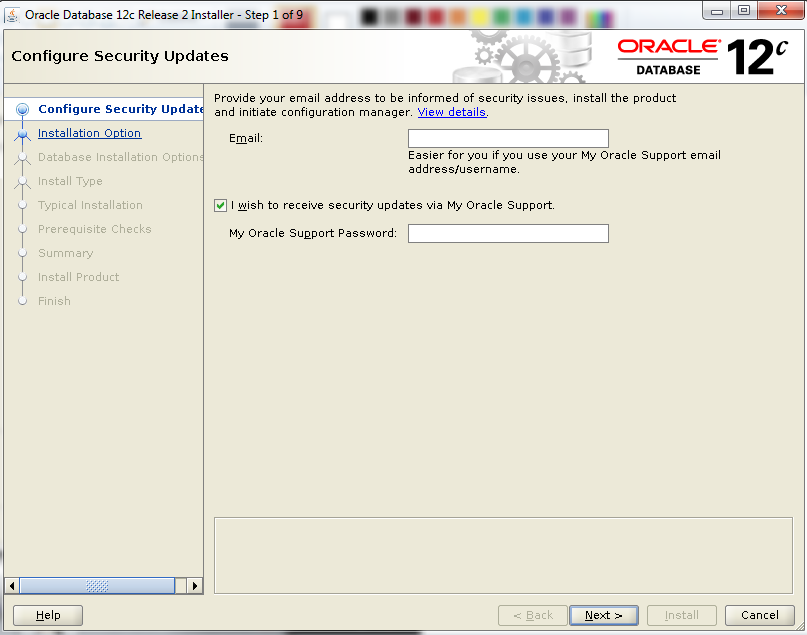
Step 2: Now go to the “database” folder to execute the “./runInstaller command”.
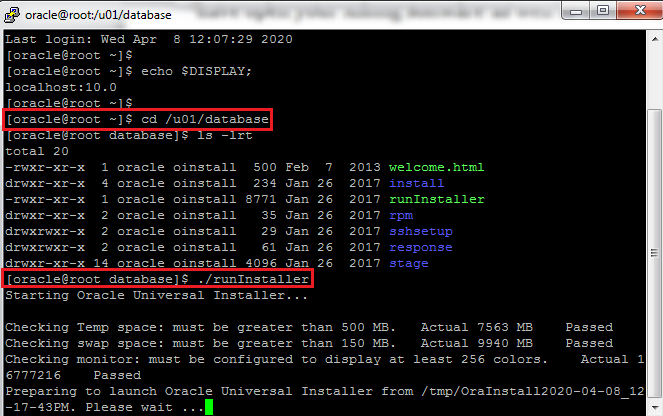
GUI has been successfully invoked through Xming.
Issue and it resolution during configuration: –
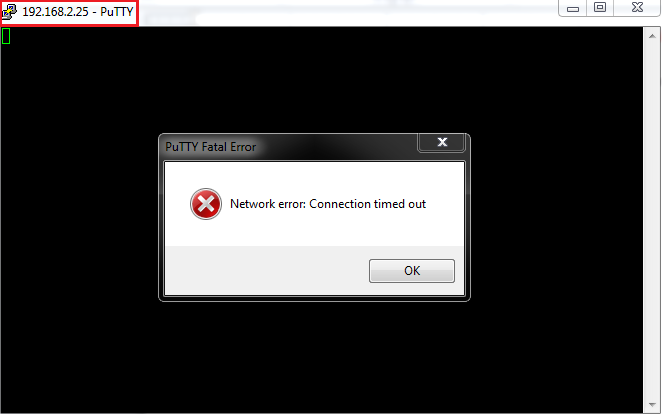
When I was trying to login through putty with below IP address then I was getting connection timed out issue.
Ipaddress: – 192.168.2.25

Issue: –

Resolution: –
Step 1 : First we need to check the firewall status, if they are enable then we need to disable it.
Command: – service firewalld status
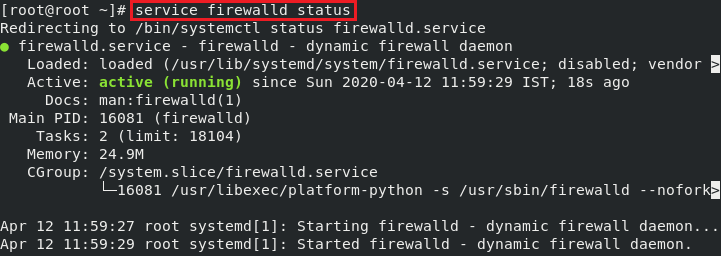
We can see firewall is running now we need to stop the firewall.
Command: – service firewalld stop
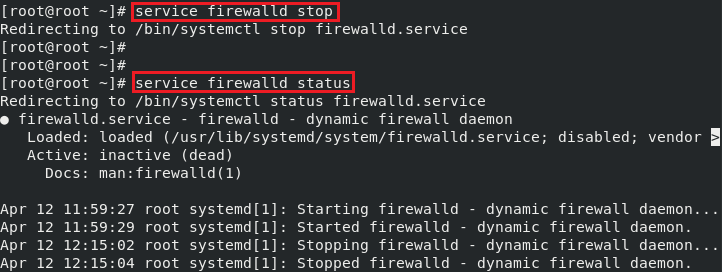
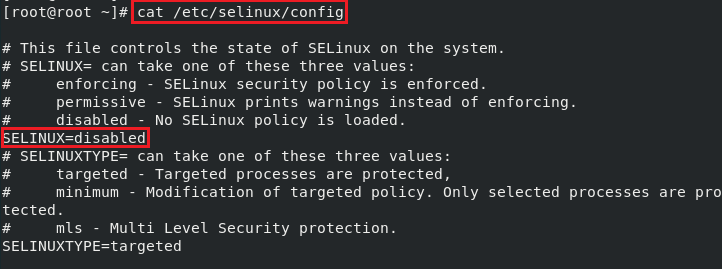
Now the firewall has been stopped, so let move to check the status of selinux.
Path: – /etc/selinux/config
As we can see from below screenshot selinux status is disabled and it should be in this state, if it in another state then you needs to change it and then reboot it.
Step 2 : After stopped the firewall, still getting the same connection timed out issue then I searched more for the issue and got that the subnet of my physical machine IP and got my Virtual Machine subnet is different.
Physical IP address: – 192.168.43.158
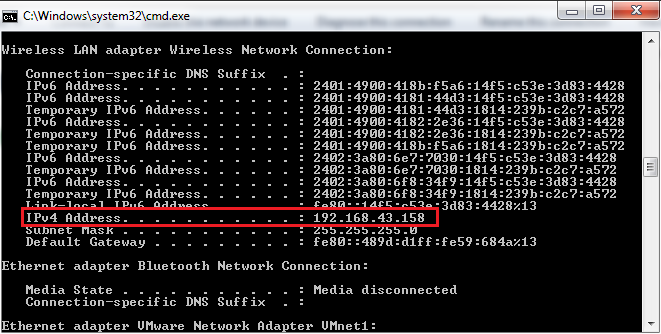
Virtual machine IP address: – 192.168.2.25
We can see that both are in different subnet then I was changed the Virtual Machine IP address to 192.168.43.159 and tried again.
To change the IP address use below steps: –
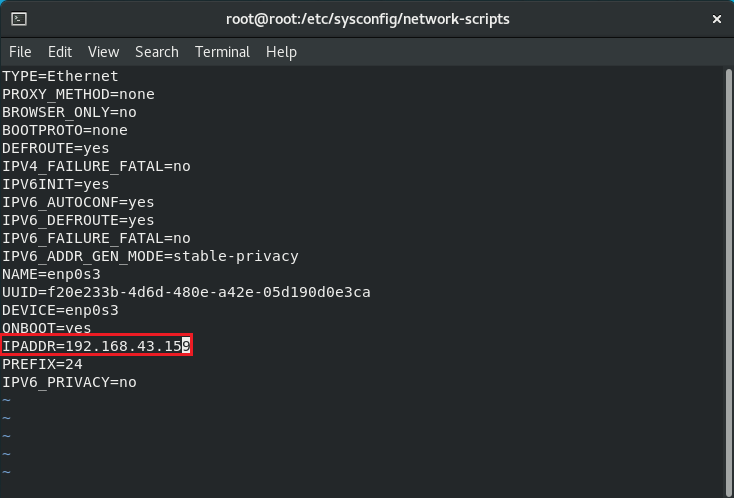
- Go to this path /etc/sysconfig/network-scripts and open ifcfg-enp0s3 file to change the ipaddress.
- Now change the ipaddress so that it can match with the same subnet of Physical Machine.
New ipaddress of virtual machine is 192.168.43.159
Now put the same ipaddress under/etc/hosts

Now restart the network services through below command and reboot.
Command: – systemctl restart NetworkManager.service
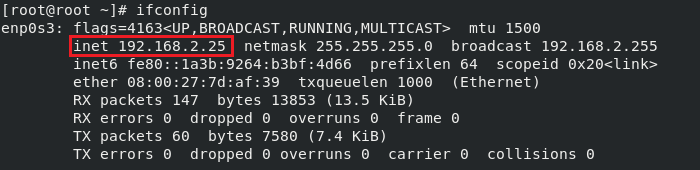
At last check the ipaddress whether it has changed or not.

We can see after reboot the machine ipaddress has been changed successfully.
Step 3 : Now first we should check whether we can able to ping from Physical Machine to Virtual Machine.
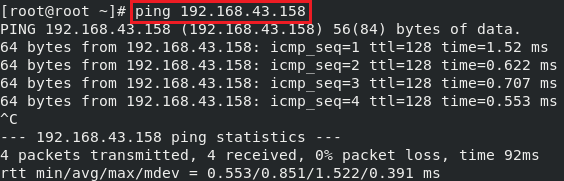
Virtual Machine to Physical Machine Ping status: –
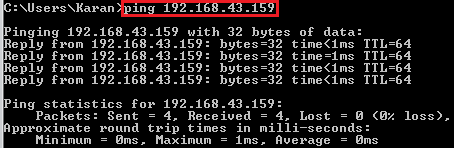
Physical machine to Virtual Machine Ping status: –
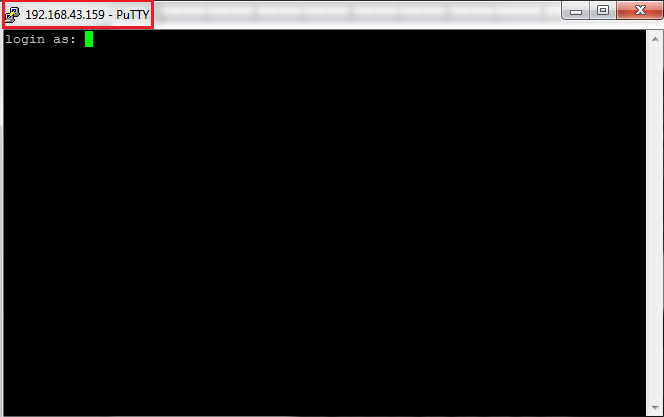
Step 4: Now we can check the connection again from putty and its resolved now.
I hope above information helpful and useful.