Dear Readers,
In this article,we will see Manage AWS Using Through Amazon Linux CLI in AWS.

Steps to Follow
- Generate Access key and Secret key.
- Launch Linux Server and connect to Linux Server through putty.
- Connect to Linux Server – CLI by providing Access key and Secret key.
- Manage AWS Account
AWS Command Line Interface
The AWS Command Line Interface (AWS CLI) is an open source tool that enables you to interact with AWS services using commands in your command-line shell.
Whatever we do graphically we can do through command line interface.
We can manage entire AWS through command line interface.
If you want to logging to your AWS account through console we need to give username and password.
if you want to logging to your AWS account through CLI we need to give access key ID and secret access key.
Access key is like a username and secret access key is like a password.
By default these key are deleted by AWS so, we need to generate the keys manually.
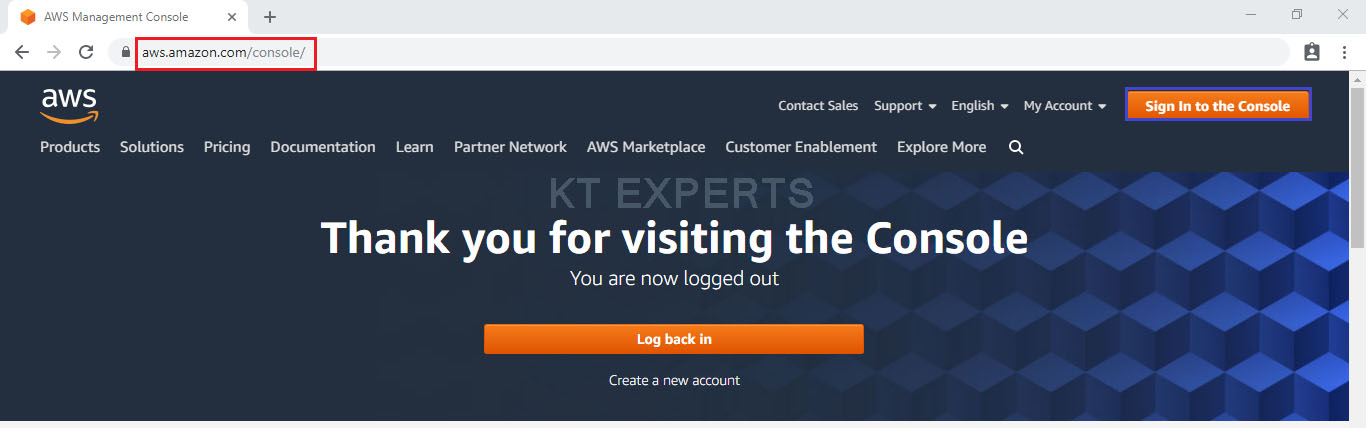
First, we need to AWS Console page by using below link.
https://aws.amazon.com/console/
Click on sign in to Console button.
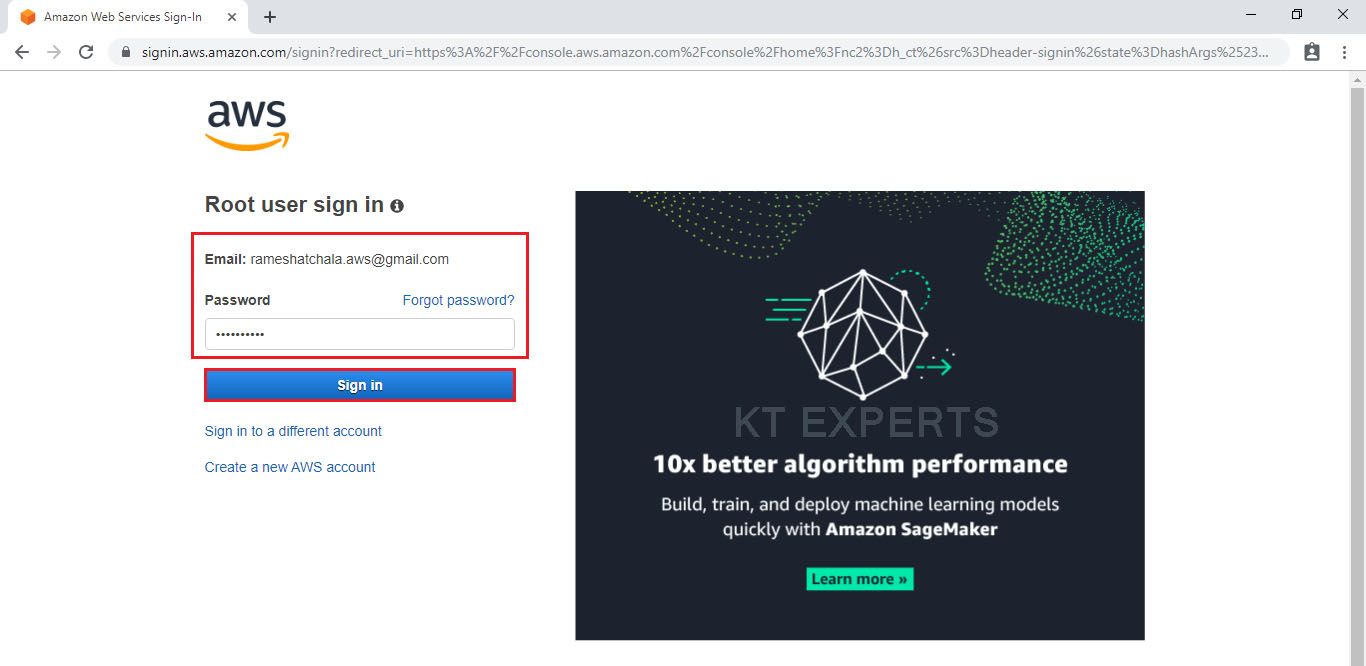
Logging to aws account
Provide username and password then click on sign in.
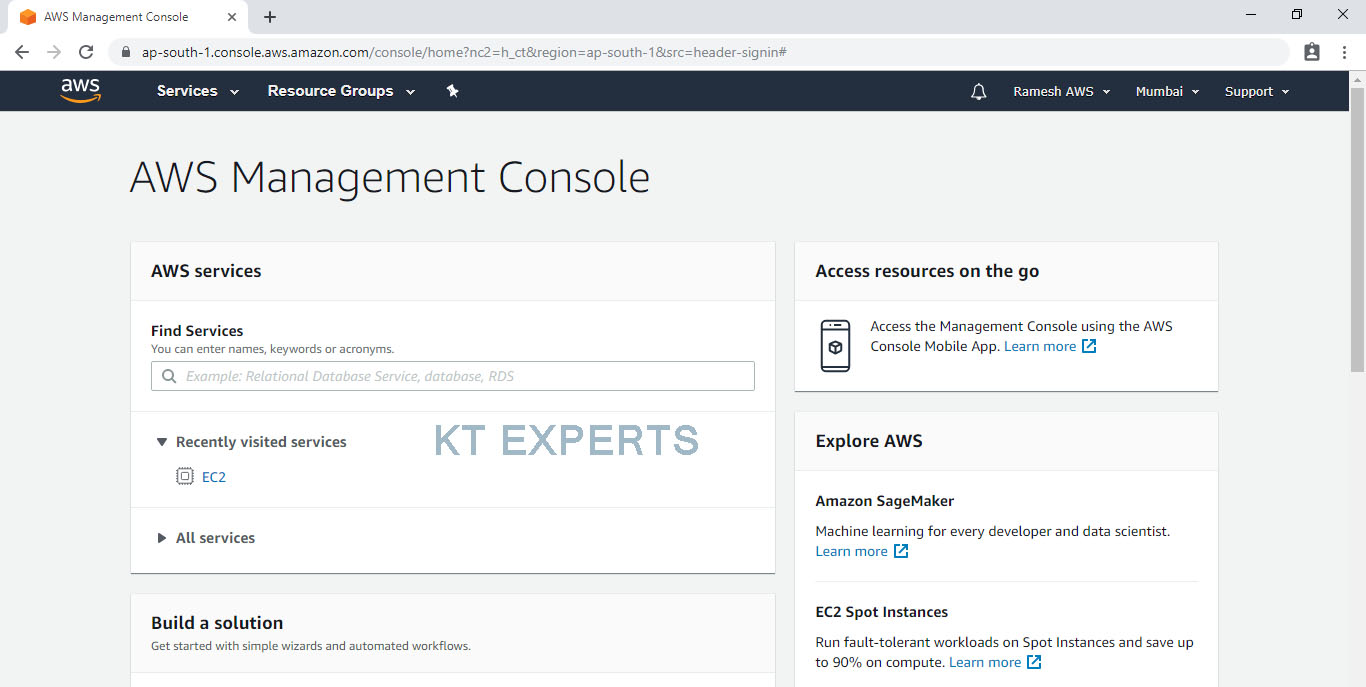
Enter to AWS Management Console
We can see the AWS Management Console Dashboard.
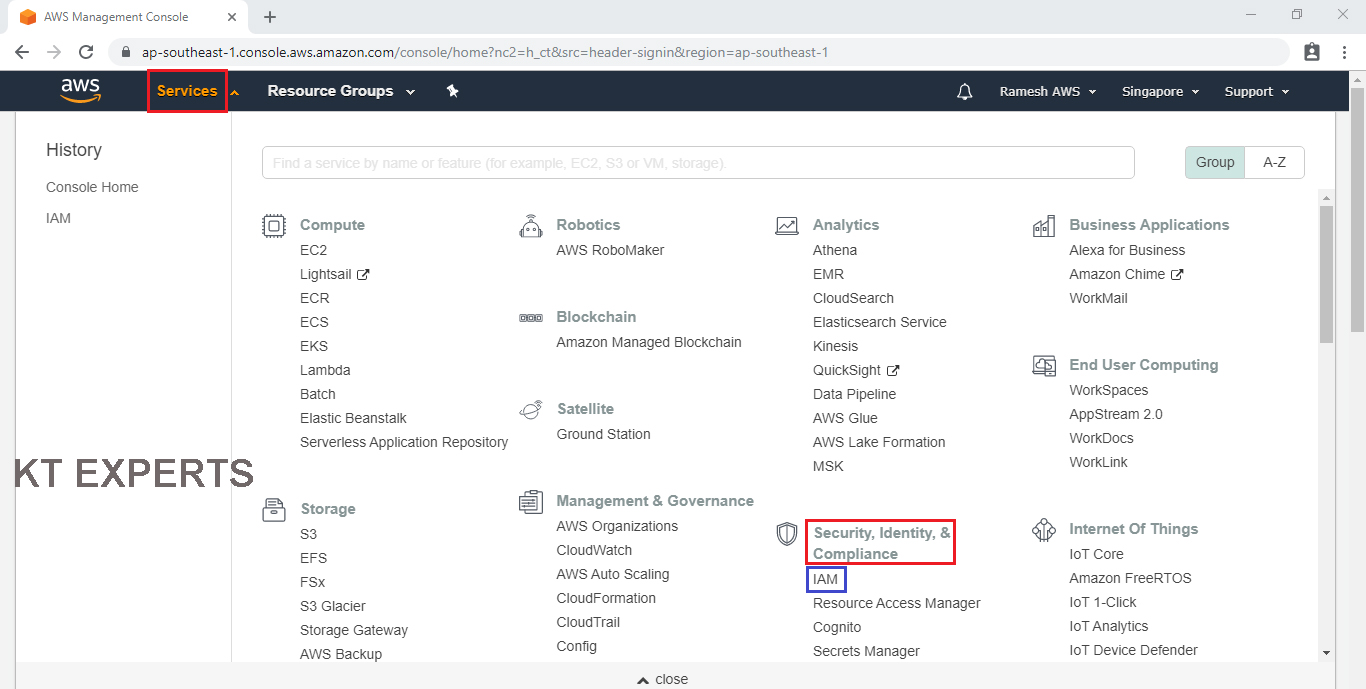
Generate Access key and Secret key
Go to services and click on IAM under security, identity & Compliance.
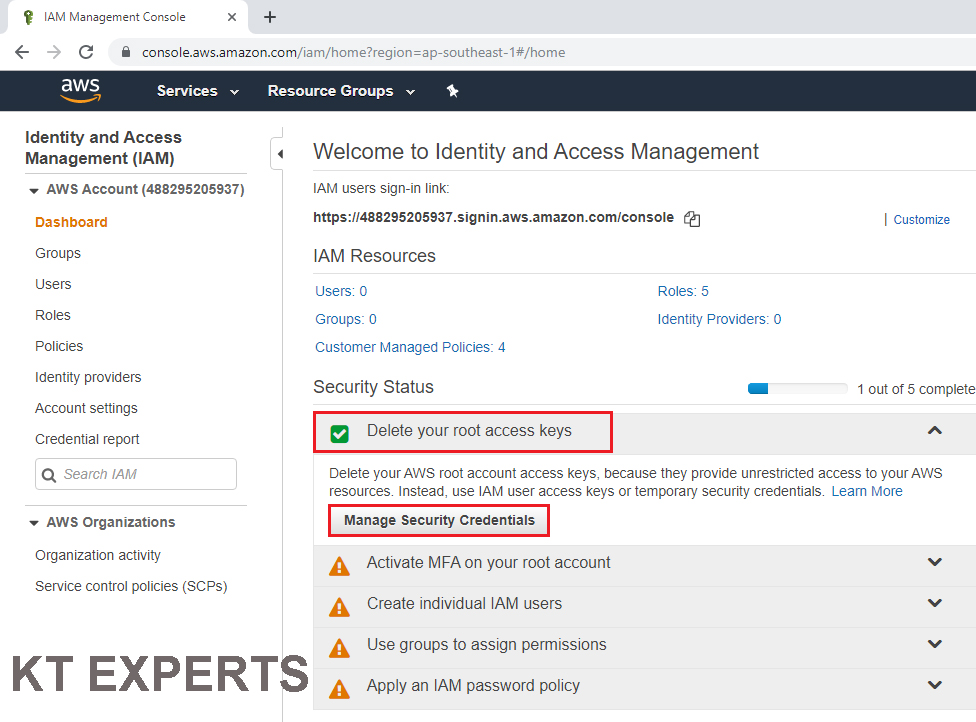
In the IAM dashboard we can see “Delete your root access keys” means these are deleted by AWS default.
we need to generate these keys manually ,so we click on Manage Security Credentials.
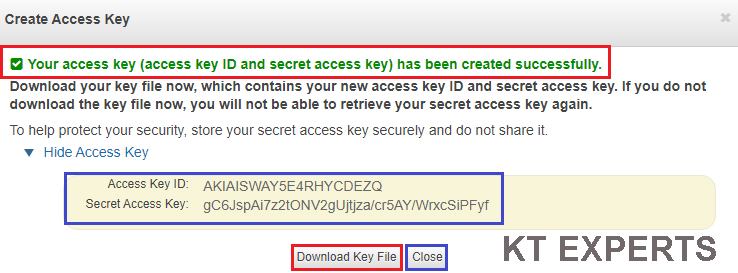
Go to Access keys (access key ID and secret access key) and click on Create New Access Key.
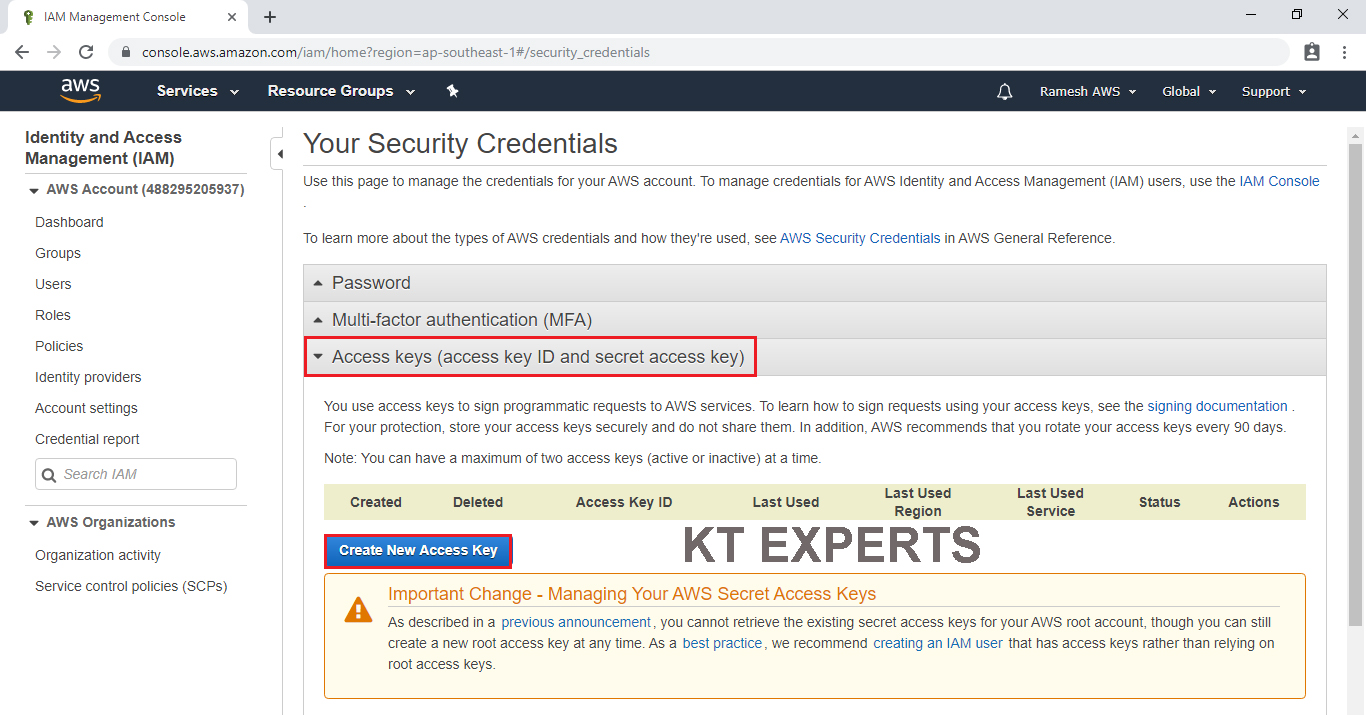
The Access Key and Secret Access Key has been created successfully.
We can download keys by clicking on Download Key File.
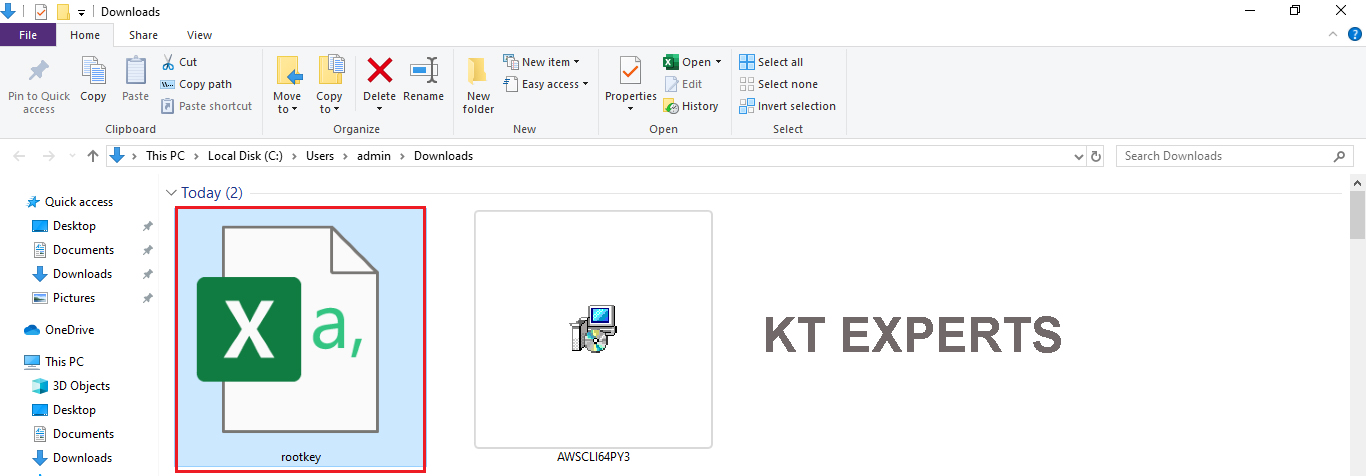
Go to physical location and see the root.Key.
Launch Linux Server and Connect to Linux Server through Putty
Once you connect, you will successfully see the Linux Virtual Server Prompt.
Connect to Amazon Linux CLI
|
1 2 3 4 5 6 7 8 9 10 11 12 13 14 15 16 17 18 19 20 21 22 23 24 |
Using username "ec2-user". Authenticating with public key "imported-openssh-key" Last login: Sun Sep 15 00:39:37 2019 from 124.123.103.5 __| __|_ ) _| ( / Amazon Linux AMI ___|\___|___| https://aws.amazon.com/amazon-linux-ami/2018.03-release-notes/ [ec2-user@ip-172-31-5-83 ~]$ sudo su [root@ip-172-31-5-83 ec2-user]# aws configure AWS Access Key ID [None]: AWS Secret Access Key [None]: |
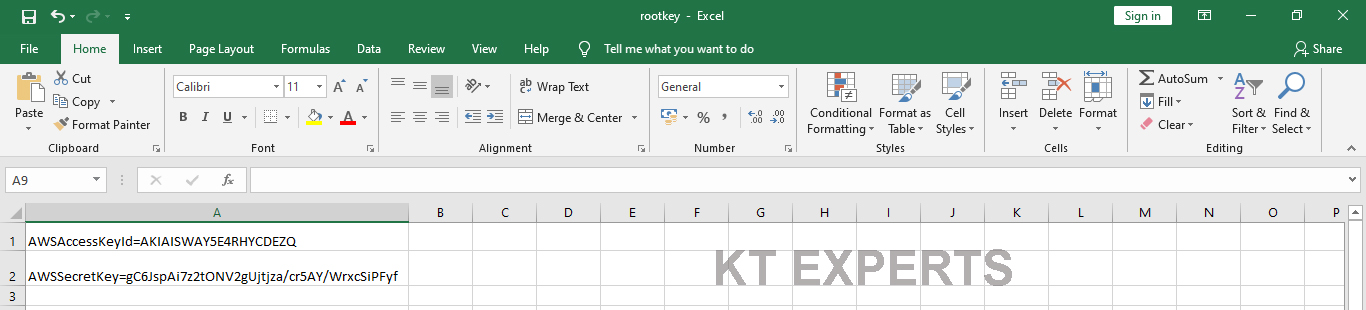
In the excel sheet we have AWS Access keyid and AWS secret key.
Copy the AWS Access key and paste in cmd prompt
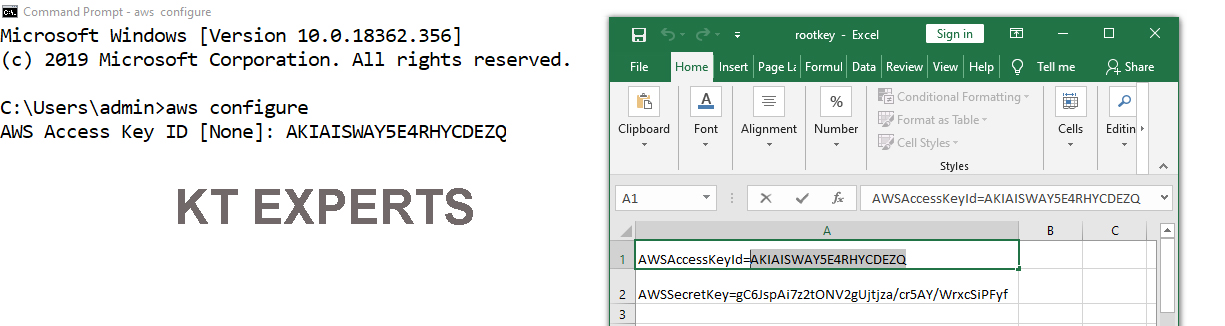
Provide Access Key
|
1 2 3 4 |
AWS Access Key ID [None]: AKIAISWAY5E4RHYCDEZQ AWS Secret Access Key [None]: |
Copy the AWS Secret key and paste in cmd prompt
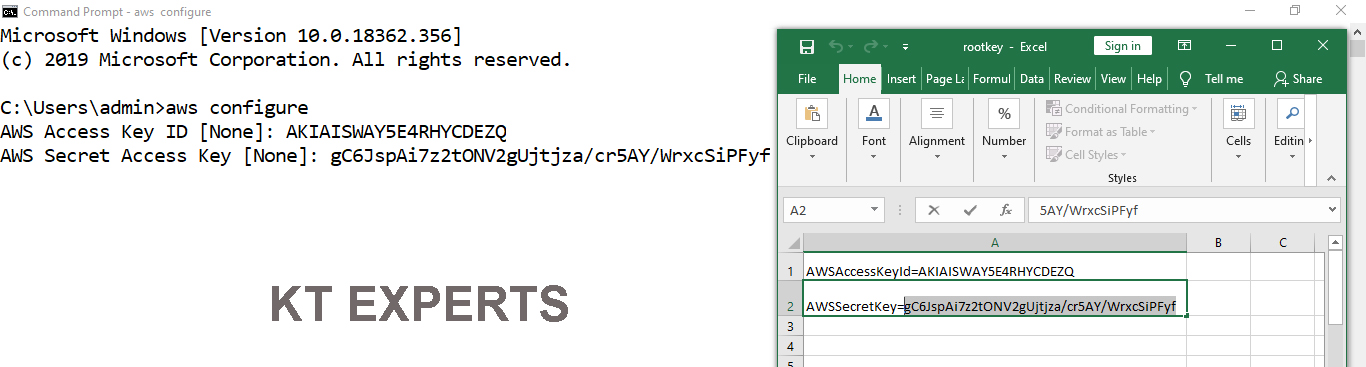
Provide Secret Key
|
1 2 3 4 |
AWS Secret Access Key [None]: gC6JspAi7z2tONV2gUjtjza/cr5AY/WrxcSiPFyf Default region name [None]: |
Provide default region name
we need to specify official name of the region, if you don’t mention anything it will choose North Virginia by default
For Mumbai — ap-south-1
|
1 2 3 4 |
Default region name [None]: ap-south-1 Default output format [None]: |
Provide Default output format
The default out format is json (if you don’t mention anything it will choose json by default)
If you want to see the output in text format you can give “text”
|
1 2 |
Default output format [None]: json |
Manage AWS Account
Create an S3 Bucket
|
1 2 3 |
[root@ip-172-31-5-83 ec2-user]# aws s3 mb s3://ktexpertsbucket1 make_bucket: ktexpertsbucket1 |
The bucket has created with default permissions
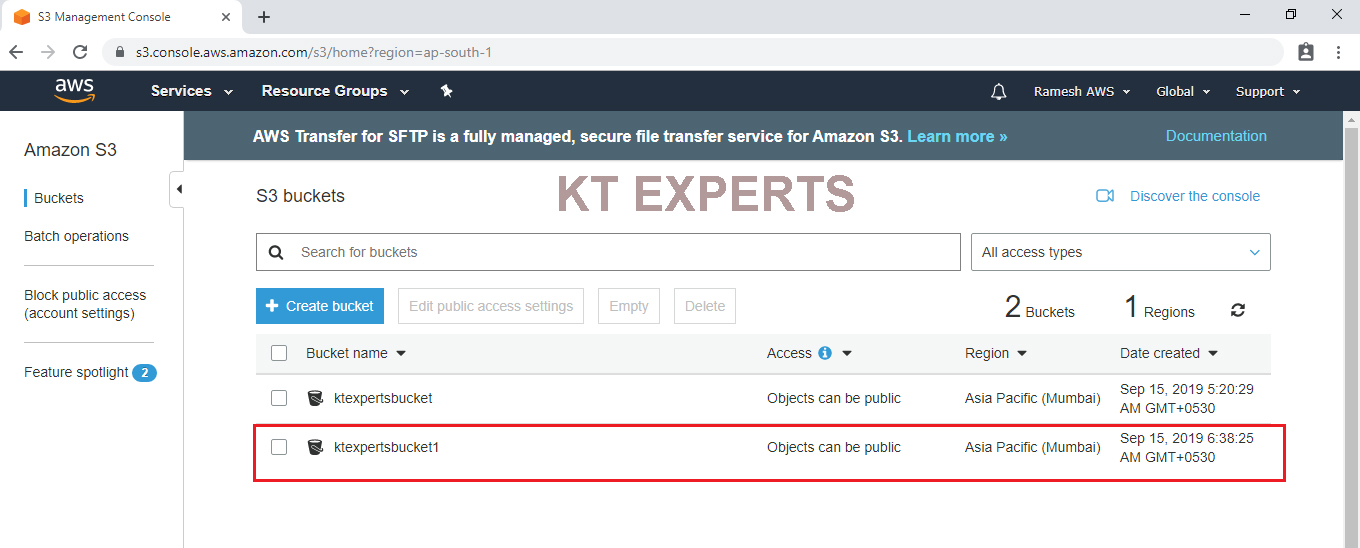
To Check list of S3 Buckets
|
1 2 3 4 |
[root@ip-172-31-5-83 ec2-user]# aws s3 ls 2019-09-14 23:50:30 ktexpertsbucket 2019-09-15 01:08:26 ktexpertsbucket1 |
To Verify Buckets Graphically
Go to S3 console in that we can the bucket “ktexpertsbucket”.
Note
In the CLI bucket default access is public.
In the Graphical bucket default access is private.
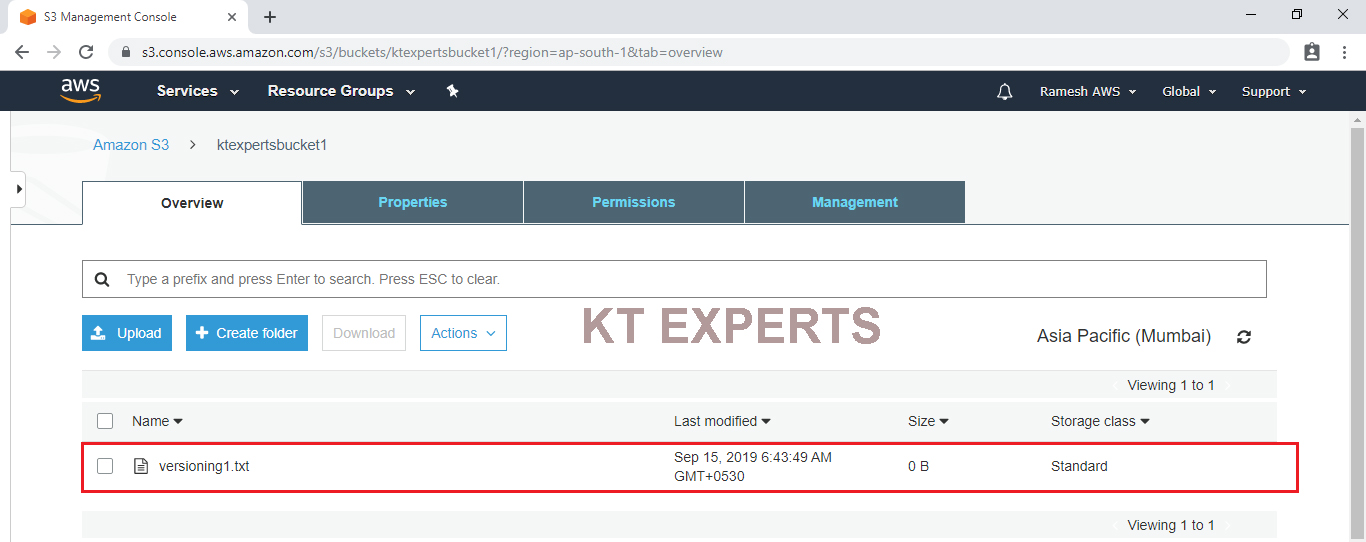
Copy object from base machine to S3 bucket
Go to object path and run the command
|
1 2 3 4 5 6 7 8 |
[root@ip-172-31-5-83 ec2-user]# ls aws cd versioning [root@ip-172-31-5-83 ec2-user]# aws s3 cp versioning s3://ktexpertsbucket1/versioning1.txt upload: ./versioning to s3://ktexpertsbucket1/versioning1.txt |
To Verify Graphically
Go to S3 console in that we can see the object “versioning1.txt” in the bucket “ktexpertsbucket1”
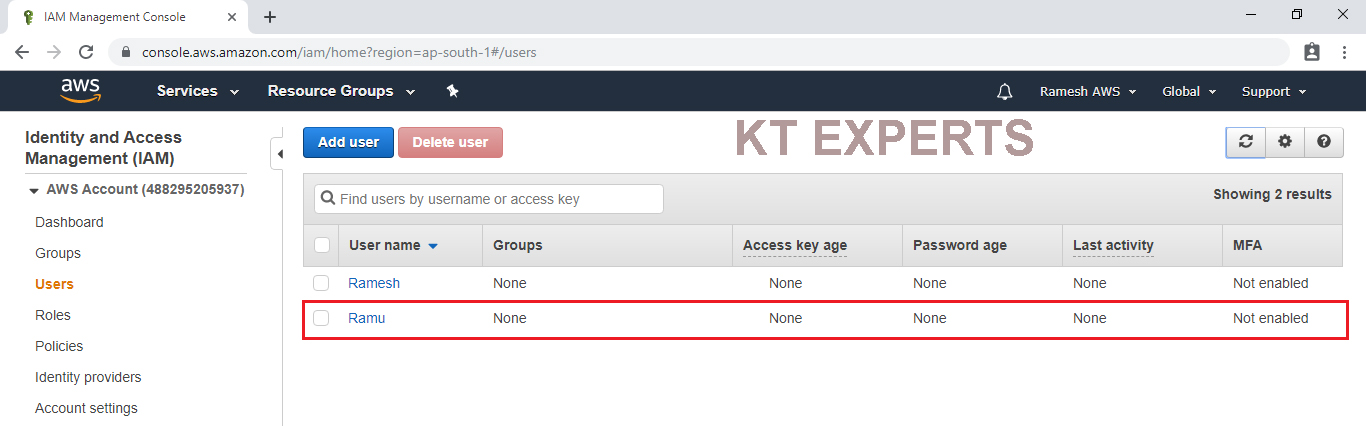
Create an IAM User
|
1 2 3 4 5 6 7 8 9 10 11 12 13 14 15 16 17 18 19 20 21 22 |
[root@ip-172-31-5-83 ec2-user]# aws iam create-user --user-name Ramu { "User": { "UserName": "Ramu", "Path": "/", "CreateDate": "2019-09-15T01:20:32Z", "UserId": "AIDAXDMFJRQY4JPYTWGAI", "Arn": "arn:aws:iam::488295205937:user/Ramu" } } [root@ip-172-31-5-83 ec2-user]# |
To Check Graphically
Go to services and click on IAM under Security,Identity & Compliance.
In the users we can see user ”Ramu” that was created in CLI
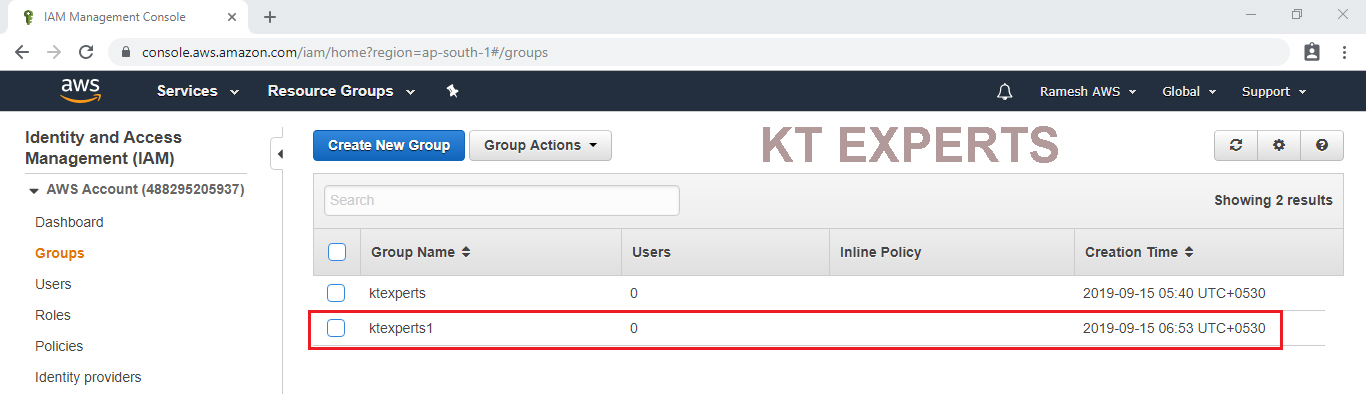
Create an IAM Group
|
1 2 3 4 5 6 7 8 9 10 11 12 13 14 15 16 17 18 19 20 21 22 |
[root@ip-172-31-5-83 ec2-user]# aws iam create-group --group-name ktexperts1 { "Group": { "Path": "/", "CreateDate": "2019-09-15T01:23:30Z", "GroupId": "AGPAXDMFJRQYQK5E7FKVS", "Arn": "arn:aws:iam::488295205937:group/ktexperts1", "GroupName": "ktexperts1" } } [root@ip-172-31-5-83 ec2-user]# |
To Verify Graphically
Go to IAM Dashboard in that we can see the group “ktexperts1” which was created in CLI.
Thank you for giving your valuable time to read the above information. Please click here to subscribe for further updates
KTEXPERTS is always active on below social media platforms.
Facebook : https://www.facebook.com/ktexperts/
LinkedIn : https://www.linkedin.com/company/ktexperts/
Twitter : https://twitter.com/ktexpertsadmin
YouTube : https://www.youtube.com/c/ktexperts
Instagram : https://www.instagram.com/knowledgesharingplatform