Dear Readers,
Today we will see the step by step installation of Oracle Enterprise Linux 8.1 Installation. To complete this configuration we need to follow below steps.
- Download the Oracle Virtual Box software.
- Download the Oracle Enterprise Linux 8.1 ISO image.
- Installation of Virtual Machine
- Installation of Oracle Enterprise Linux 8.1.
So now let’s start the step by step configuration.
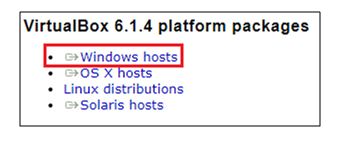
Download the Oracle Virtual Box software: –
Please use below link to download the Oracle Virtual Box software: –
Link: –https://www.virtualbox.org/wiki/Downloads
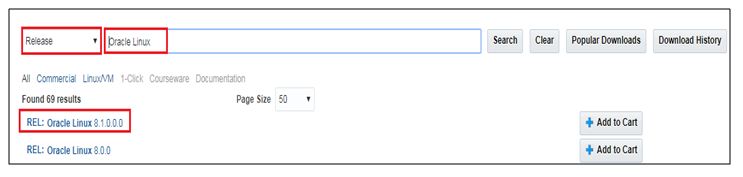
Download the Oracle Enterprise Linux 8.1 ISO image: –
Please use below link to download the Oracle Enterprise Linux 8.1 ISO image: –
Link: –https://edelivery.oracle.com/osdc/faces/SoftwareDelivery
Installation of Virtual Machine: –
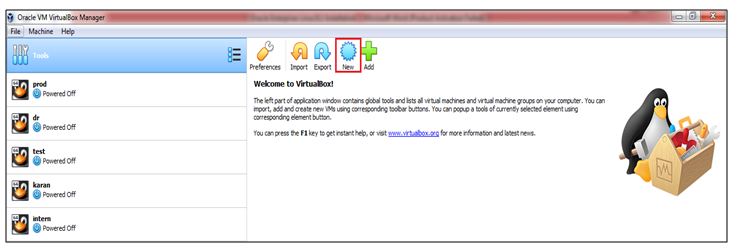
Now we have both Oracle Virtual Box and Oracle Enterprise Linux 8.1 ISO image with us to start our configuration.
Step 1) Open Virtual Box and click on “New” option.
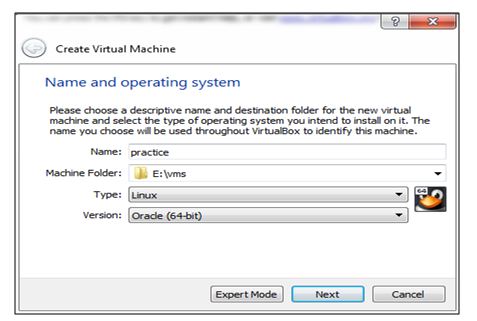
Step 2) Put the “Name, Operating system” as per your requirement, I am using oracle Linux so I have chosen below options.
Step 3) Give “Memory Size” as per your requirement but I would recommend to give at least 3 GB of RAM so that it would be work smoothly
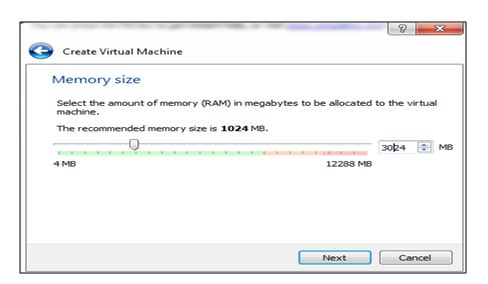 .
.
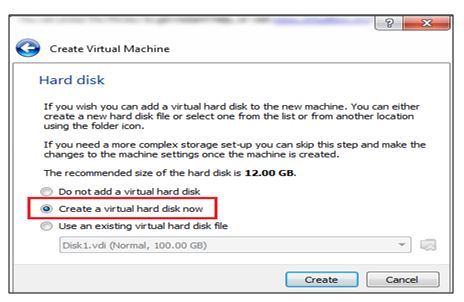
Step 4) Choose “Create a Virtual Hard disk now” option under Hard disk tab.
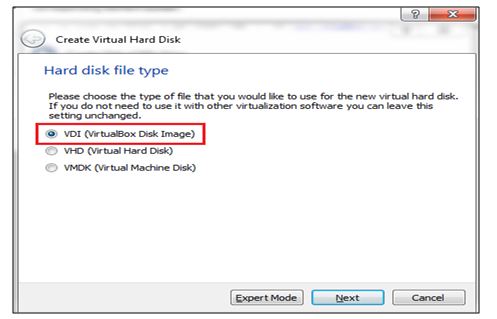
Step 5) Choose “VDI (Virtual Box Disk Image)” option under Hard disk file type tab.
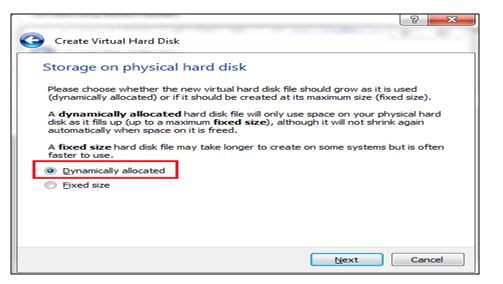
Step 6) Choose “Dynamically allocated” option under storage tab. You can look at the below difference between dynamically allocated and Fixed Size.
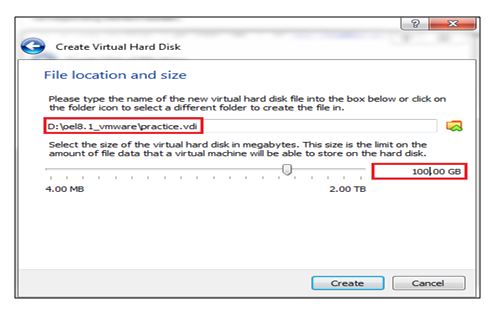
Step 7)Choose the “File location” and “Size” as per your requirement.
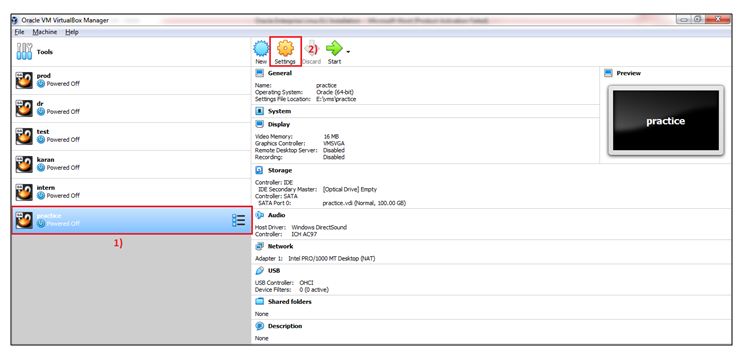
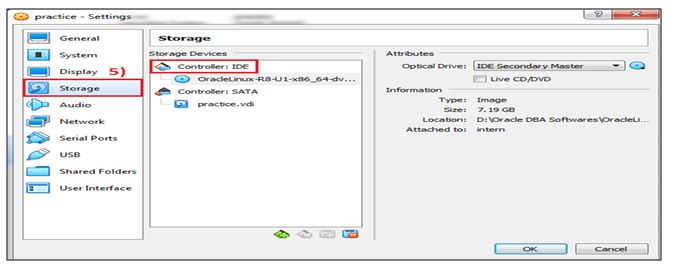
Step 8)Now go to the “Machine settings” option to make some changes.
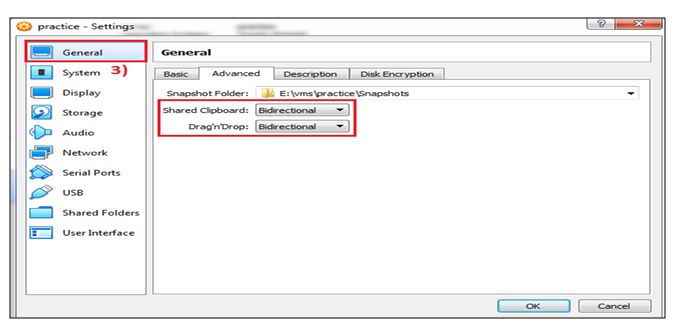
Under General tab, Shared clipboard and Drag’n Drop option should be Bidirectional.
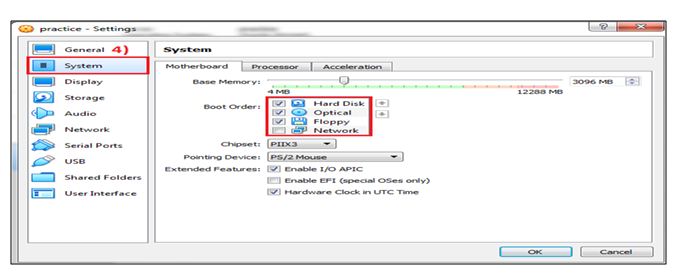
Under System tab Boot order should be like as below.
- Hard Disk 2) Optical 3) Floppy 4) Network
Under storage option click on the Controller: IDE to select the ISO.
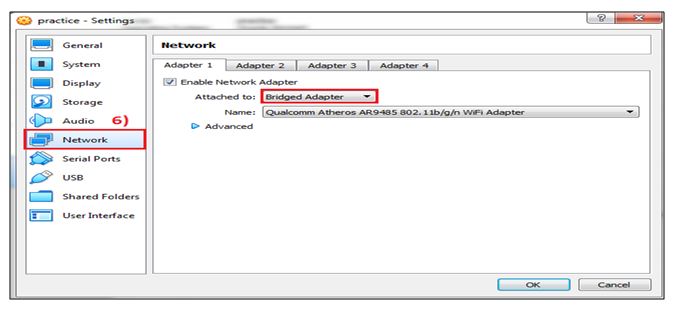
And the last choose Bridged Adapter setting underNetwork.
Now click on the start button for the configuration.
Installation of Oracle Enterprise Linux 8.1: –
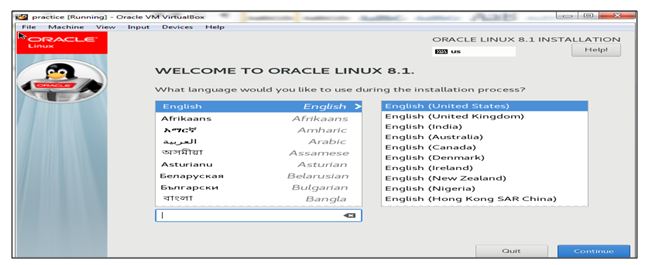
Step 1) Choose “English”under the language tab.
Step 2) Set“Time and Date” as per your region.
Step 3) Choose“Server with GUI”underSoftware selection.
Step 4) Give Hostname and IP address as per your requirement.
I am giving host name as “root” and IP address as 192.168.2.25
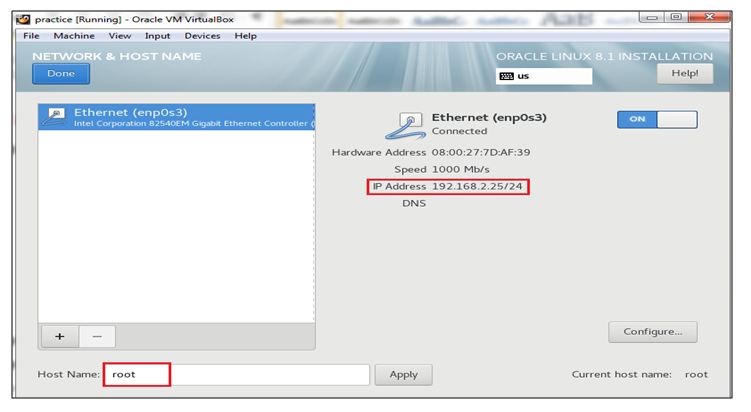
To set the IP address click on Configure tab—>IPv4 setting—>-Manual method— >set Ipaddress
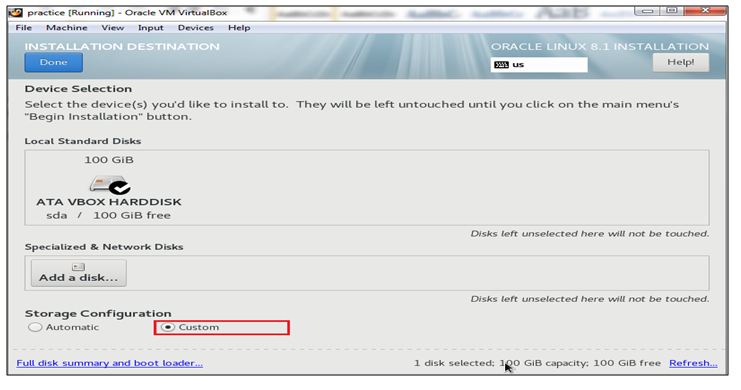
Step 5) Click on “Installation Destination” and choose “custom”option to create mount points.
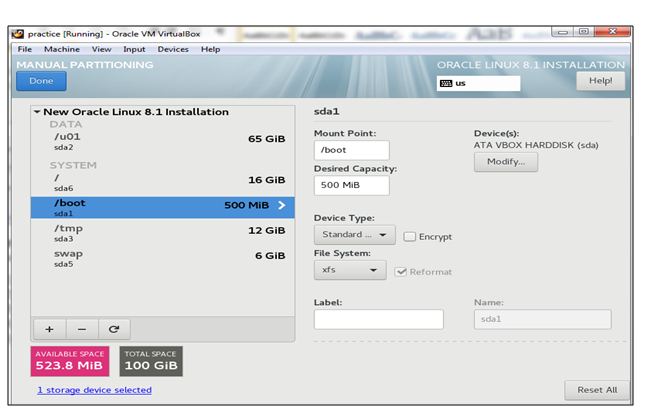
Step 6)Now create the mount points as per the client requirement. I am creating below mount points as per my requirement.
- /=16GB
- /tmp=12 GB
- /u01= 65 GB
- /boot= 500 MB
- SWAP= double the size of RAM (as per our case it should be 6GB)
After creating the mount points click on the Done tab to proceed further.
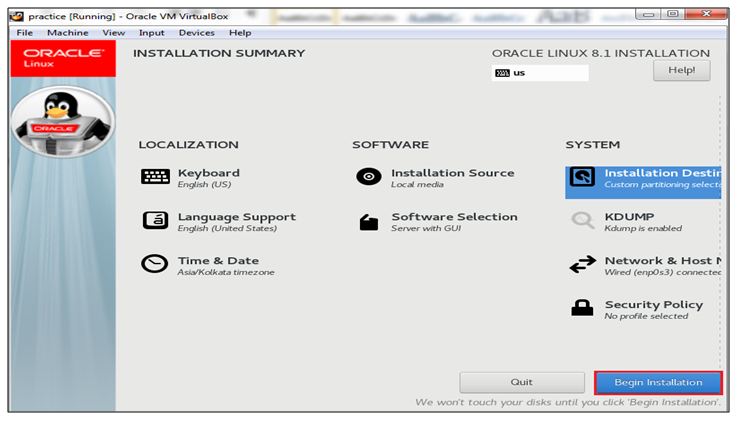
Step 7)Now Click on the “Begin Installation” button to start the configuration.
Step 8) Installation has been completed successfully; now need to reboot the server.
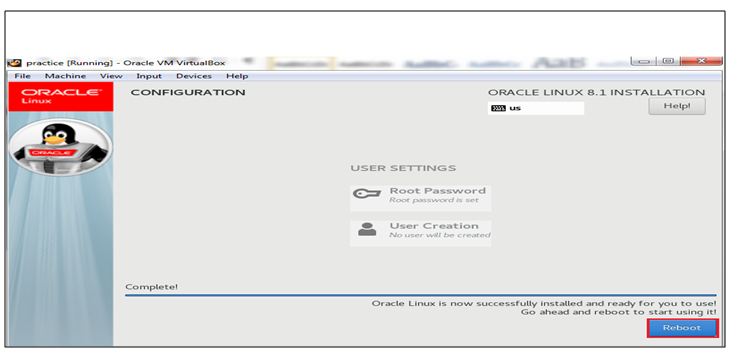
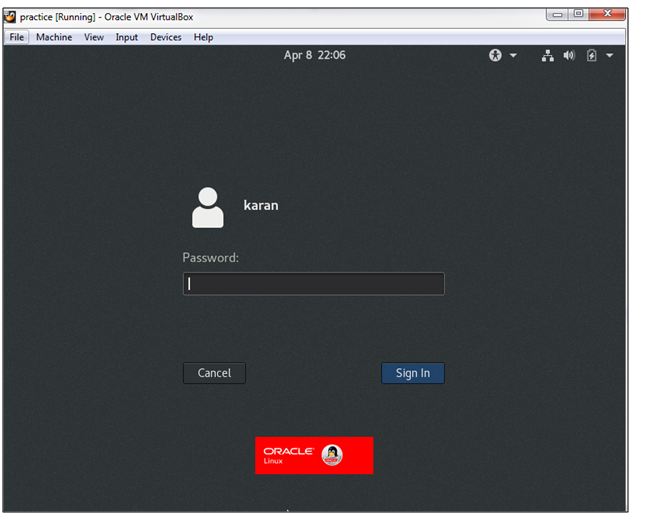
Step 9)Now Installation has been completed. You can login to proceed further.
Thank you , I hope above article is helpful and informative…
Follow us on
Website : www.ktexperts.com
Facebook Page : KTExperts Facebook
Linkedin Page : KT EXPERTS Linkedin