Dear Readers,
In this article, we will see the Amazon Virtual Private Cloud in AWS (PART – 1).
STEP 1
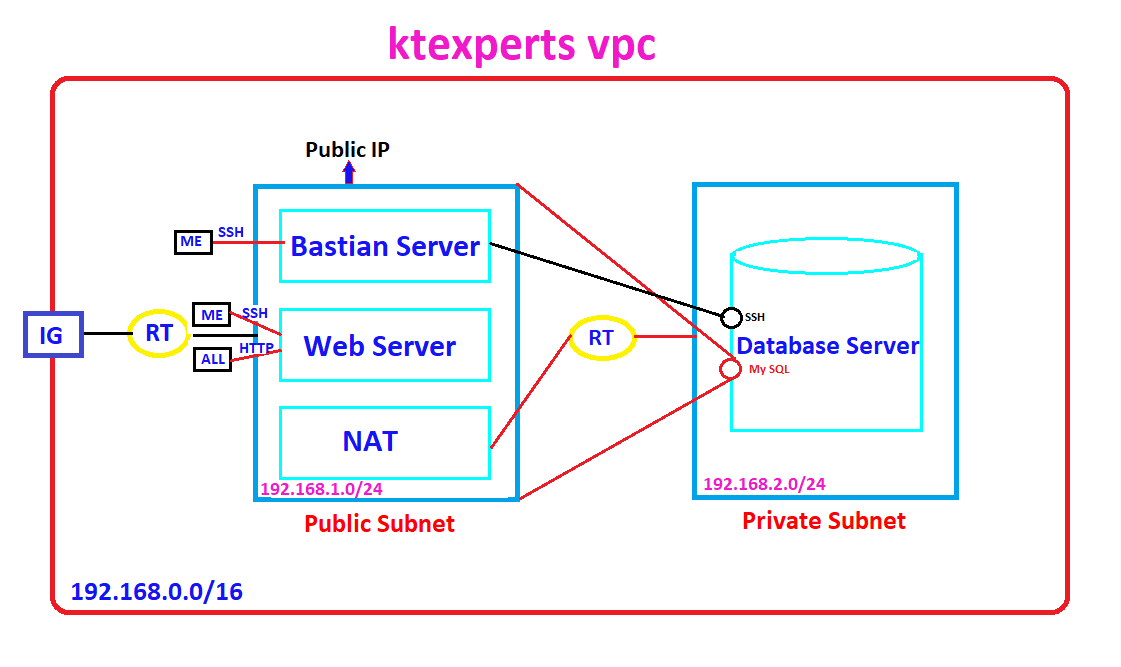
Create VPC and assign IP range.
Create two subnets inside the VPC and assign IP range for both subnets.(By default two subnets are private).
Create Internet Gateway for providing internet to the subnet -1.
Create Route Table.
One end of the Route Table has connect to the Internet Gateway and another end of Route Table connect to public subnet.
STEP 2
Create Web Server inside public subnet.
STEP 3
Create Database Server inside private subnet for keeping sensitive information inside the database.
STEP 4
Create Bastian Server inside public subnet for connecting to database server.
STEP 5
Copy database server pem file to bastian server through WinSCP tool.
Create NAT Gateway for providing internet to database server(To install updates and required packages).
Create Route Table.
Attach both side of the Route Table connect to NAT Gateway and Private Subnet.
Connect to database Server through Bastion Server then install packages.
In this article,we will see
- Create VPC and assign IP range.
- Create two subnets inside the VPC and assign IP range for both subnets.(By default two subnets are private).
- Create Internet Gateway for providing internet to the subnet -1.
- Create Route Table.
- One end of the Route Table has connect to the Internet Gateway and another end of Route Table connect to public subnet.
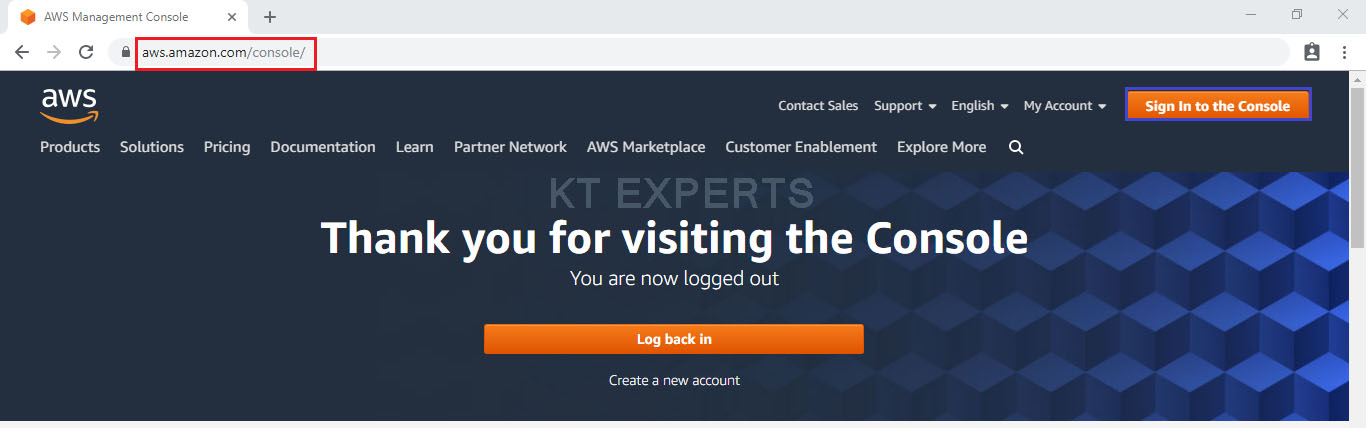
First, we need to AWS Console page by using below link.
https://aws.amazon.com/console/
Click on sign in to Console button.
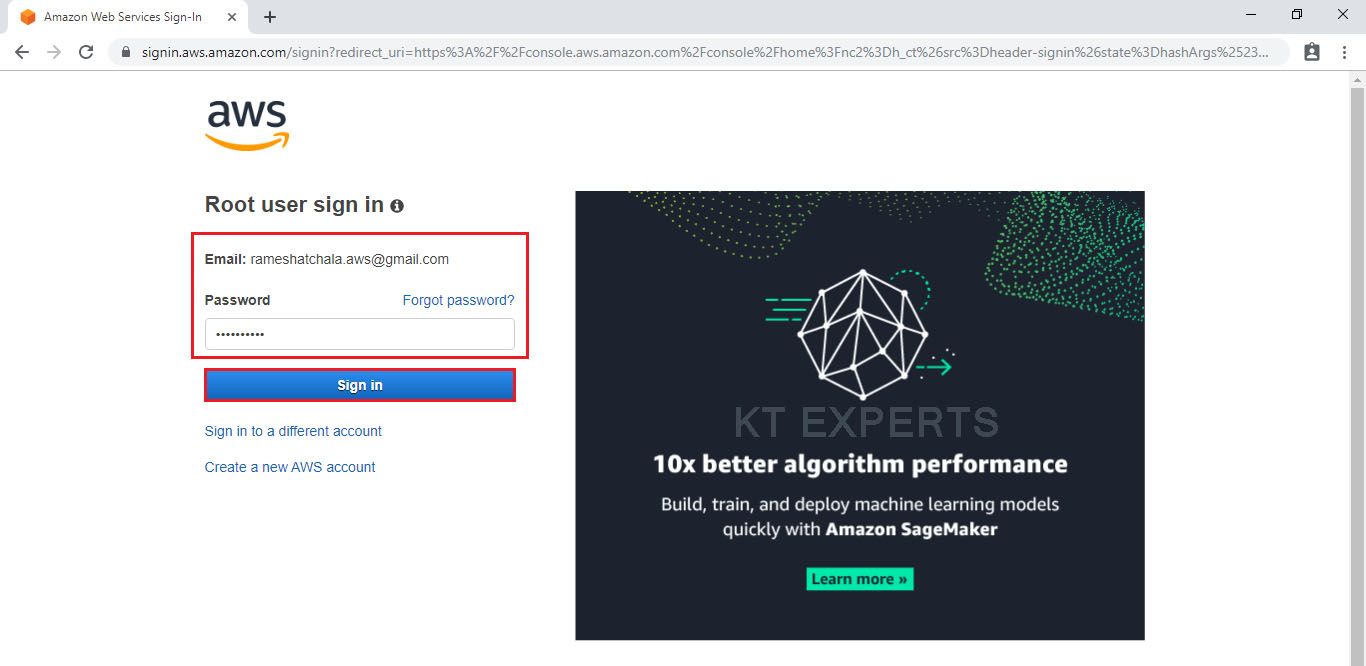
Logging to aws account
Provide username and password then click on sign in.
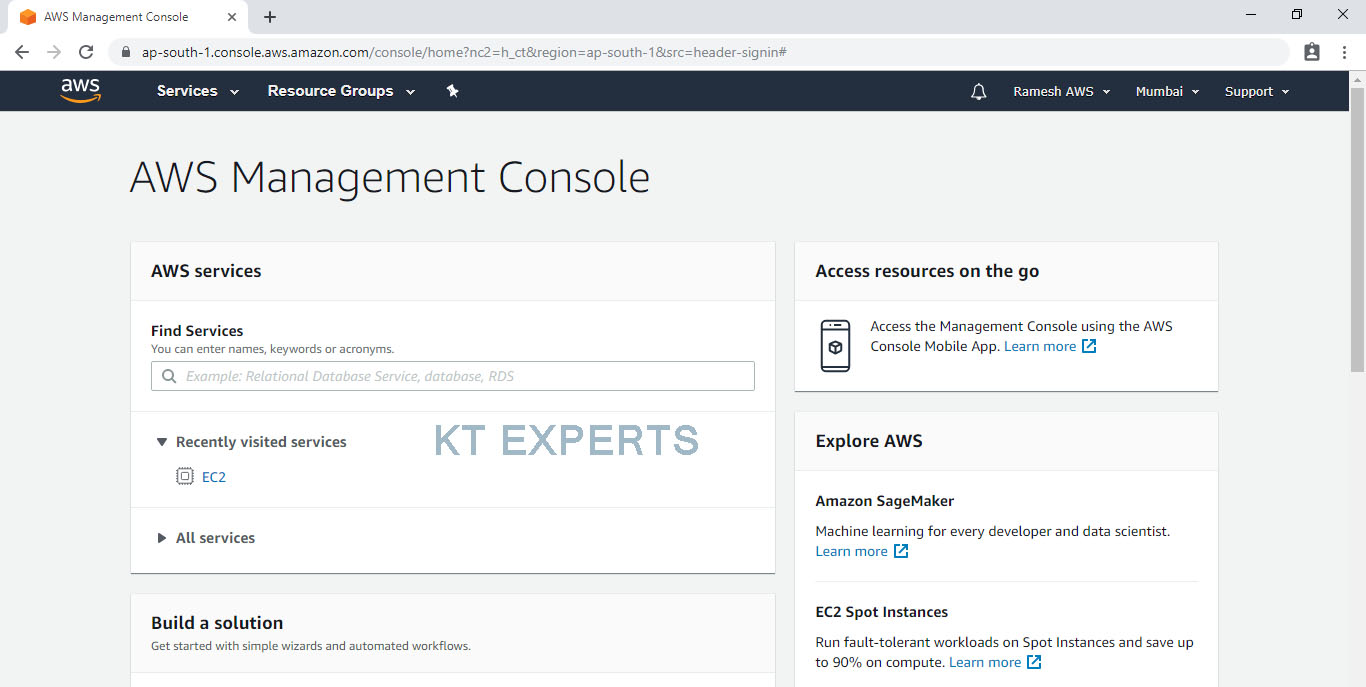
Enter to AWS Management Console
We can see the AWS Management Console Dashboard.
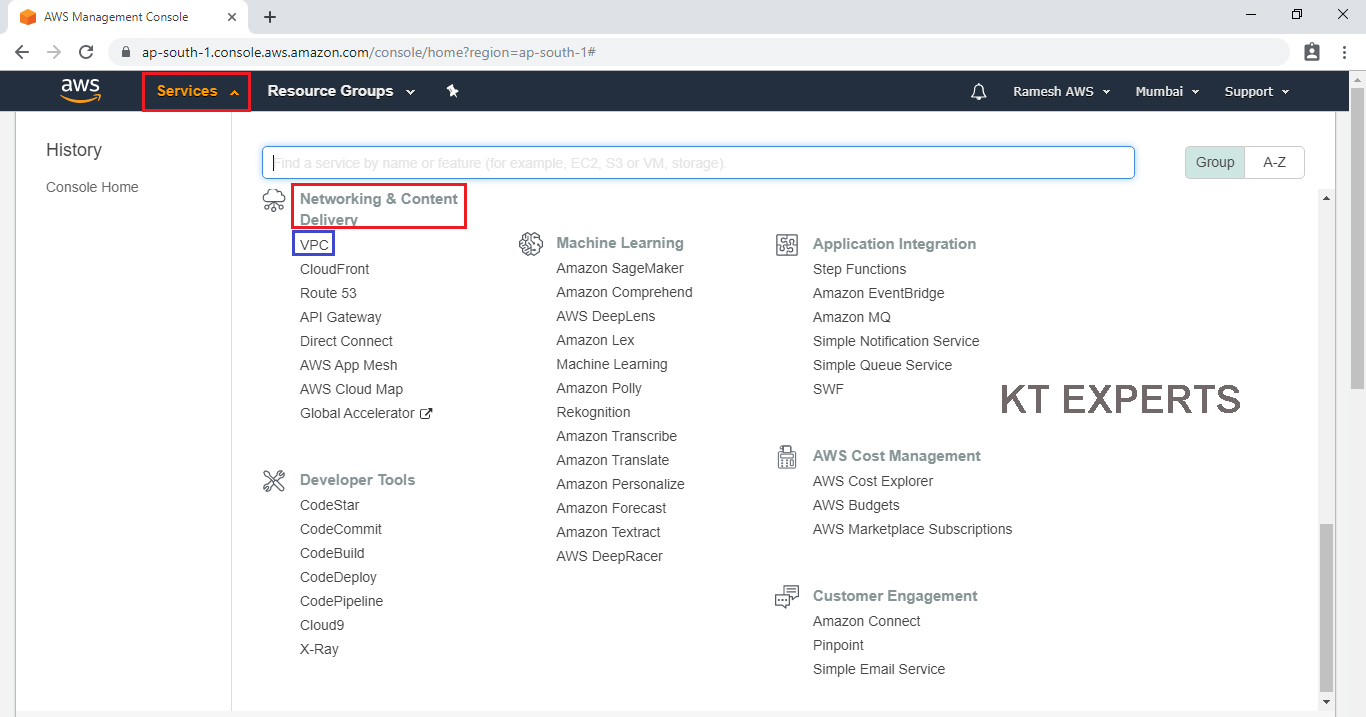
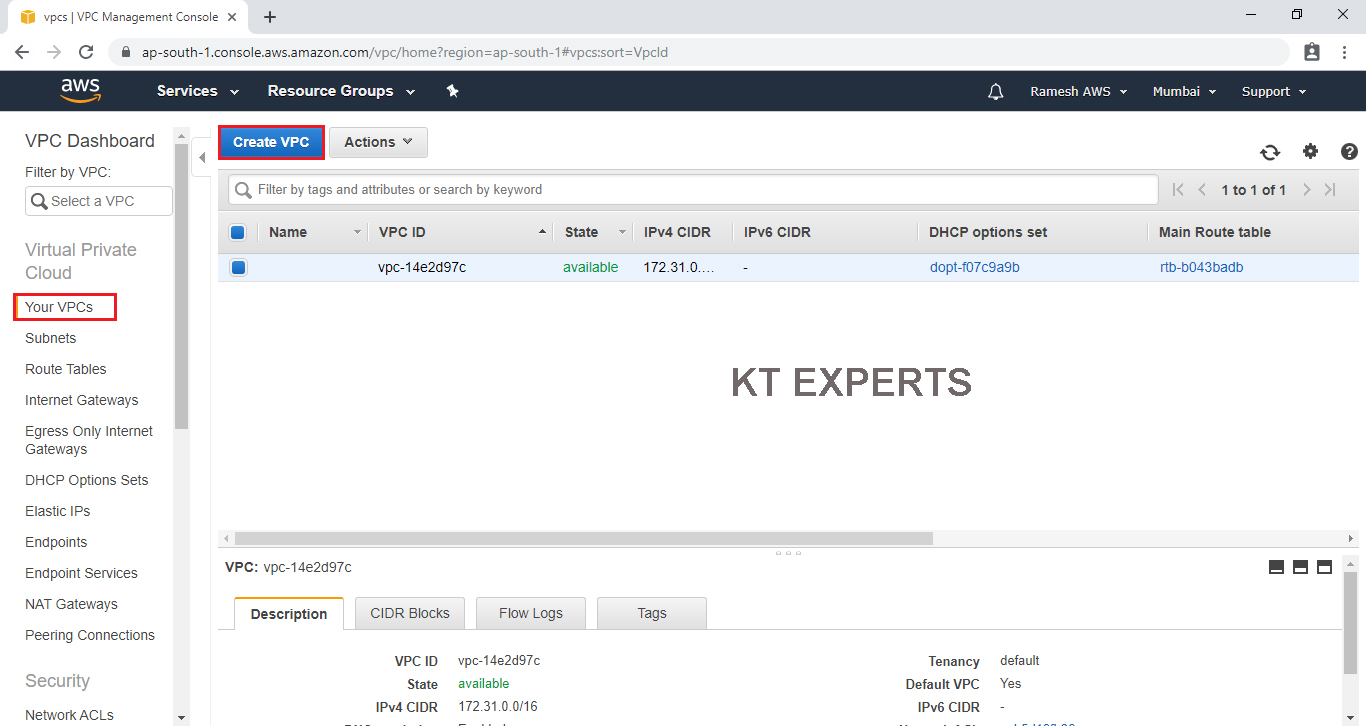
Go to Services, under the Networking & Content Delivery click VPC service to open.
Create VPC “ktexpertsvpc”
Go to your VPC’s here It’ showing one default VPC.
Click on Create VPC to create an new VPC.
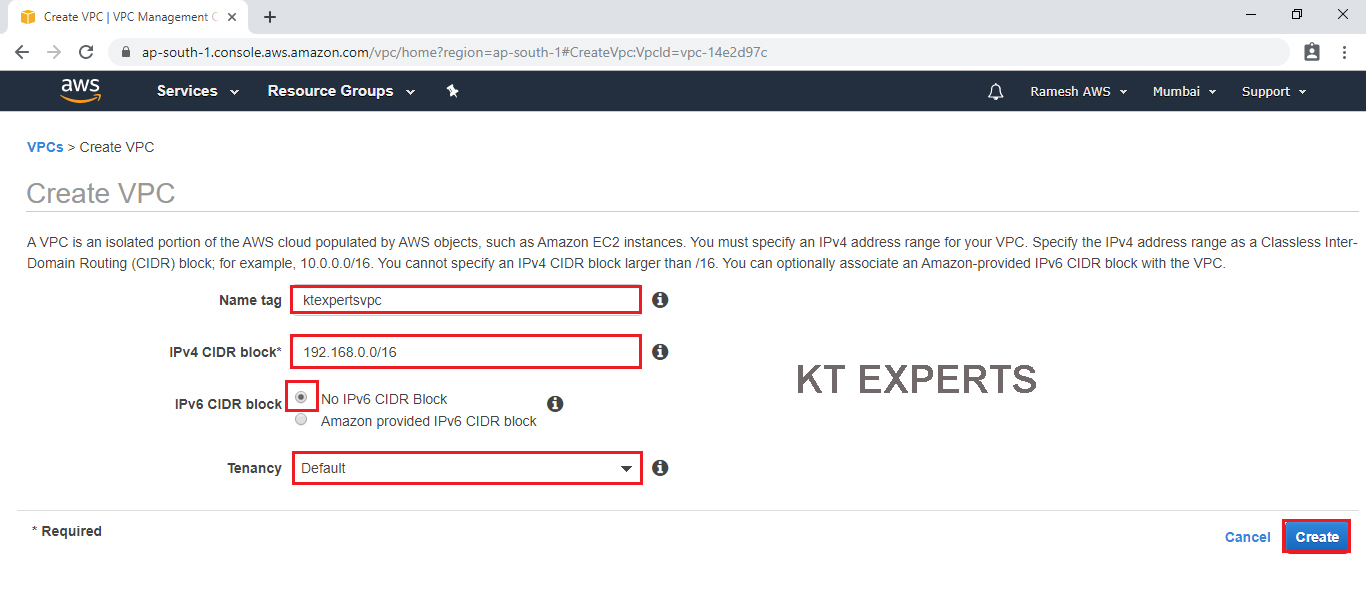
Give name for VPC “ktexpertsvpc” in the Name tag and IP range “192.168.0.0/16” in the IPV4 CIDR block field then choose No IPVS CIDR. Block (here is no IPV6 CIDR BLOCK) .
Choose default option for Tenancy then click on Create.
Note
IPV4 is the default.
Tenancy we can choose either default(share to others) or dedicated( can’t share to others).
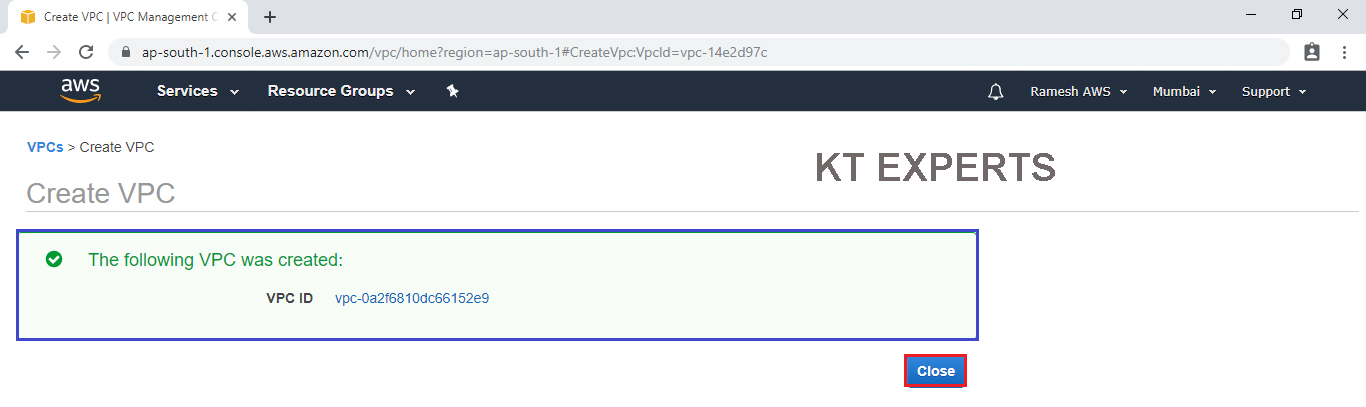
The VPC has been created successfully then click on close.
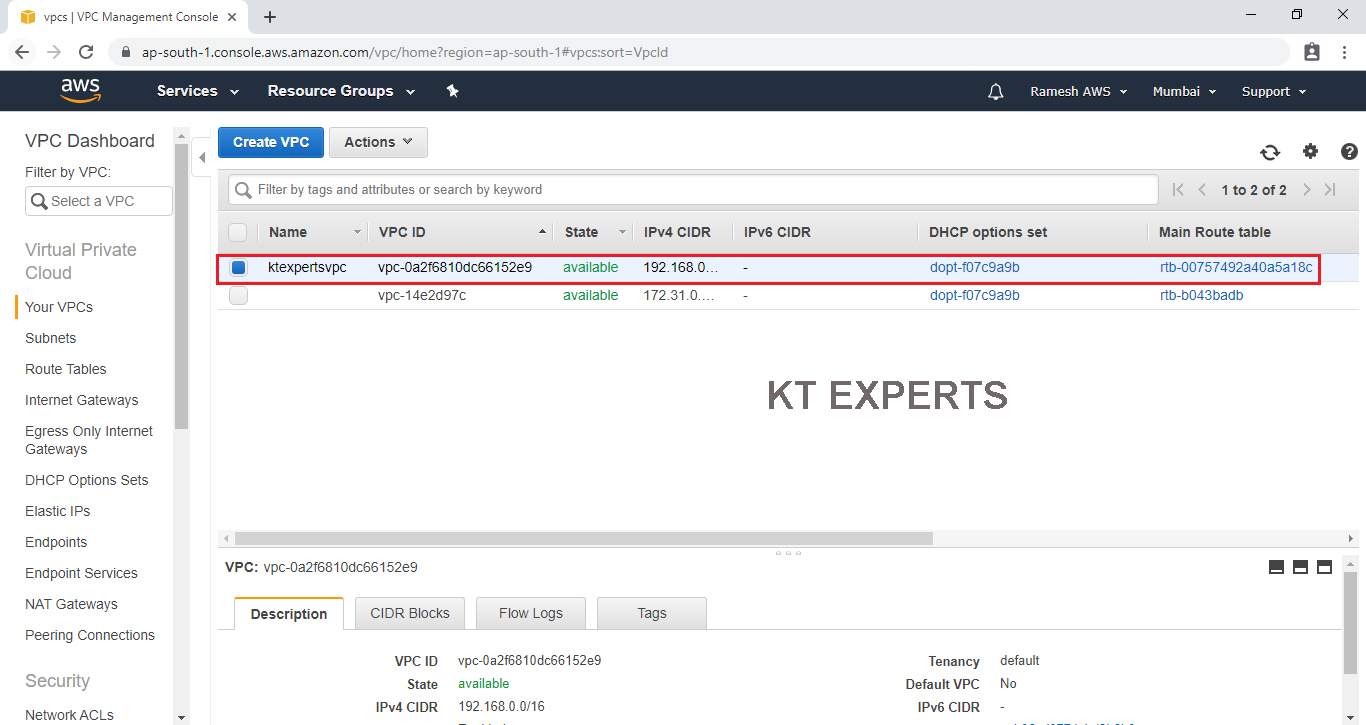
We can see the VPC “ktexpertsvpc” which was created earlier.
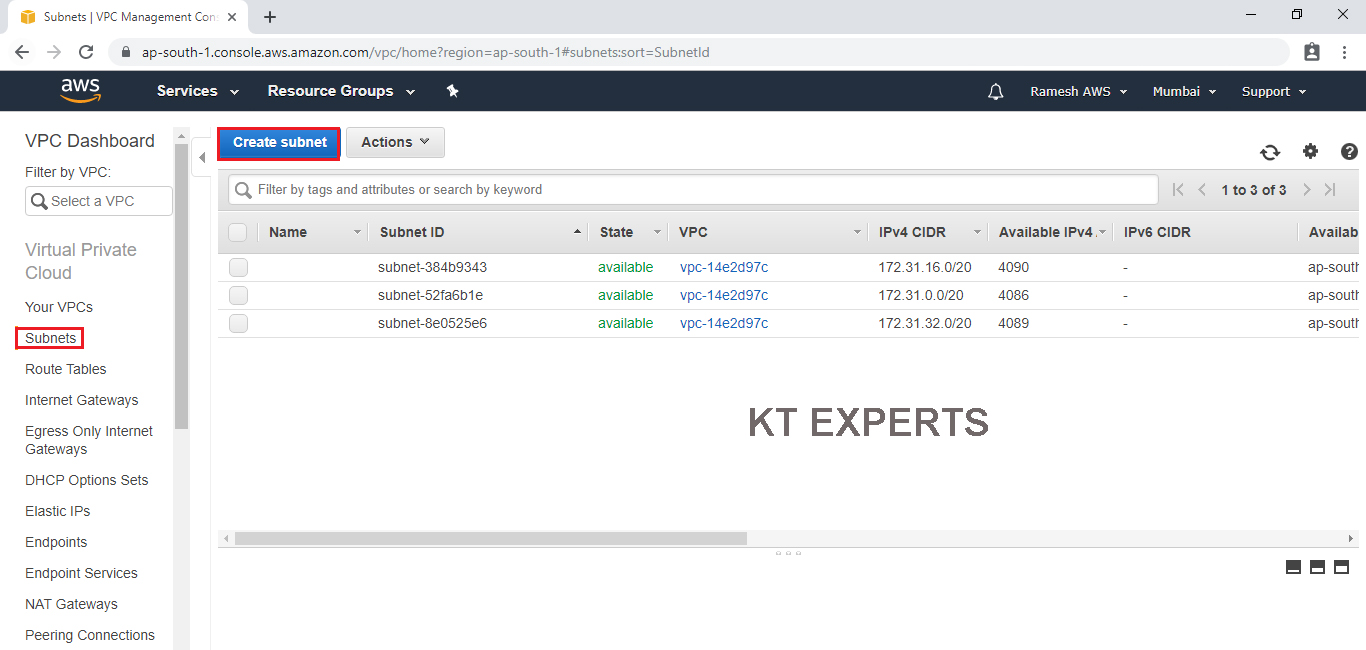
Create Subnets
As a first we need to create 2 subnets.
Create subnet – 1
Go to Subnets and Click on Create Subnet to create an new subnet.
Note
By default subnets are private.
by default we can see 3 subnets are will be available.
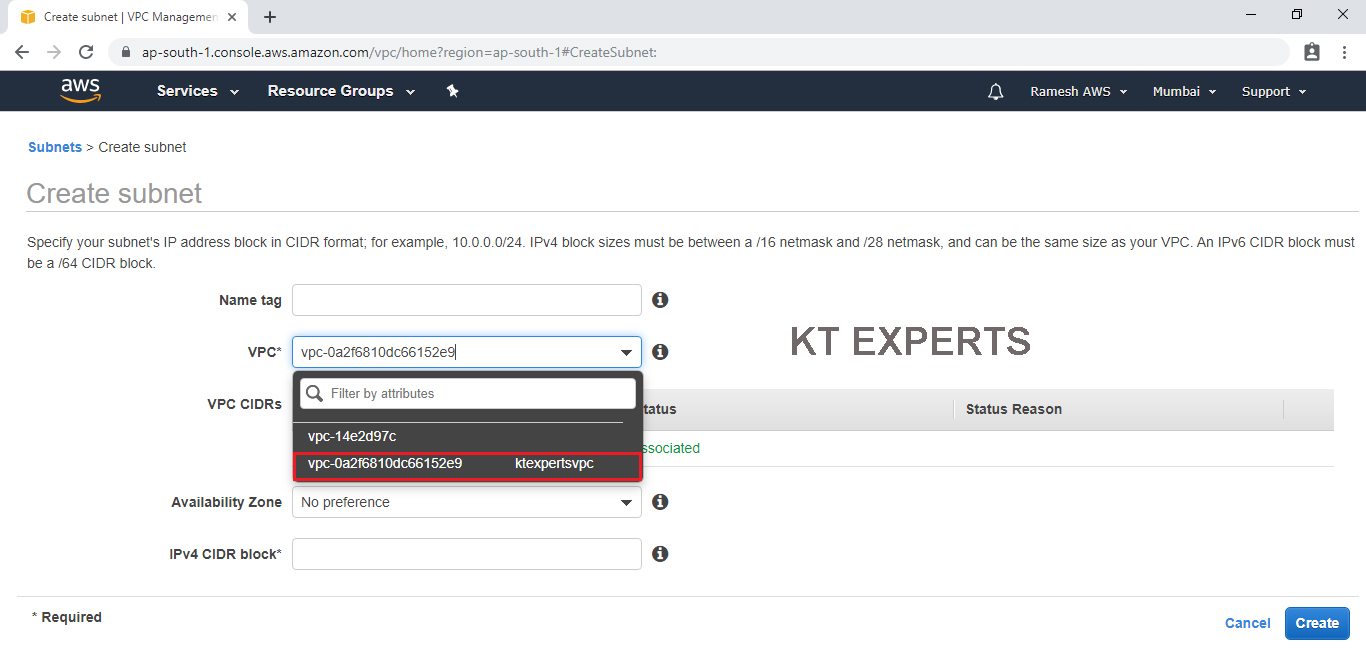
Choose your VPC “ktexpertsvpc” then click on required vpc.
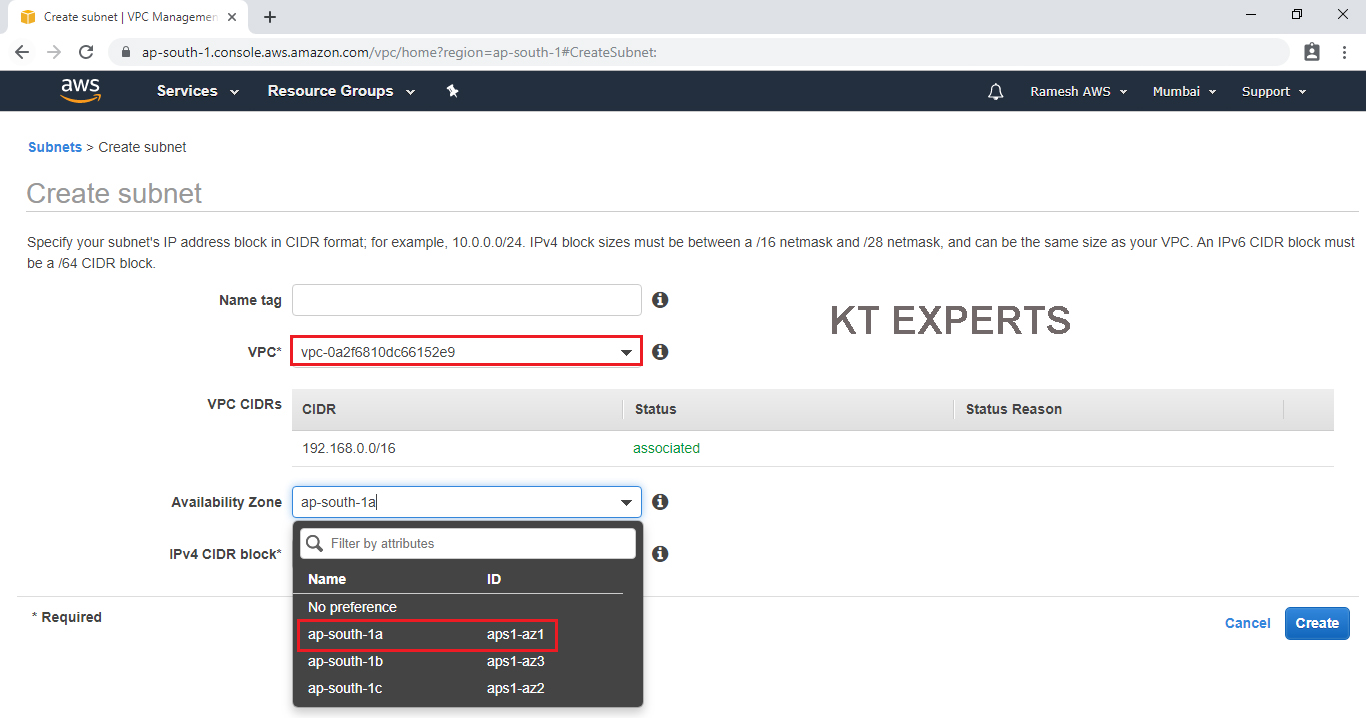
Choose Required Availability zone “ap-south-1a” for subnet.
Give IP range “192.168.1.0/24” for subnet in the IPV4 CIDR Block and mention Name tag with proper meaning to identify easily “192.168.1.0/24 – ap-south-1a (subnet-10)” then click on Create.
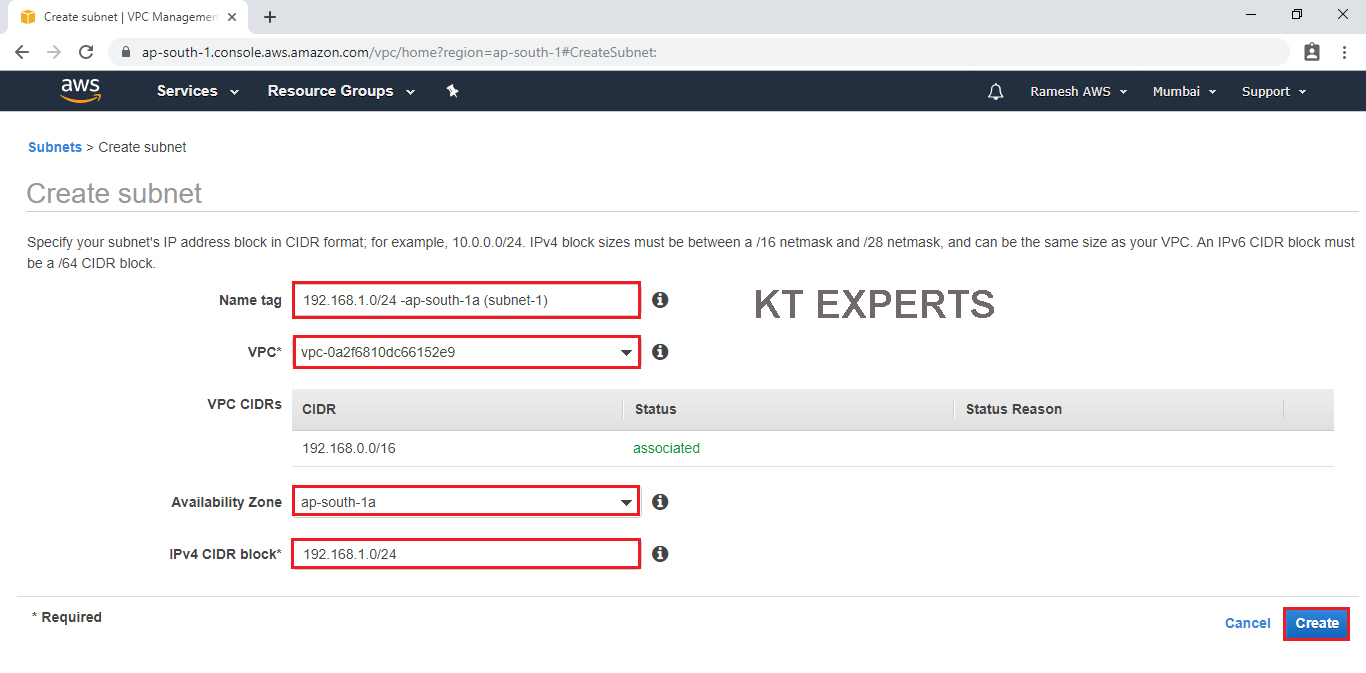
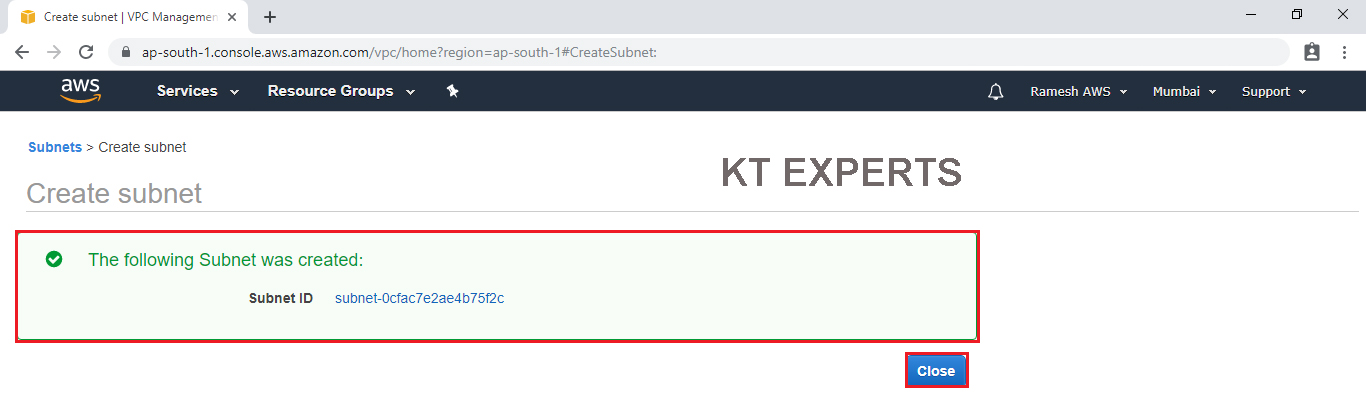
The Subnet “192.168.1.0/24 – ap-south-1a (subnet-1)” has been created successfully and click on Close.
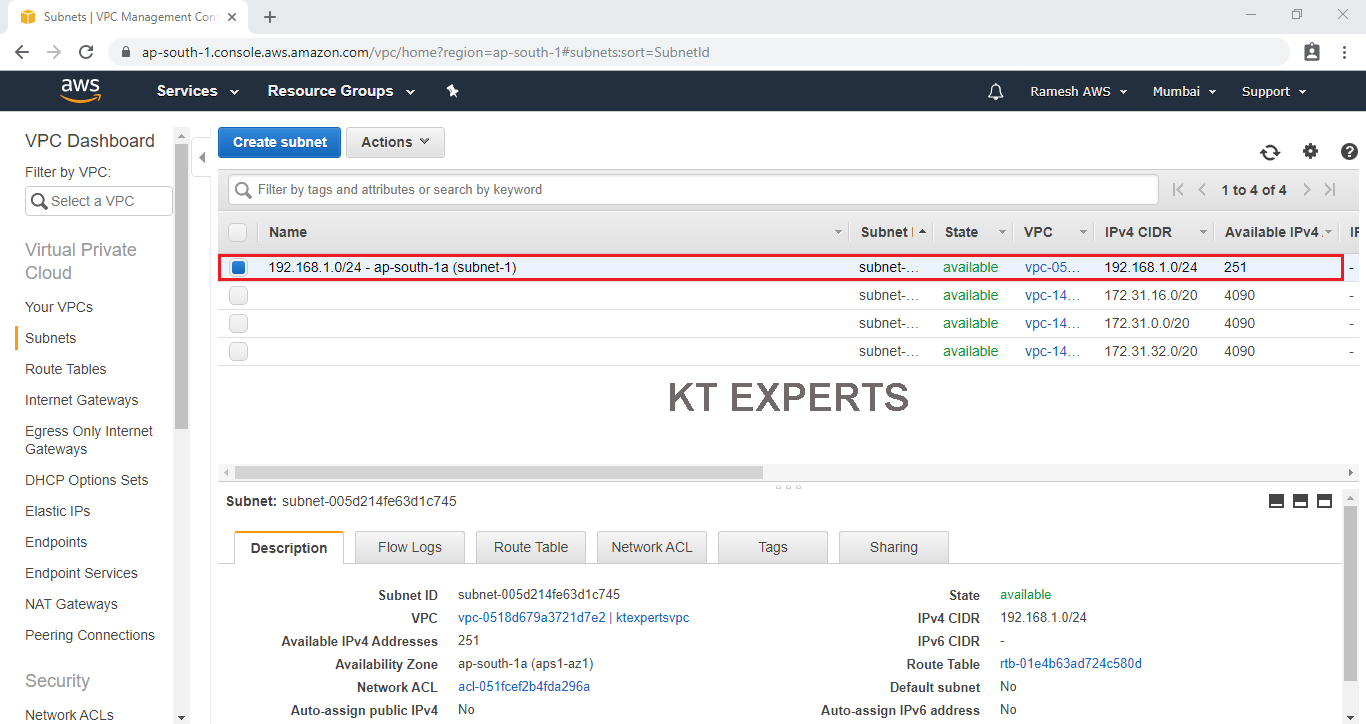
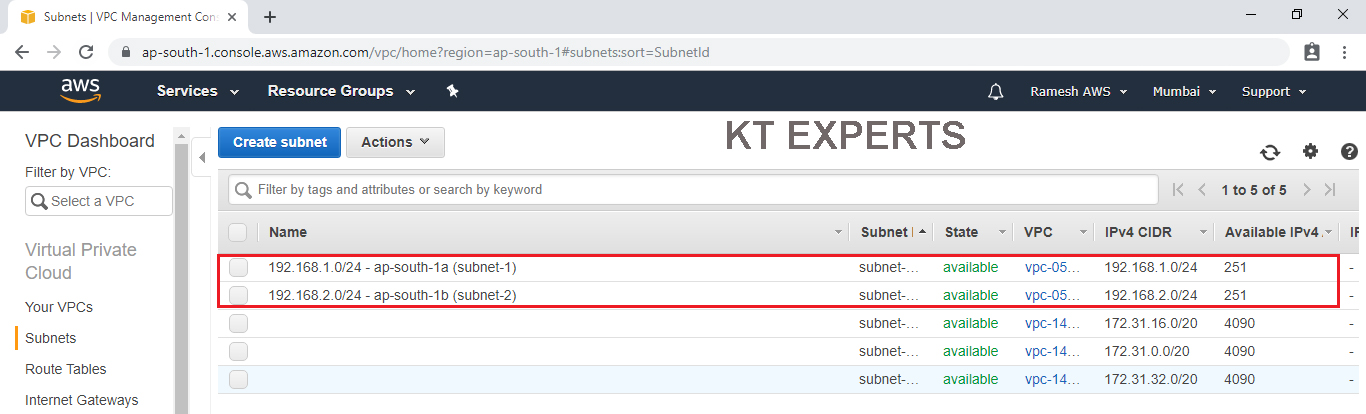
We can subnet “192.168.1.0/24 – ap-south-1a (subnet-1)” which was created earlier.
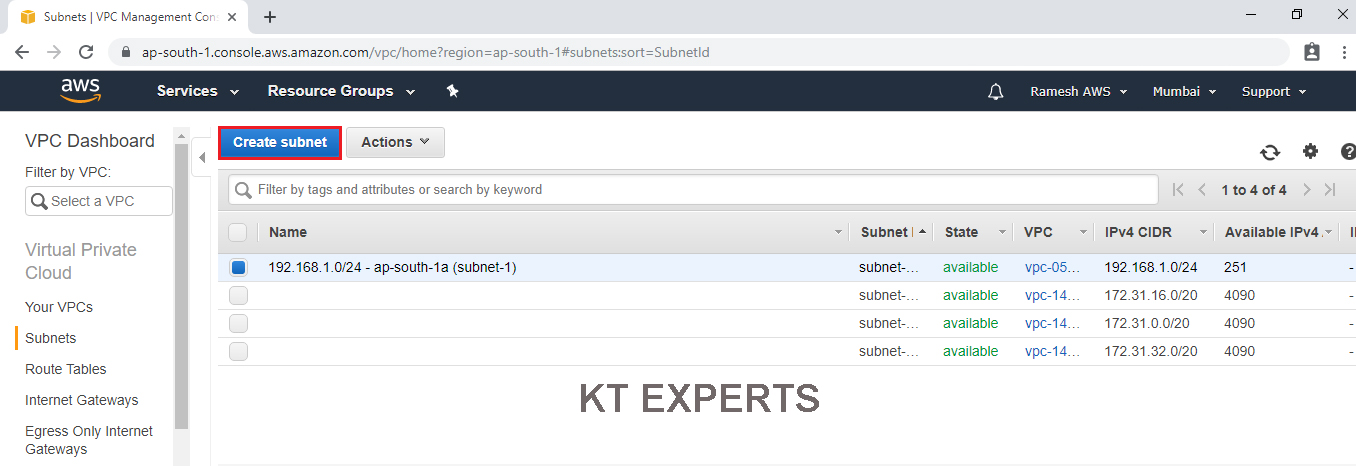
Create subnet – 2
Click on Create Subnet to create another new subnet.
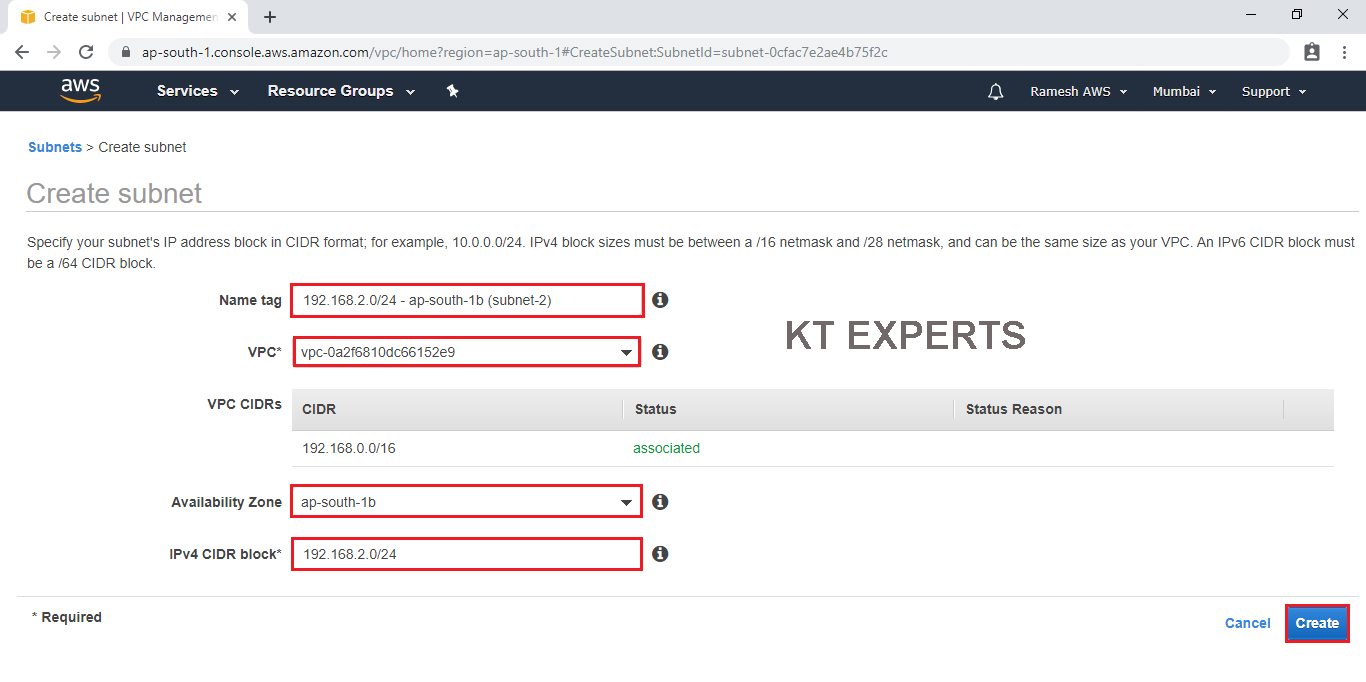
Provide Required details
Give VPC name “ktexpertsvpc”,Availability Zone “ap-south-1b” , IP range “192.168.2.0/24 “in the IPV4 CIDR Block and Name tag “192.168.2.0/24 – ap-south-1b (subnet-2)” then click on Create.
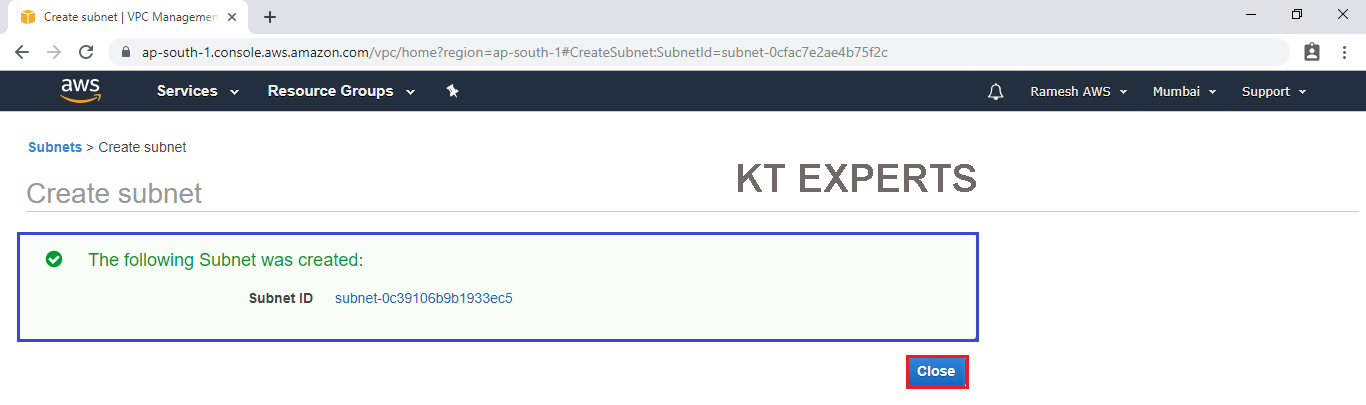
The Subnet “192.168.2.0/24 – ap-south-1b (subnet-2)” has been created successfully and click on Close.
Subnets are private.
By default Auto-assign public IPV4 address is private for any subnet.

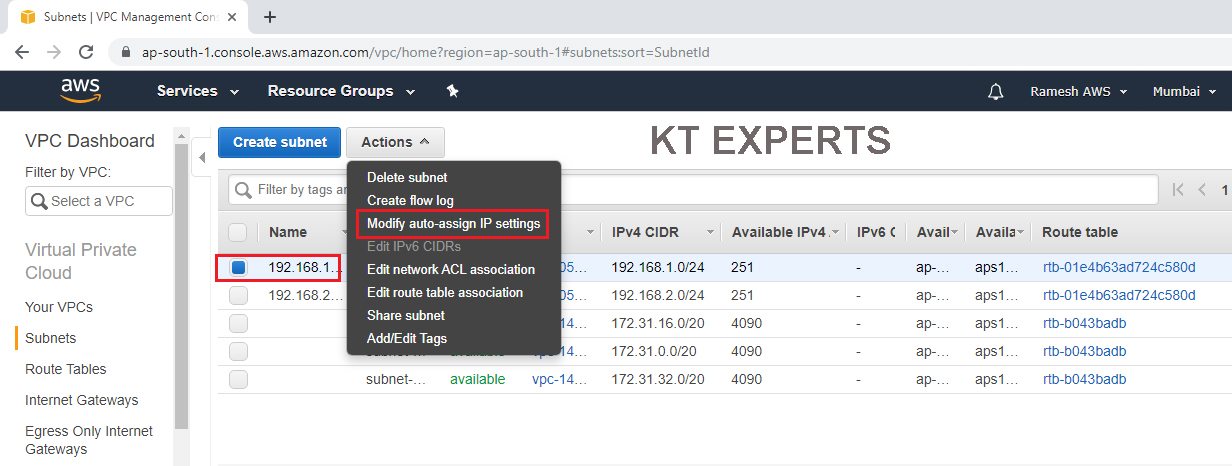
Make Subnet “192.168.1.0/24 – ap-south-1a (subnet-1)” to Public
Select subnet 1 and click on Modify auto-assign IP settings in Actions..
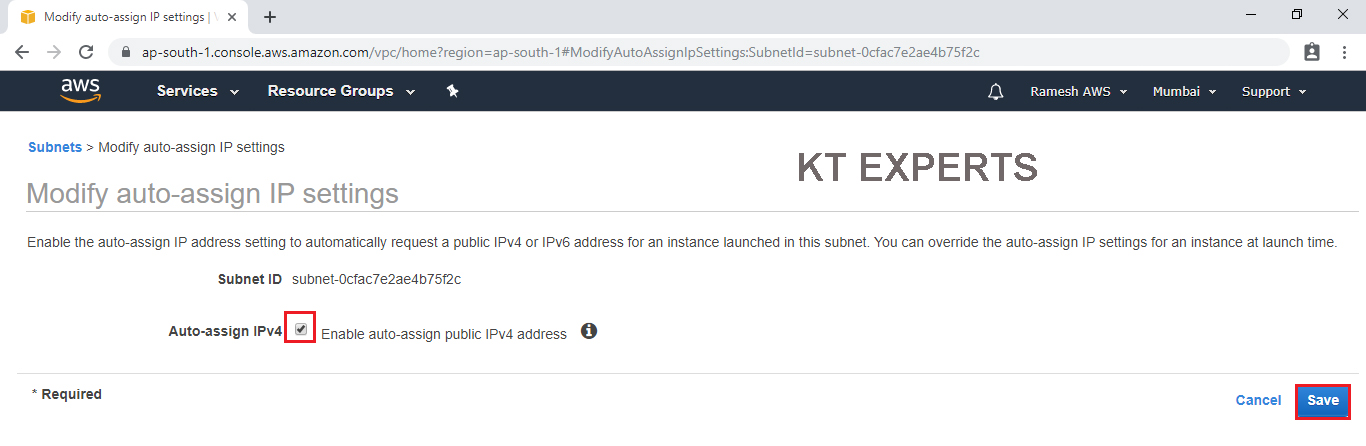
Checked the Auto-assign IPV4 and click on Save.
Checked the Auto-assign IPV4 and click on Save.
We can see subnet 1 Auto -assign public IPV4 address is Yes
We have changed from Private (No) to Public(Yes).

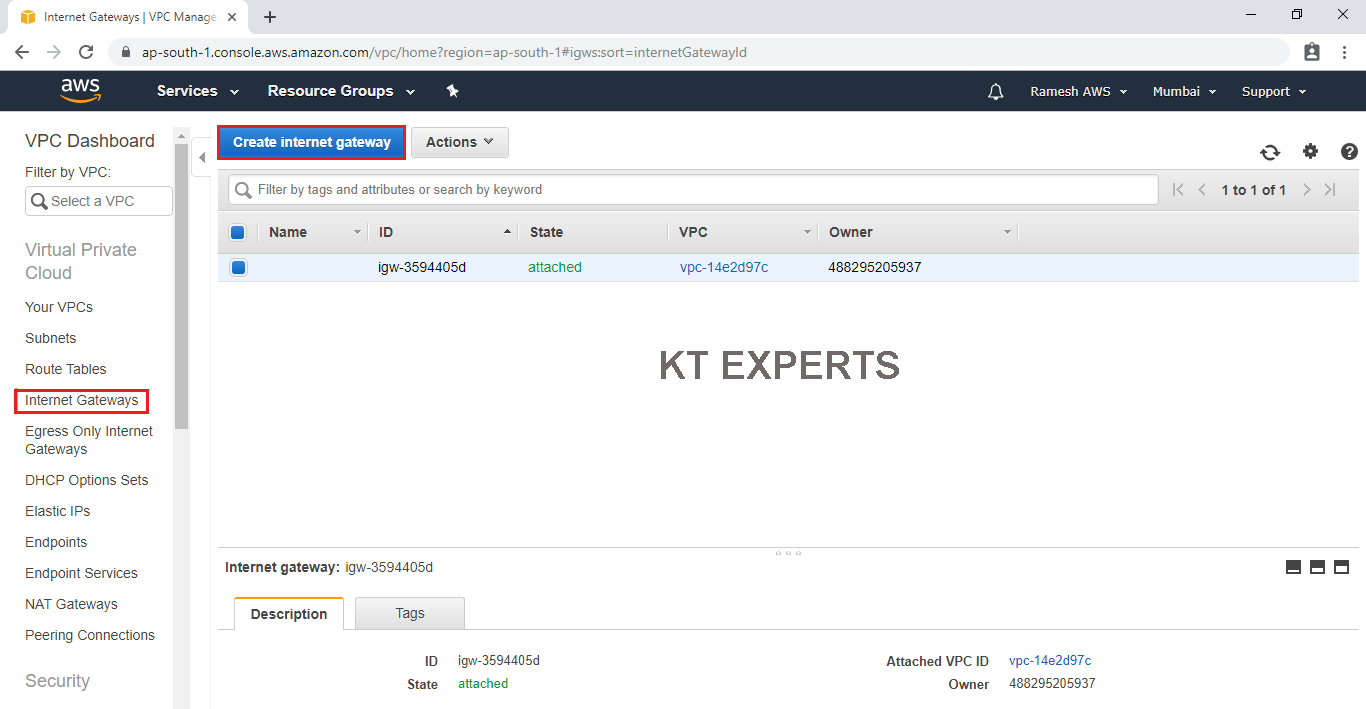
Create an Internet Gateway
Go to Internet Gateways and click on Create Internet gateway to create an new internet Gateway.
Note
By default there is one internet gateway will be available.
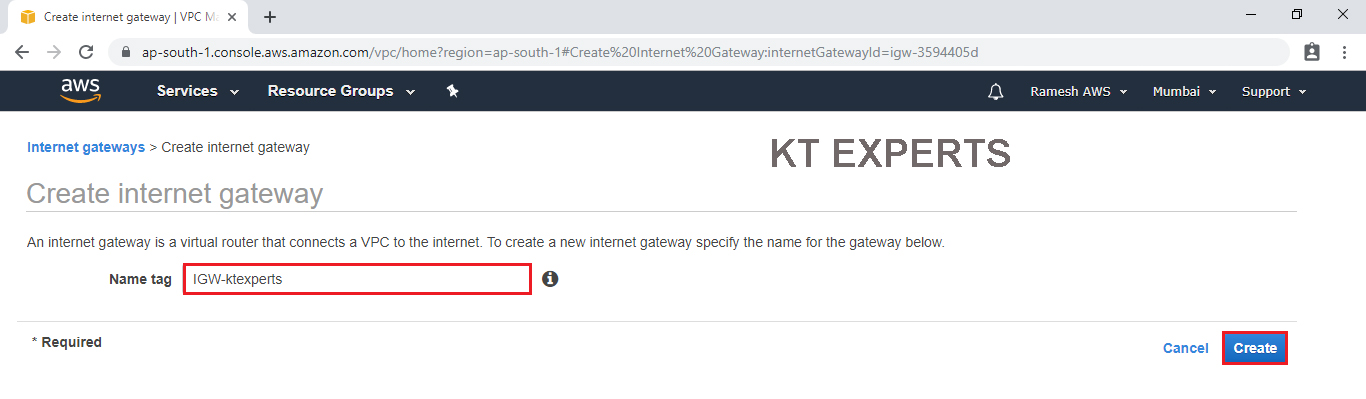
Specify Name tag “IGW-ktexperts” for internet gateway and click on Create.
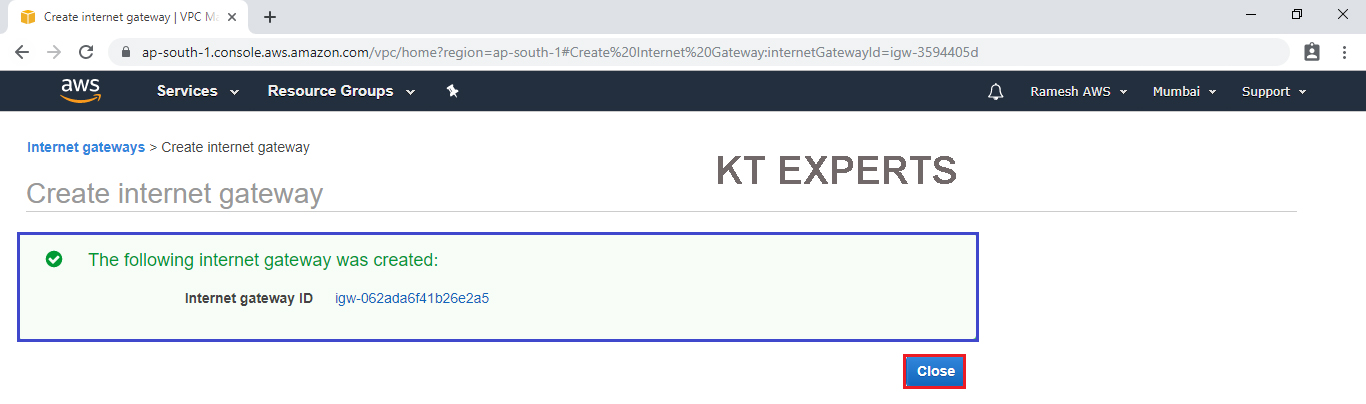
The internet gateway has been created successfully and click on Close.
By default any created Internet Gateway is in Detached state.
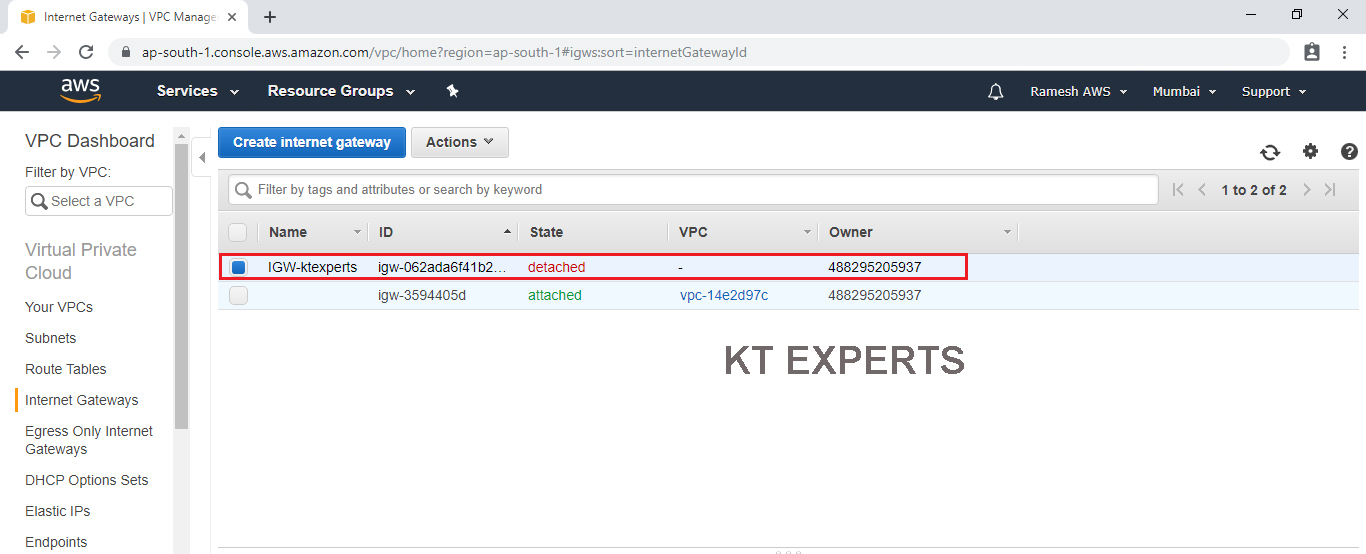
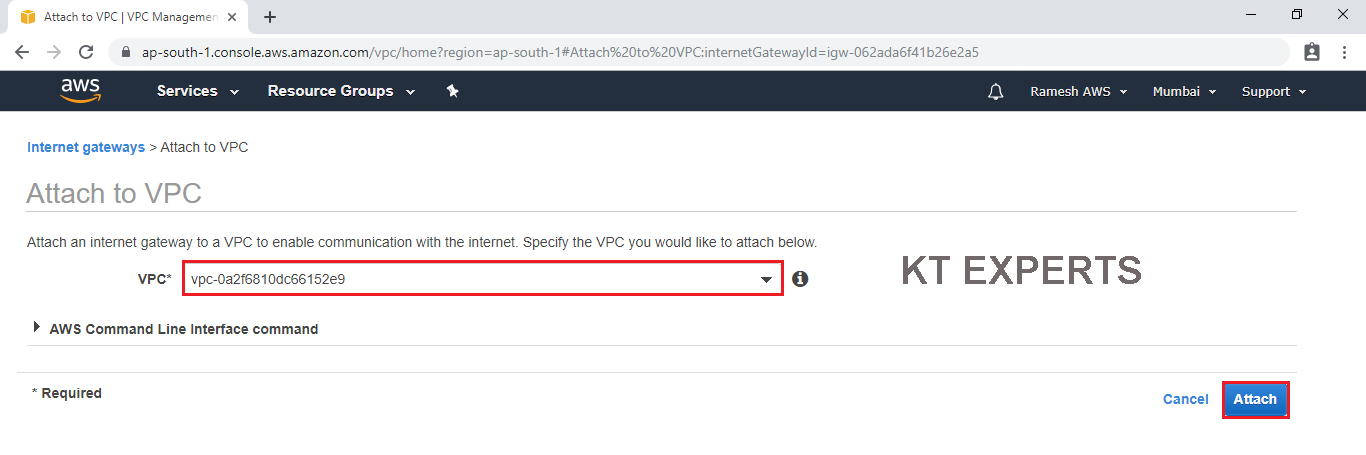
Attach Internet Gateway “IGW-ktexperts” to your VPC.
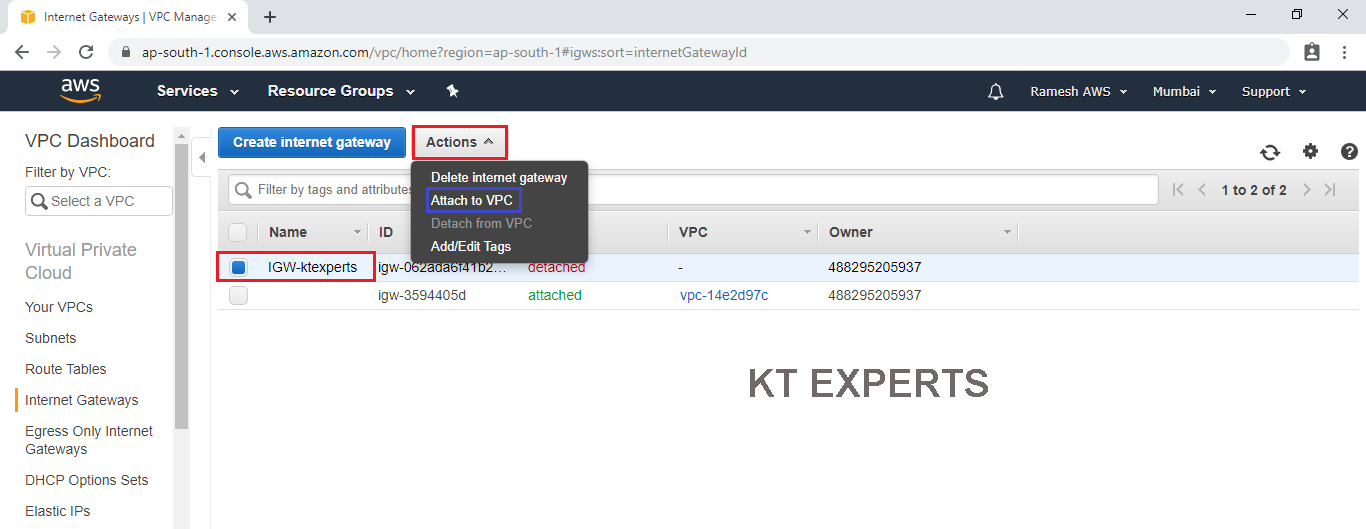
Choose your VPC and click on Attach.
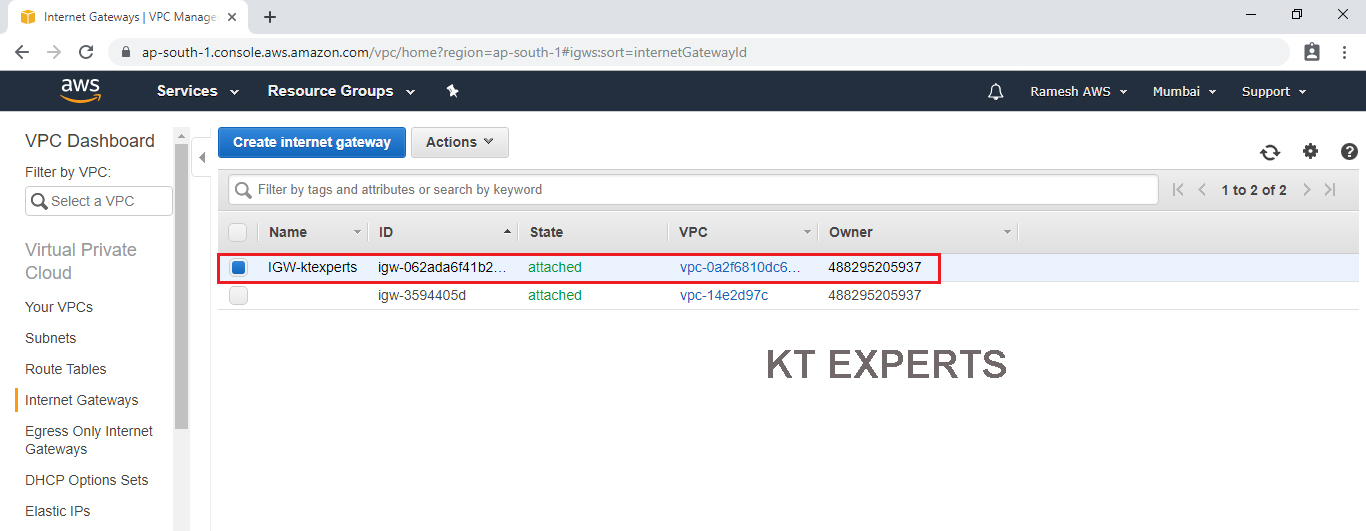
Now, the Internet gateway has been attached to VPC.
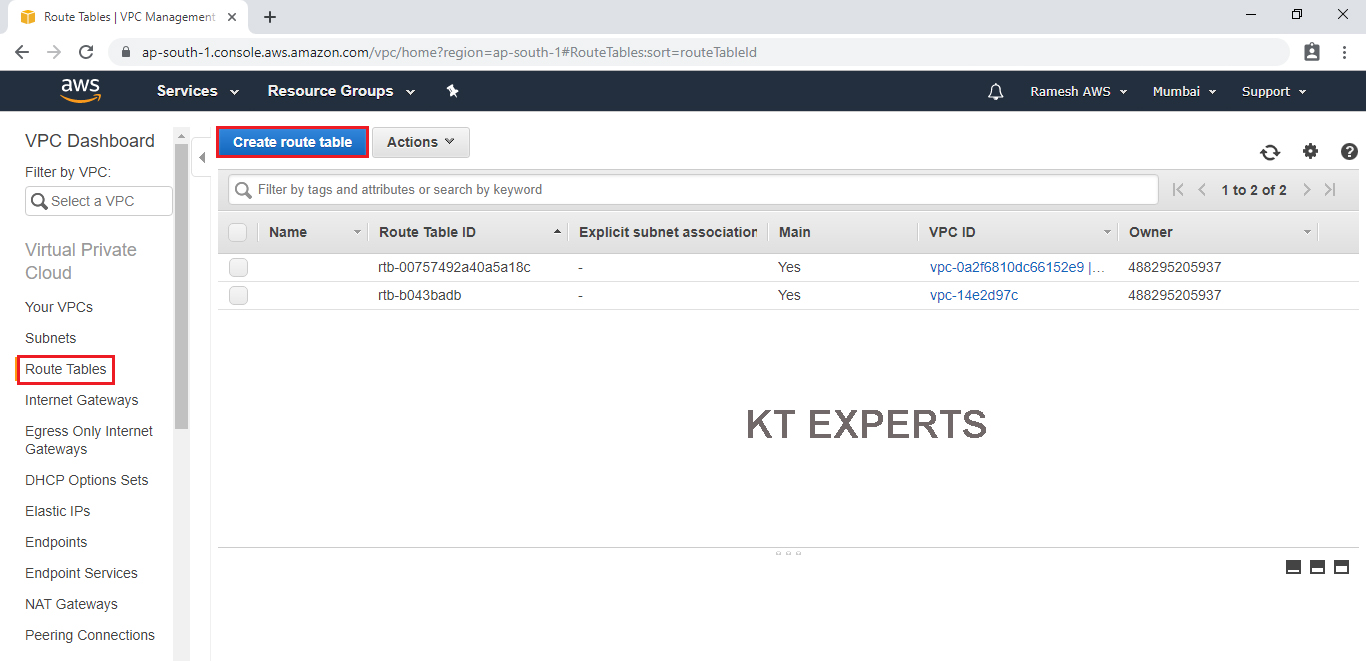
Create an Root Table
Go to Root Tables and click on Create route table.
Note
By fault there is two root table will be here
- First Route Table is Connected to Default VPC.
- Second Route Table is Connected to Your VPC.
Specify Name tag “Internet-RT” and choose your VPC and click on create.
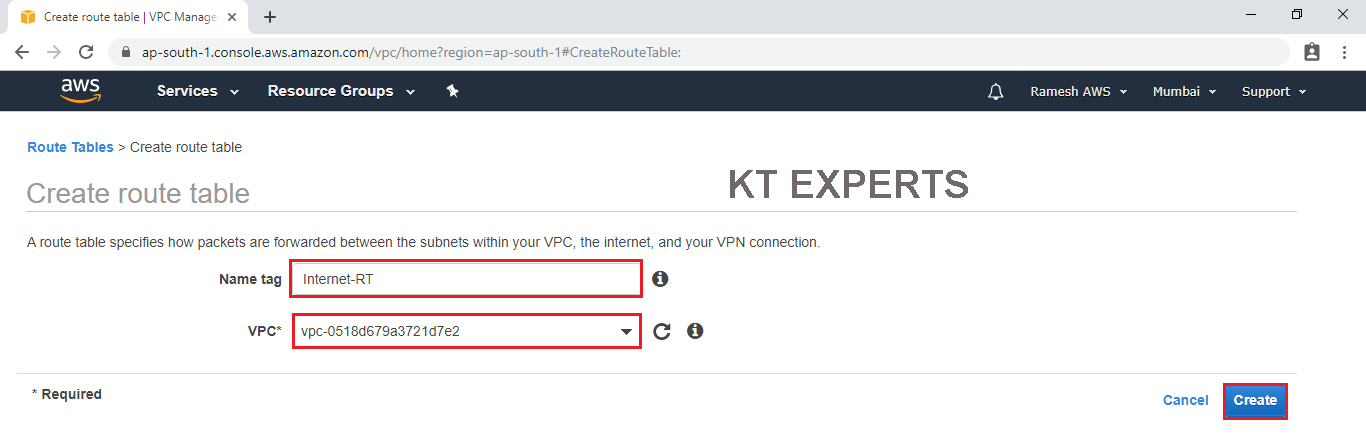
The route table has created with following ID then click on Close.

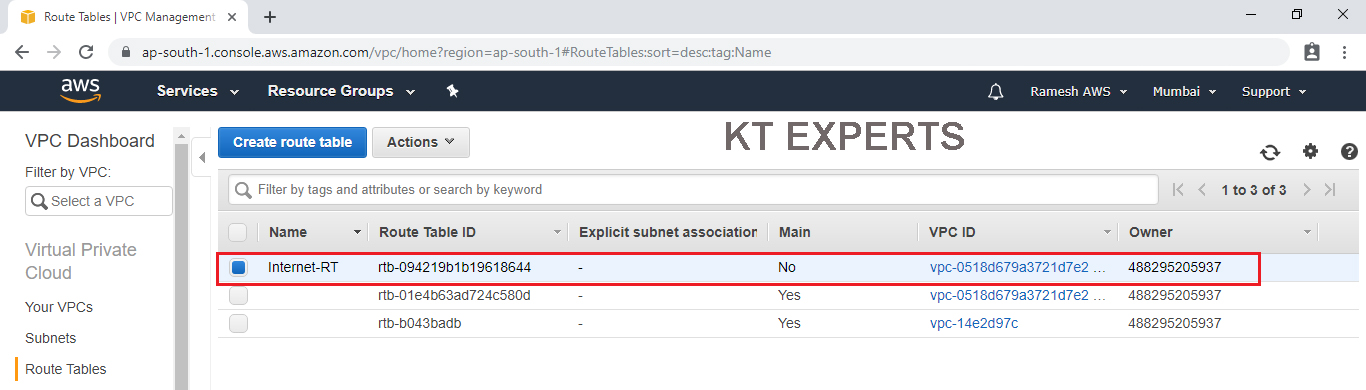
we can see the created root table “Internet-RT”.
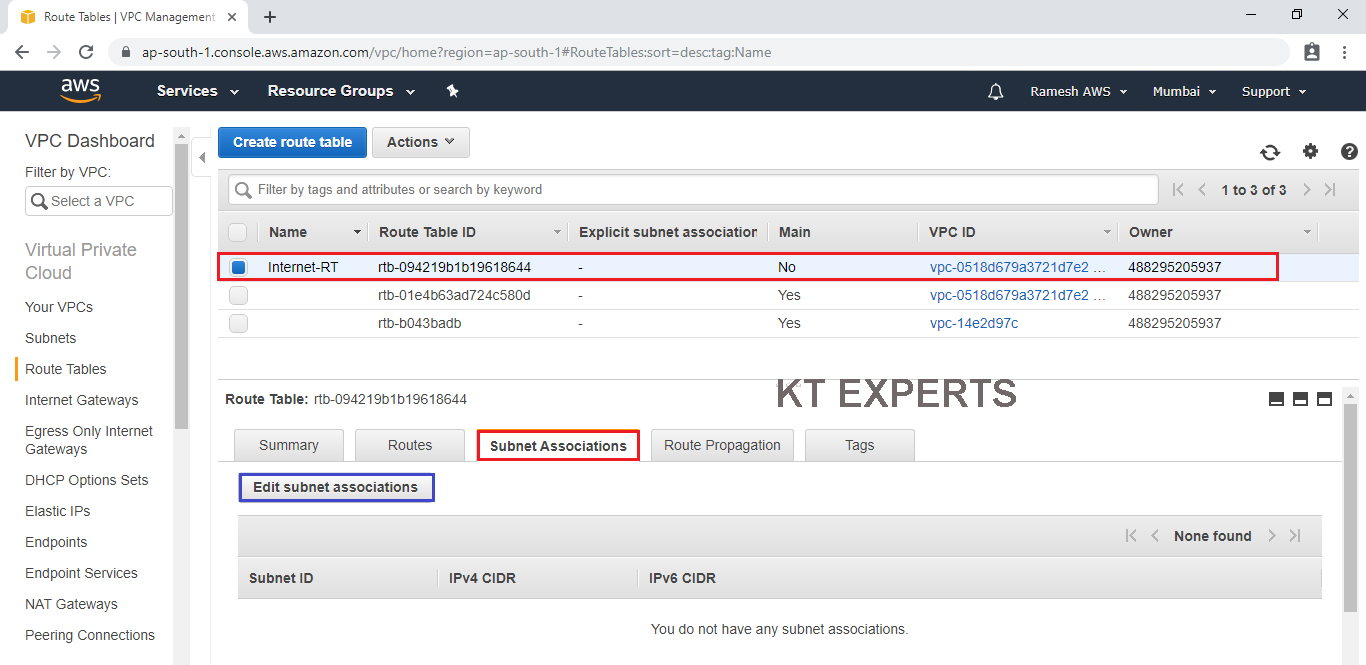
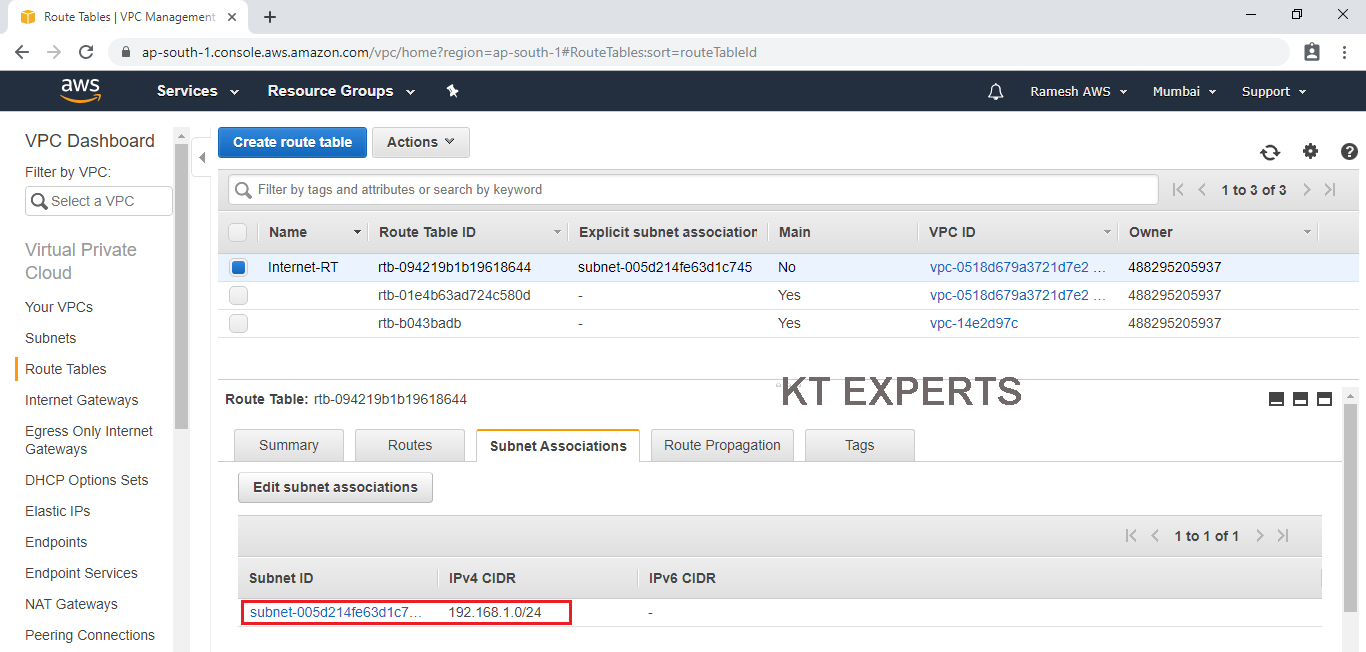
Connect Root Table “Internet-RT” to subnet 1 “192.168.1.0/24 – ap-south-1a (subnet-1) – (Public Subnet)
Select Root table “Internet-RT” and go to subnet Associations then click on Edit subnet associations.
Checked subnet 1 ID “192.168.1.0/24 – ap-south-1a (subnet-1)” and click on Save.
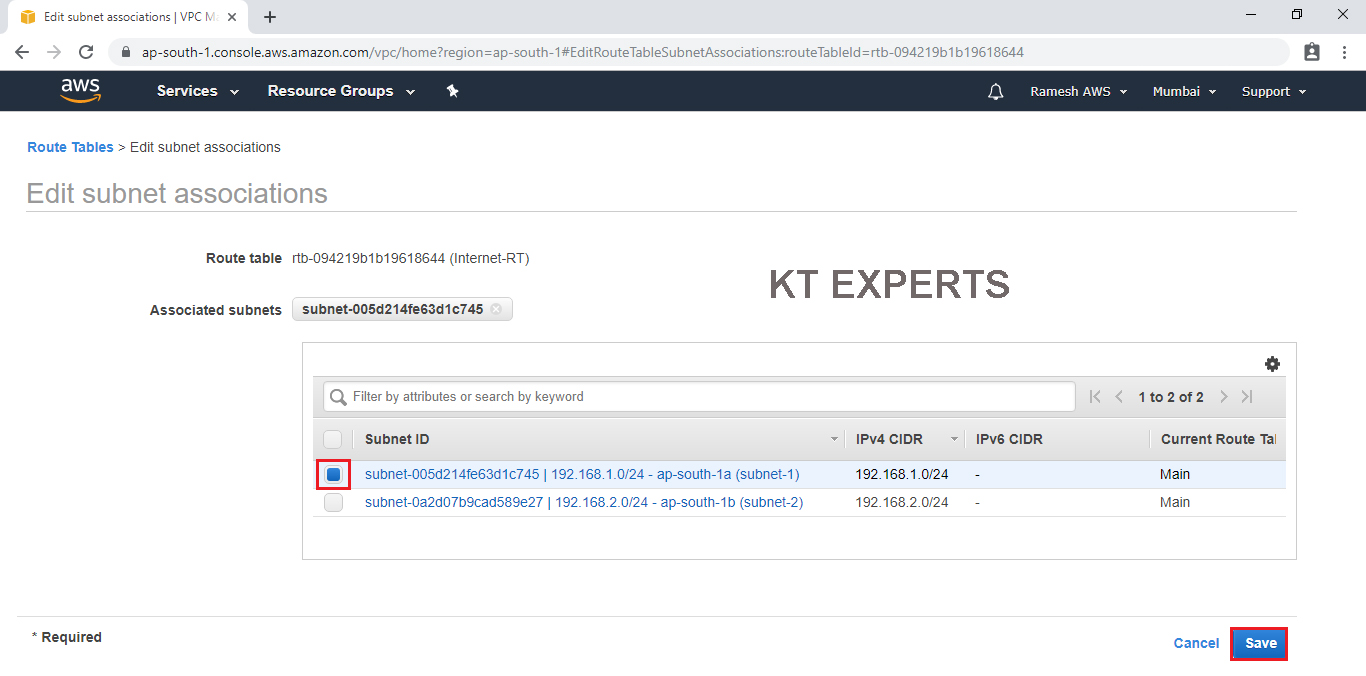
We can see the the route table has been connected to subnet 1 “192.168.1.0/24 – ap-south-1a (subnet-1) – (Public Subnet).
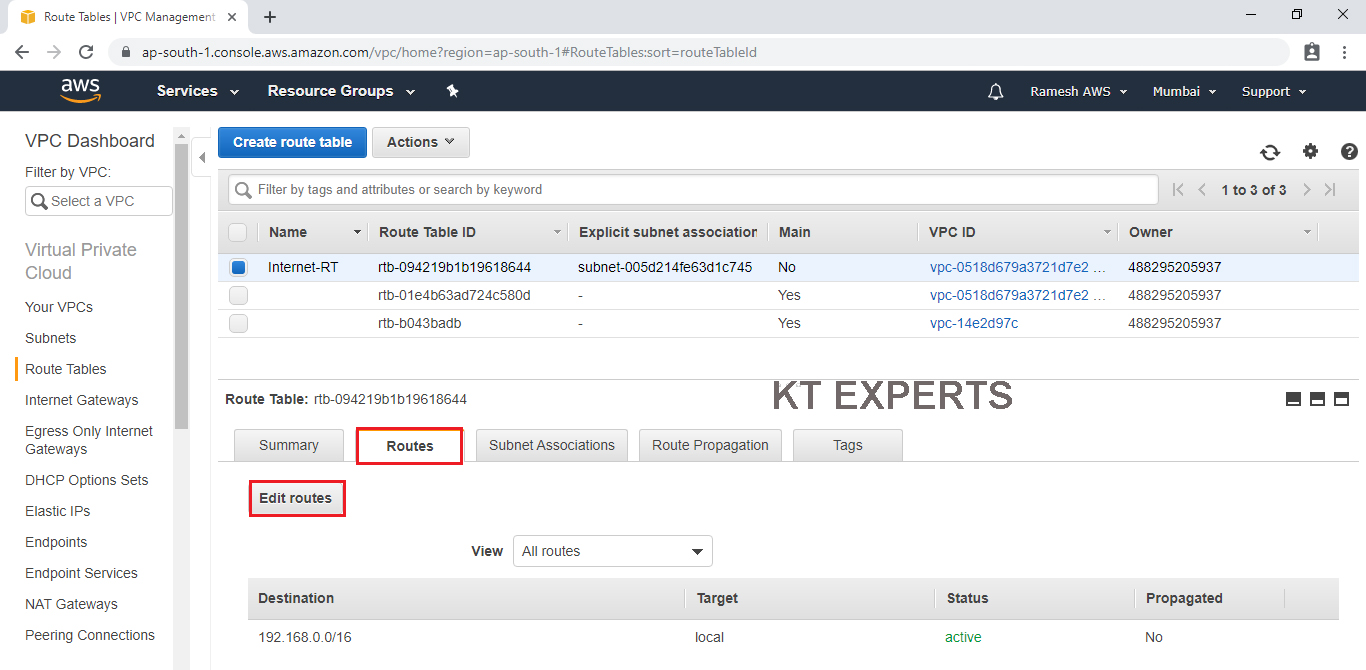
Connect Root Table “Internet-RT” to Internet Gateway “IGW-ktexperts”
Go to Routes and click on Edit Routes.
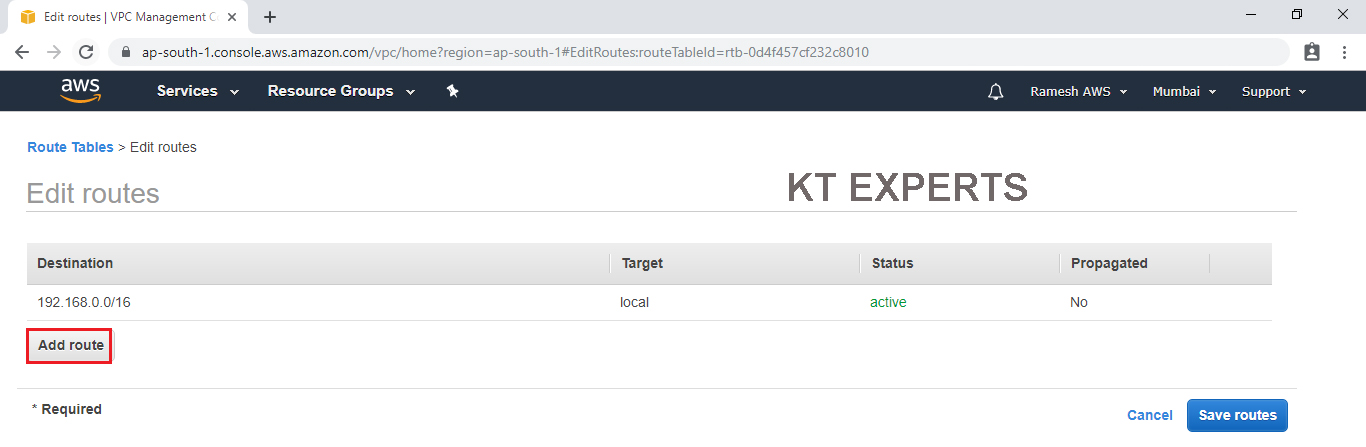
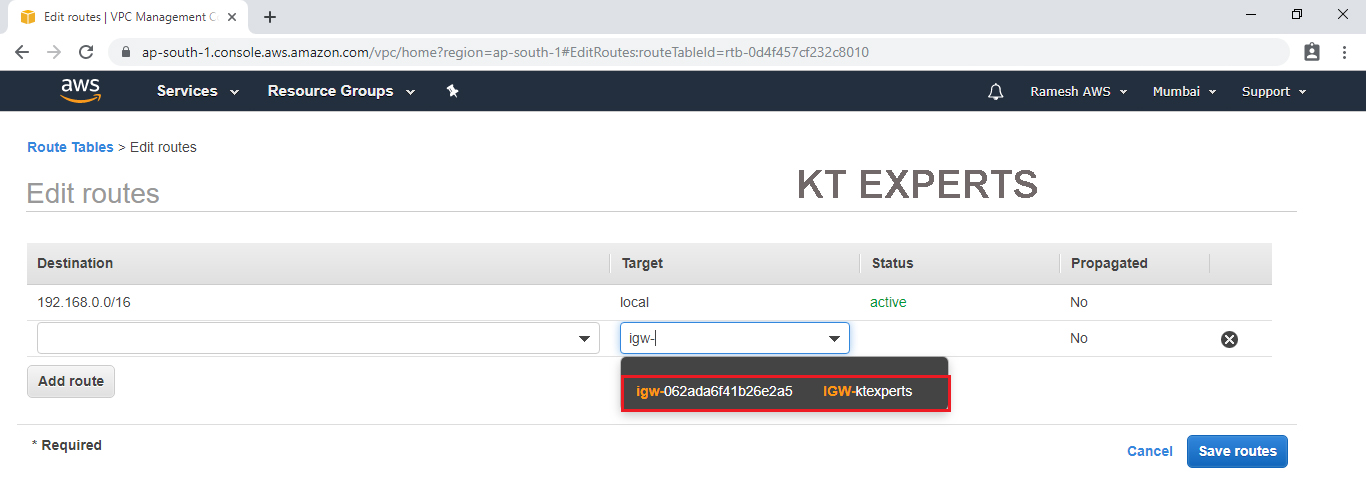
Click on Add route.
Choose Internet Gateway option in the Target.
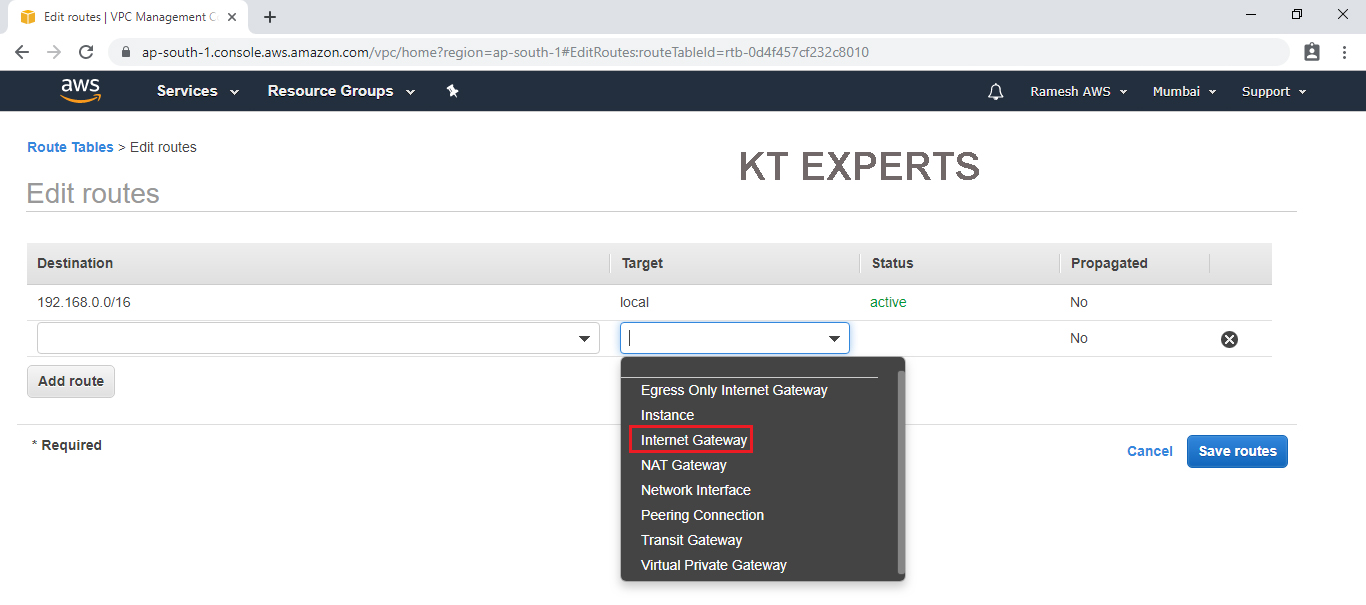
Select your Internet Gateway “IGW-ktexperts”
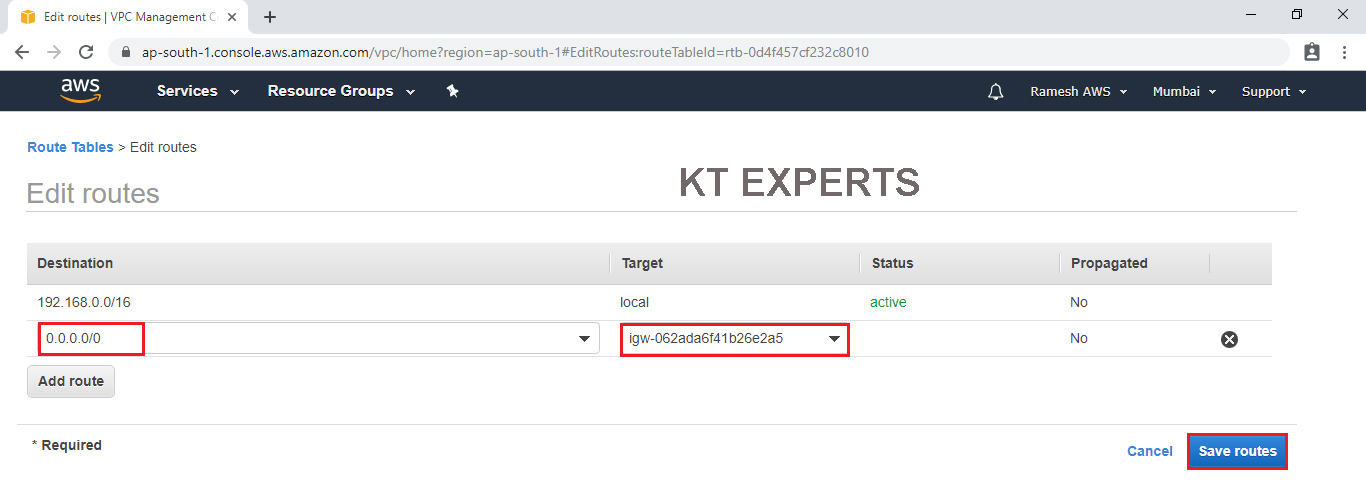
Specify Destination with “0.0.0.0/0” and Target then click on save routes.
Note
Wherever you want internet you must choose IP called 0.0.0.0/0.
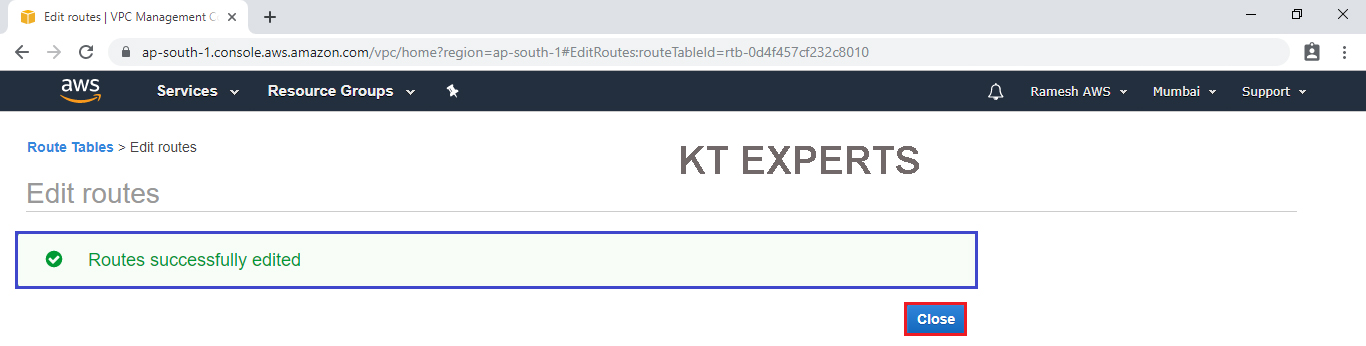
We can message like Routes successfully edited then click on close.
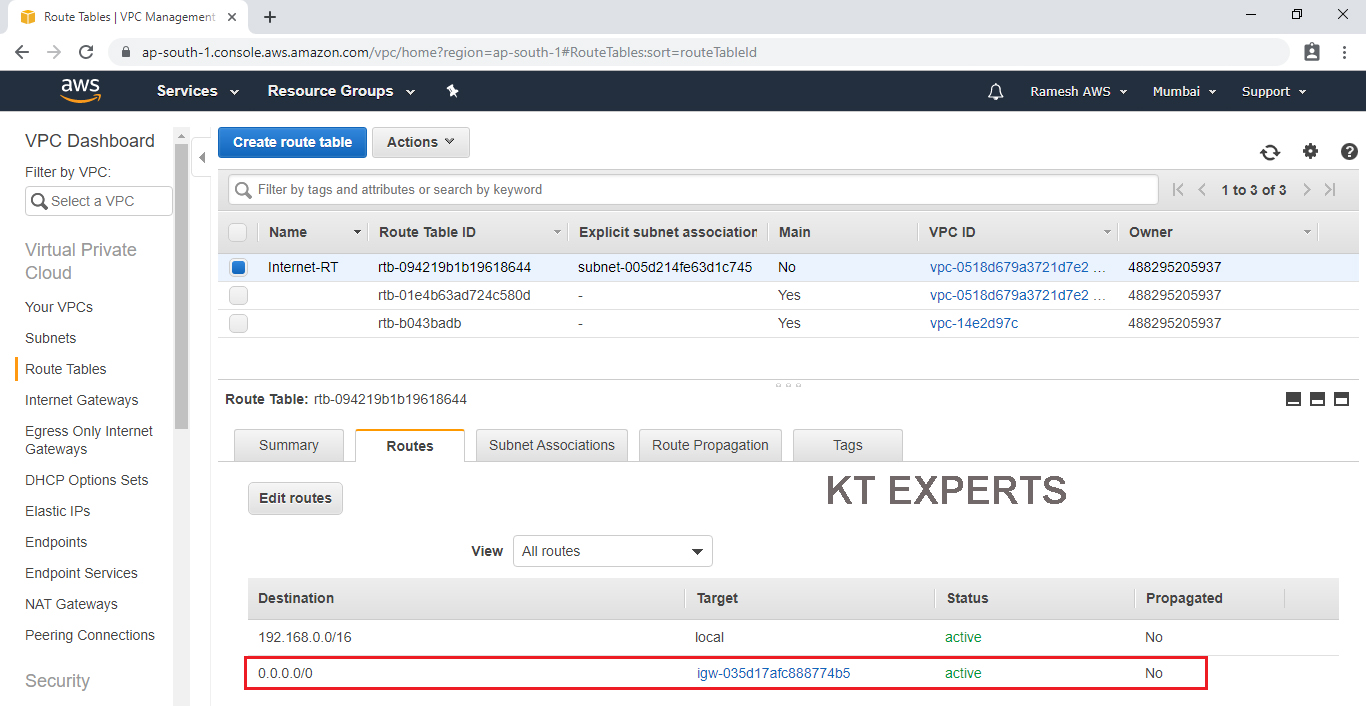
The route table has been connected to your Internet Gateway “IGW-ktexperts” successfully.
As of now we created VP along with 2 subnets,one is public and another one is private
Created NAT Gateway and Route Table for providing internet to the public subnet.
in the next article we will see create a web server inside the public subnet.
Thank you for giving your valuable time to read the above information. Please click here to subscribe for further updates
KTEXPERTS is always active on below social media platforms.
Facebook : https://www.facebook.com/ktexperts/
LinkedIn : https://www.linkedin.com/company/ktexperts/
Twitter : https://twitter.com/ktexpertsadmin
YouTube : https://www.youtube.com/c/ktexperts
Instagram : https://www.instagram.com/knowledgesharingplatform