Dear Readers,
In this article,we will see connect database server through bastian server and install required packages.

for that we have to follow below steps.
- Copy Database Server pem key to bastian server with the help of WinSCP tool.
- Download and Install WinSCP tool.
- Convert BastionServer keypair “bastionserver.pem” to “bastionserver.ppk” by using puttygen.
- Connect to Bastion Server through putty.
- copy Database Server keypair “dbserver.pem” to BastionServer home location “/home/ec2-user”.
- Connect to DBServer through BastionServer.
- Create NAT Gateway and Provide Internet to DBServer.
- Modify existing default Route Table.
- Connect to NAT Gateway and Private Subnet.
- Install required packages in database server.
Please check the below link for part-4
Amazon Virtual Private Cloud in AWS (Amazon Web Services) (PART – 4)
If you want to connect to database server,the database server pem file should be in bastian server.
we can’t copy pem file directly to the bastian server for that we have to use third party Tool called WinSCP.
we download WinSCP and install on the base machine then we can copy pem file.
Download WinSCP Tool
As a first step we need download the WInscp by using below link.
https://winscp.net/eng/download.php
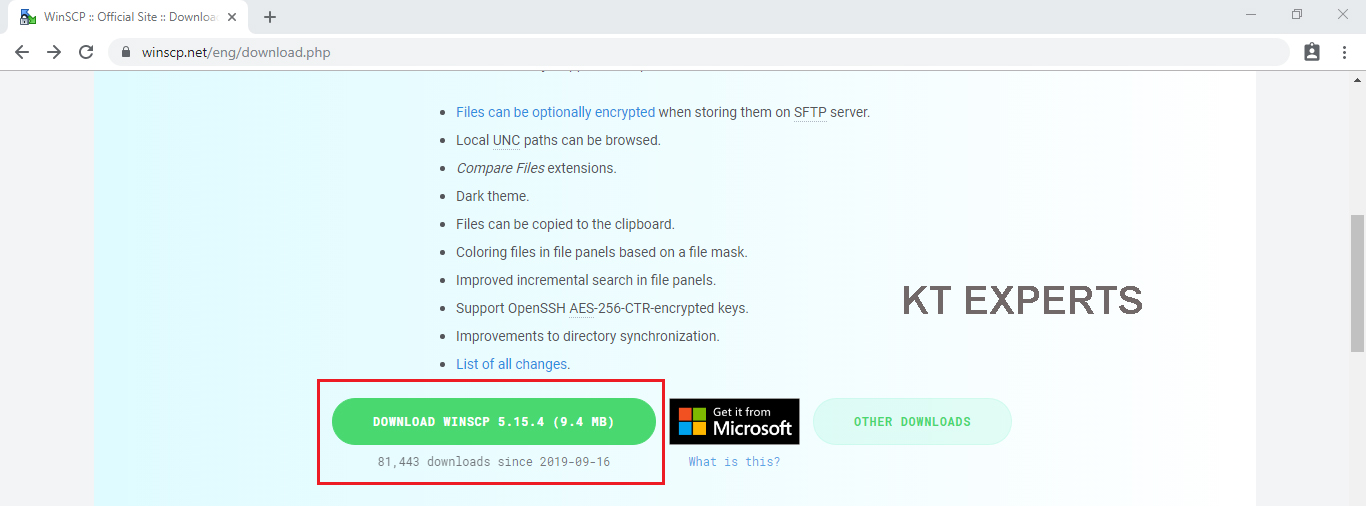
The WinSCP tool has been downloaded successfully.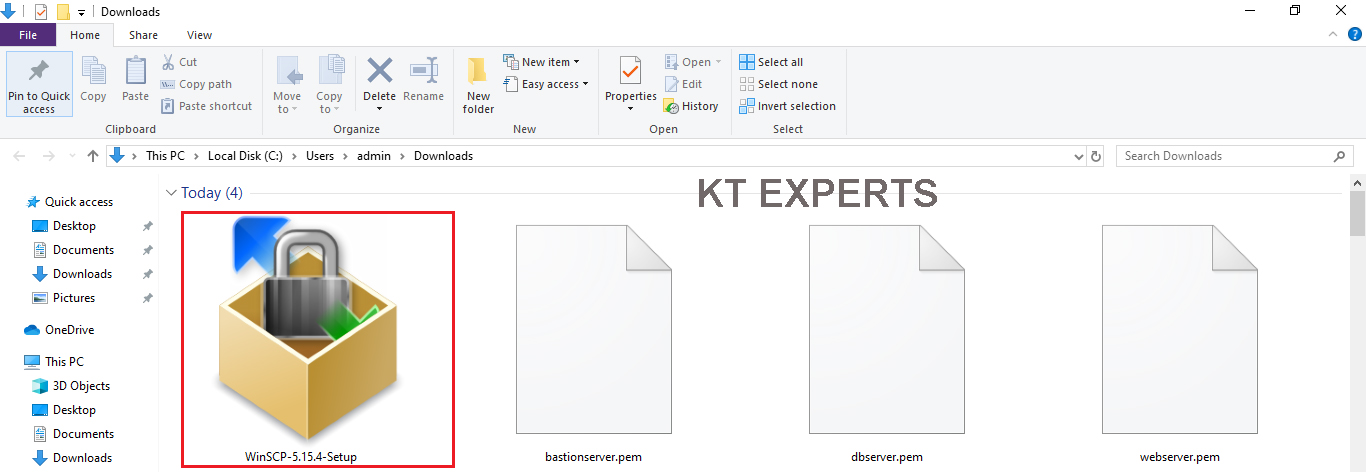
Install WinSCP Tool
Go to physical location and double click on WinSCP software.
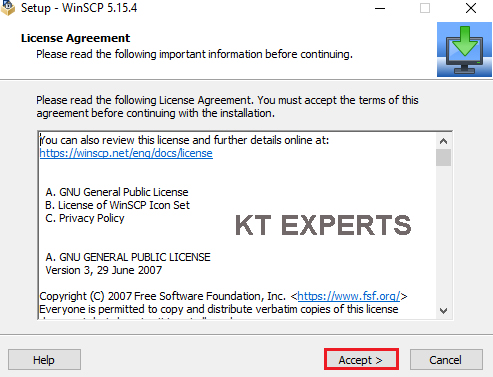
Click on Accept.
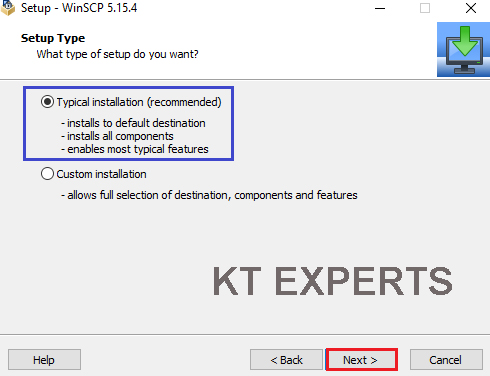
Choose Typical installation and click on Next.
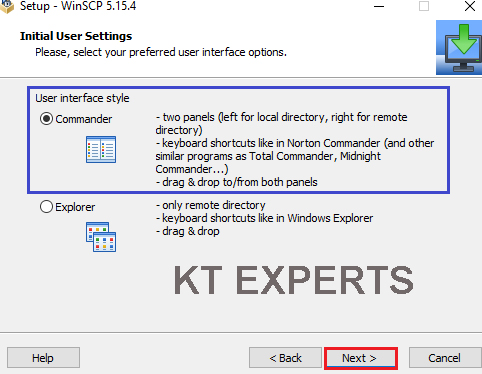
Choose User interface style “Commander” and click on Next.
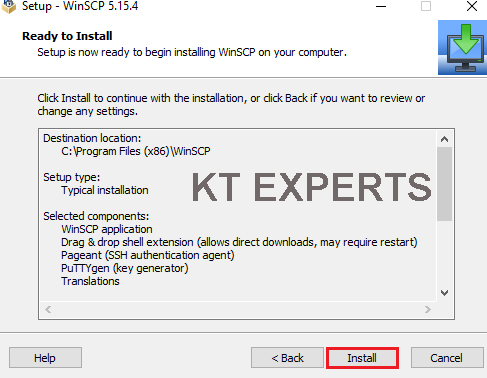
Click on Install.
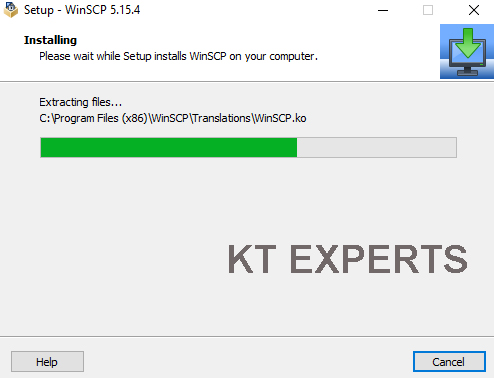
It’s loading wait till complete.
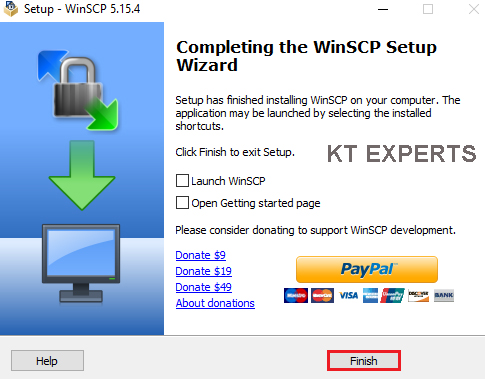
Click on Finish.
Convert BastionServer keypair bastionserver.pem to bastionserver.ppk by using puttygen
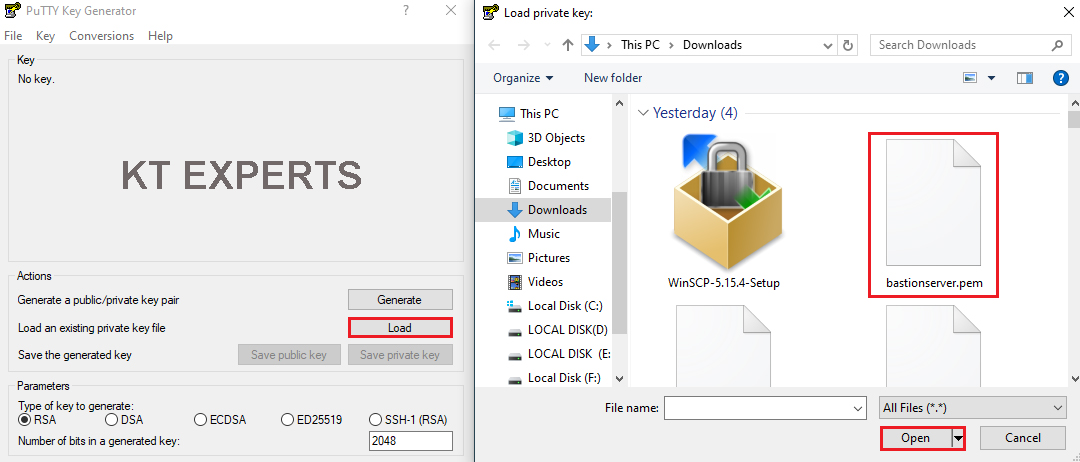
Go to physical location and click on puttygen tool.
You need to click on the Load button.
Browse and select the keypair file (bastionserver.pem).
Click on Save private key and click on yes.
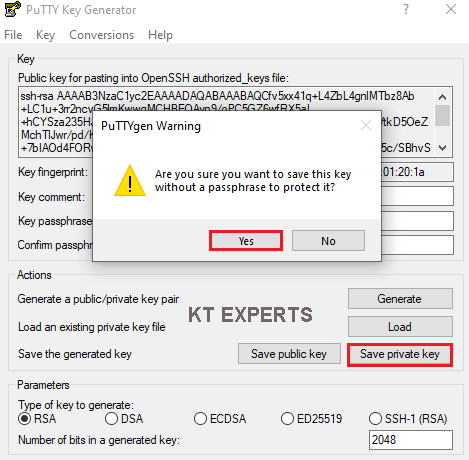
Save with name of bastionserver.
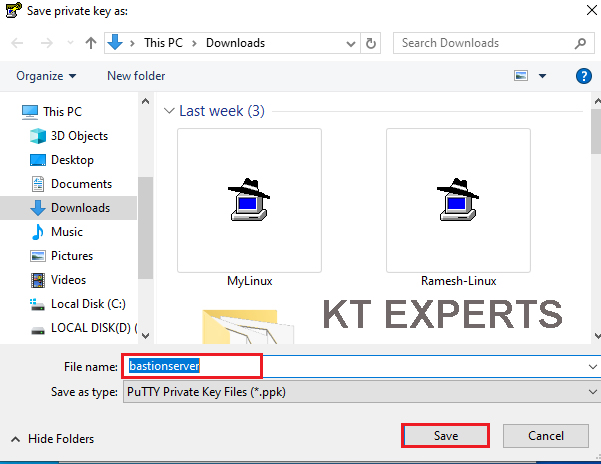
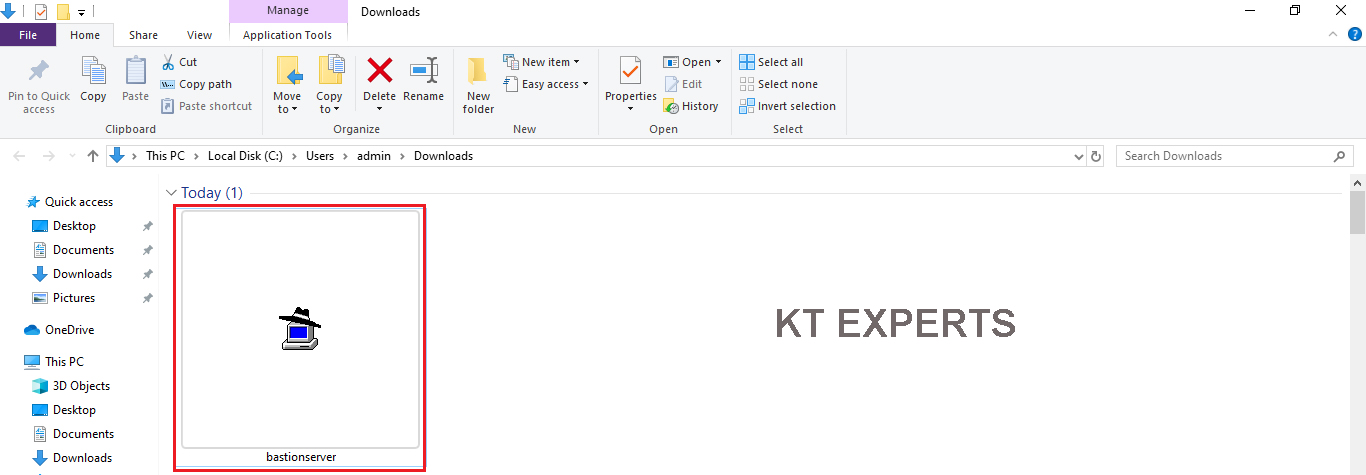
The file has been saved in physical location with the name of bastionserver (format is PPK).
Connect to Bastion Server through putty
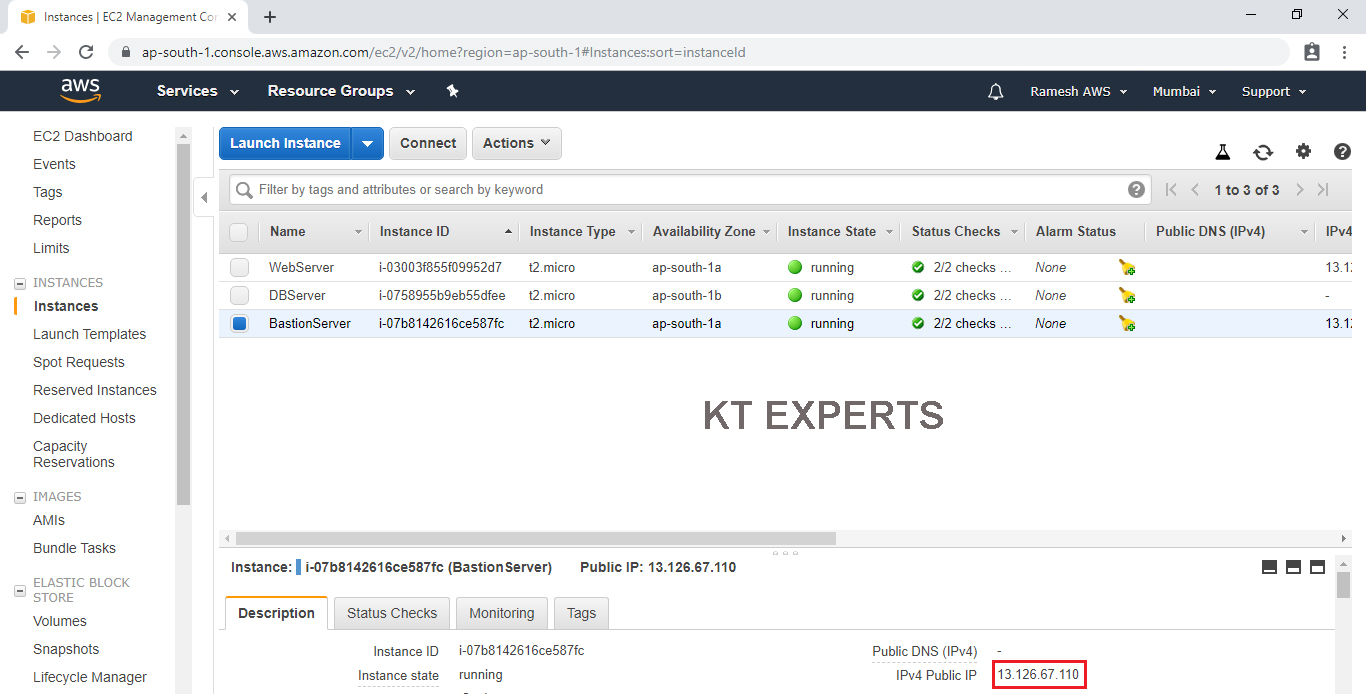
Select bastian server and click on connect.

In order to connect to your Linux virtual machine instance, you will need a third-party tool like putty.
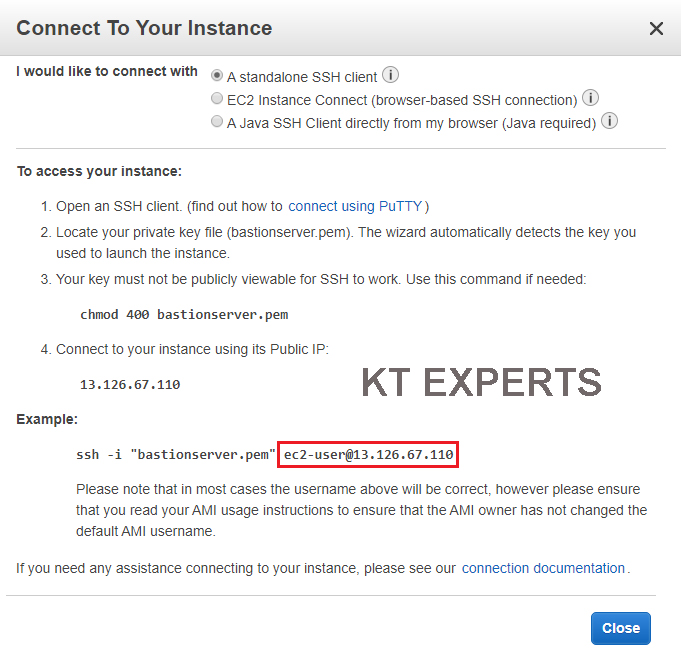
Copy public IP for connect your instance through putty.
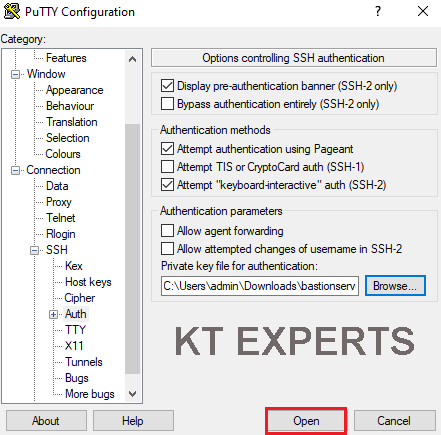
Go to physical location and you need to open Putty.exe then enter Bastion IP which was copied earlier from Bastion server.
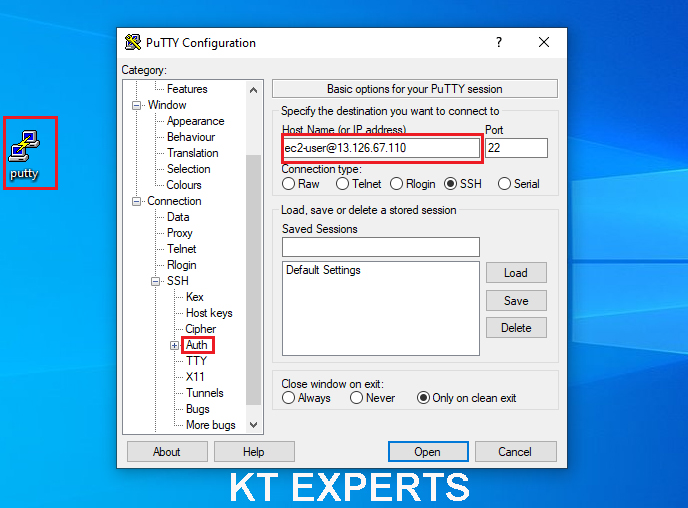
Go to connection,
At the left side menu then select “SSH” and then select “Auth”. You need to click on the browse button to select the My bastionserver.ppk file that we created recently.

Click on open.
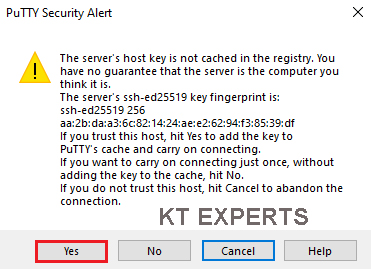
Ignore warnings and click on yes.
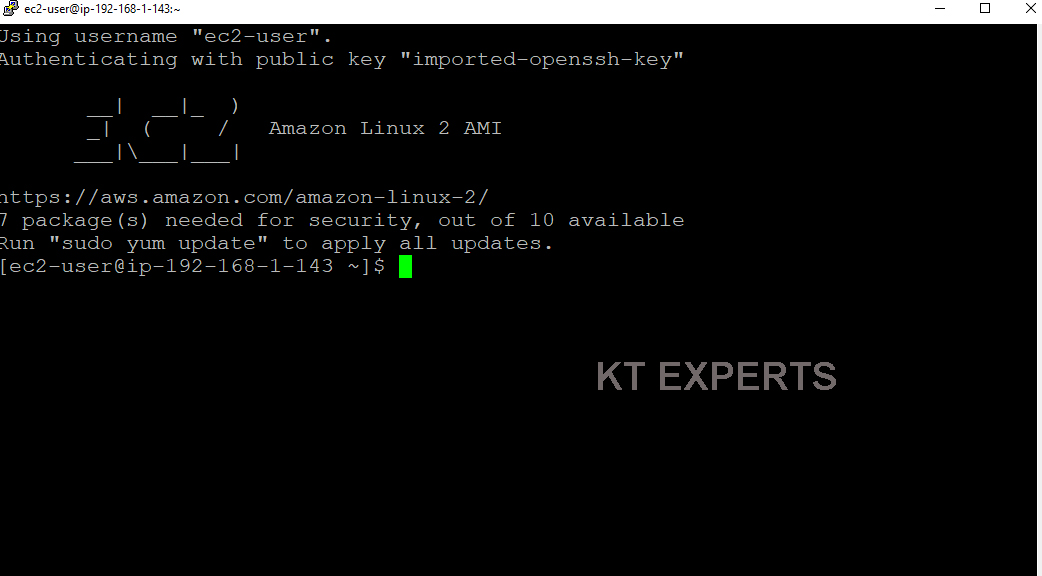
Once you connect, you will successfully see the Linux Server prompt.
copy Bastion Server Public IP
Open WinSCP and enter the hostname (BastionServer public) and click on Advanced.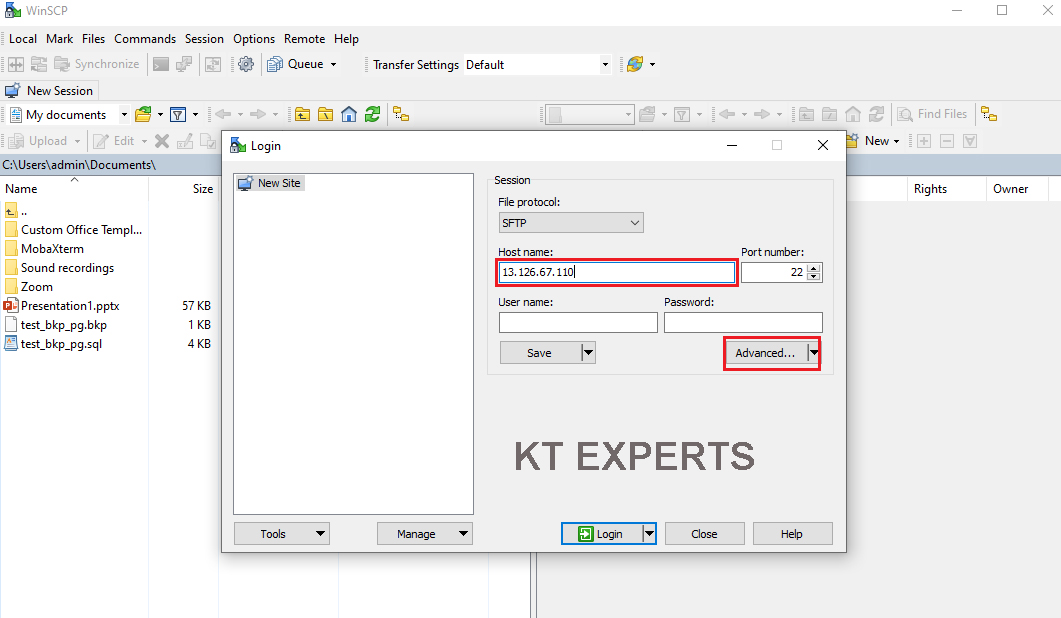
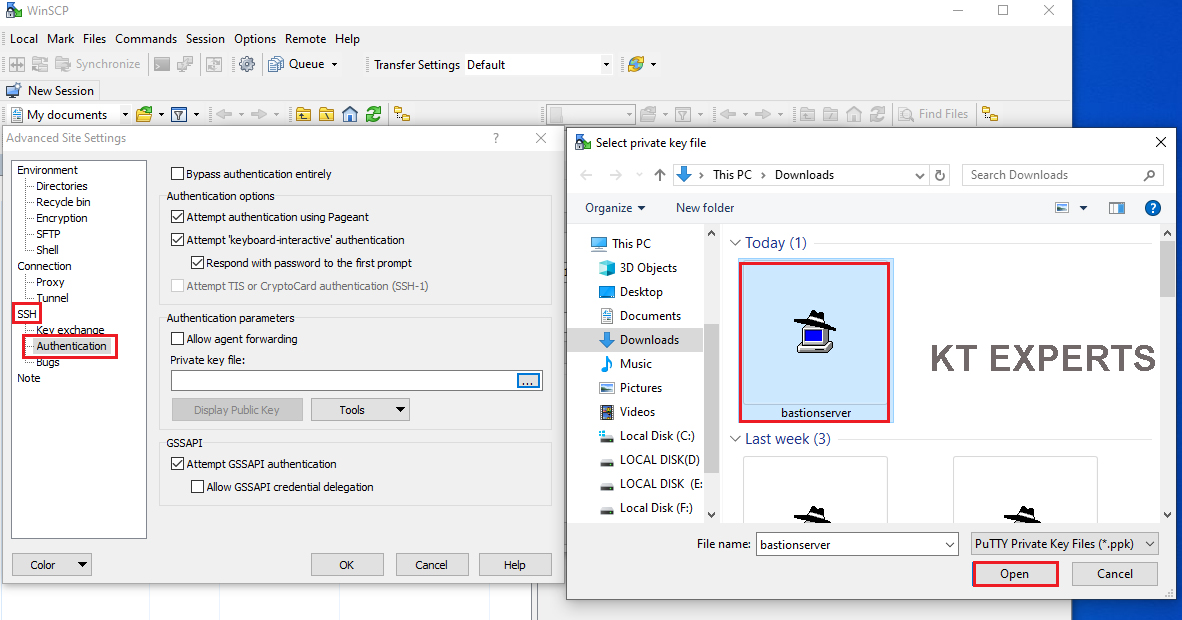
Go to connection,
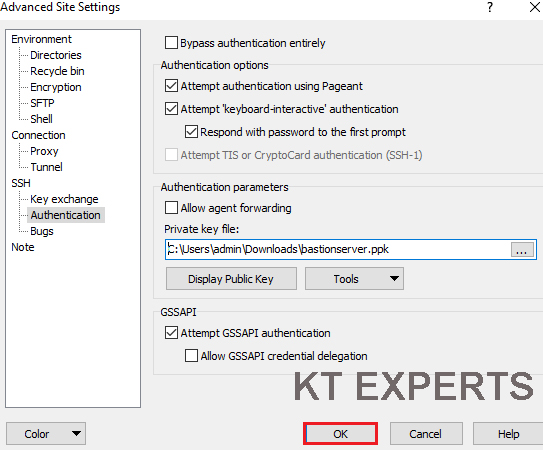
At the left side menu then select “SSH” and then select “Auth”. You need to click on the browse button to select the My bastionserver.ppk file that we created recently.
Click on ok.
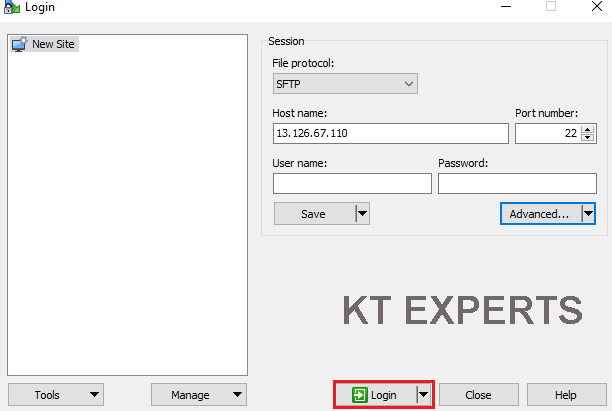
Click on Login.
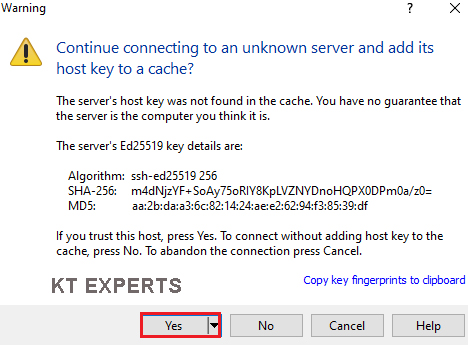
Ignore warnings and click on yes.
Specify username for Bastion Server “ec2-user” and click on ok.

Copy Database Server keypair “dbserver.pem” to BastionServer home location “/home/ec2-user”
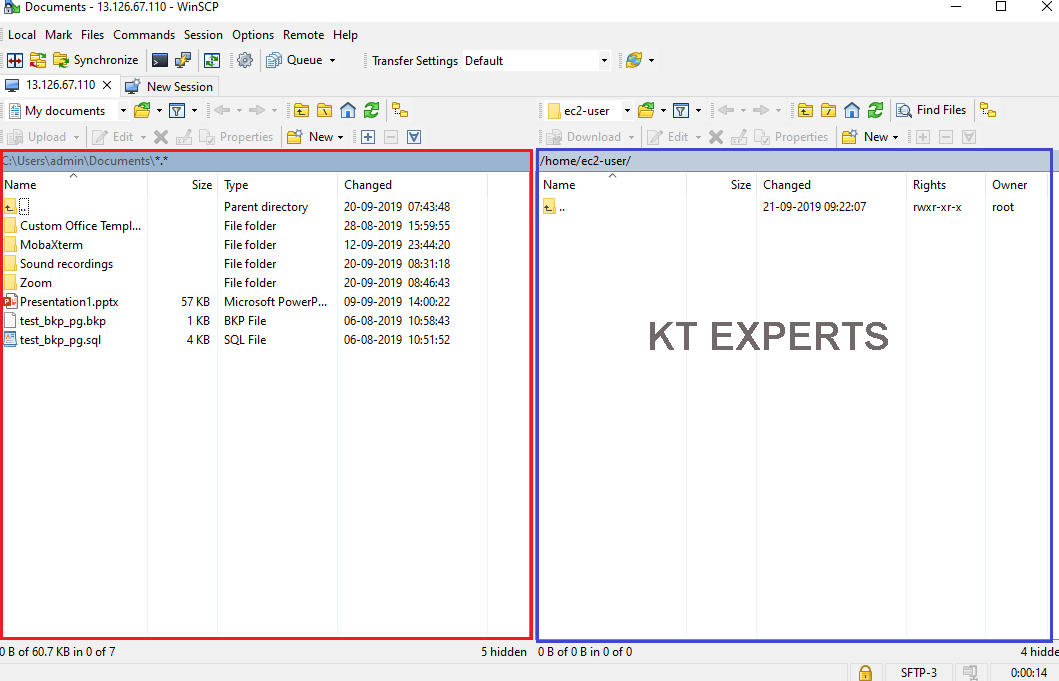
We can see at left side is base laptop.
Right-side is BastionServer home location “/home/ec2-user/”.
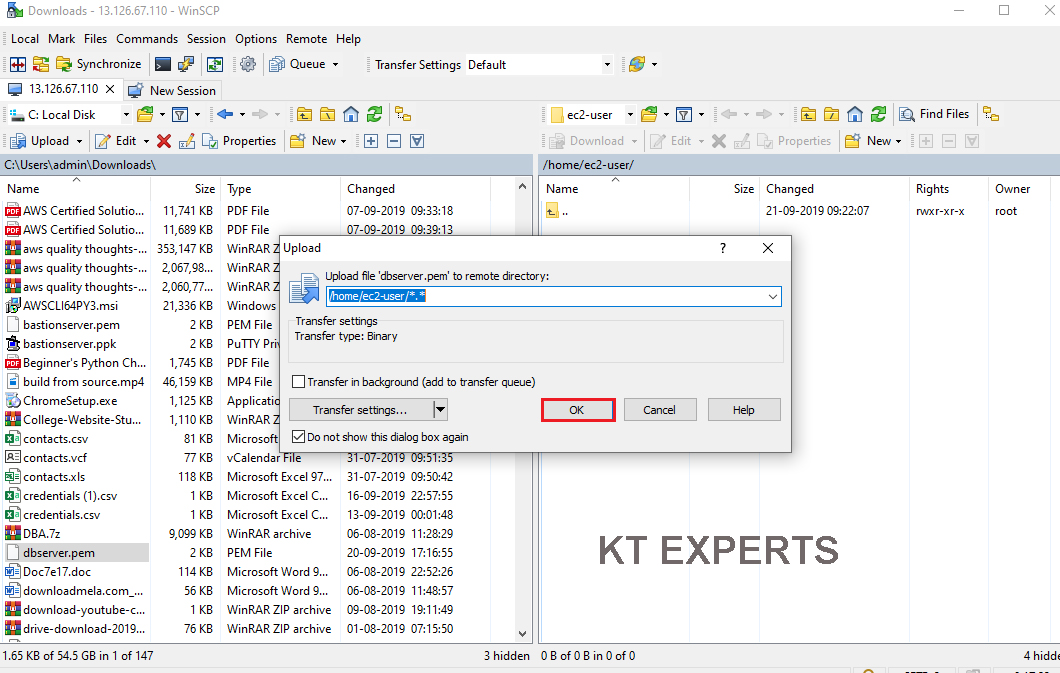
Now we need to copy DBServer keypair “dbserver.pem” to BastionServer home location “/home/ec2-user”.
Go to keypair location and select the keypair “dbserver.pem” then drag and drop to BastionServer home location.
The keypair has been copied successfully to bastionserver home location.
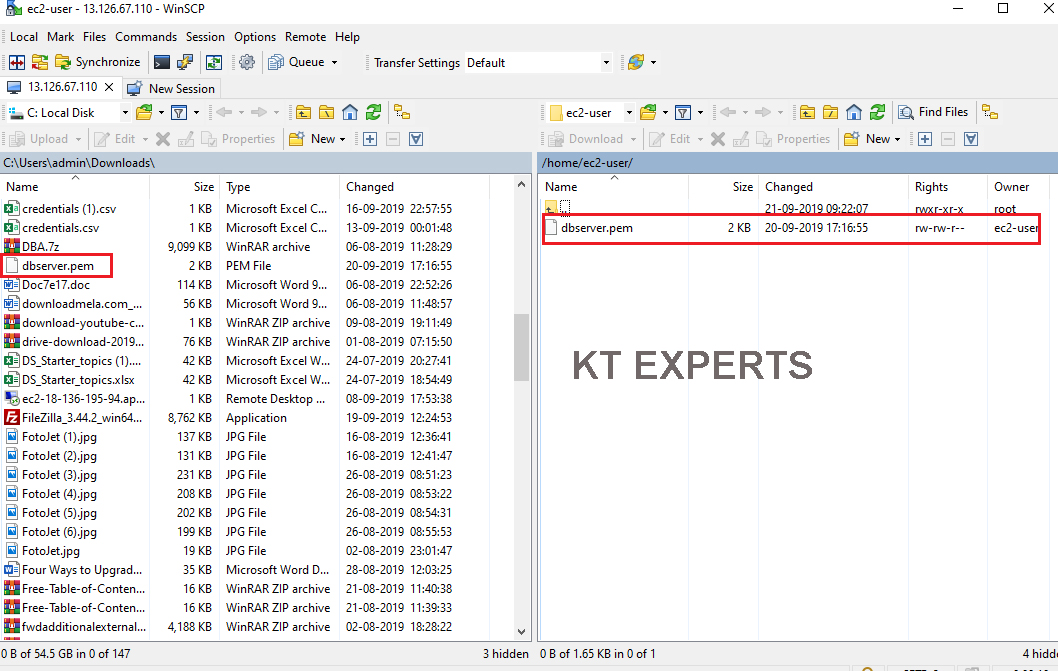
Go Linux terminal and check the keypair.
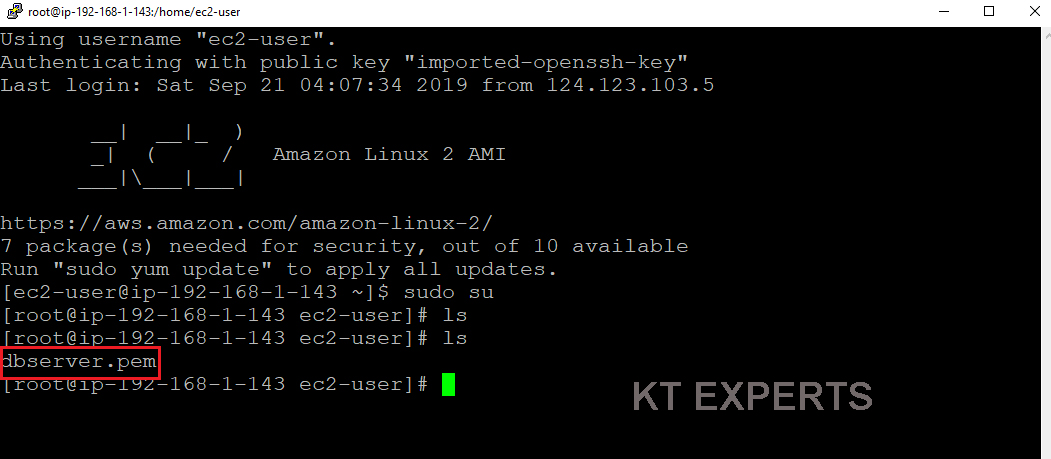
Connect to DBServer through BastionServer
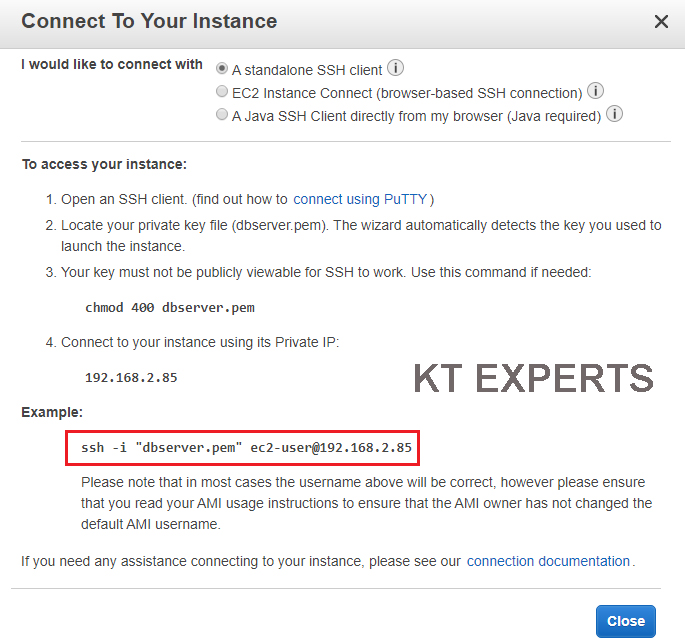
Select DBServer and click on connect.
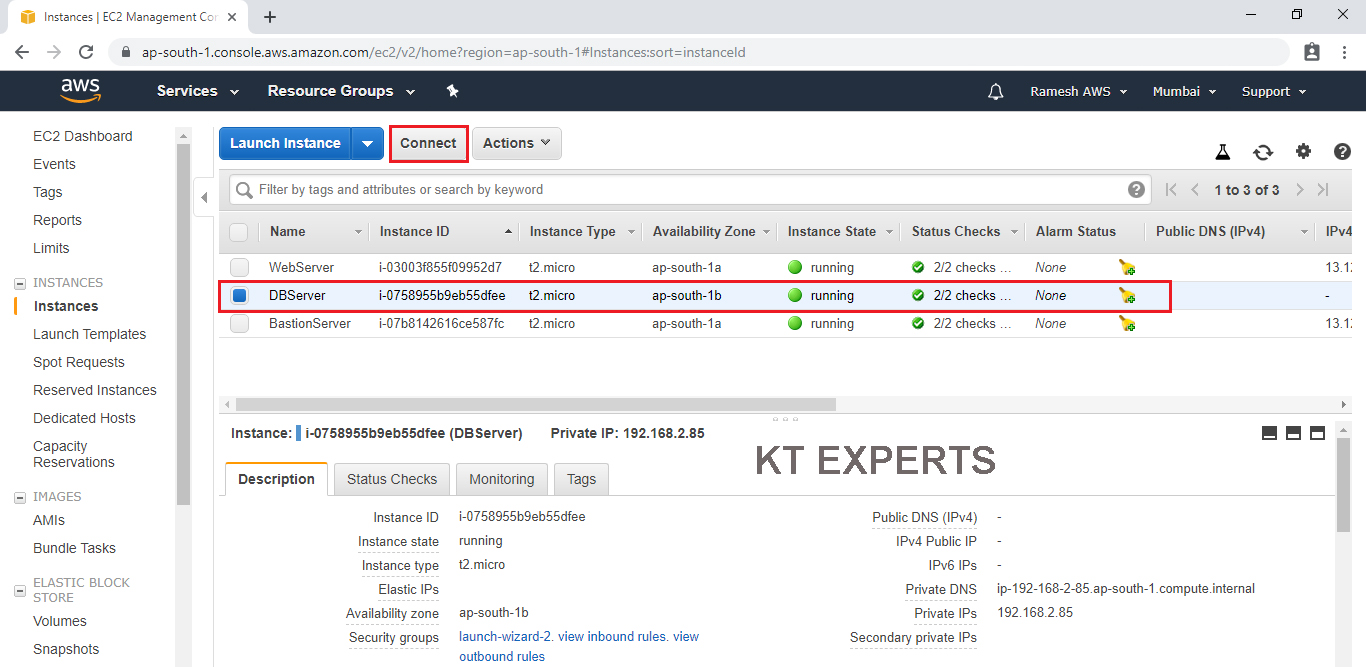
Copy DBServer private IP and paste in BastionServer.
Go to BastionServer Linux terminal.
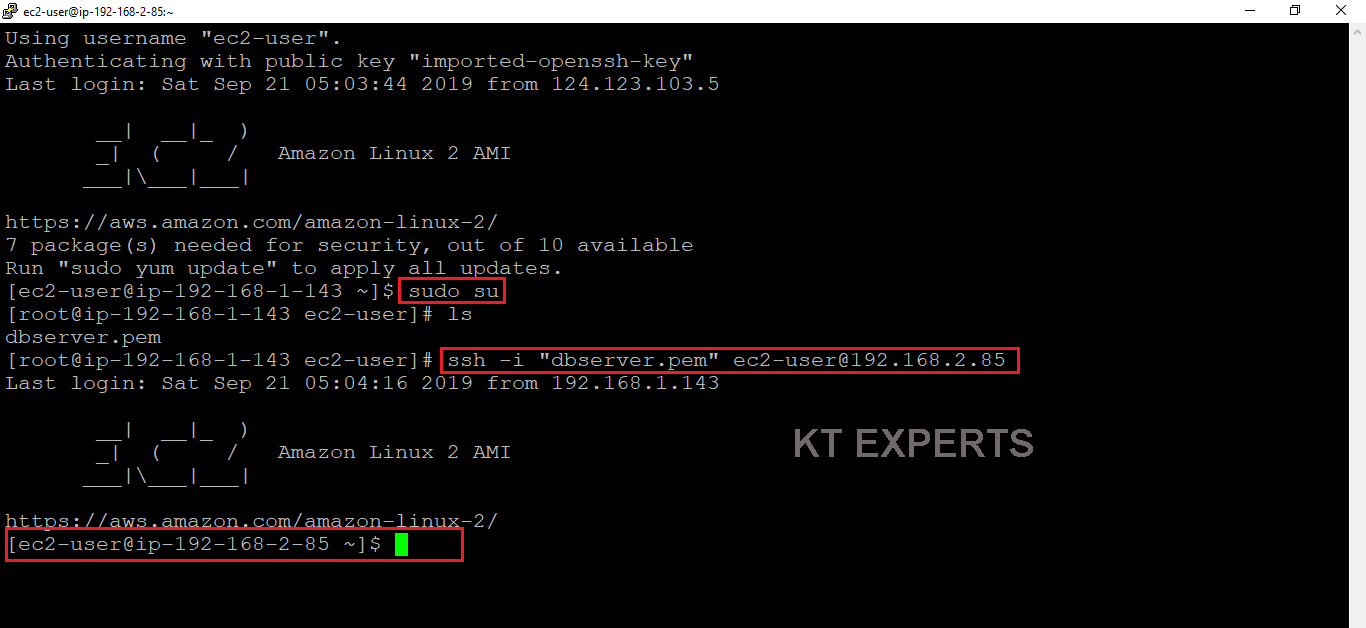
Switch to root user and enter DBServer private ip “ssh -i “dbserver.pem” ec2-user@192.168.2.85”
|
1 2 3 4 5 6 7 8 9 10 11 12 13 14 15 16 17 18 19 20 21 22 23 24 25 26 27 28 29 30 31 32 33 34 35 36 37 38 39 40 41 42 43 44 |
Using username "ec2-user". Authenticating with public key "imported-openssh-key" Last login: Sat Sep 21 04:35:57 2019 from 124.123.103.5 __| __|_ ) _| ( / Amazon Linux 2 AMI ___|\___|___| https://aws.amazon.com/amazon-linux-2/ 7 package(s) needed for security, out of 10 available Run "sudo yum update" to apply all updates. [ec2-user@ip-192-168-1-143 ~]$ sudo su [root@ip-192-168-1-143 ec2-user]# ls dbserver.pem [root@ip-192-168-1-143 ec2-user]# ssh -i "dbserver.pem" ec2-user@192.168.2.85 The authenticity of host '192.168.2.85 (192.168.2.85)' can't be established. ECDSA key fingerprint is SHA256:7xL4ffhG7dbL7Teru5VD/vGuU4OtB9ORq2HksZIwZRU. ECDSA key fingerprint is MD5:93:c6:f3:ae:7e:64:12:d9:3a:02:0f:f2:26:82:17:bb. Are you sure you want to continue connecting (yes/no)? yes Warning: Permanently added '192.168.2.85' (ECDSA) to the list of known hosts. We can see here the DBServer Linux terminal will be come as shown below Connected to DBServer through BastionServer successfully. |
Install updates in the DBServer

Switch to Root user and type update command
|
1 2 3 4 5 6 7 8 |
[ec2-user@ip-192-168-2-85 ~]$ sudo su [root@ip-192-168-2-85 ec2-user]# yum update -y The updates are not installed because we don’t have any internet Loaded plugins: extras_suggestions, langpacks, priorities, update-motd |
Note
we can see error “The updates are not installed because we don’t have any internet”
We need internet to install the updates in the database server.
we need to make internet connection through secure way by using NAT.
Create NAT Gateway and Provide Internet to DBServer
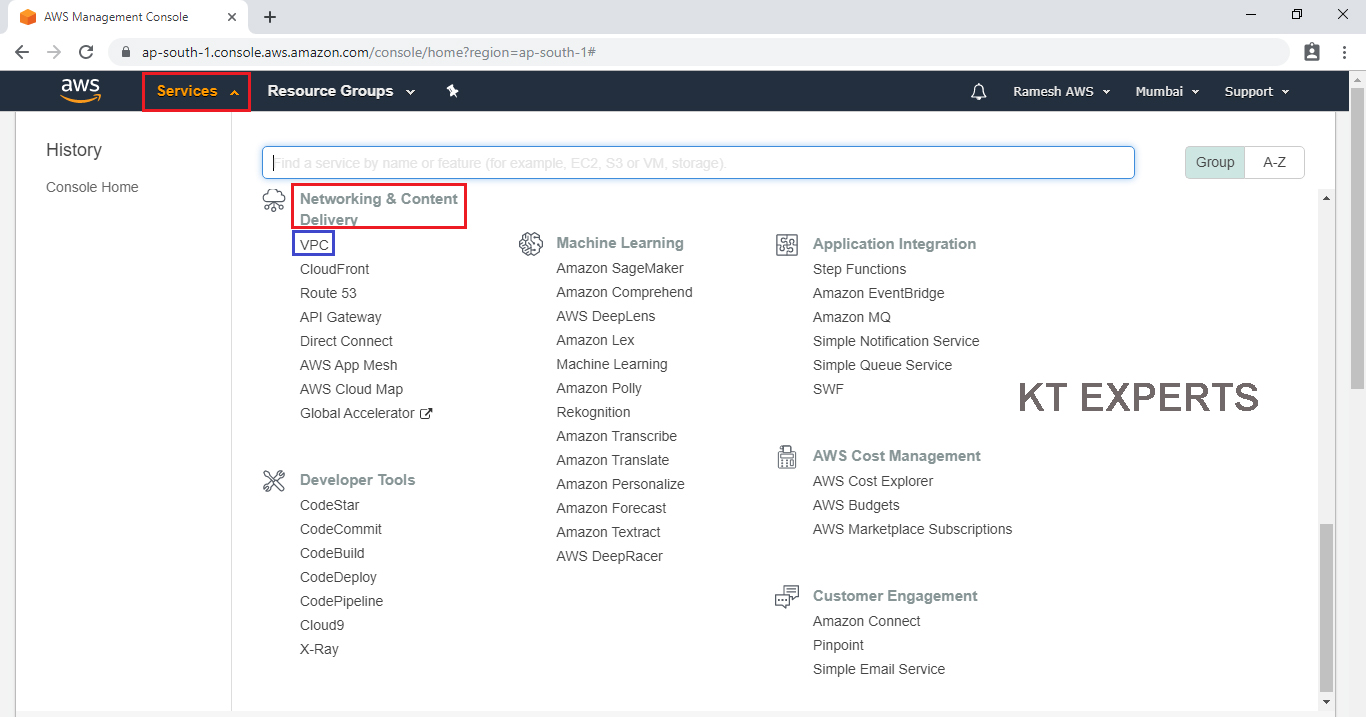
Go to Services, under the Networking & Content Delivery click VPC service to open.
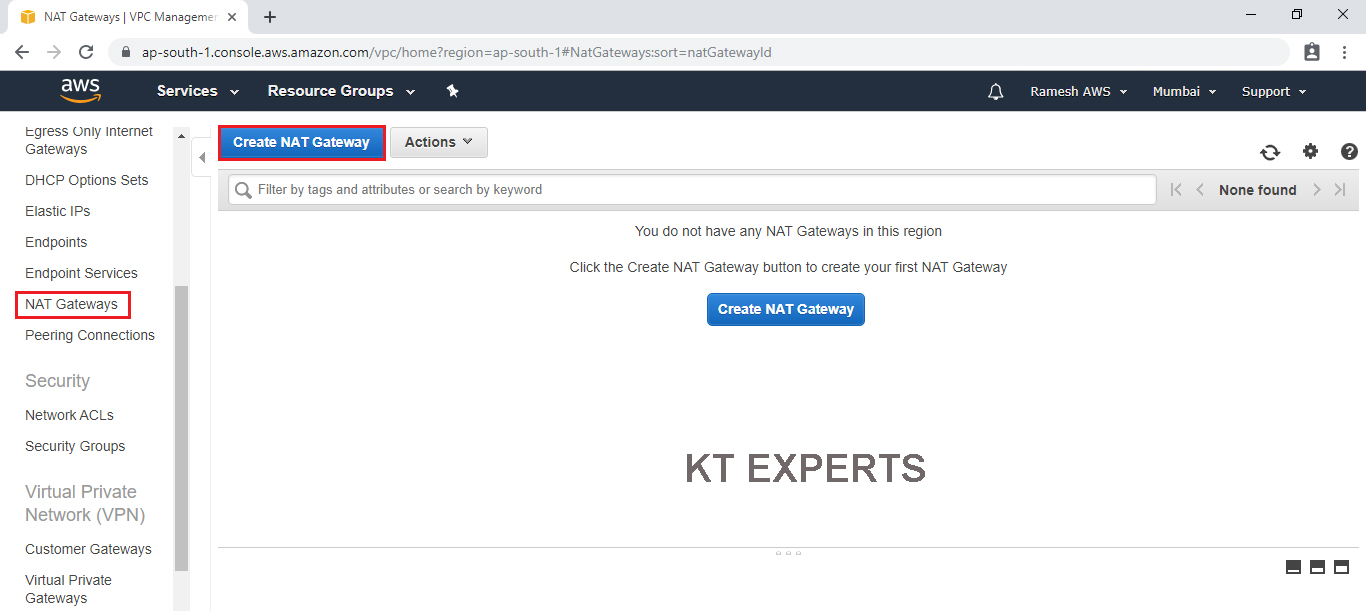
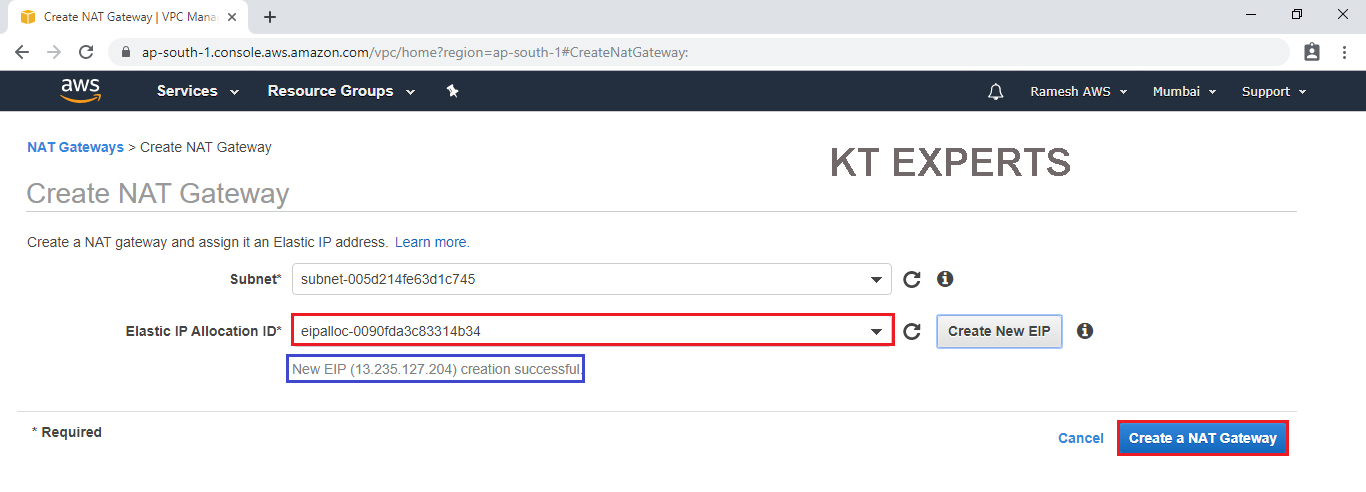
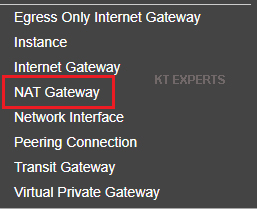
Go to NAT Gateways and click on Create NAT Gateway.
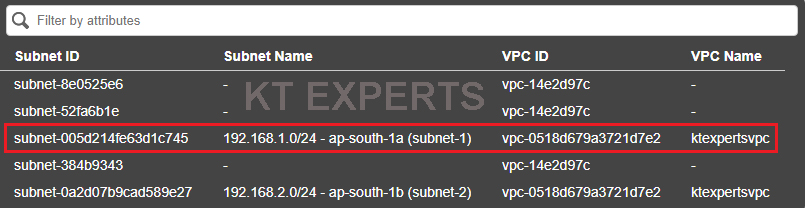
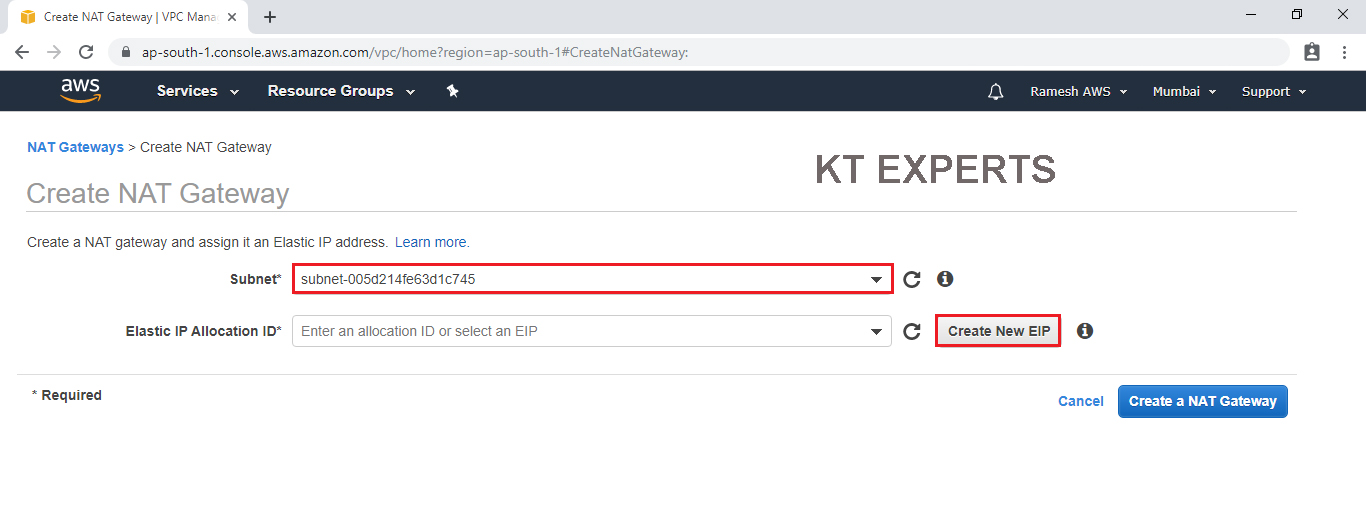
Choose subnet “subnet 1 (pubic subnet)
Note
We create the NAT Gateway in the public subnet that’s why we need to select public subnet only.
To create New Elastic IP click on Create New EIP.
The Elastic IP has created successful and click on Create a NAT Gateway.
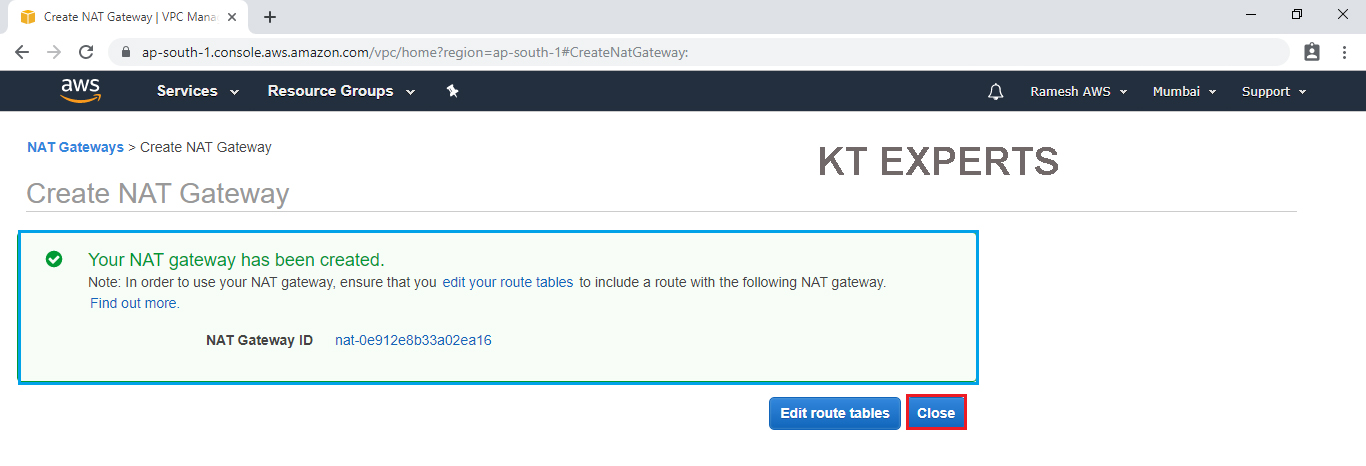
The NAT Gateway has been created and click on Close.
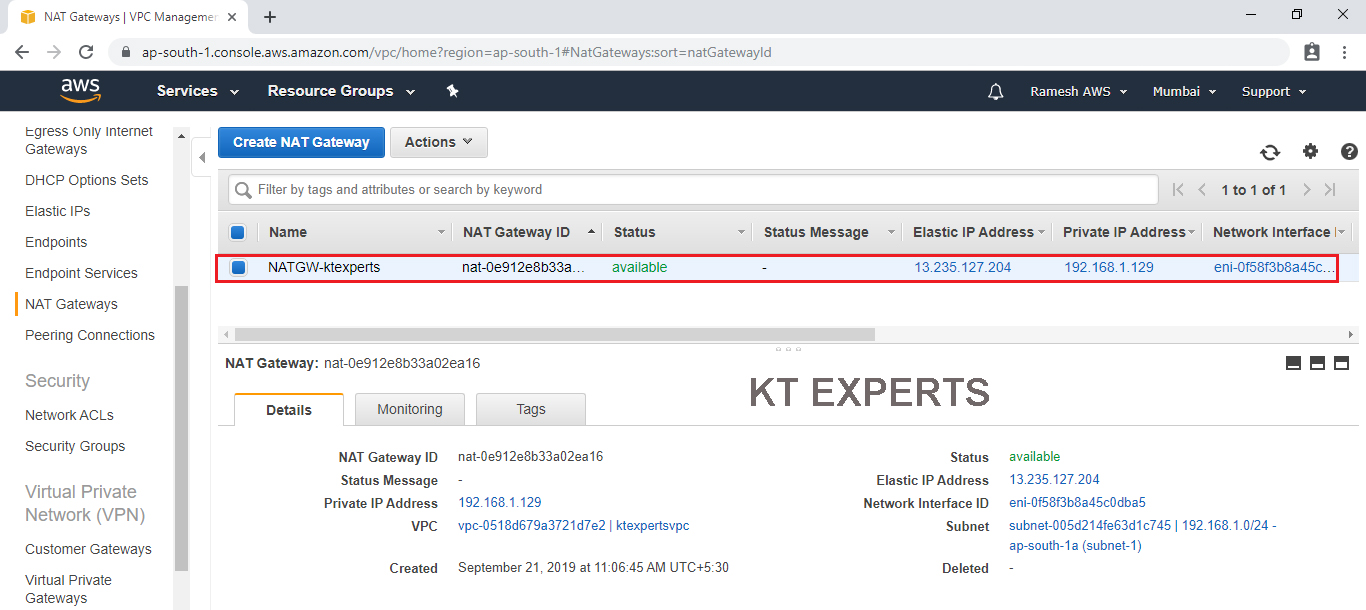
We can see NAT Gateway which was created earlier.
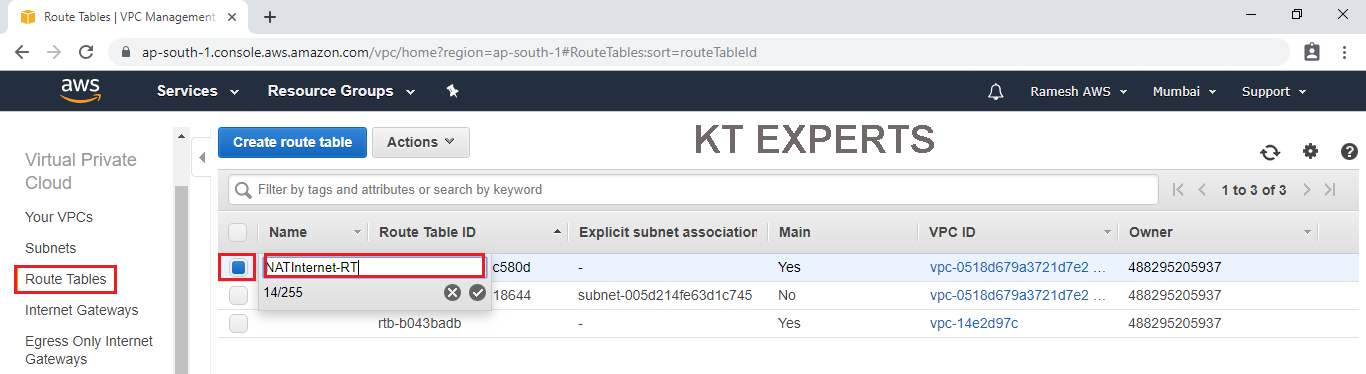
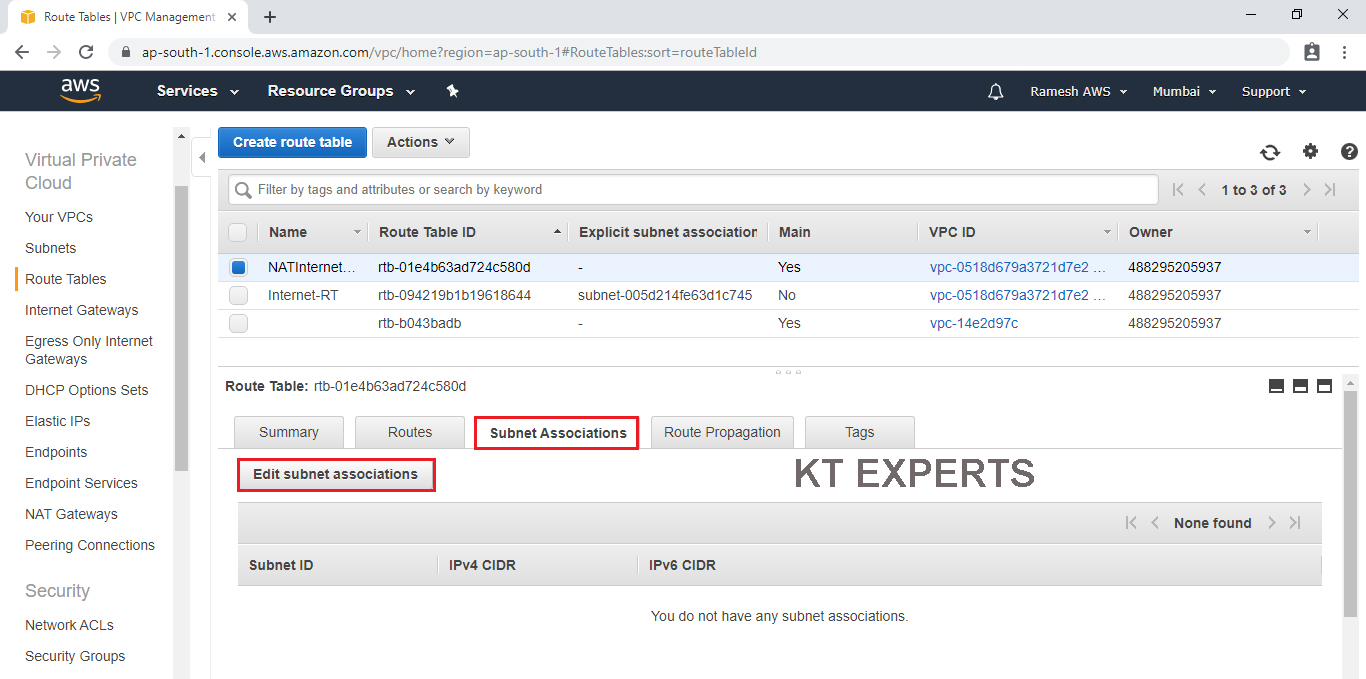
Connect Root Table “NATInternet-RT” to subnet 2 “192.168.2.0/24 – ap-south-1b (subnet-2) – (Private Subnet)
Go to Route Tables and select Default route table which is connected your VPC and give name “NATIntenet-RT”.
Select Root table “NATInternet-RT” and go to subnet Associations then click on Edit subnet associations.
Checked subnet 1 ID “192.168.2.0/24 – ap-south-1b (subnet-2)” and click on Save.
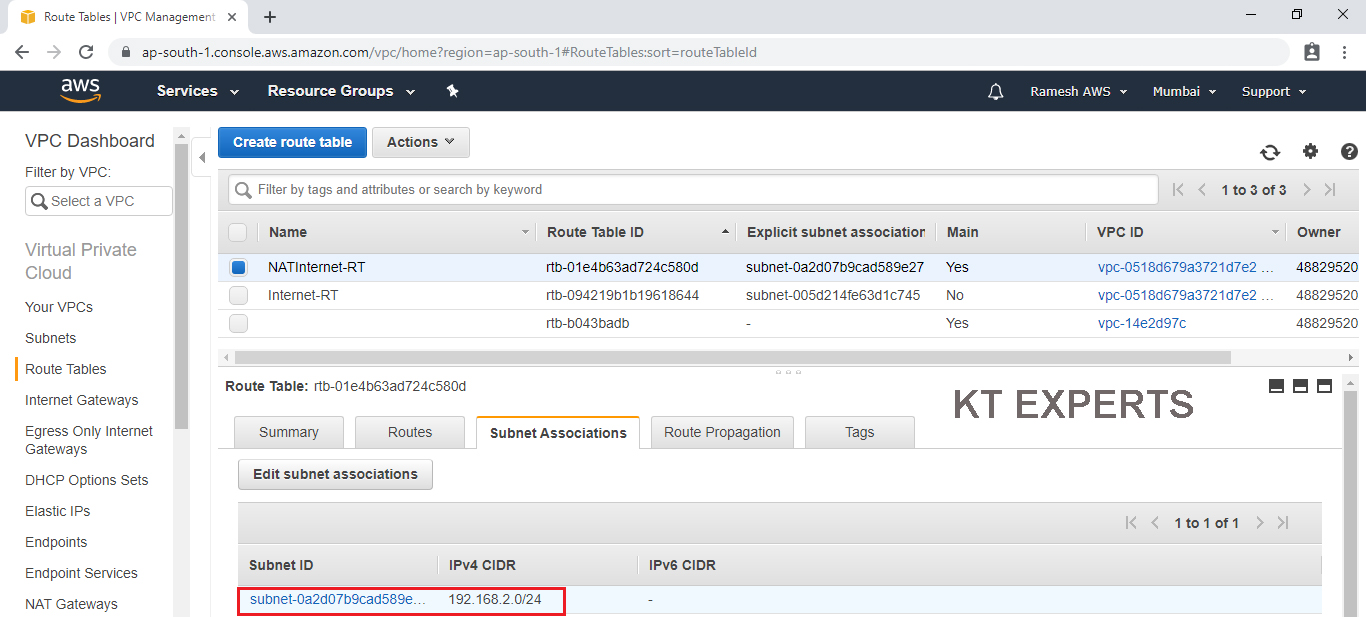
We can see the route table has been connected to subnet 1 “192.168.2.0/24 – ap-south-1b (subnet-2) – (Private Subnet).

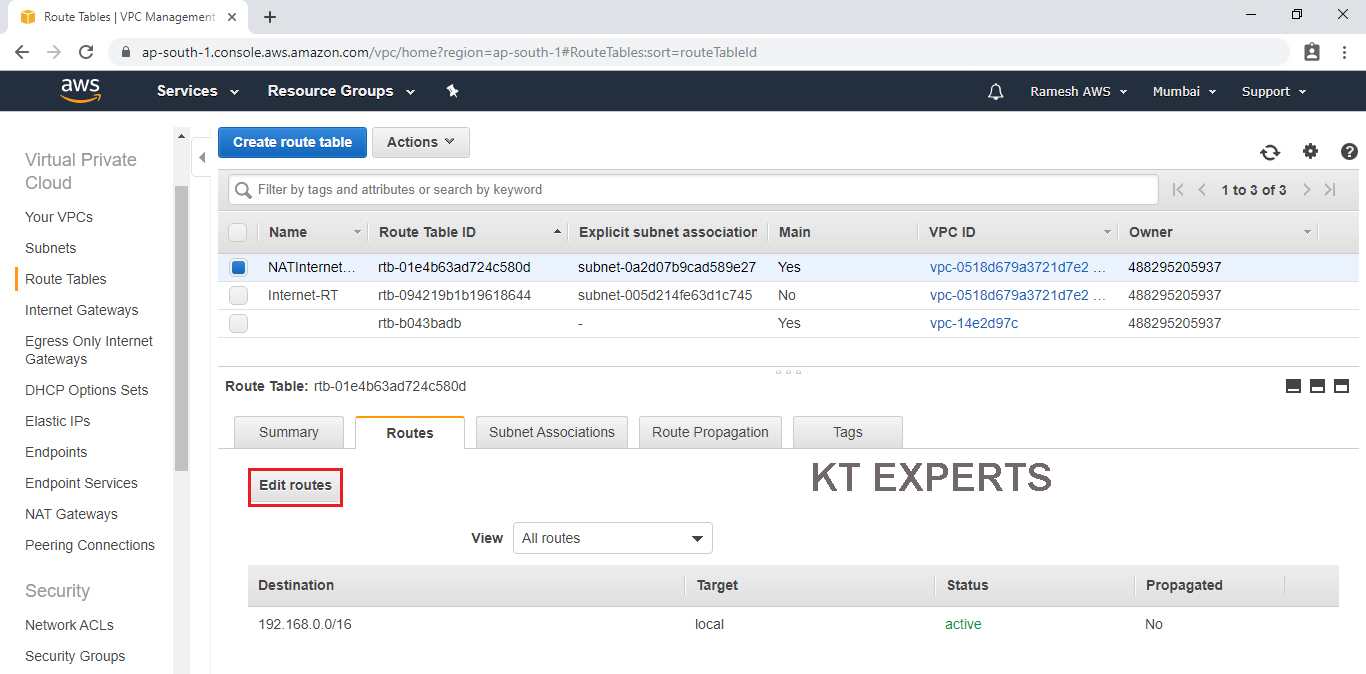
Connect Root Table “NATInternet-RT” to NAT Internet Gateway “NATGW-ktexperts”
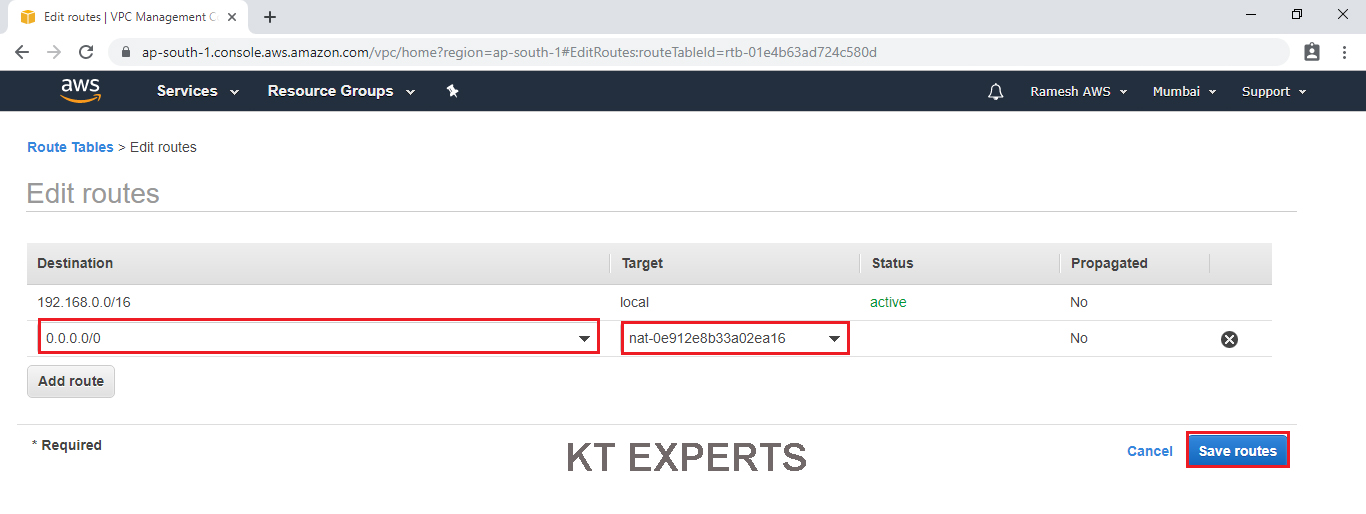
Go to Routes and click on Edit Routes.
Click on Add route.
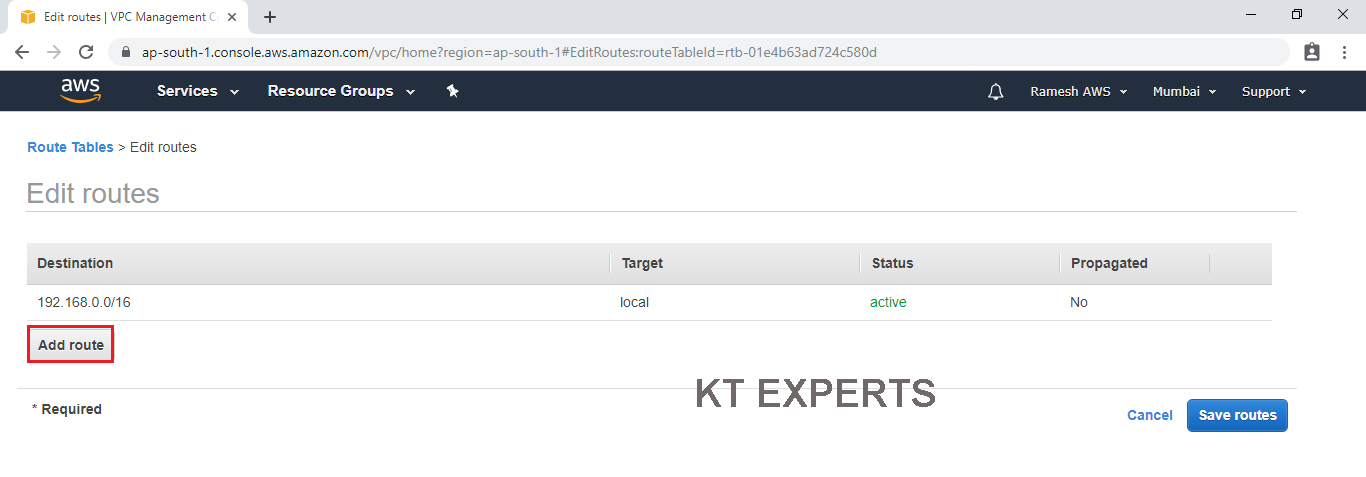
Choose Internet Gateway option in the Target.
Select your Internet Gateway “NATGW-ktexperts”
Specify Destination with “0.0.0.0/0” and Target then click on save routes.
Note
Wherever you want internet you must choose IP 0.0.0.0/0.
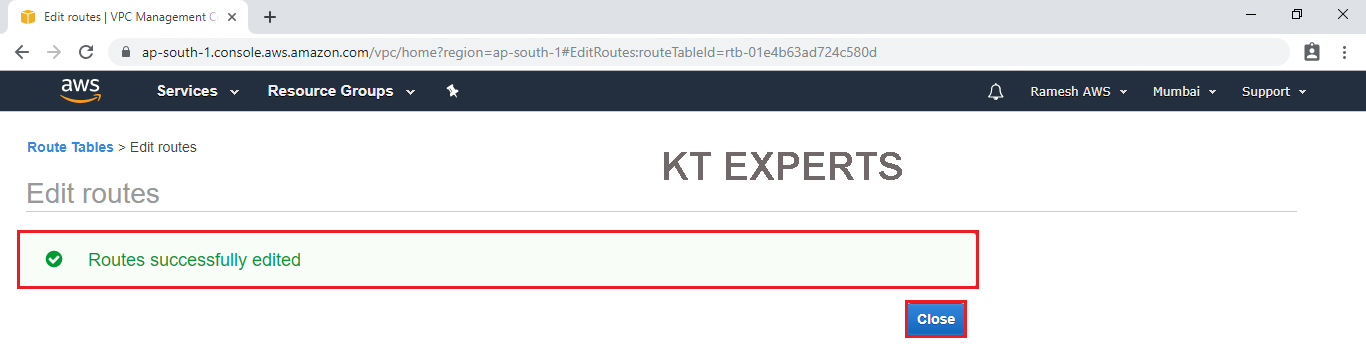
We can message like Routes successfully edited then click on close.
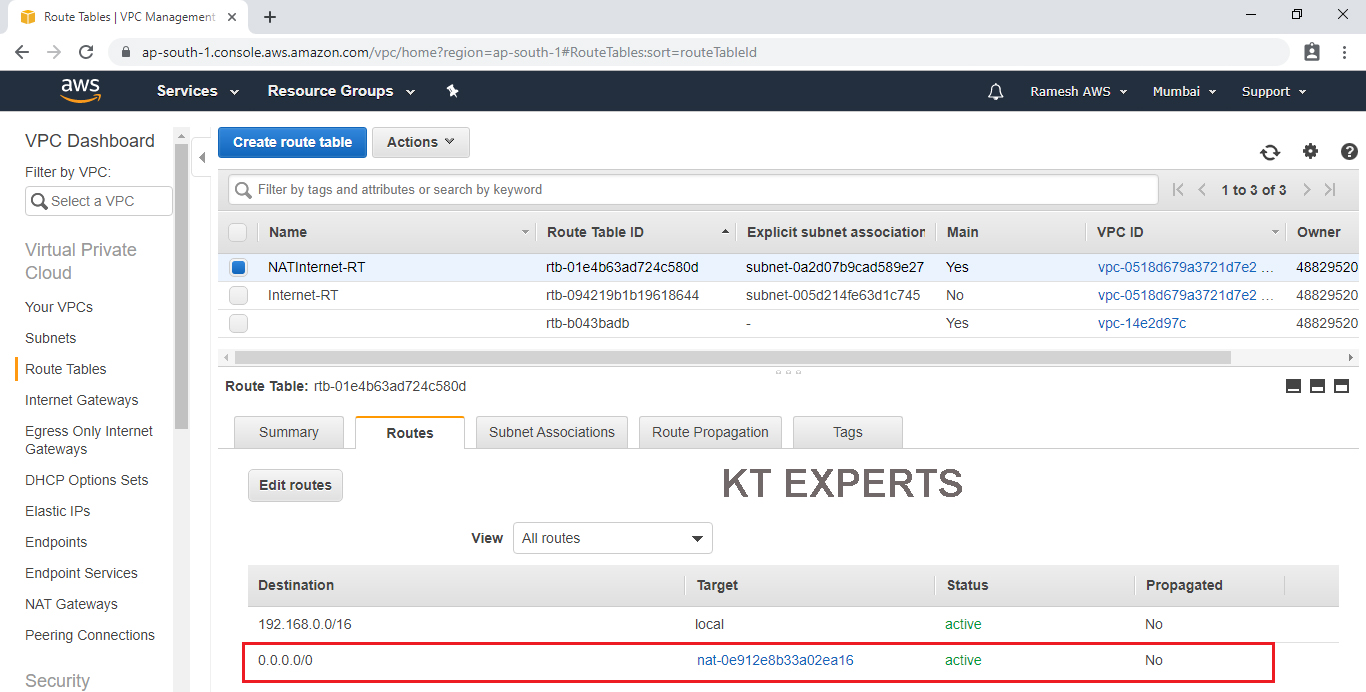
The route table has been connected to your Internet Gateway “NATGW-ktexperts” successfully.
Go to Bastion Server linux terminal and connect to DBServer and install updates
|
1 2 3 4 5 6 7 8 9 10 11 12 13 14 15 16 17 18 19 20 21 22 23 24 |
Using username "ec2-user". Authenticating with public key "imported-openssh-key" Last login: Sat Sep 21 05:19:11 2019 from 124.123.103.5 __| __|_ ) _| ( / Amazon Linux 2 AMI ___|\___|___| https://aws.amazon.com/amazon-linux-2/ 7 package(s) needed for security, out of 10 available Run "sudo yum update" to apply all updates. [ec2-user@ip-192-168-1-143 ~]$ |
Switch to root user
|
1 2 3 4 |
[ec2-user@ip-192-168-1-143 ~]$ sudo su [root@ip-192-168-1-143 ec2-user]# |
Verify Database pem file
|
1 2 3 4 |
[root@ip-192-168-1-143 ec2-user]# ls dbserver.pem |
Connect to Database Server
|
1 2 3 4 5 6 7 8 9 10 11 12 13 14 15 16 |
[root@ip-192-168-1-143 ec2-user]# ssh -i "dbserver.pem" ec2-user@192.168.2.85 Last login: Sat Sep 21 05:20:10 2019 from 192.168.1.143 __| __|_ ) _| ( / Amazon Linux 2 AMI ___|\___|___| https://aws.amazon.com/amazon-linux-2/ |
Switch to root user
|
1 2 3 4 |
[ec2-user@ip-192-168-2-85 ~]$ sudo su [root@ip-192-168-2-85 ec2-user]# |
Install Server Updates
|
1 2 3 4 5 6 7 8 9 10 11 12 13 14 15 16 17 18 19 20 21 22 23 24 25 26 27 28 29 30 31 32 33 34 35 36 37 38 39 40 41 42 43 44 45 46 47 48 49 50 51 52 53 54 55 56 57 58 59 60 61 62 63 64 65 66 67 68 69 70 71 72 73 74 75 76 77 78 |
[root@ip-192-168-2-85 ec2-user]# yum update -y Loaded plugins: extras_suggestions, langpacks, priorities, update-motd amzn2-core | 2.4 kB 00:00:00 amzn2extra-docker | 1.3 kB 00:00:00 (1/4): amzn2-core/2/x86_64/group_gz | 2.6 kB 00:00:00 (2/4): amzn2-core/2/x86_64/updateinfo | 139 kB 00:00:00 (3/4): amzn2extra-docker/2/x86_64/primary_db | 56 kB 00:00:00 (4/4): amzn2-core/2/x86_64/primary_db | 33 MB 00:00:00 Resolving Dependencies --> Running transaction check ---> Package cloud-utils-growpart.noarch 0:0.29-2.amzn2 will be updated ---> Package cloud-utils-growpart.noarch 0:0.31-1.amzn2 will be an update ---> Package dracut.x86_64 0:033-535.amzn2.1.2 will be updated ---> Package dracut.x86_64 0:033-535.amzn2.1.3 will be an update ---> Package dracut-config-generic.x86_64 0:033-535.amzn2.1.2 will be updated Verifying : python-libs-2.7.16-3.amzn2.0.1.x86_64 8/19 Verifying : cloud-utils-growpart-0.31-1.amzn2.noarch 9/19 Verifying : kernel-tools-4.14.143-118.123.amzn2.x86_64 10/19 Verifying : kernel-tools-4.14.138-114.102.amzn2.x86_64 11/19 Verifying : cloud-utils-growpart-0.29-2.amzn2.noarch 12/19 Verifying : python-devel-2.7.16-2.amzn2.0.1.x86_64 13/19 Verifying : 1:mariadb-libs-5.5.62-1.amzn2.0.1.x86_64 14/19 Verifying : python-2.7.16-2.amzn2.0.1.x86_64 15/19 Verifying : glib2-2.54.2-2.amzn2.x86_64 16/19 Verifying : python-libs-2.7.16-2.amzn2.0.1.x86_64 17/19 Verifying : dracut-config-generic-033-535.amzn2.1.2.x86_64 18/19 Verifying : dracut-033-535.amzn2.1.2.x86_64 19/19 Installed: kernel.x86_64 0:4.14.143-118.123.amzn2 Updated: cloud-utils-growpart.noarch 0:0.31-1.amzn2 dracut.x86_64 0:033-535.amzn2.1.3 dracut-config-generic.x86_64 0:033-535.amzn2.1.3 glib2.x86_64 0:2.56.1-4.amzn2 kernel-tools.x86_64 0:4.14.143-118.123.amzn2 mariadb-libs.x86_64 1:5.5.64-1.amzn2 python.x86_64 0:2.7.16-3.amzn2.0.1 python-devel.x86_64 0:2.7.16-3.amzn2.0.1 python-libs.x86_64 0:2.7.16-3.amzn2.0.1 Complete! |
We are successfully connected to the database server and also getting internet with the help of NAT Gateway.
Thank you for giving your valuable time to read the above information. Please click here to subscribe for further updates
KTEXPERTS is always active on below social media platforms.
Facebook : https://www.facebook.com/ktexperts/
LinkedIn : https://www.linkedin.com/company/ktexperts/
Twitter : https://twitter.com/ktexpertsadmin
YouTube : https://www.youtube.com/c/ktexperts
Instagram : https://www.instagram.com/knowledgesharingplatform