Dear Readers,
In this article, we will see the following Connect to Amazon EC2 Instance Using Putty.

What is AWS CLI?
The AWS CLI is a unified tool to manage your AWS services from a terminal session on your own client.
With just one tool to download and configure, you can control multiple AWS services from the command line and automate them through scripts.
Steps to Follow :
- Download AWS CLI
- Install AWS CLI
- Generate Access key ID and Secret Access Key from IAM
- Configure AWS CLI by using Access Key ID and Secret Access Key
The machine/laptop can’t configure directly in cmd prompt.
If you try to configure AWS CLI it throws an error.
We can get error like this ” aws is not recognized as an internal or external command.”

To configure AWS CLI , we do have AWS Command Line Interface Package.
So we need to download and install AWS CLI then configure by using credentials.
1. Download AWS CLI
Download the software by using below link.
https://docs.aws.amazon.com/cli/latest/userguide/install-windows.html#install-msi-on-windows
click on Download AWS CLI MSI installer for windows(64bit).
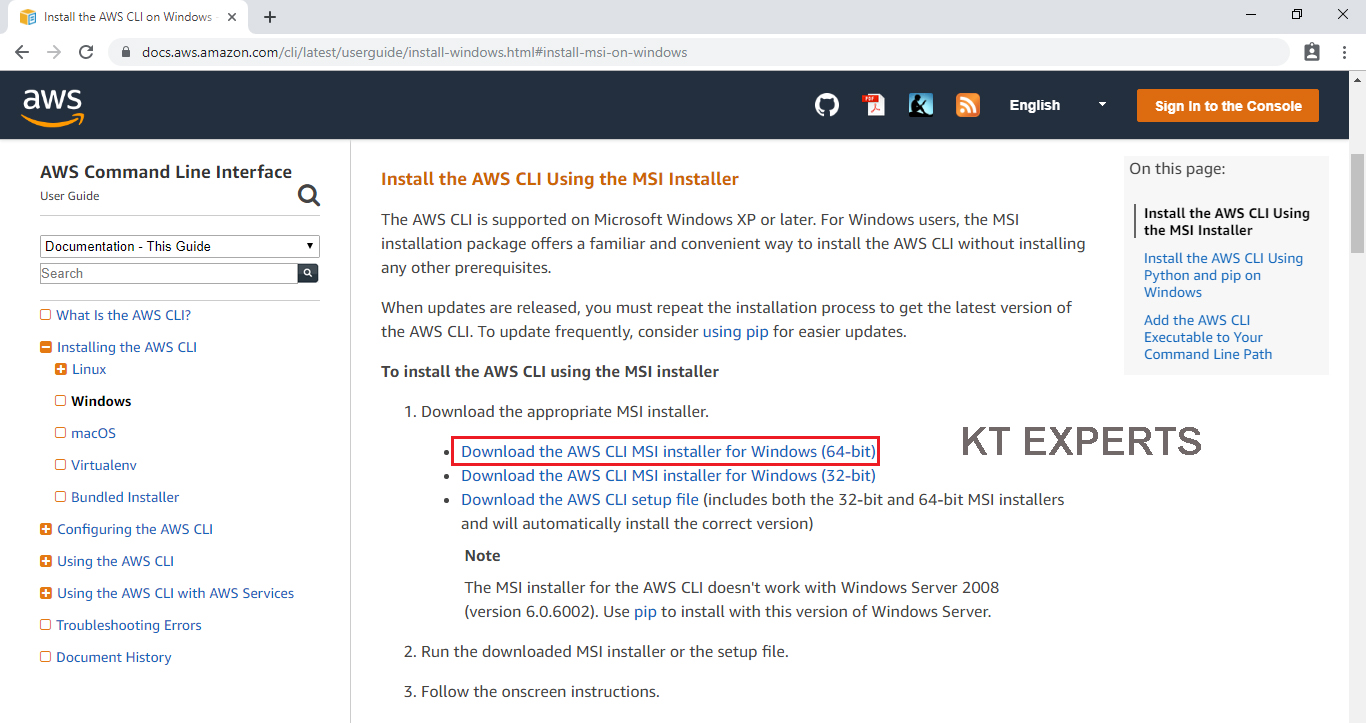
The software has been downloaded successfully.
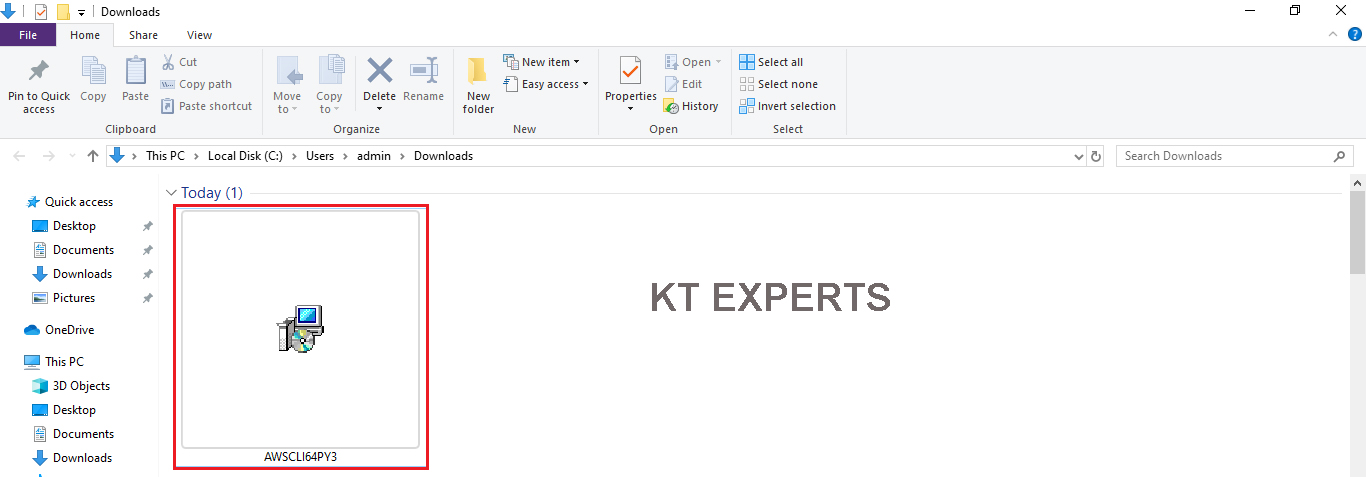
2. Install AWS CLI
Go to physical location and double click on the downloaded software.
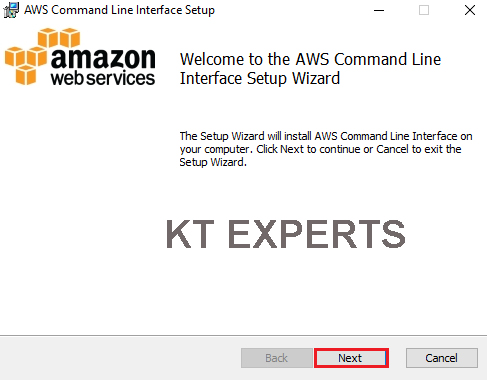
Click on Next.
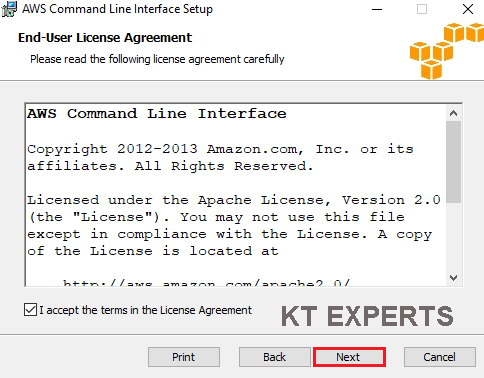
Accept license Agreement and click on Next.
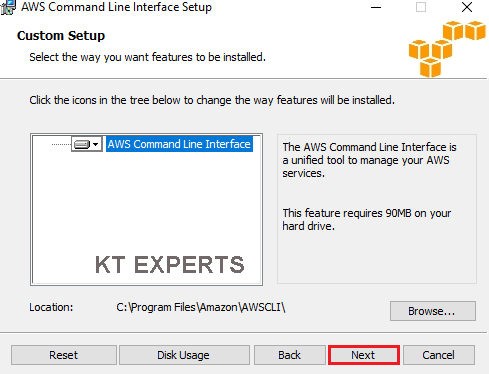
Click on Next.
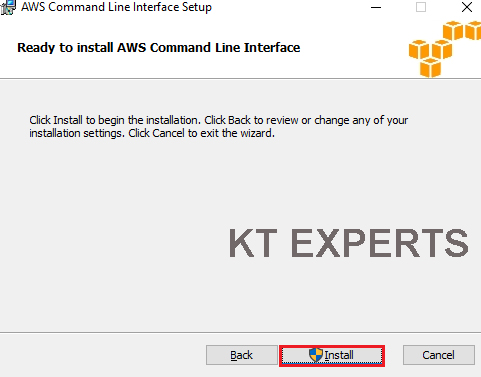
Click on Install.
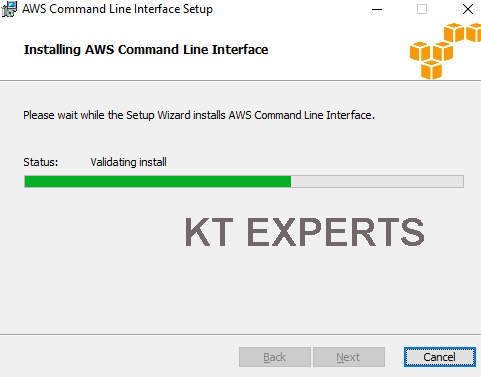
It’s processing it will take some time to complete.
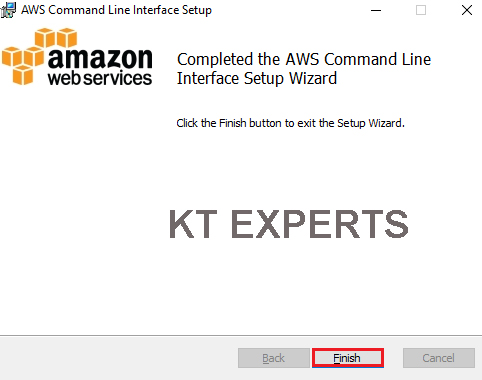
Click on Finish.
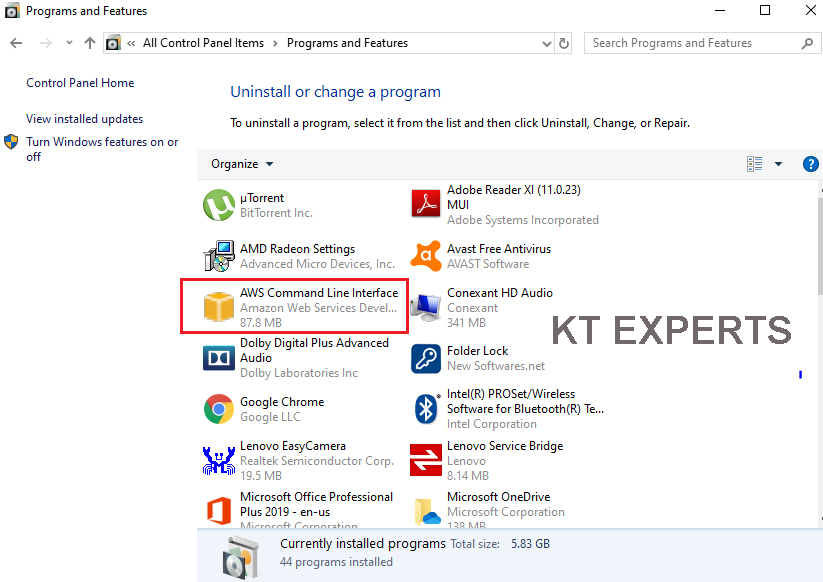
The software has been installed successfully , we can check in control panel.
Now, onwards the machine/laptop will accept to run AWS commands in cmd prompt.
If you want to enter credentials we need to run one command “aws configure” then only it will ask the credentials.
|
1 2 |
C:\Windows\system32>aws configure AWS Access Key ID [None]: |
3. Generate Access key ID and Secret Access Key
Logging to AWS Account
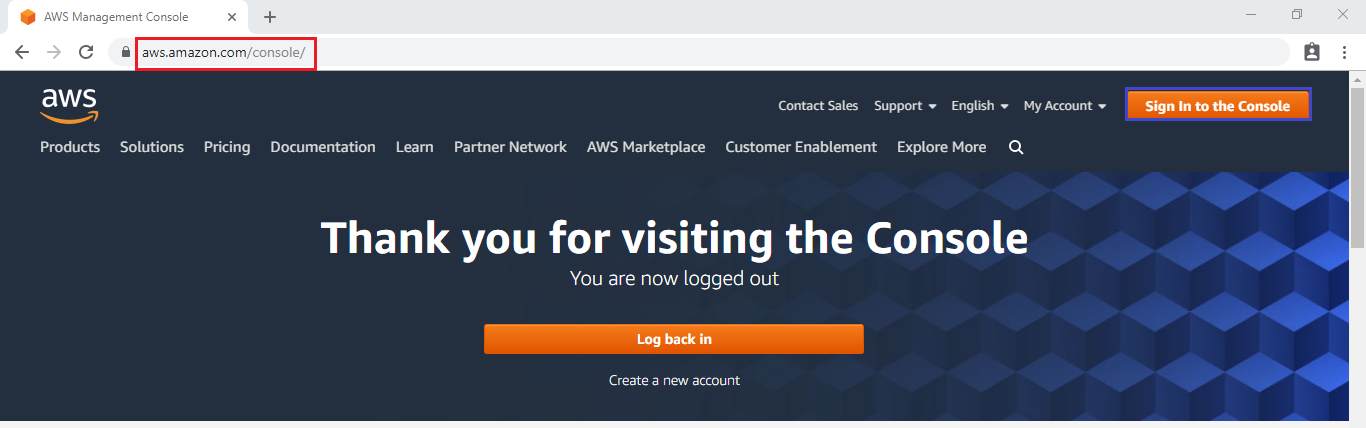
First, we need to AWS Console page by using below link.
https://aws.amazon.com/console/
Click on sign in to Console button.
Logging to aws account
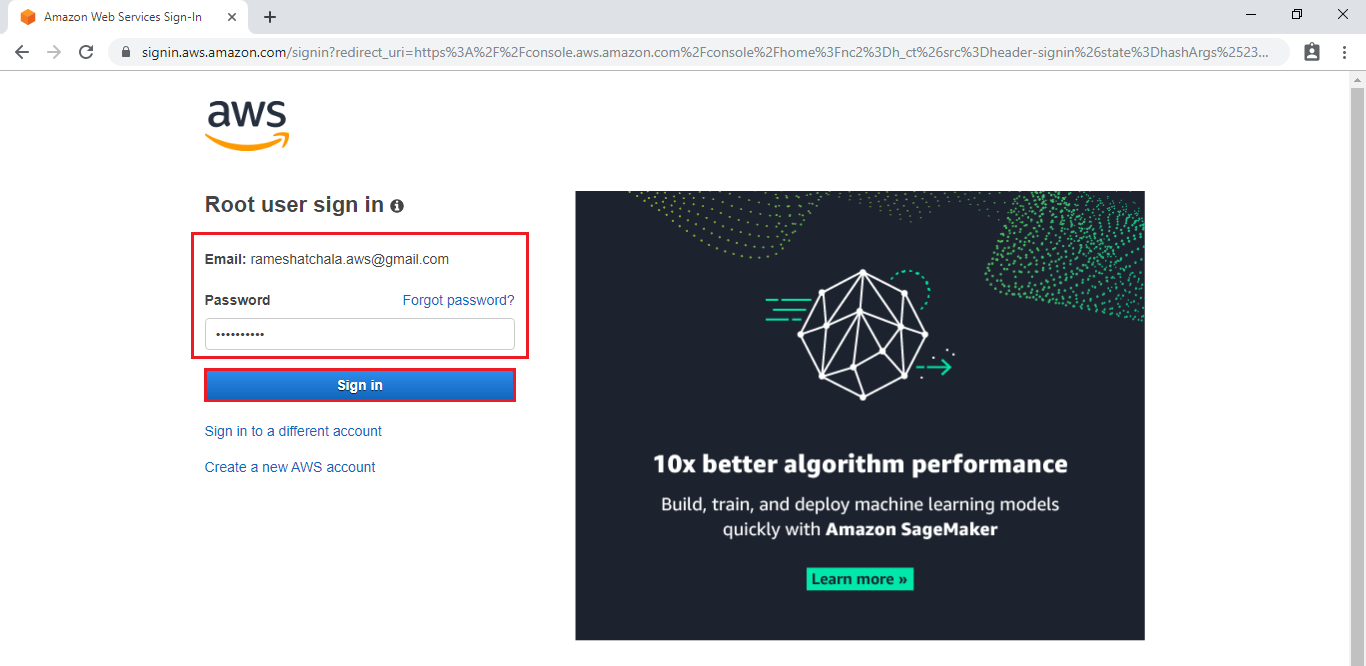
Login using username & password and click on sign in.
Enter to AWS Management Console
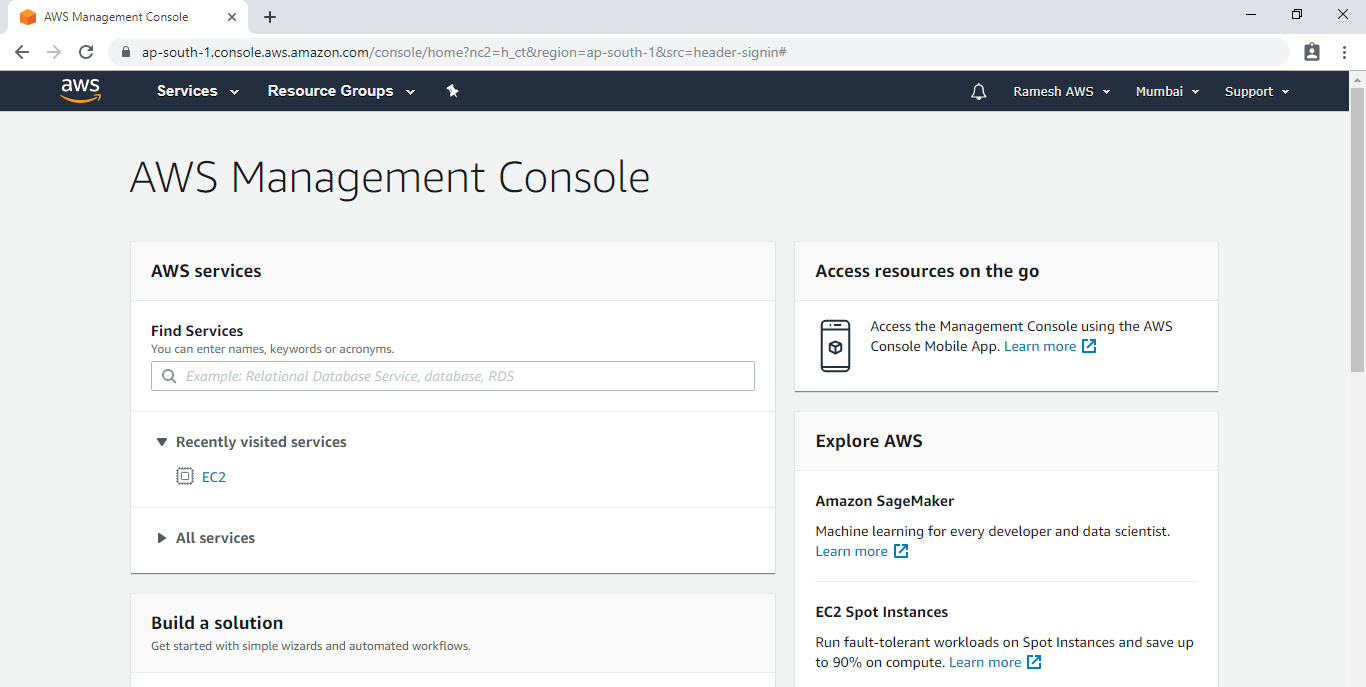
We can see the AWS Management Console Dashboard.
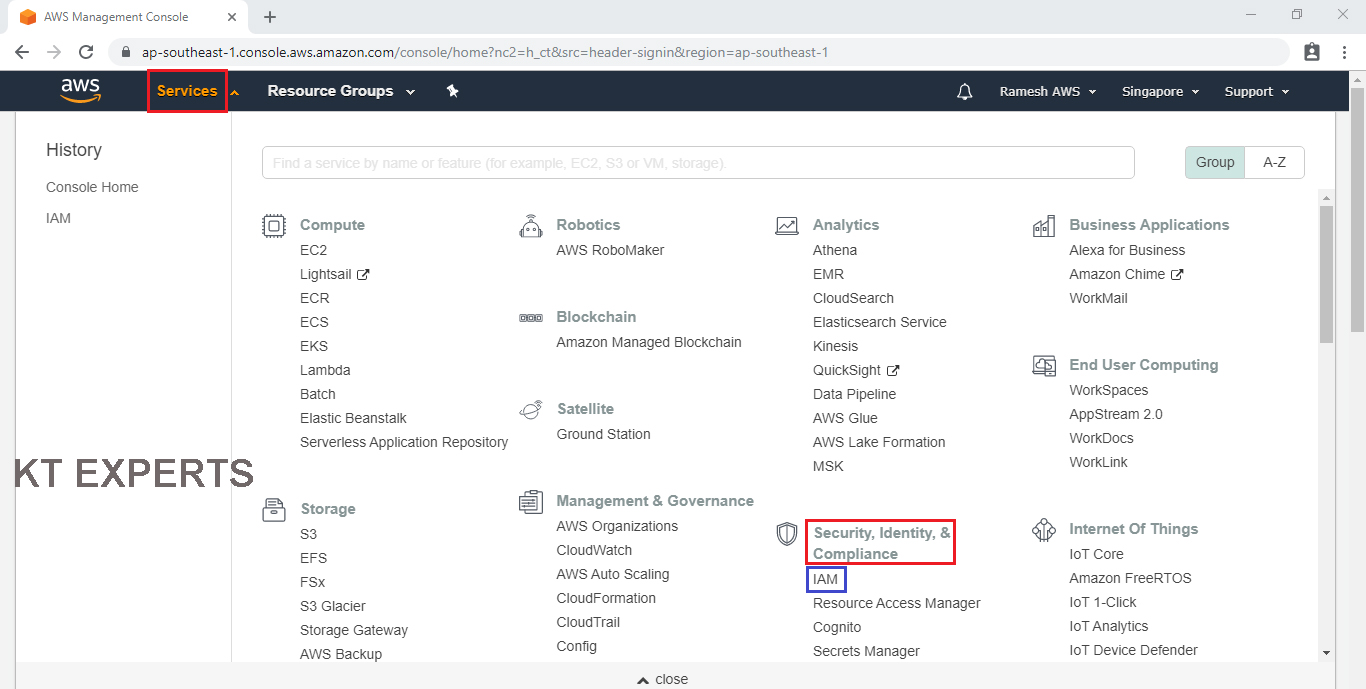
Go to services and click on IAM under security, identity & Compliance.
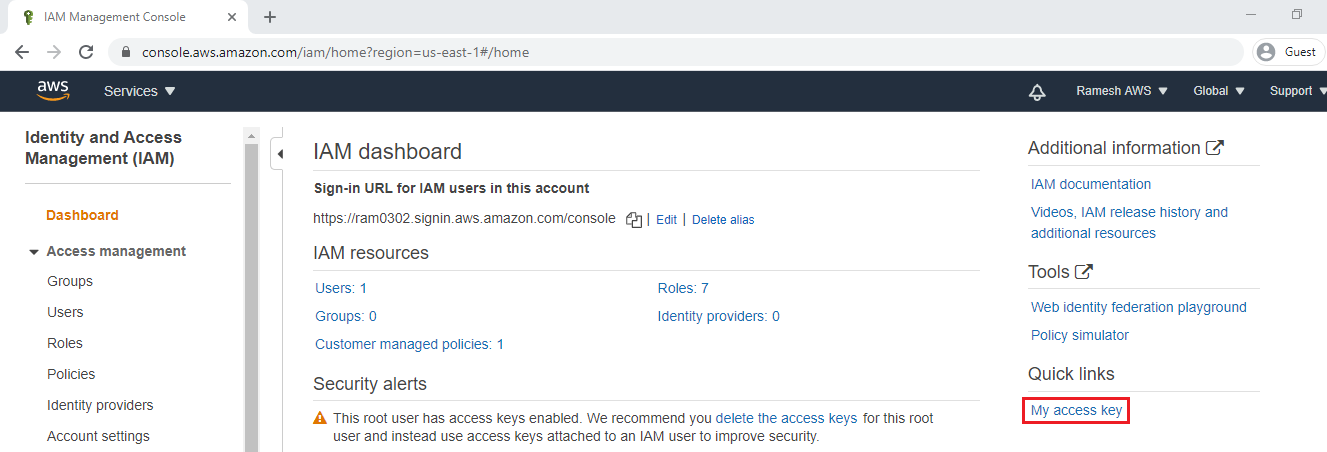
Go to IAM Dashborad,click on My access key.
Click on Create New Access Key.
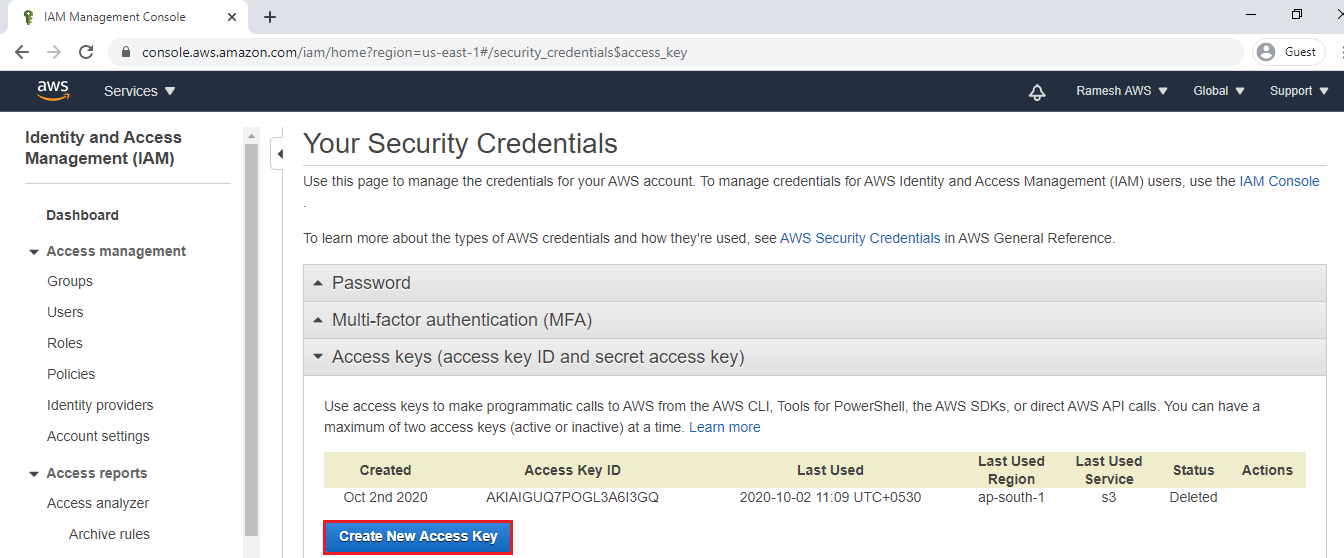
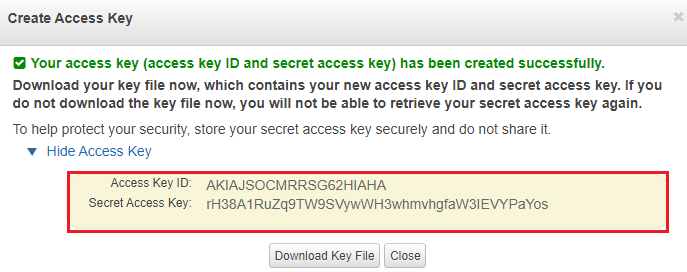
We can see the Generated Access Key ID and Secret Access Key.
These keys are necessary to access the CLI.
4. Configure AWS CLI by using Access Key ID and Secret Access Key
Verify the version of AWS CLI
|
1 2 3 |
C:\Users\user>aws --version aws-cli/1.18.151 Python/3.6.0 Windows/10 botocore/1.18.10 |
Specify required credentials, region and output format for connect to AWS CLI
|
1 2 3 4 5 |
C:\Users\user>aws configure AWS Access Key ID [None]: AKIAIGUQ7POGL3A6I3GQ AWS Secret Access Key [None]: 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 Default region name [None]: ap-south-1 Default output format [None]: table |
Verify S3 Buckets
|
1 2 |
C:\Users\user>aws s3 ls 2020-10-02 11:27:04 ktexpertsmigration |
Thank you for giving your valuable time to read the above information.
Follow us on
Website : www.ktexperts.com
Facebook Page : KTexperts
Linkedin Page : KT EXPERTS
Follow Me
Ramesh’s Linkedin : Ramesh Atchala