Virtual Machine Scale Sets in Azure
Azure Virtual Machine Sclae Sets (VMSS):
VMSS helps to create, maintain and deploy sets of identical VM’s that can be auto scaled based on demand or defined schedules.
Auto scaling:
Auto scaling is the process to implement the auto scale up or down the number of computer resources that are allotted to applications based on the needs at any given time.
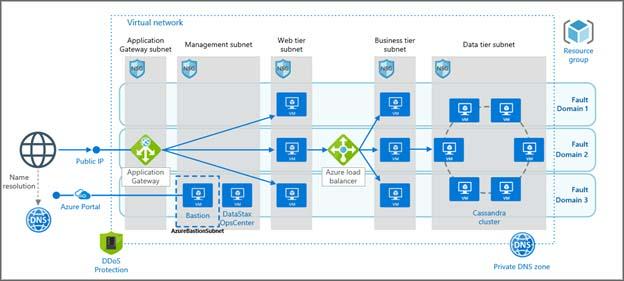
VMSS Architecture
Key Benefits of VMSS:
👉 VVMSS is used especially for unpredictable workloads by which it can auto scale the VM’s based on demand. This will help to ensure that your application will be responsible and available for the users during high traffic or increased activity.
👉 VMSS works at large scale Enterprises where an application runs many VMs and are distributed across multiple platforms.
👉 Scale sets provide built in Load balancing and flexible application availability. It can manage up to 1000 VMs. This will useful for big data and Container workloads.
👉 Lower costs up to 90% compared to pay-as-you-go rates.
Creation of VMSS:
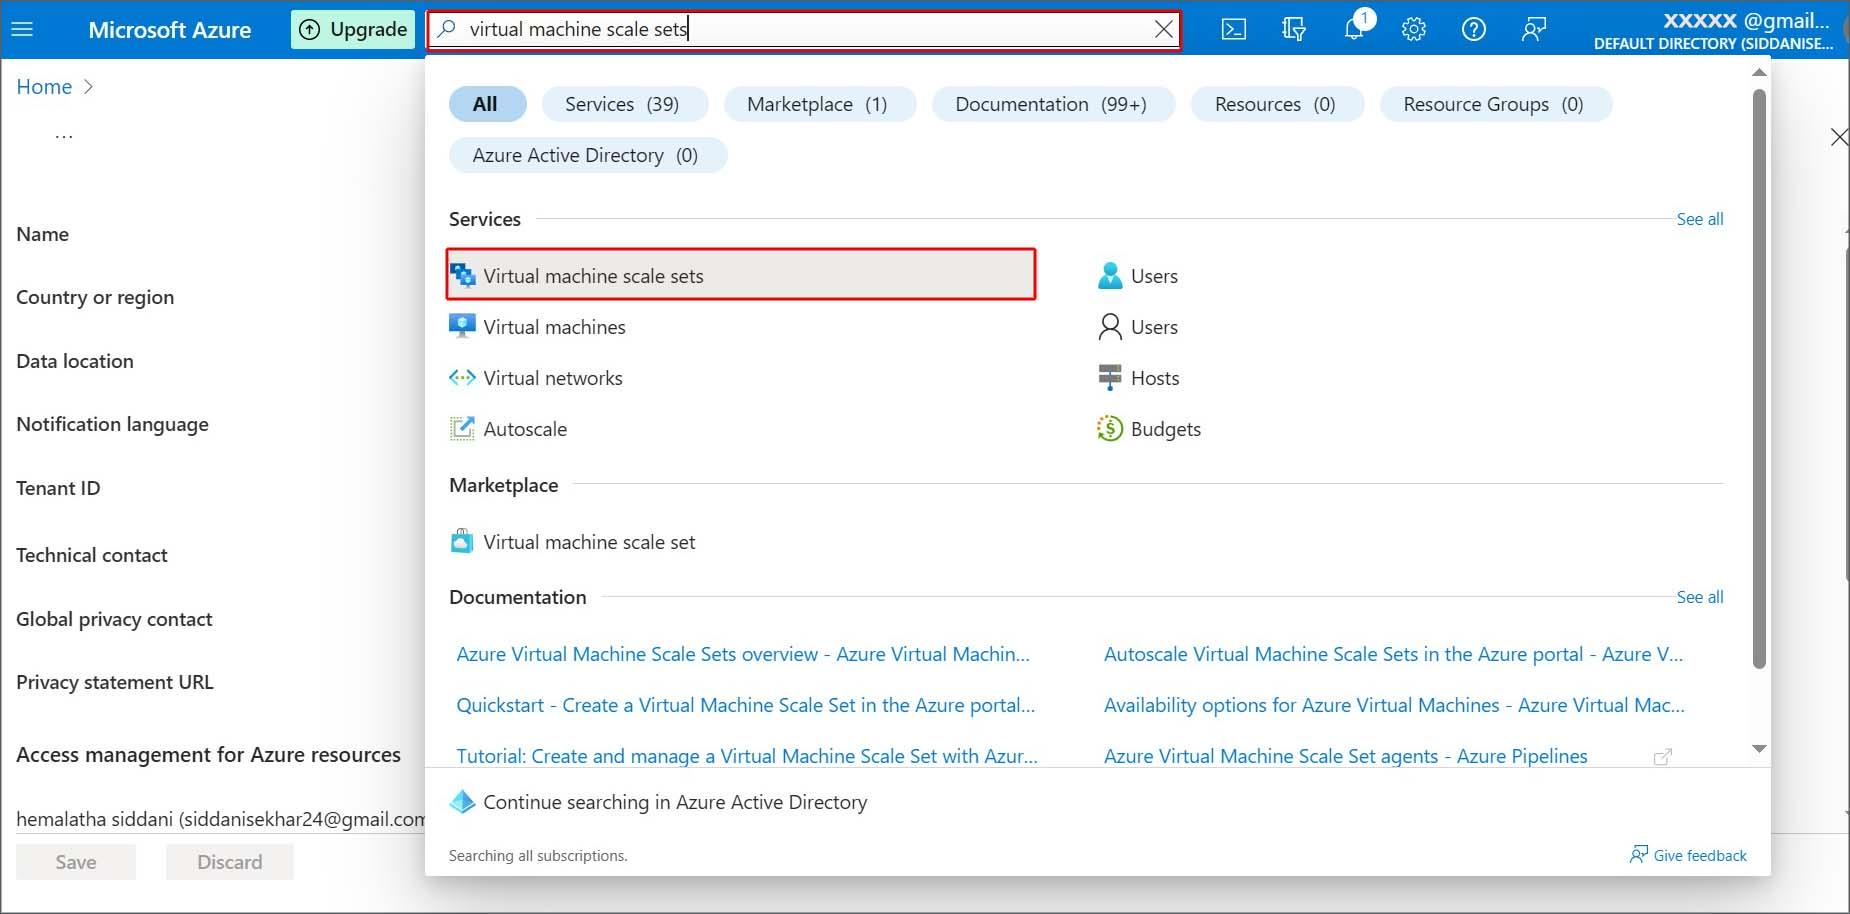
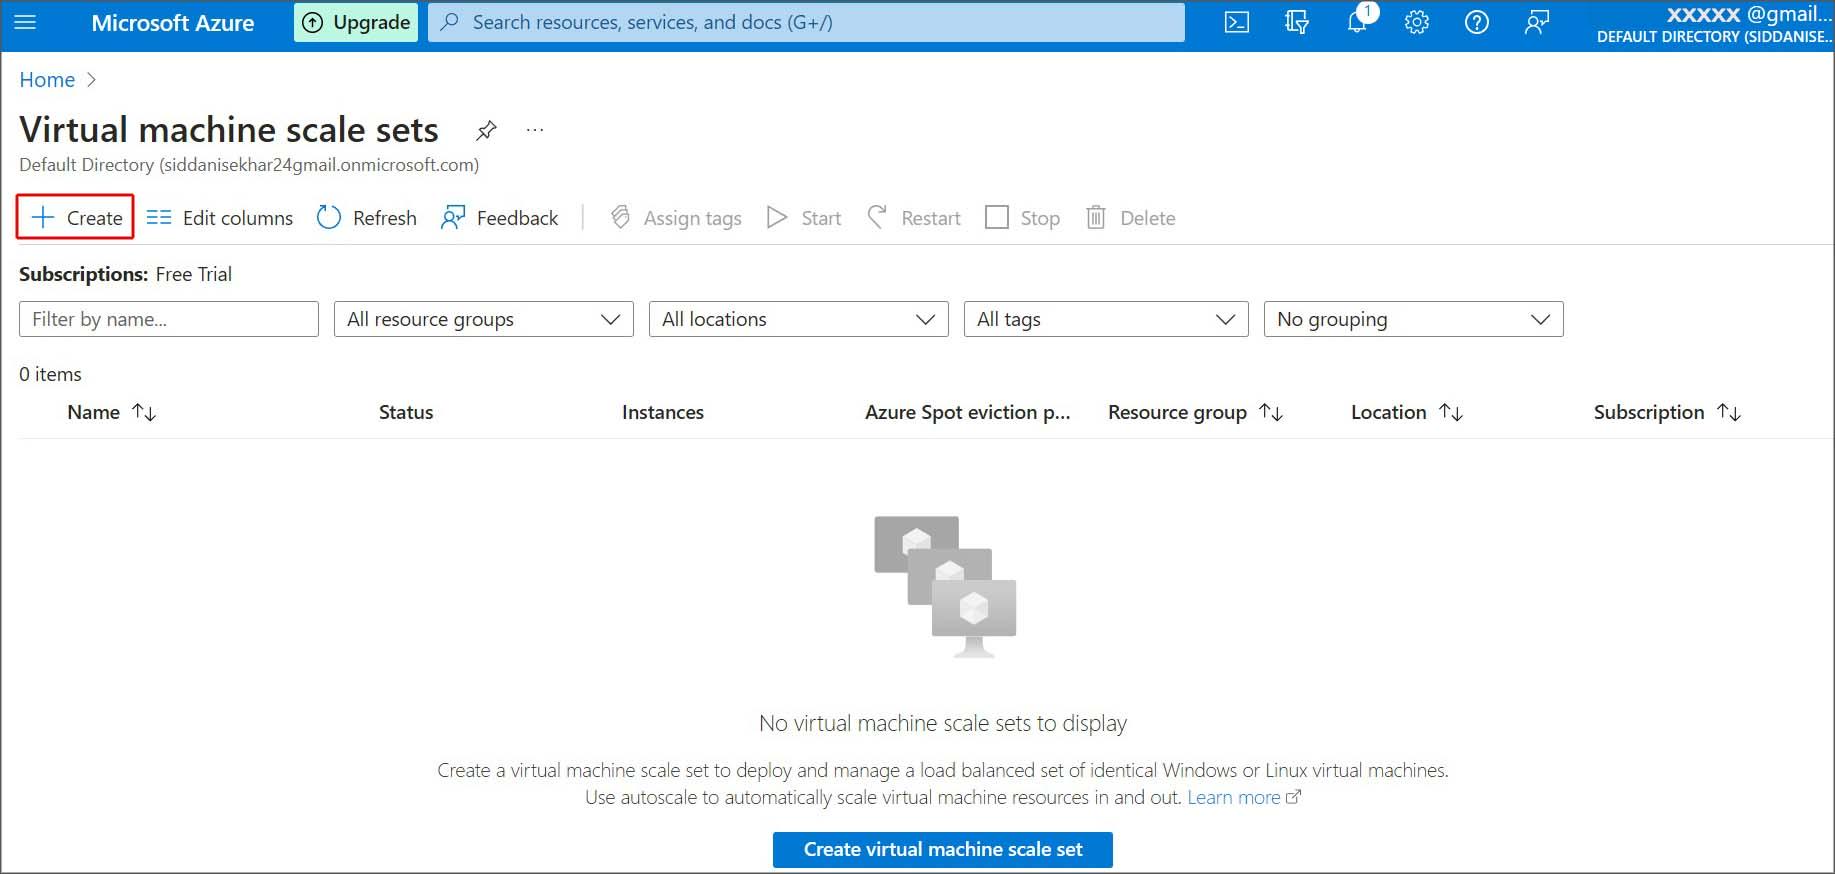
Step-1: Login into the Azure portal and search for Virtual machine scale sets in the search bar, then click on it.
Step-2: In the Virtual machine scale sets, click on the create-to-create new VMSS.
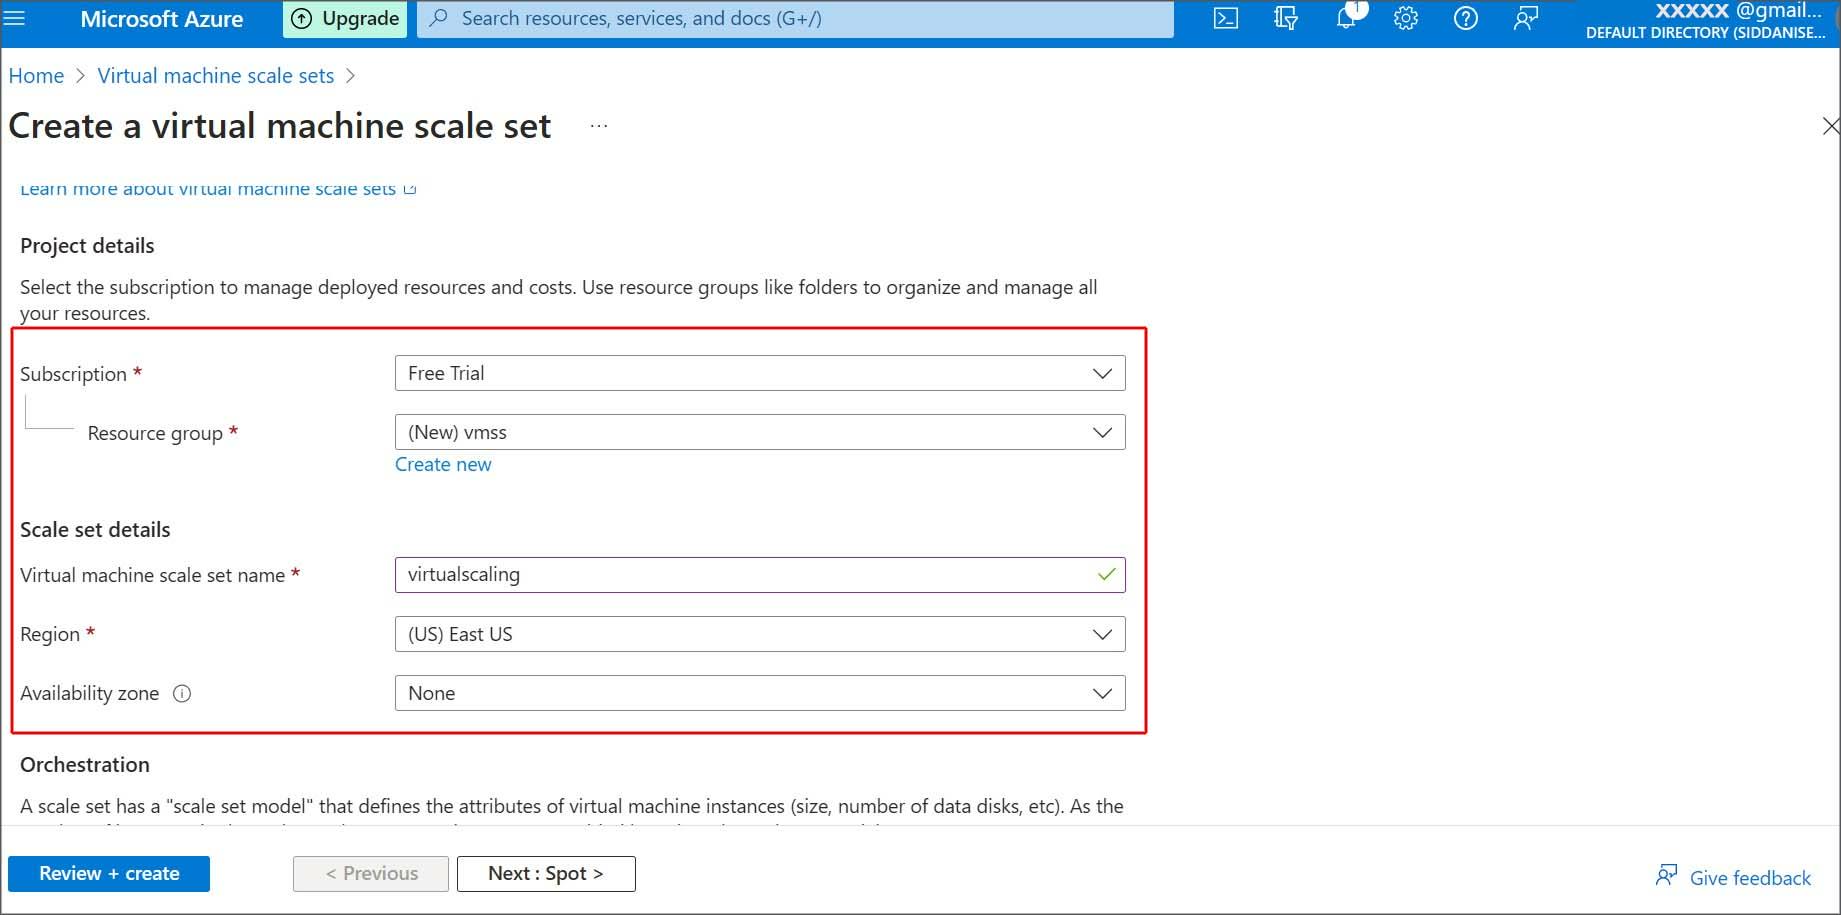
Step-3: Choose your Subscription and Resource group name. Provide the name for your VMSS and choose the region where you want to deploy.
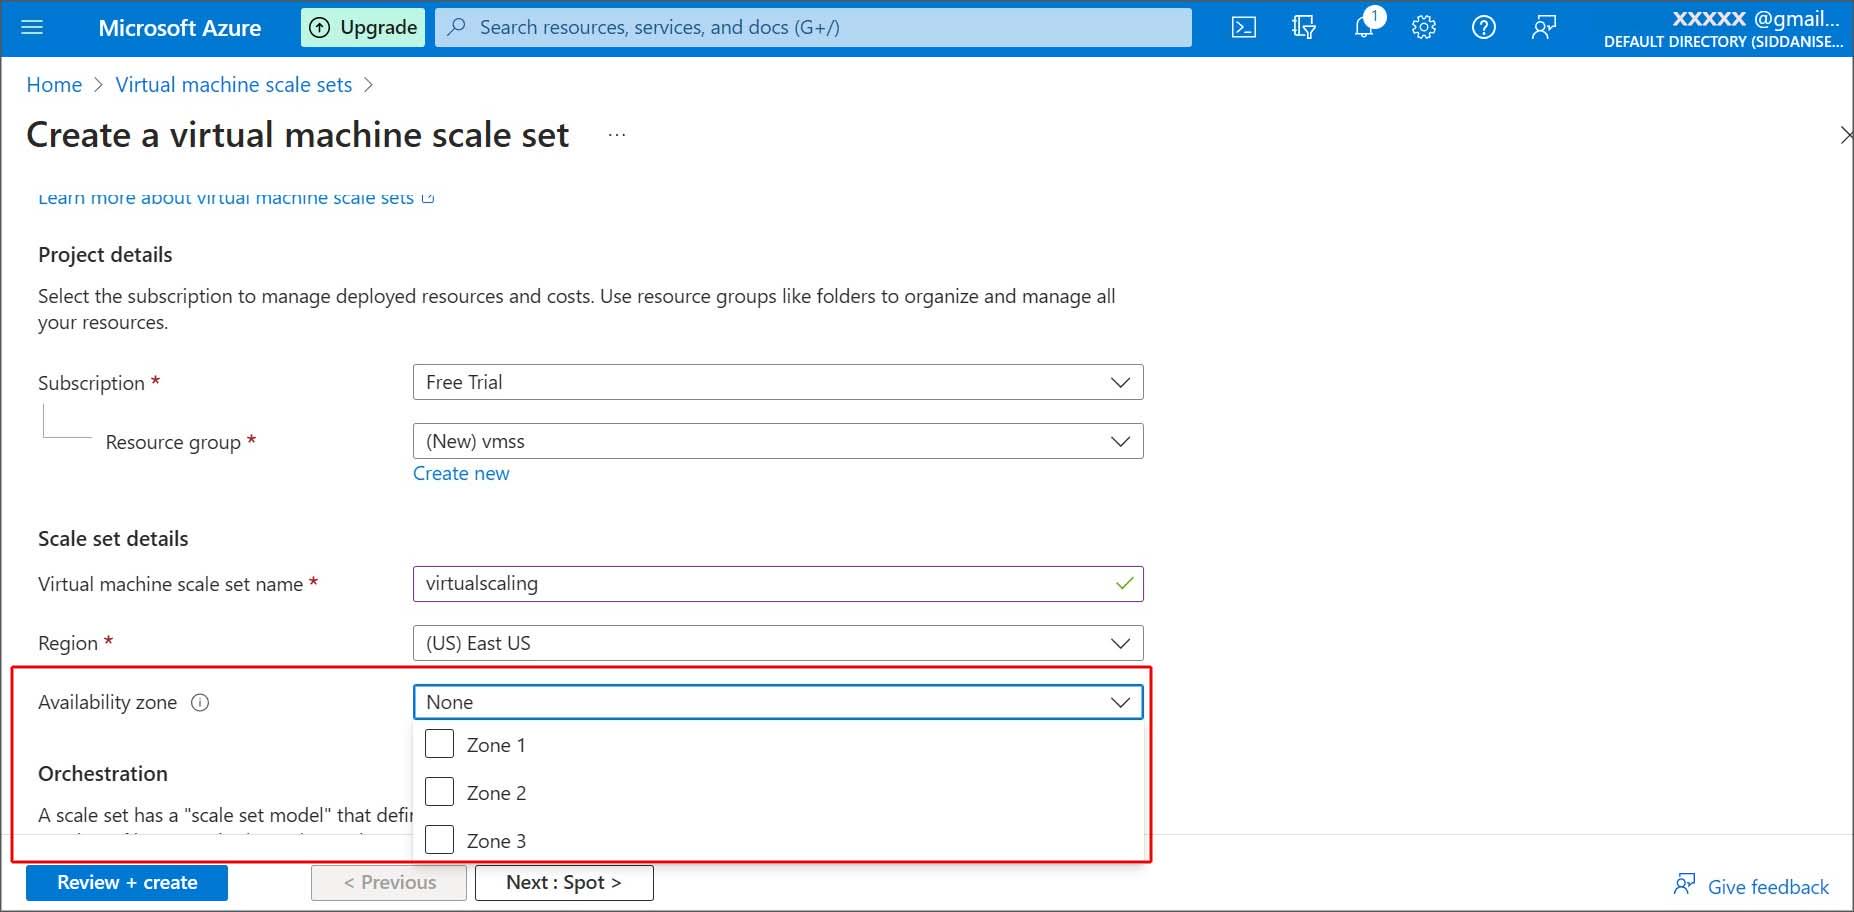
Availability zone: Choose the zones availability into which where VM’s are to be placed. This means if you select 2 zones, two VM’s are created in scale sets of 2 zones.
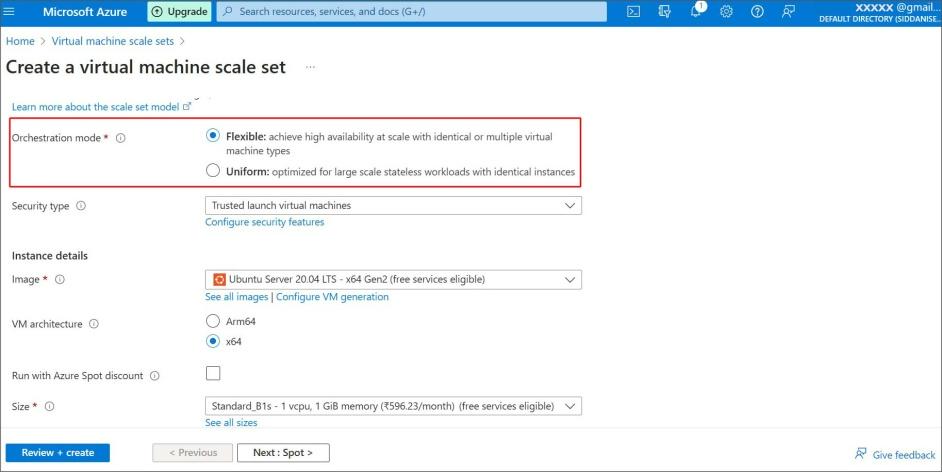
Orchestration mode: Azure provides Flexible and uniform mode in which.
👉 Flexible mode: In a fault domain region it offers up to 1000 VM’s. This will useful for scale out the fault domain regions
👉 Uniform mode: it will manage and customize individual VM’s.
Image: If you want to choose any predefined template of VM that you converted in to image click on see all images and choose from those images.
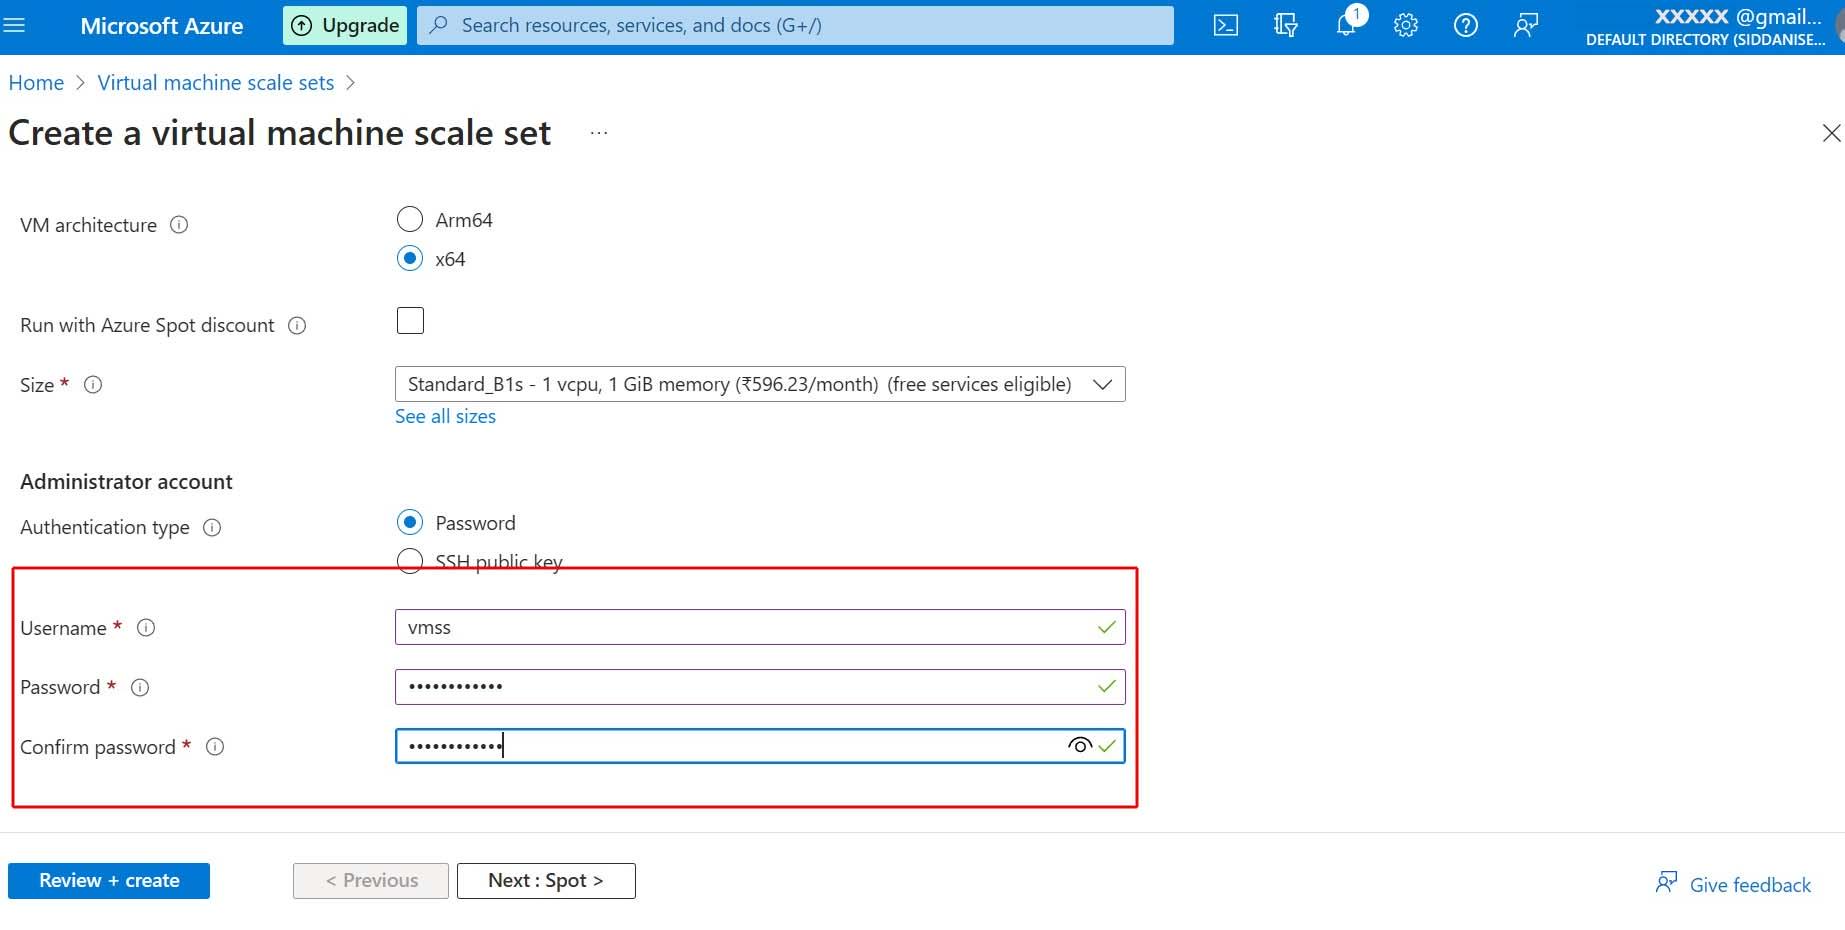
Step-4: Now provide the username and password details for the administrator account.
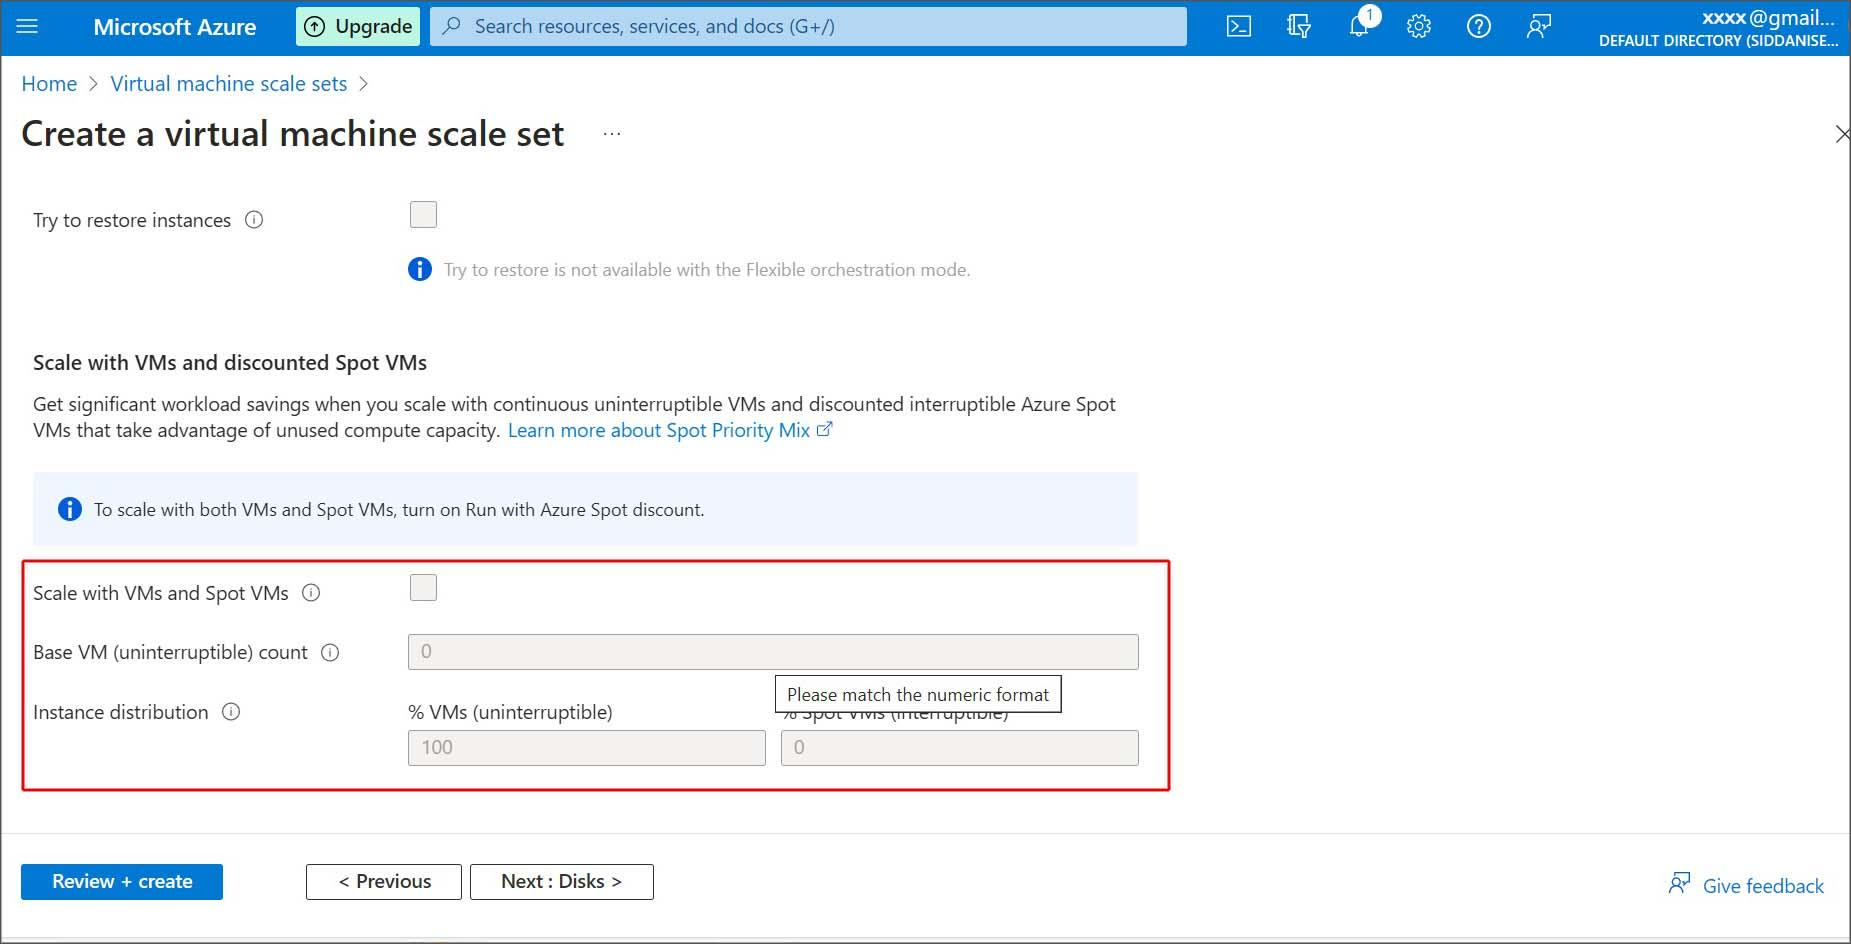
Step-5: Azure spot: This will offer a great cost benefit, generally it slows us to use unused capacity at very low price. In the Eviction type it will select by default. Eviction type is used whenever requirement back spot eviction it will be triggered for 30 sec timeouts.
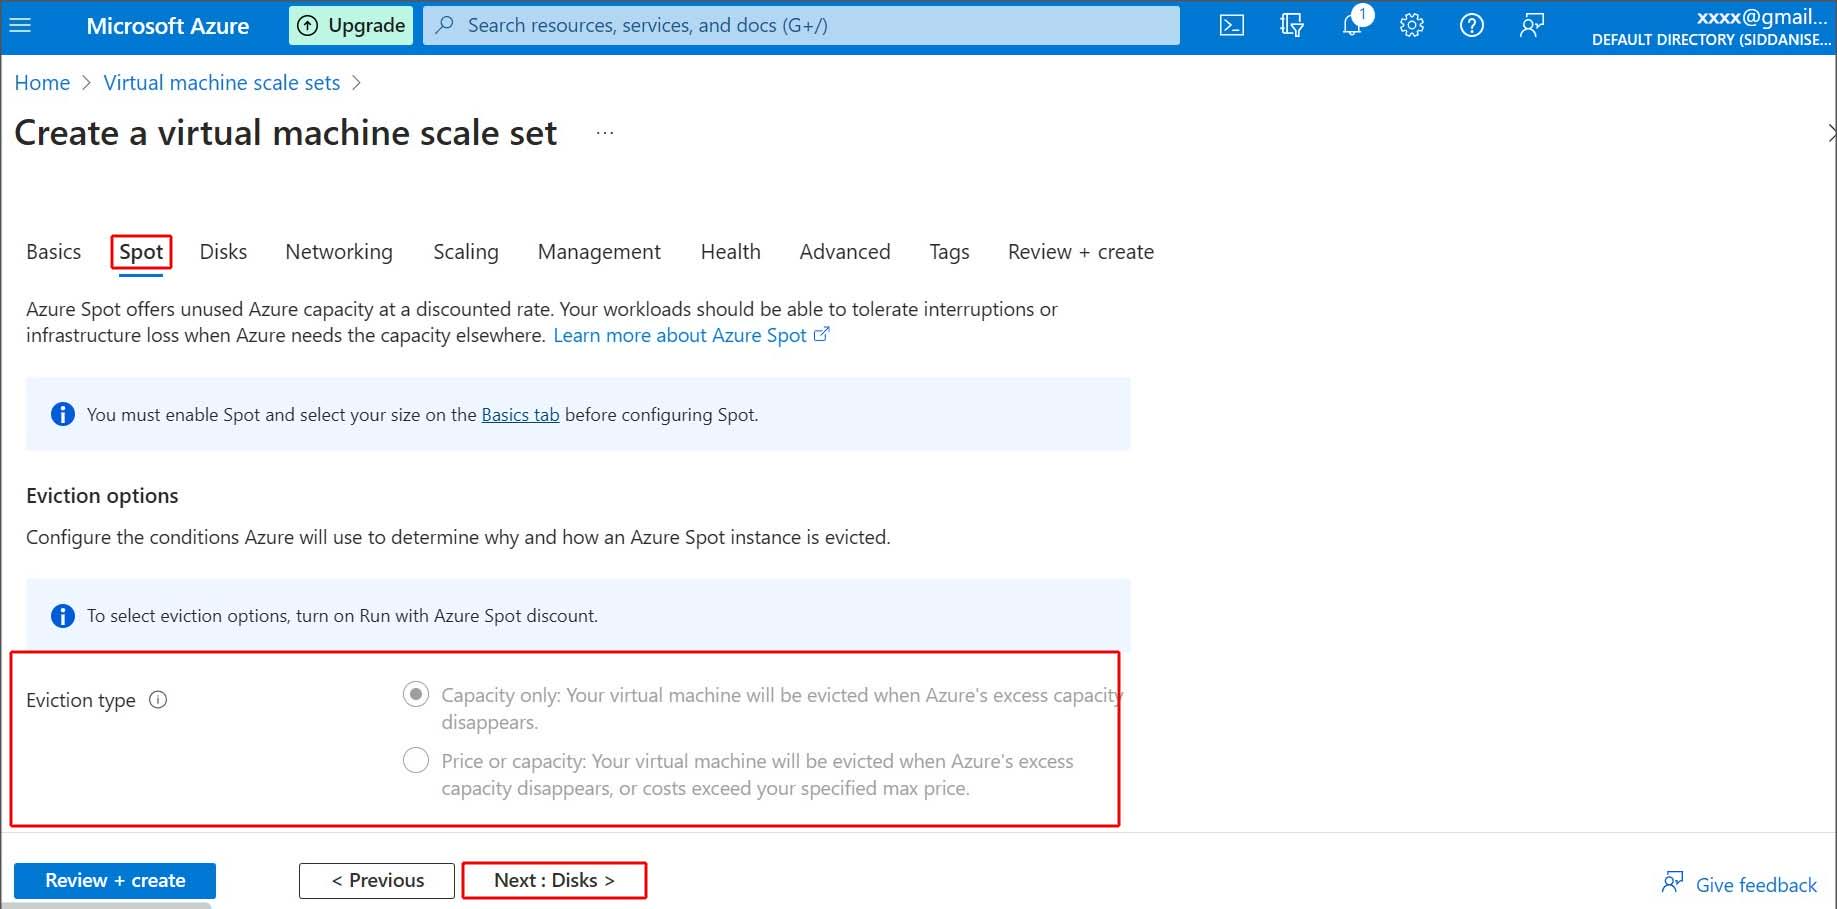
Spot VM’s will be useful for workloads, development/test environments, high computation workloads etc.
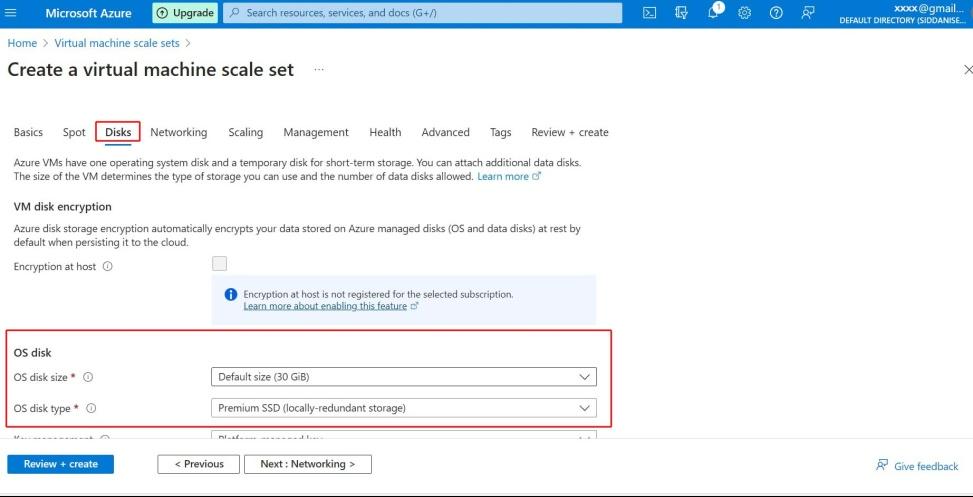
Step-6: In the Disks tab choose the OS disk size and type based on your requirement.
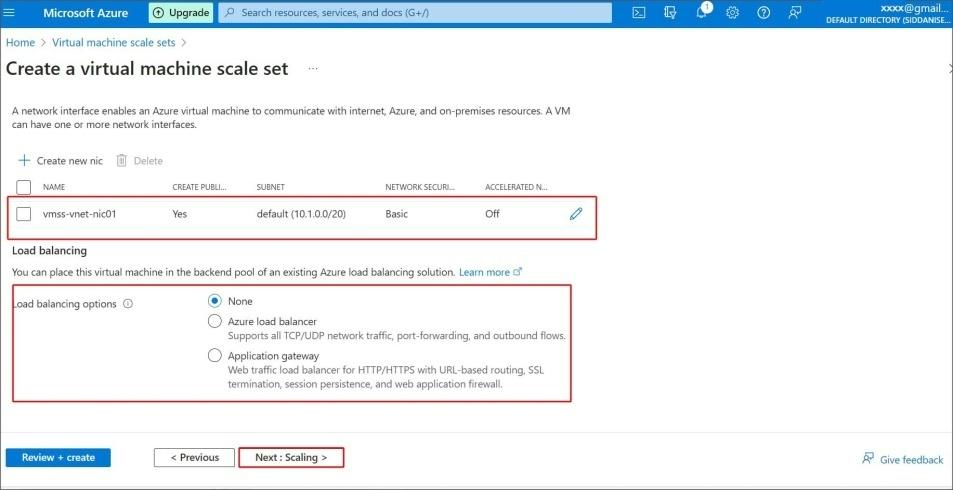
Step-7: In Networking In the virtual network configurations azure will take the default IP address and default virtual network.
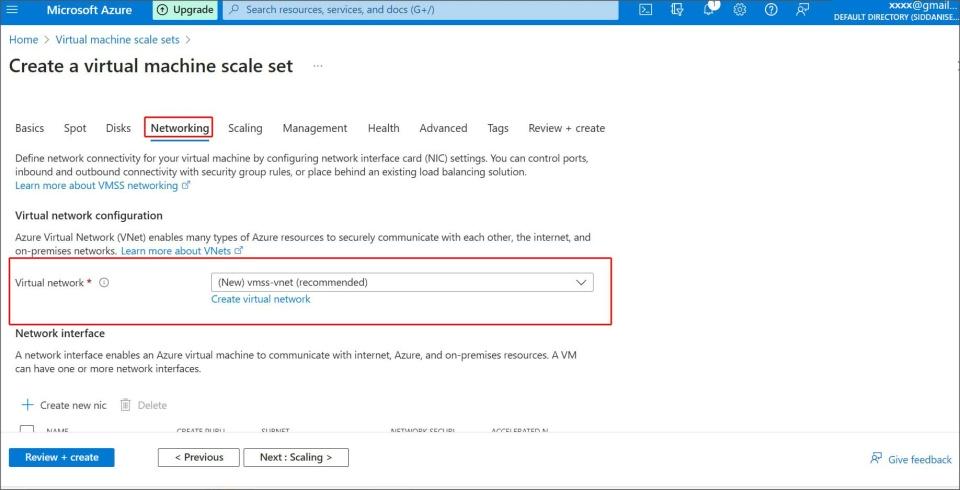
In Load balancing options you will see three options
1. None: It will select default load balancing option.
2. Azure Load balancer: Load balancer is used to distribute incoming traffic across backend virtual machines. It can manage service by itself.
3. Application Gateway: It is a web traffic load balancer is used to manage traffic to your web application.
Step-8: In Scaling here, we will specify the number of VM’s, this will give the scale count, and we can give up to 1000 VM’s.
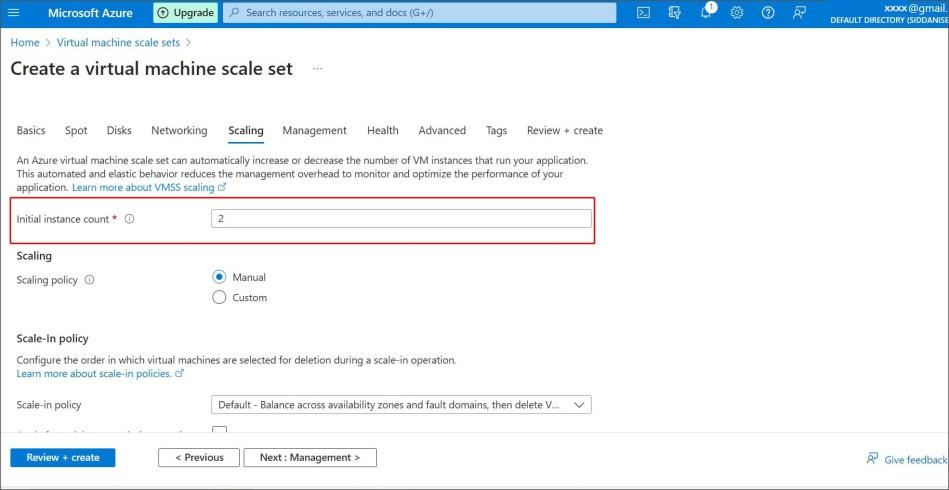
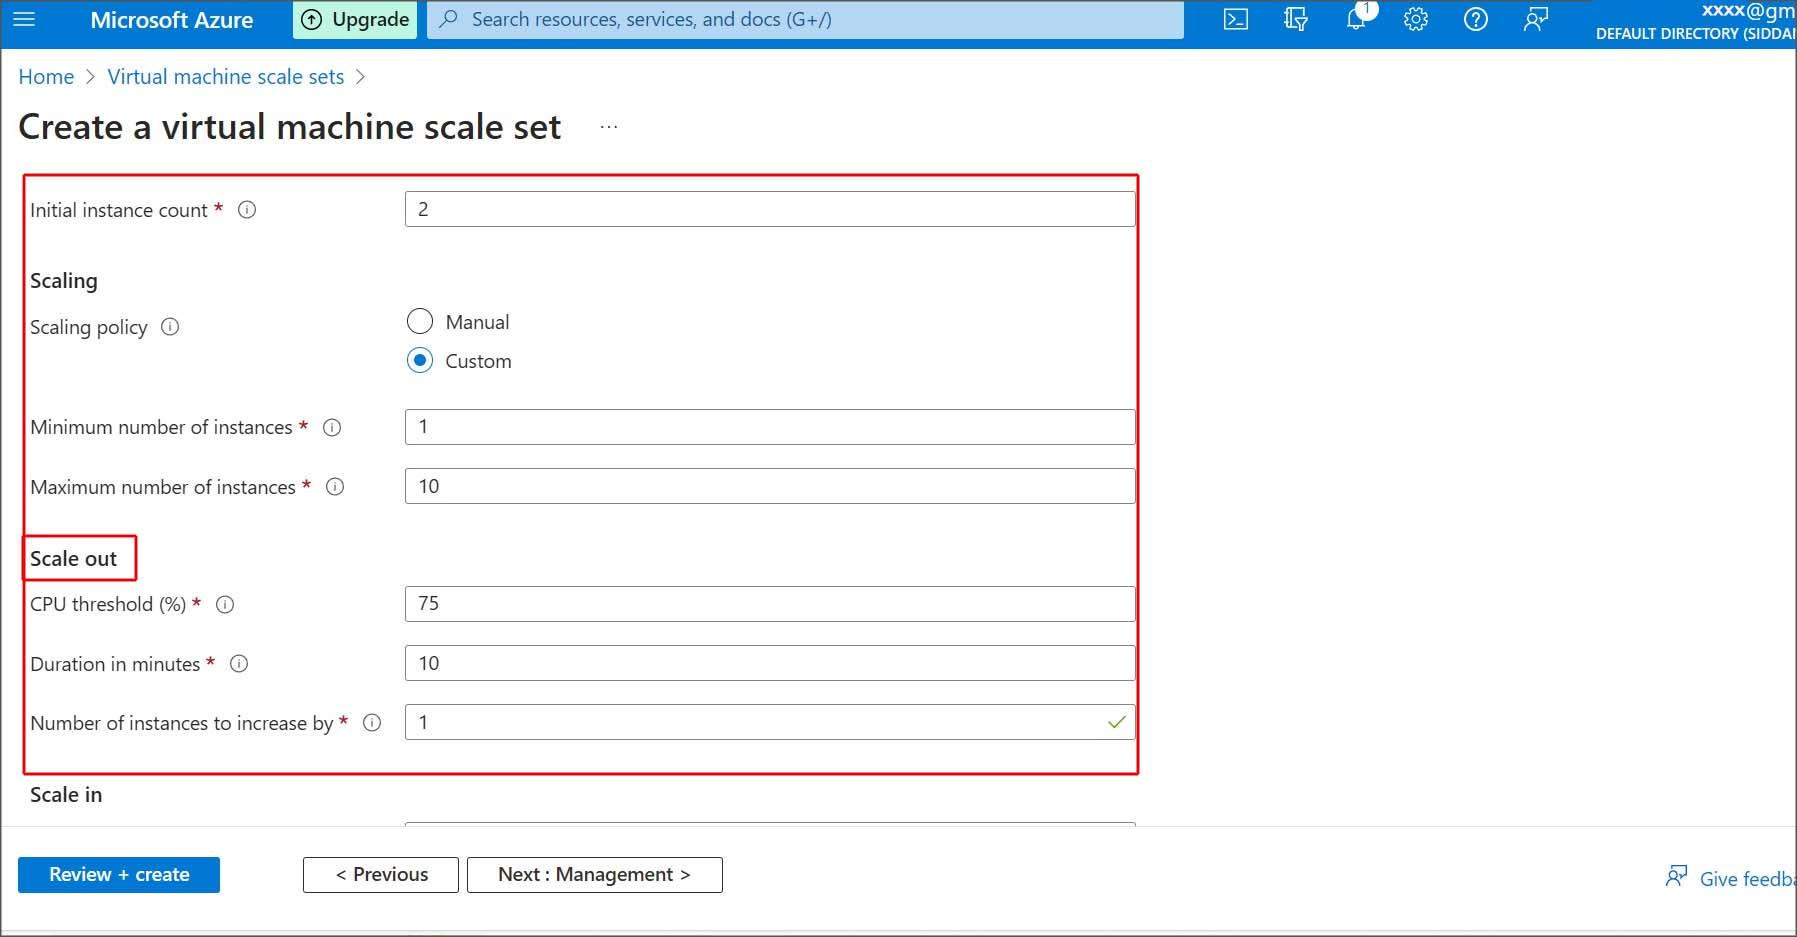
Here we can choose scale count manual or custom, this will specify the scale of virtual machines. And next is the Scale in and scale out.
👉 Scale in: Once the usage of CPU drops to 50% at an average time of 5min then scale in occurs which removes VM Instances from the scale set. It will improve optimize resource utilization by decrease the cost by deleting VM instances.
👉 Scale out: Once the usage of CPU increases to 80% at an average time of 5min then scale out occurs which add additional VM’s, when demand on workloads.
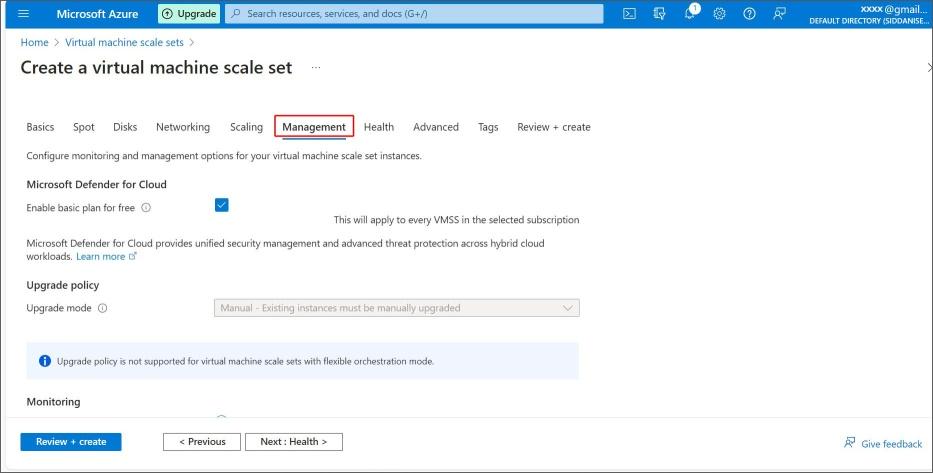
Step-9: Next Management tab, Azure will select it by default, in this it will protest against vulnerabilities in the cloud.
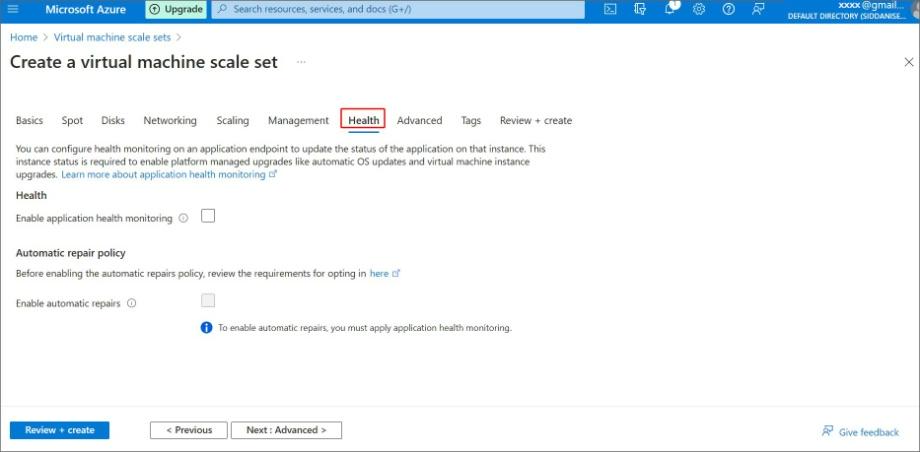
Step-10: In the Health tab it quickly identifies the troubleshooting issues that might affect the critical problems. It will auto repair the unhealthy instance VM’s and repair it automatically.
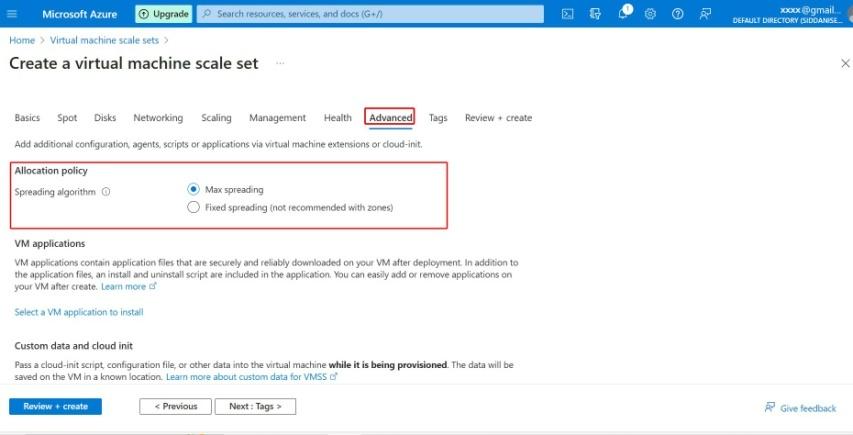
Step-11: In the Advanced tab Allocation policy by default, it was enabled with max spreading.
Max spreading: by using this scale sets spread across fault domains of VM’s. In each zone, the spreading cannot greater than 5 fault domains per zone.
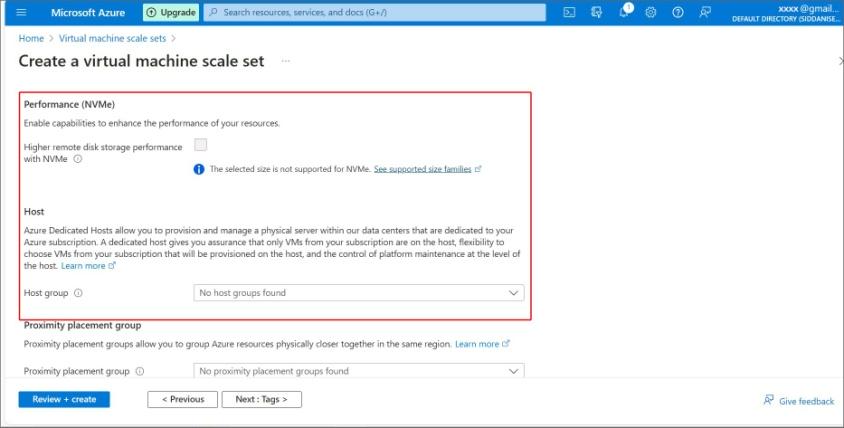
Performance NVMe will be disabled by default, to enhance the resources performance of physical servers of VM’s.
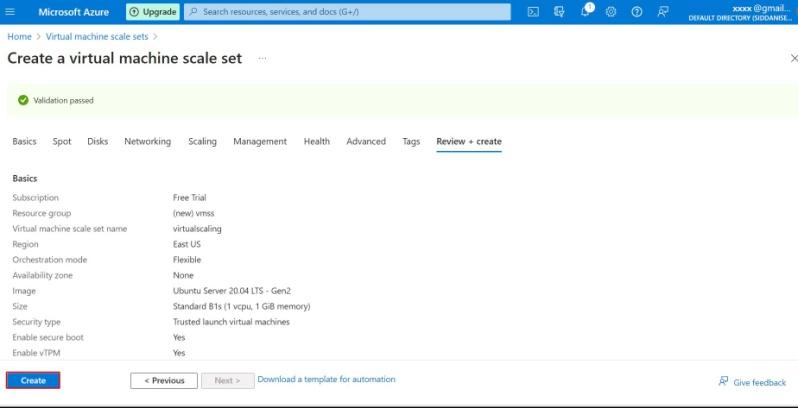
Step-12: Tags are the metadata elements for the Azure resources add the name and value if necessary or otherwise leave it default. Then click on Review and create.
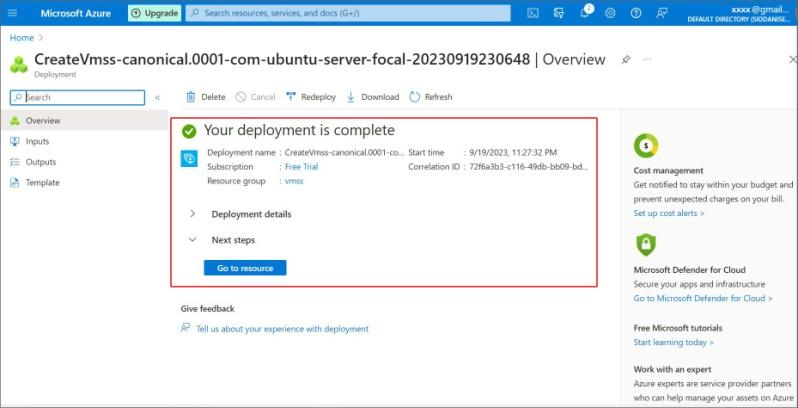
Step-13: When the deployment is complete, click on the resource tab, it will take you to VMSS overview.
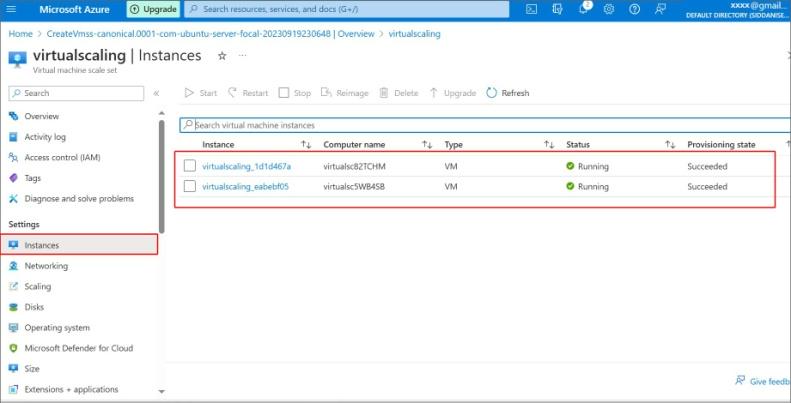
Step-14: In the Virtual scaling go to Instances you can see 2 instances in scaling policy has created successfully.
Author : Chandra Shekar |
LinkedIn : https://www.linkedin.com/in/chandra-sekhar-4488435/
Thank you for giving your valuable time to read the above information. Please click here to subscribe for further updates.
KTExperts is always active on social media platforms.
Facebook : https://www.facebook.com/ktexperts/
LinkedIn : https://www.linkedin.com/company/ktexperts/
Twitter : https://twitter.com/ktexpertsadmin
YouTube : https://www.youtube.com/c/ktexperts
Instagram : https://www.instagram.com/knowledgesharingplatform
Note: Please test scripts in Non Prod before trying in Production.