
Dear Readers,
In this article,we will see Push Commits from Local Repository to Central Repository

Implementation Steps
- Create GitHub Account.
- Create Central Repository in GitHub Account.
- Create a new directory and Initialize as Git Local Repository.
- Create a new file and put some content in workspace.
- Adding file to Staging Area.
- Commit the file into Local Repository.
- Connect your Local Repository to Central Repository (GitHub).
- Create a new directory and Initialize as Git Local Repository.
- Push Commits to Central Repository.
- Verify files in Central Repository.
- Add Content to an existing file.
- Adding file to Staging Area.
- Commit the file into Local Repository.
- Push Commits to Central Repository.
- Verify files/commits in Central Repository.
Step 1 :
Create a GitHub Account
Check below link to create GitHub Account.
Step 2 :
Create an Central Repository in GitHub Account
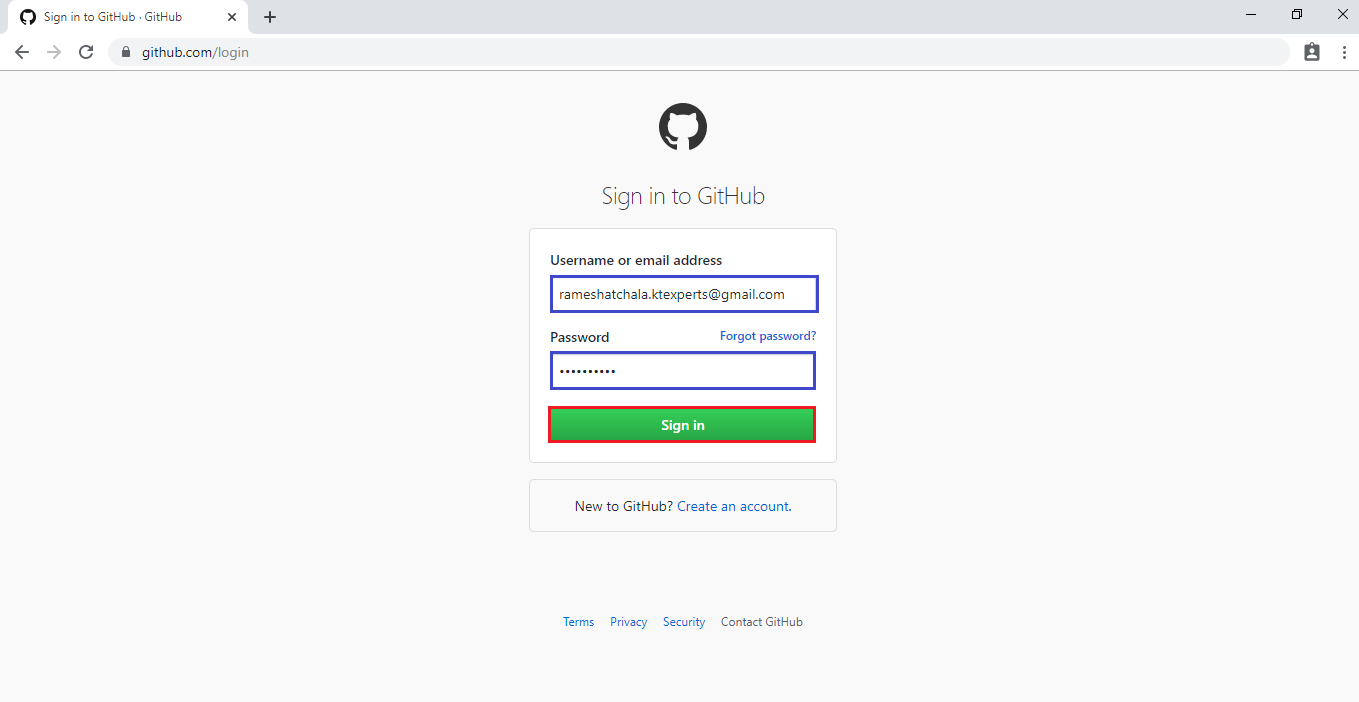
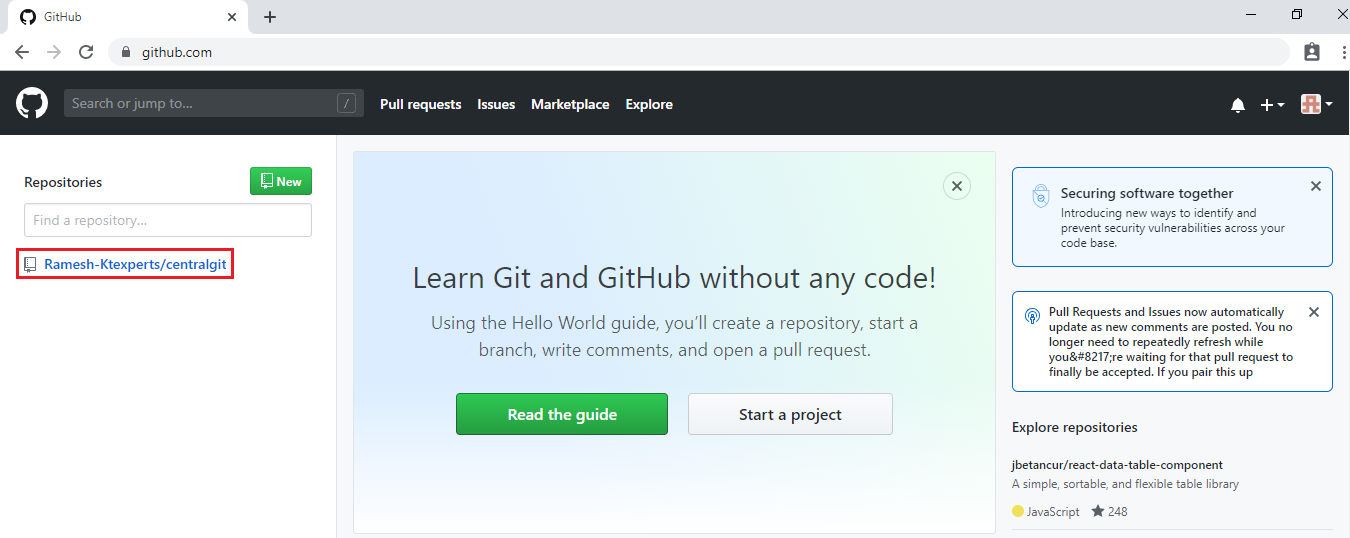
Logging to GitHub Account
Provide username and password and click on Sign in.
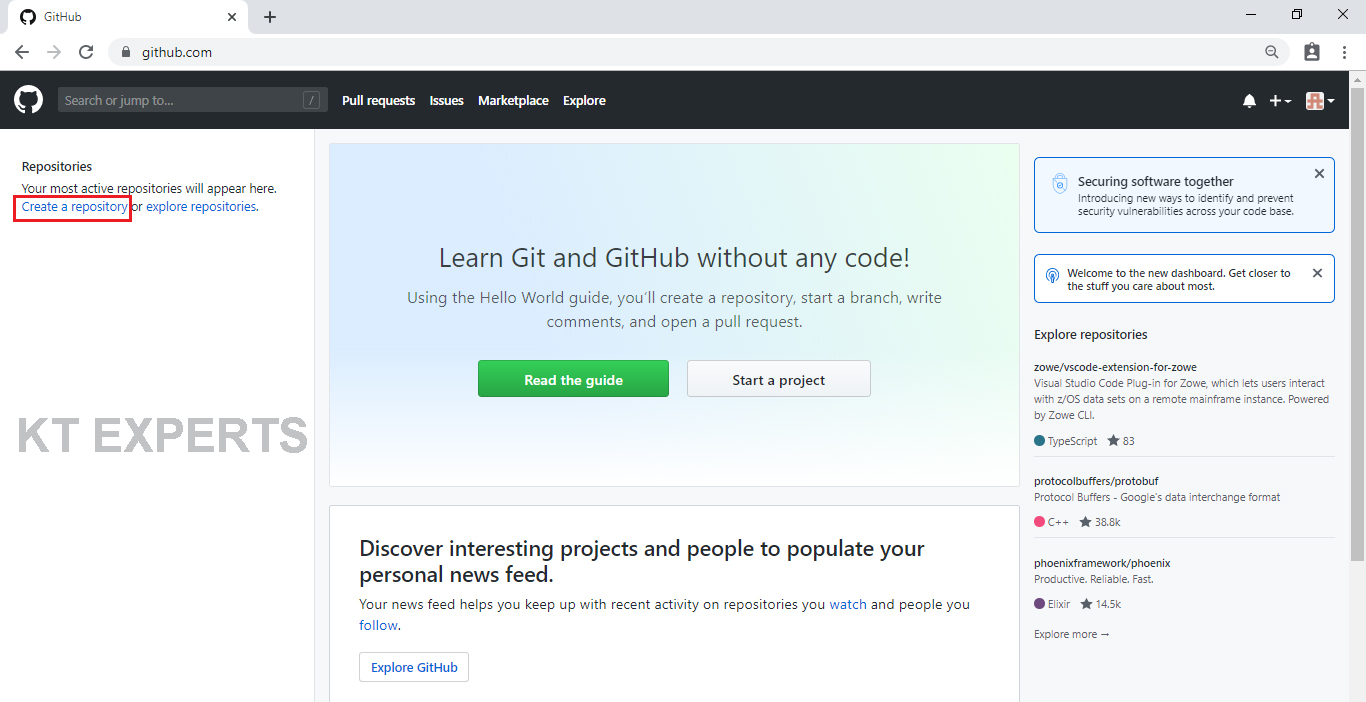
Click on Create a repository.
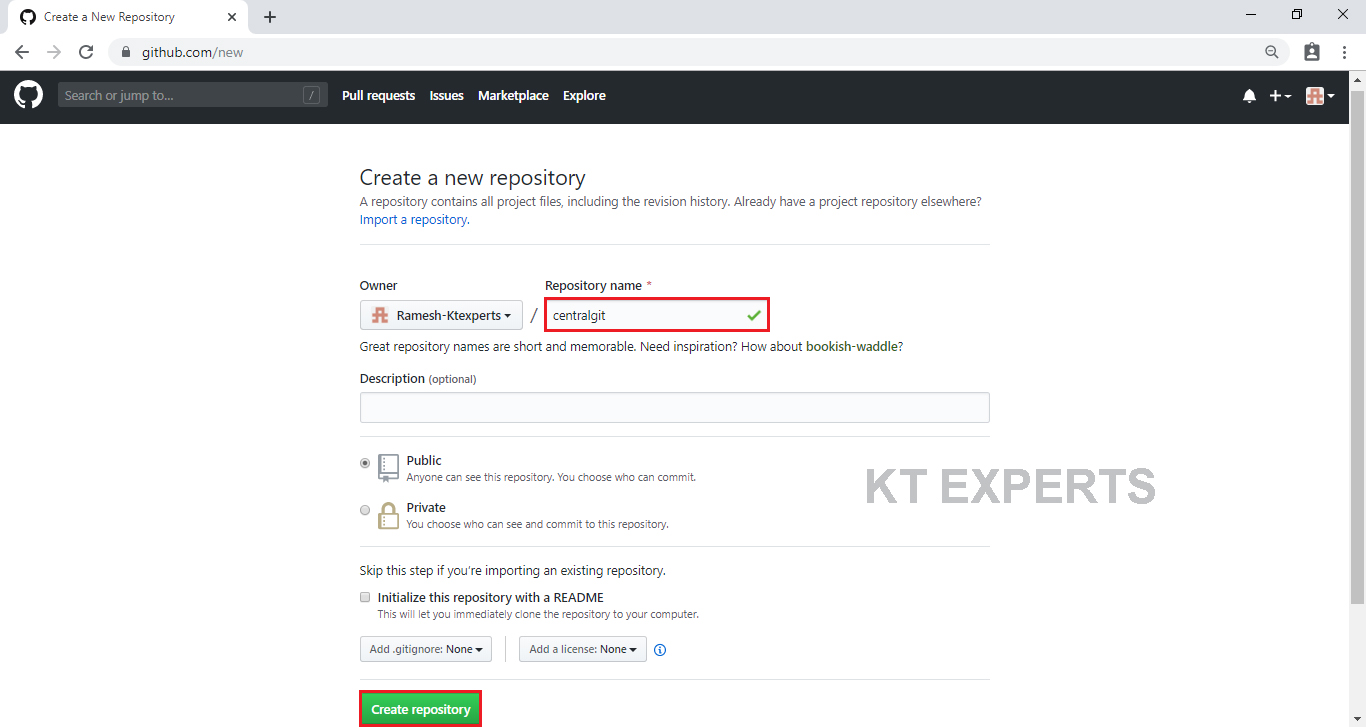
Specify Repository name “centralgit” and click on create repository.
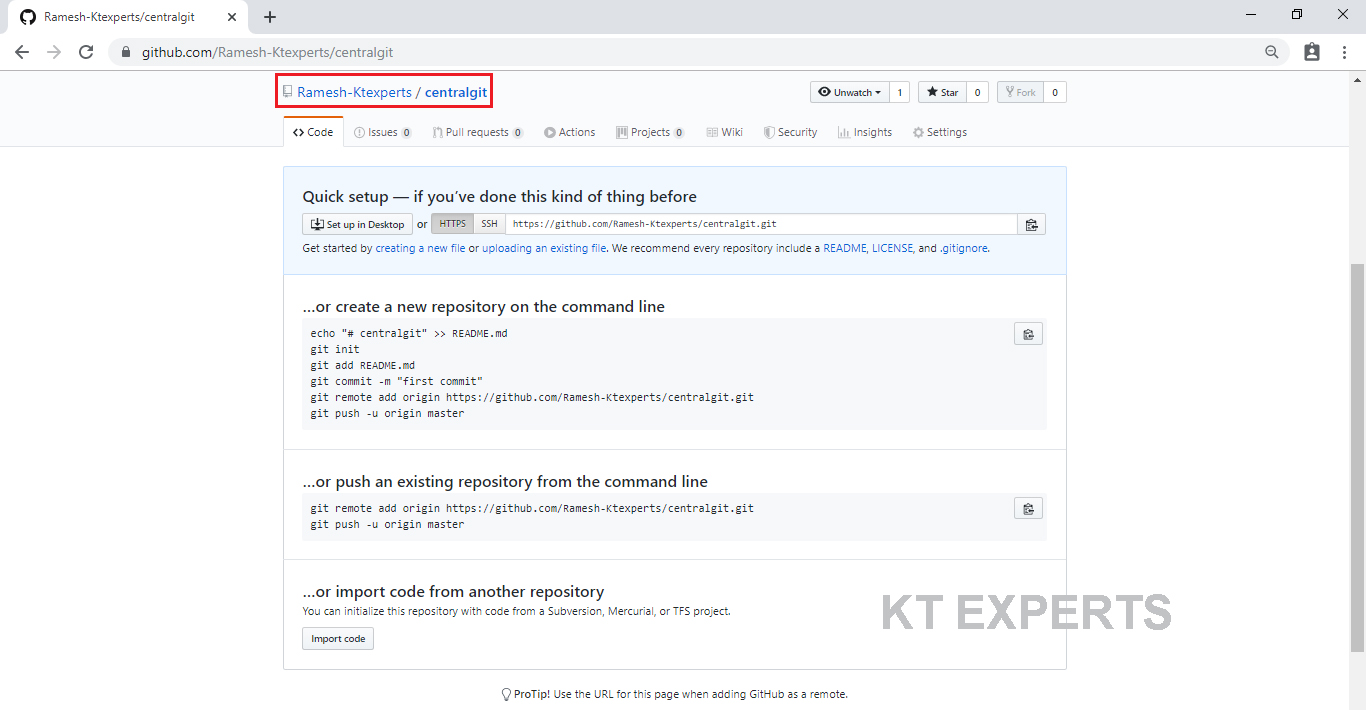
The Repository “Ramesh-ktexperts/centralgit” has been created successfully.
Step 3 :
Create a new directory and Initialize as Git Local Repository
Create a new Directory “mumbaigit”
|
1 2 3 |
[root@ip-172-31-43-80 ec2-user]# mkdir mumbaigit [root@ip-172-31-43-80 ec2-user]# ls mumbaigit |
Go inside the directory “mumbaigit” and initialize git repository
|
1 2 3 4 5 |
[root@ip-172-31-43-80 ec2-user]# cd mumbaigit/ [root@ip-172-31-43-80 mumbaigit]# pwd /home/ec2-user/mumbaigit [root@ip-172-31-43-80 mumbaigit]# git init Initialized empty Git repository in /home/ec2-user/mumbaigit/.git/ |
To see the local repository
.git is the local repository.
By default,it will be hidden.(shouldn’t deleted)
Commits will be store in local repository (.git)
|
1 2 |
[root@ip-172-31-43-80 mumbaigit]# ls -a . .. .git |
Step 4 :
Create a new file and put some content in workspace
Create a new file and put some content
|
1 2 3 4 5 |
[root@ip-172-31-43-80 mumbaigit]# vi myfile [root@ip-172-31-43-80 mumbaigit]# ls myfile [root@ip-172-31-43-80 mumbaigit]# cat myfile first line from mumbai |
To see the status of git
|
1 2 3 4 5 6 7 8 9 10 11 |
[root@ip-172-31-43-80 mumbaigit]# git status On branch master No commits yet Untracked files: (use "git add <file>..." to include in what will be committed) myfile nothing added to commit but untracked files present (use "git add" to track) |
Note
we have seen the untraced file(newfile) i.e,is in red colour.
wherever you create/modify files i.e,work space.
Staging area is virtual,we can’t see the staging area.
Step 5 :
Adding file to Staging Area
Add
We should add the file to staging area.
Send file from Workspace to Staging Area.
|
1 |
[root@ip-172-31-43-80 mumbaigit]# git add . |
To see the status of git
|
1 2 3 4 5 6 7 8 9 |
[root@ip-172-31-43-80 mumbaigit]# git status On branch master No commits yet Changes to be committed: (use "git rm --cached <file>..." to unstage) new file: myfile |
Note
The file has been sent to staging area.
The staging area responsible to take snapshot of file.
Here,we can see the file is in green colour.
It means the staging area has taken the snapshot of file automatically.
Step 6 :
Commit the file into Local Repository
Commit
We need to commit the file then only the file will come from staging area to Local Repository.
|
1 2 3 4 |
[root@ip-172-31-43-80 mumbaigit]# git commit -m "1st commit from mumbai" [master (root-commit) cbb38f2] 1st commit from mumbai 1 file changed, 1 insertion(+) create mode 100644 myfile |
Note
The file has been committed successfully.
we can see 1 file has changed (we have file) and 1 insertion(+)(kept one line inside the file).
Now,the file is in Local repository in the form of commit.
To see all the list of commits
|
1 2 3 4 5 6 |
[root@ip-172-31-43-80 mumbaigit]# git log commit cbb38f20f70e7443eea2c3daa54fb7ae7f264873 (HEAD -> master) Author: Ram <ram.ktexperts@gmail.com> Date: Fri Dec 13 17:34:33 2019 +0000 1st commit from mumbai |
Note
we can see commit id,it has 41 alphanumeric characters.
Commit will contains name,email,date,month,time and including year.
we can see the message which was you given.
To see the data of commit id
|
1 2 3 4 5 6 7 8 9 10 11 12 13 14 |
[root@ip-172-31-43-80 mumbaigit]# git show cbb38f20f70e7443eea2c3daa54fb7ae7f264873 commit cbb38f20f70e7443eea2c3daa54fb7ae7f264873 (HEAD -> master) Author: Ram <ram.ktexperts@gmail.com> Date: Fri Dec 13 17:34:33 2019 +0000 1st commit from mumbai diff --git a/myfile b/myfile new file mode 100644 index 0000000..867fc66 --- /dev/null +++ b/myfile @@ -0,0 +1 @@ +first line from mumbai |
or
Note
We can give whole commit id or give first seven characters from commit id.
We have to give minimum seven characters.
|
1 2 3 4 5 6 7 8 9 10 11 12 13 14 |
[root@ip-172-31-43-80 mumbaigit]# git show cbb38f2 commit cbb38f20f70e7443eea2c3daa54fb7ae7f264873 (HEAD -> master) Author: Ram <ram.ktexperts@gmail.com> Date: Fri Dec 13 17:34:33 2019 +0000 1st commit from mumbai diff --git a/myfile b/myfile new file mode 100644 index 0000000..867fc66 --- /dev/null +++ b/myfile @@ -0,0 +1 @@ +first line from mumbai |
Step 7 :
Connect your Local Repository to Central Repository (GitHub)
Go inside GitHub and open your Central Repository.
Copy the below command and paste in mumbaigit.
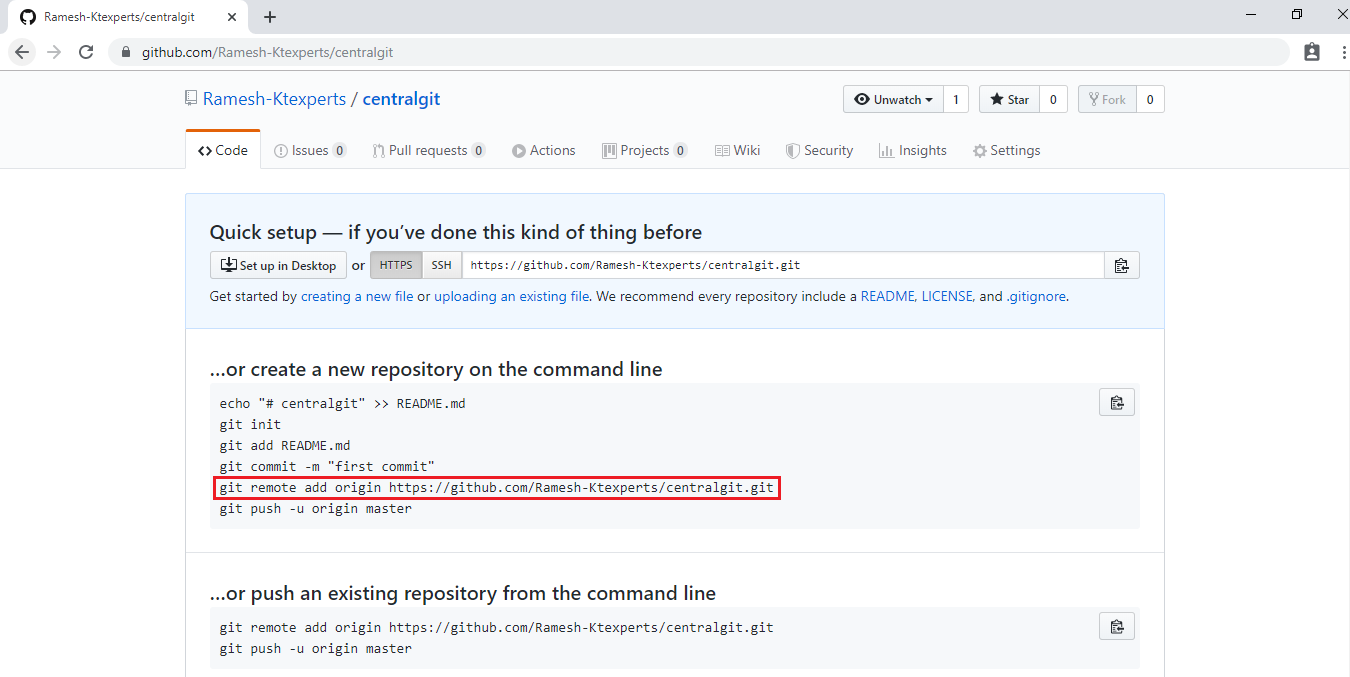
When you add the central repository address will be stored in Local Repository.
|
1 |
[root@ip-172-31-43-80 mumbaigit]# git remote add origin https://github.com/Ramesh-Ktexperts/centralgit.git |
Step 8 :
Push Commits to Central Repository
Origin represents central repository URL.
Master (pushing to master branch).
here -u is not mandatory.
|
1 2 3 4 5 6 7 8 9 |
[root@ip-172-31-43-80 mumbaigit]# git push -u origin master Username for 'https://github.com': rameshatchala.ktexperts@gmail.com Password for 'https://rameshatchala.ktexperts@gmail.com@github.com': Counting objects: 3, done. Writing objects: 100% (3/3), 244 bytes | 244.00 KiB/s, done. Total 3 (delta 0), reused 0 (delta 0) To https://github.com/Ramesh-Ktexperts/centralgit.git * [new branch] master -> master Branch 'master' set up to track remote branch 'master' from 'origin'. |
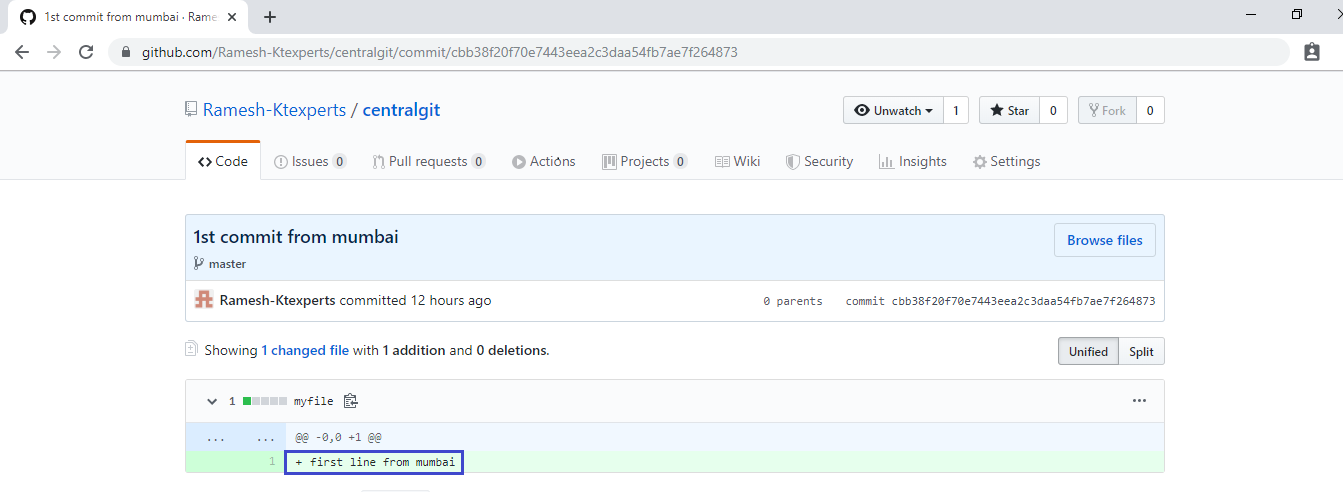
Step 9 :
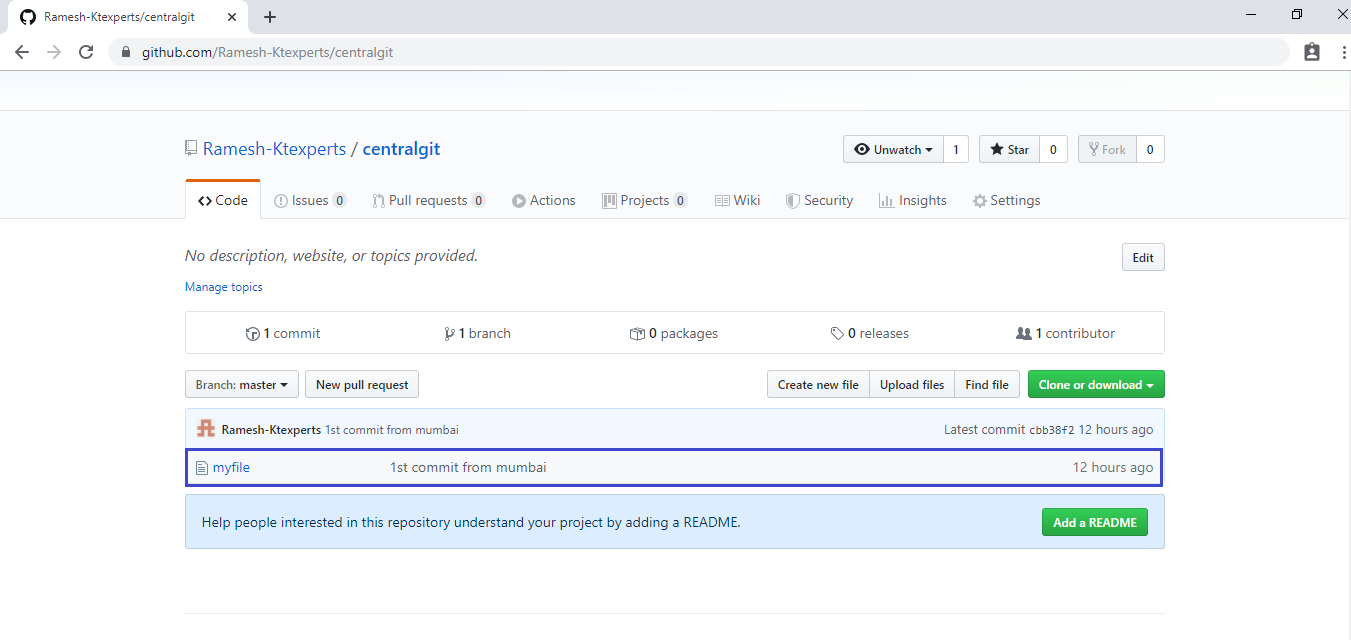
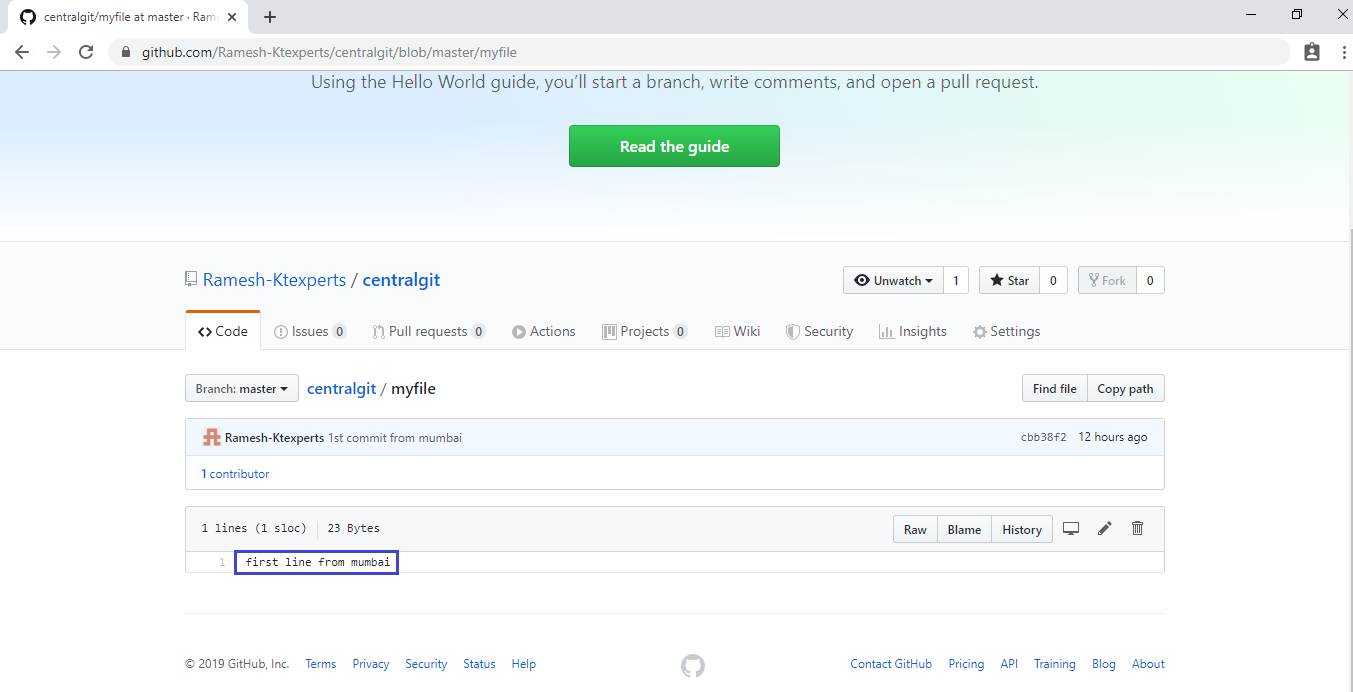
Verify files in Central Repository
Go inside your GitHub and hit refresh of your browser.
we can see file and commit message.
To check data of the file
Click on myfile to open.
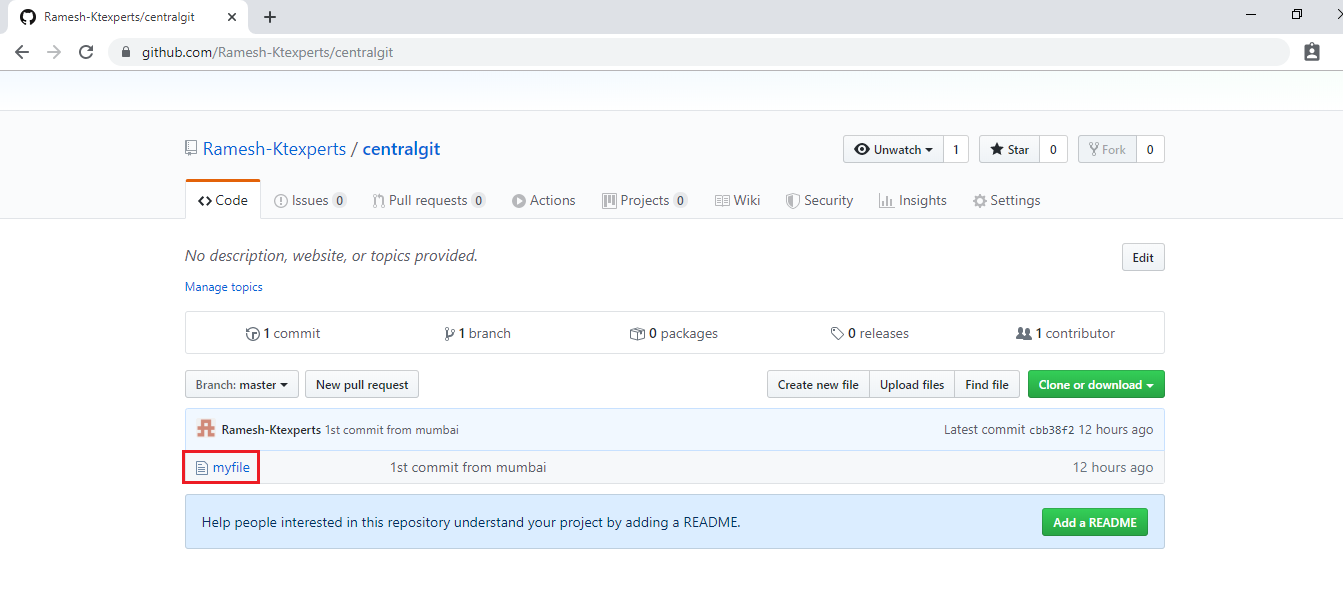
We can the data “first line from mumbai” of file.
Step 10 :
Add Content to an existing file
Using vi Command
|
1 2 3 4 |
[root@ip-172-31-43-80 mumbaigit]# vi myfile [root@ip-172-31-43-80 mumbaigit]# cat myfile first line from mumbai second line from mumbai |
To see the status of git
|
1 2 3 4 5 6 7 8 9 10 11 |
[root@ip-172-31-43-80 mumbaigit]# git status On branch master Your branch is up to date with 'origin/master'. Changes not staged for commit: (use "git add <file>..." to update what will be committed) (use "git checkout -- <file>..." to discard changes in working directory) modified: myfile no changes added to commit (use "git add" and/or "git commit -a") |
Step 11 :
Adding file to Staging Area
Add
We should add the file to staging area.
Send file from Workspace to Staging Area.
|
1 |
[root@ip-172-31-43-80 mumbaigit]# git add . |
To see the status of git
|
1 2 3 4 5 6 7 8 |
[root@ip-172-31-43-80 mumbaigit]# git status On branch master Your branch is up to date with 'origin/master'. Changes to be committed: (use "git reset HEAD <file>..." to unstage) modified: myfile |
Step 12 :
Commit the file into Local Repository
Commit
|
1 2 3 |
[root@ip-172-31-43-80 mumbaigit]# git commit -m "2nd commit from mumbai" [master f7e5d55] 2nd commit from mumbai 1 file changed, 1 insertion(+) |
To see the list of commits
|
1 2 3 4 5 6 7 8 9 10 11 12 |
[root@ip-172-31-43-80 mumbaigit]# git log commit f7e5d55c9daaef9bcb9099062ccffb99b93879e1 (HEAD -> master) Author: Ram <ram.ktexperts@gmail.com> Date: Sat Dec 14 05:25:21 2019 +0000 2nd commit from mumbai commit cbb38f20f70e7443eea2c3daa54fb7ae7f264873 (origin/master) Author: Ram <ram.ktexperts@gmail.com> Date: Fri Dec 13 17:34:33 2019 +0000 1st commit from mumbai |
To see the data of second commit
|
1 2 3 4 5 6 7 8 9 10 11 12 13 14 |
[root@ip-172-31-43-80 mumbaigit]# git show f7e5d5 commit f7e5d55c9daaef9bcb9099062ccffb99b93879e1 (HEAD -> master) Author: Ram <ram.ktexperts@gmail.com> Date: Sat Dec 14 05:25:21 2019 +0000 2nd commit from mumbai diff --git a/myfile b/myfile index 867fc66..f56241a 100644 --- a/myfile +++ b/myfile @@ -1 +1,2 @@ first line from mumbai +second line from mumbai |
Note
+ indicates the data of current commit.
Step 13 :
Push Commits to Central Repository
|
1 2 3 4 5 6 7 8 |
[root@ip-172-31-43-80 mumbaigit]# git push origin master Username for 'https://github.com': rameshatchala.ktexperts@gmail.com Password for 'https://rameshatchala.ktexperts@gmail.com@github.com': Counting objects: 3, done. Writing objects: 100% (3/3), 283 bytes | 283.00 KiB/s, done. Total 3 (delta 0), reused 0 (delta 0) To https://github.com/Ramesh-Ktexperts/centralgit.git cbb38f2..f7e5d55 master -> master |
Step 14 :
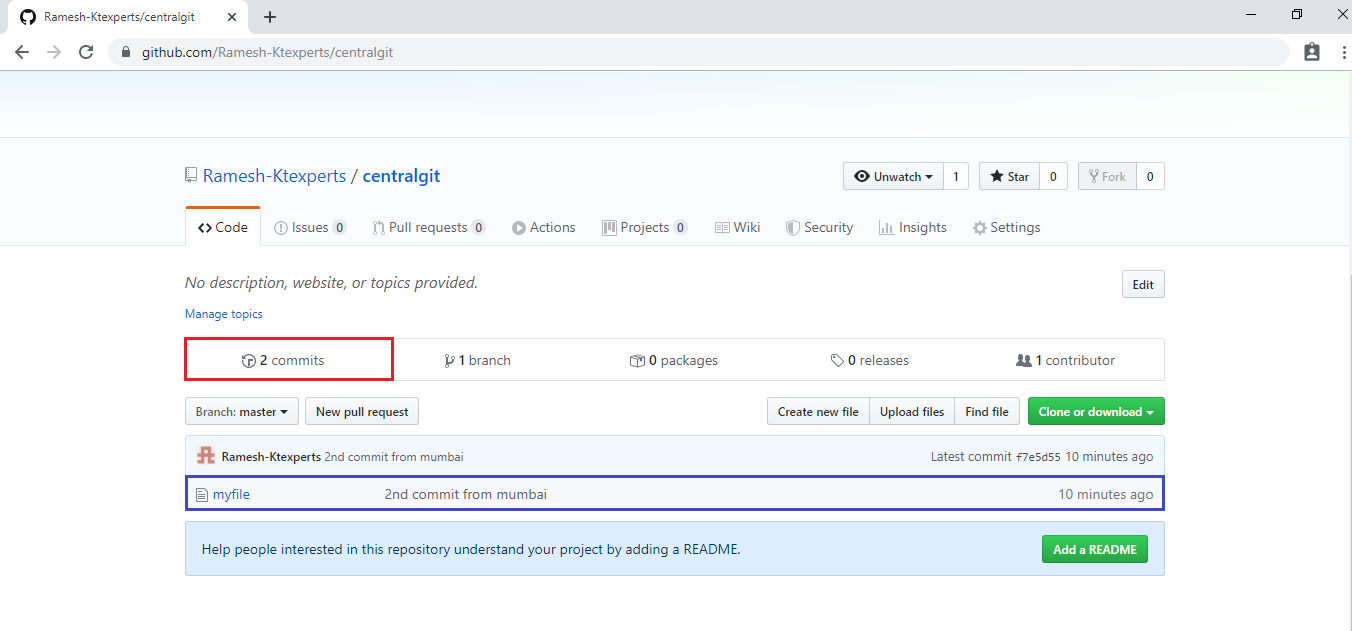
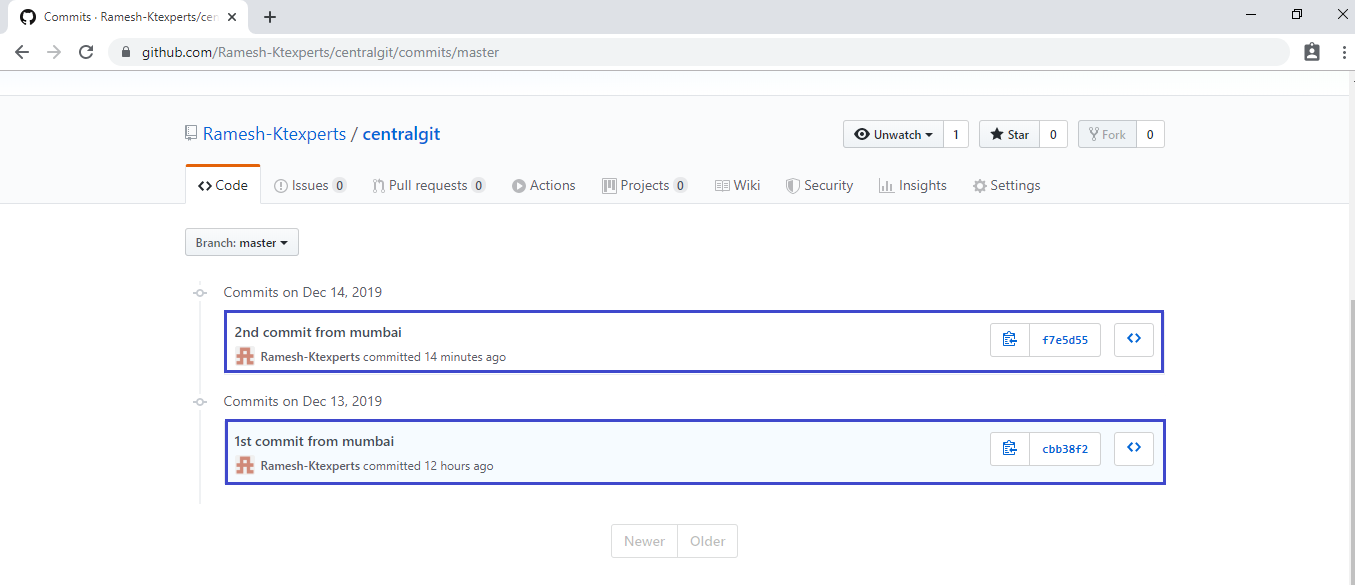
Verify files/commits in Central Repository
Go inside github and see the files/commits.
Here,we can see 2 commits and file which has latest commit message.
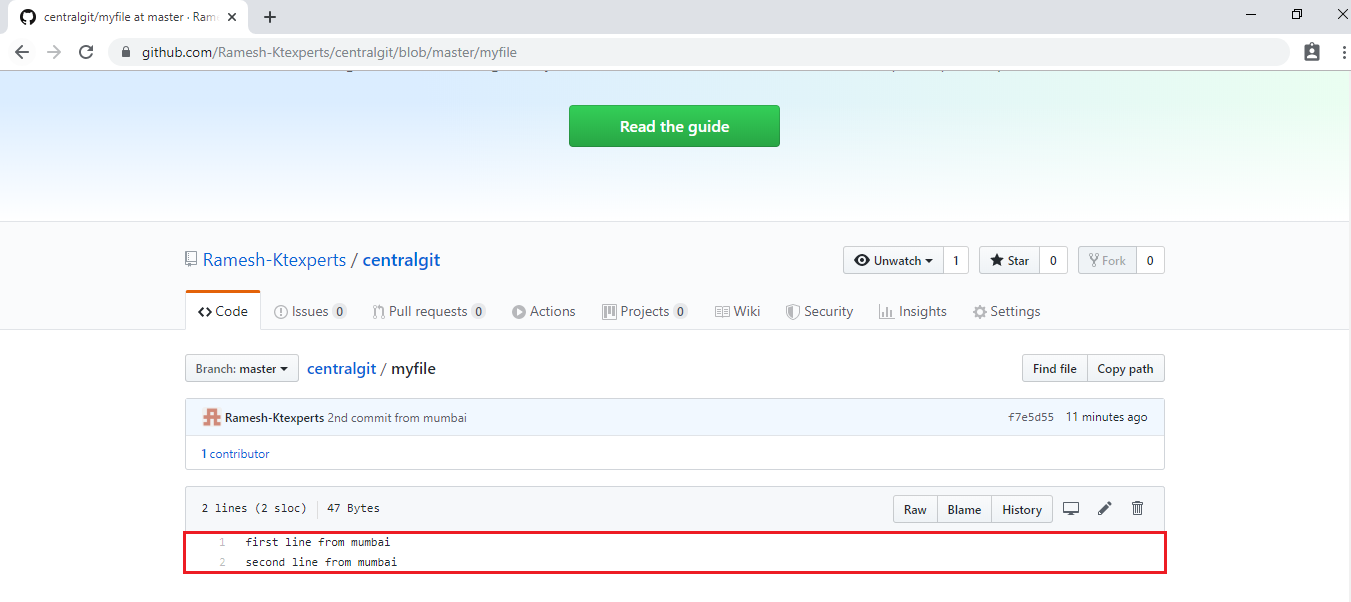
To check data of the file
We can see 2 lines in the file.
Click on myfile to open.

We can see data of the file.
To see the data of commits
Go inside Commits
Click on 2 commits to open.
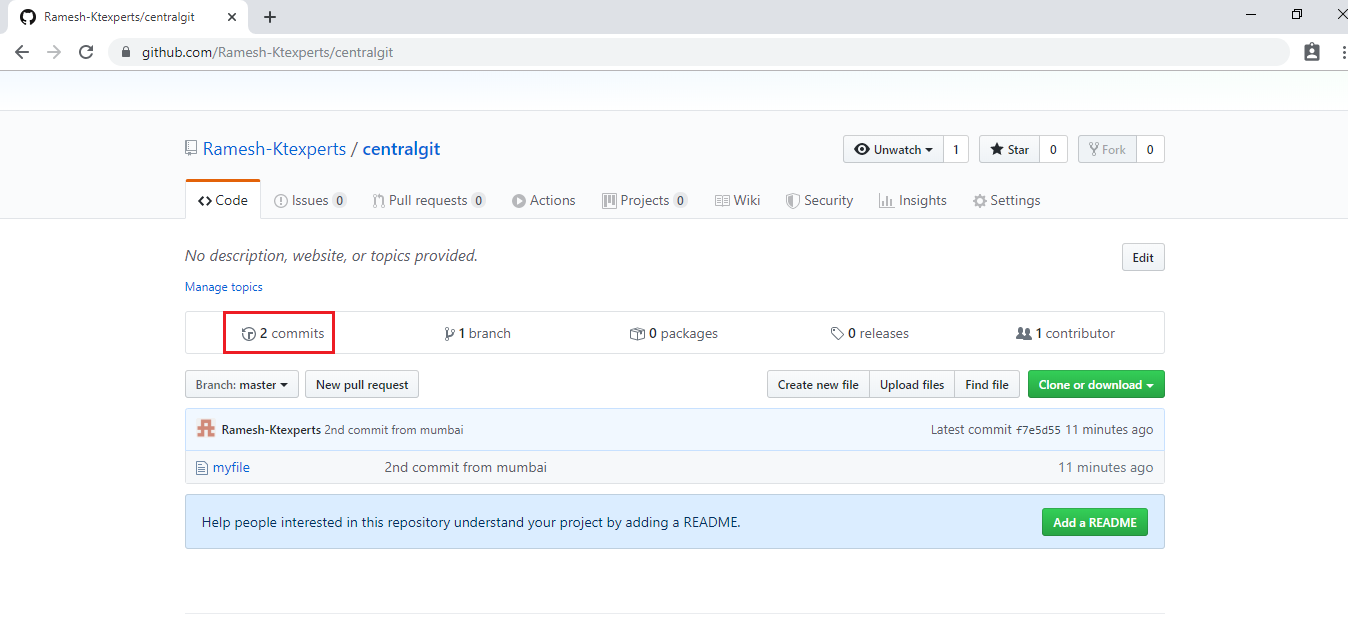
We can see 2 commits are latest commit and previous commit.
To see the data of previous commit
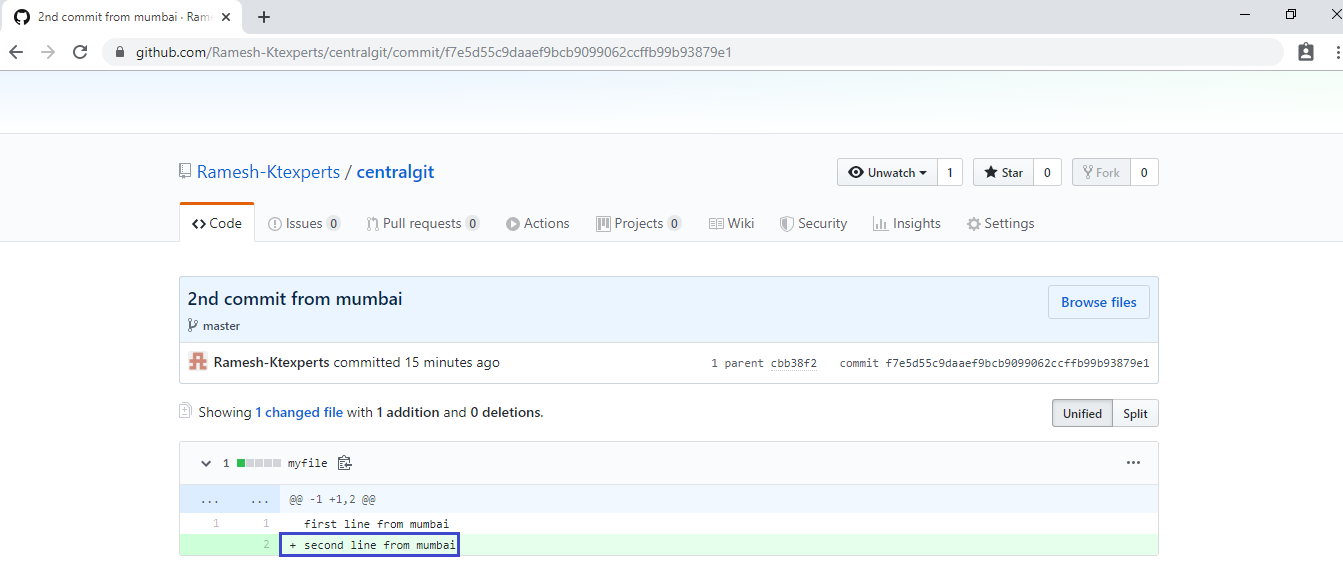
Click on latest commit “2nd commit from mumbai”.
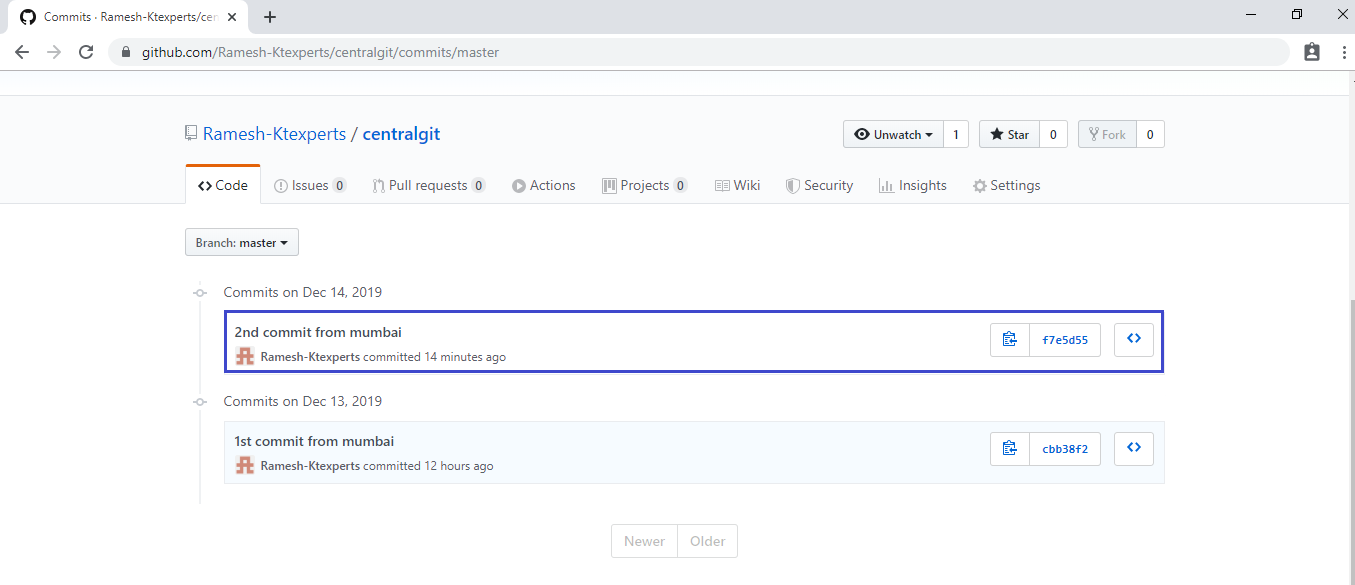
We can see the data of latest commit along with whole data.
+ indicates the data of latest commit.
To see the data of previous commit
Click on previous commit “1st commit from mumbai”
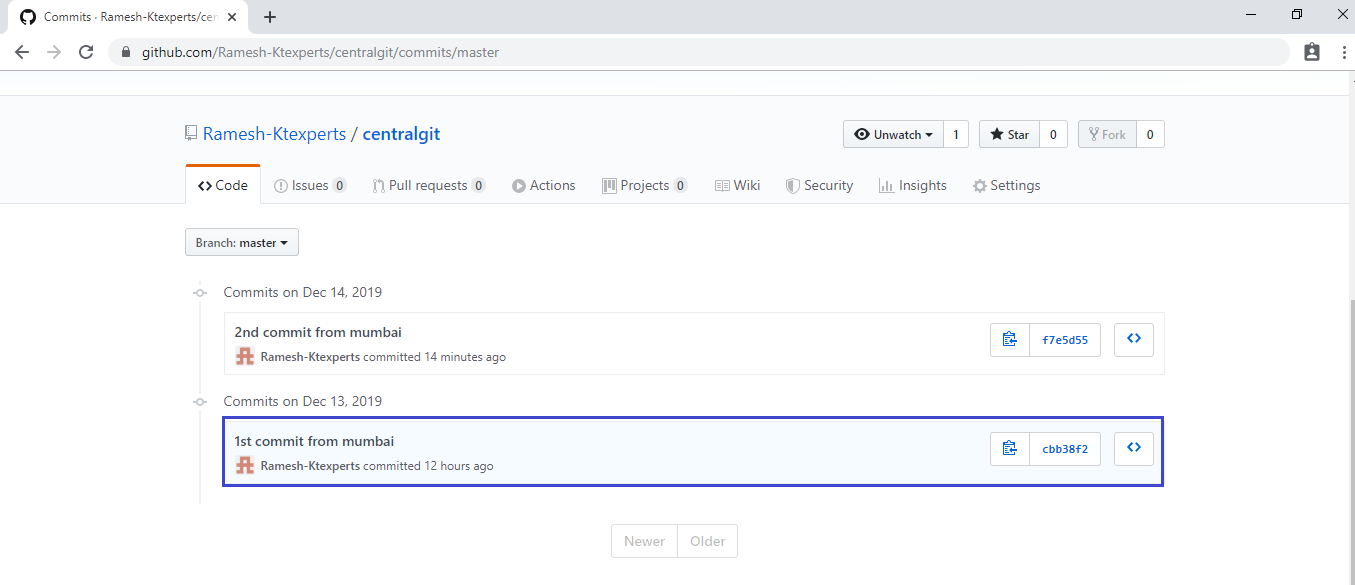
We can see only the data of previous commit.
Thank you for giving your valuable time to read the above information. Please click here to subscribe for further updates
KTEXPERTS is always active on below social media platforms.
Facebook : https://www.facebook.com/ktexperts/
LinkedIn : https://www.linkedin.com/company/ktexperts/
Twitter : https://twitter.com/ktexpertsadmin
YouTube : https://www.youtube.com/c/ktexperts
Instagram : https://www.instagram.com/knowledgesharingplatform
Follow Me
Ramesh’s Linkedin : https://www.linkedin.com/in/ramesh-atchala/


Priya
It is very useful for me !!!
Thank you Ramesh for making..
santhi
Good article and nice presentation with full of information and expecting more articles Ramesh.