Dear Readers,
In this article,we will see How to Create a Job In Jenkins.
Steps to Follow
- Logging to Jenkins.
- Create a First Item in Jenkins.
- Verify the job “kt-firstjob” in the jenkins dashboard.
- Build job “kt-firstjob”.
- Verify console out put of Job “kt-firstjob”.
- Verify job “kt-fristjob” in backend (Jenkins software location).
- Verify job “kt-firstjob” in workspace.
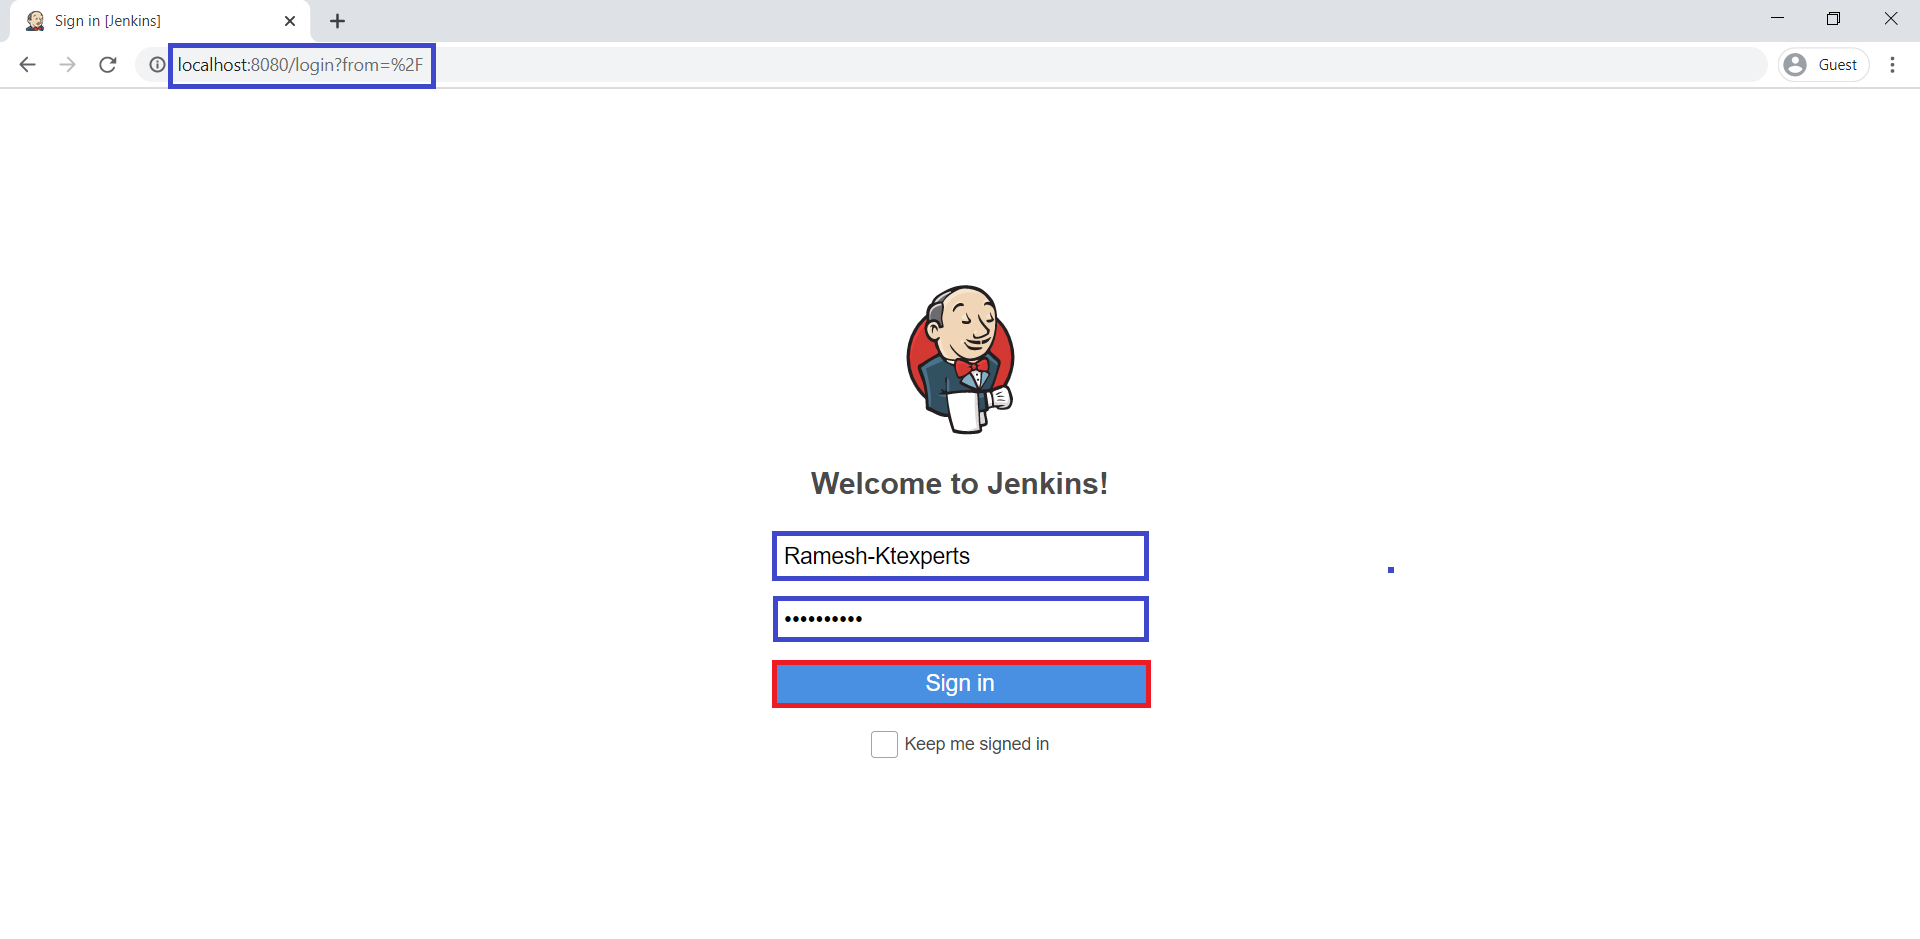
First,we need to go Jenkins Logging page by using below link.
http://localhost:8080/
1. Logging to Jenkins
Provide username and password and click on Sign in.
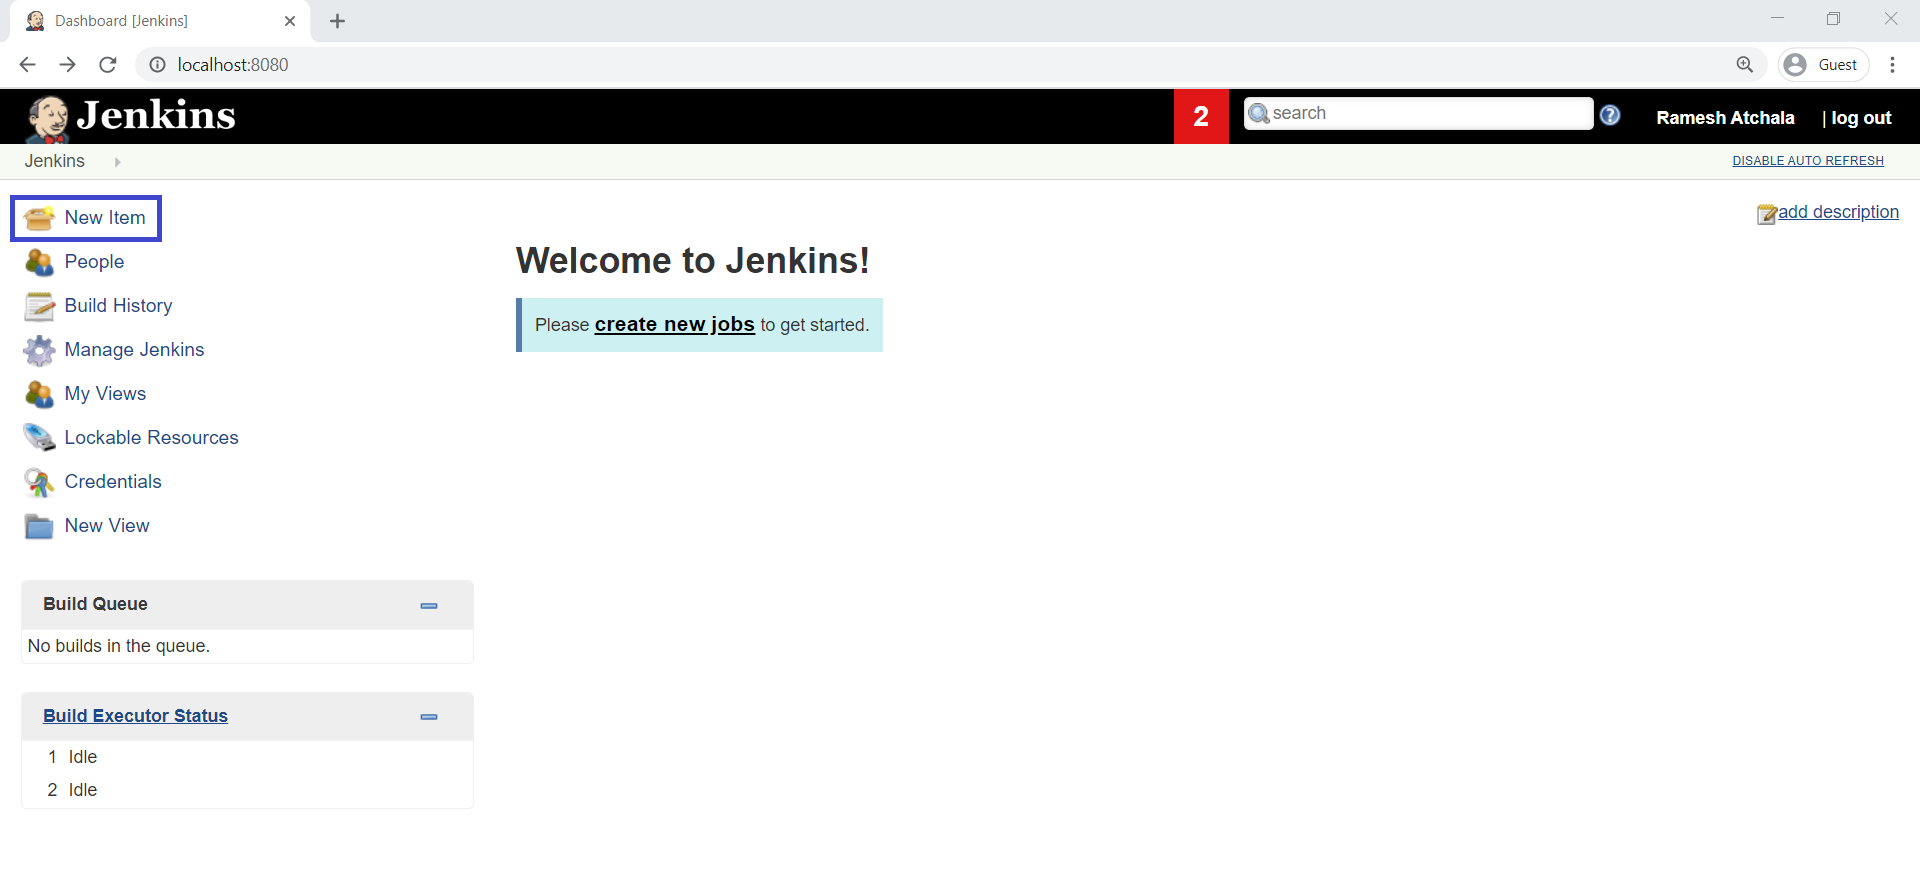
We can see the Main Dashboard of Jenkins.
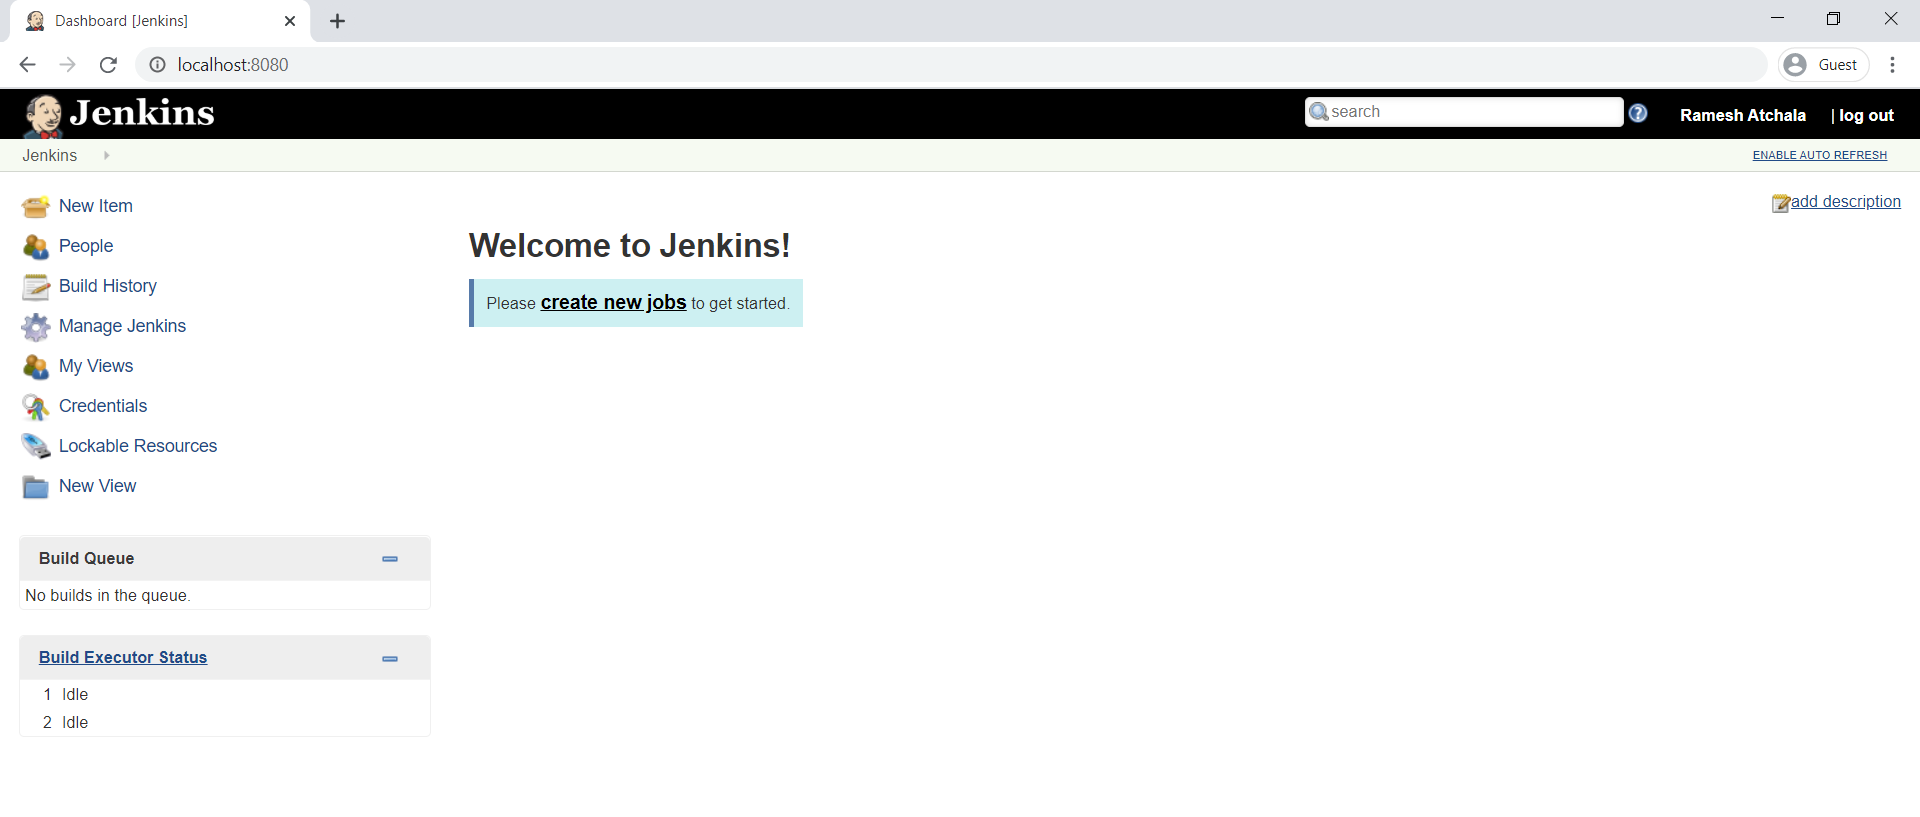
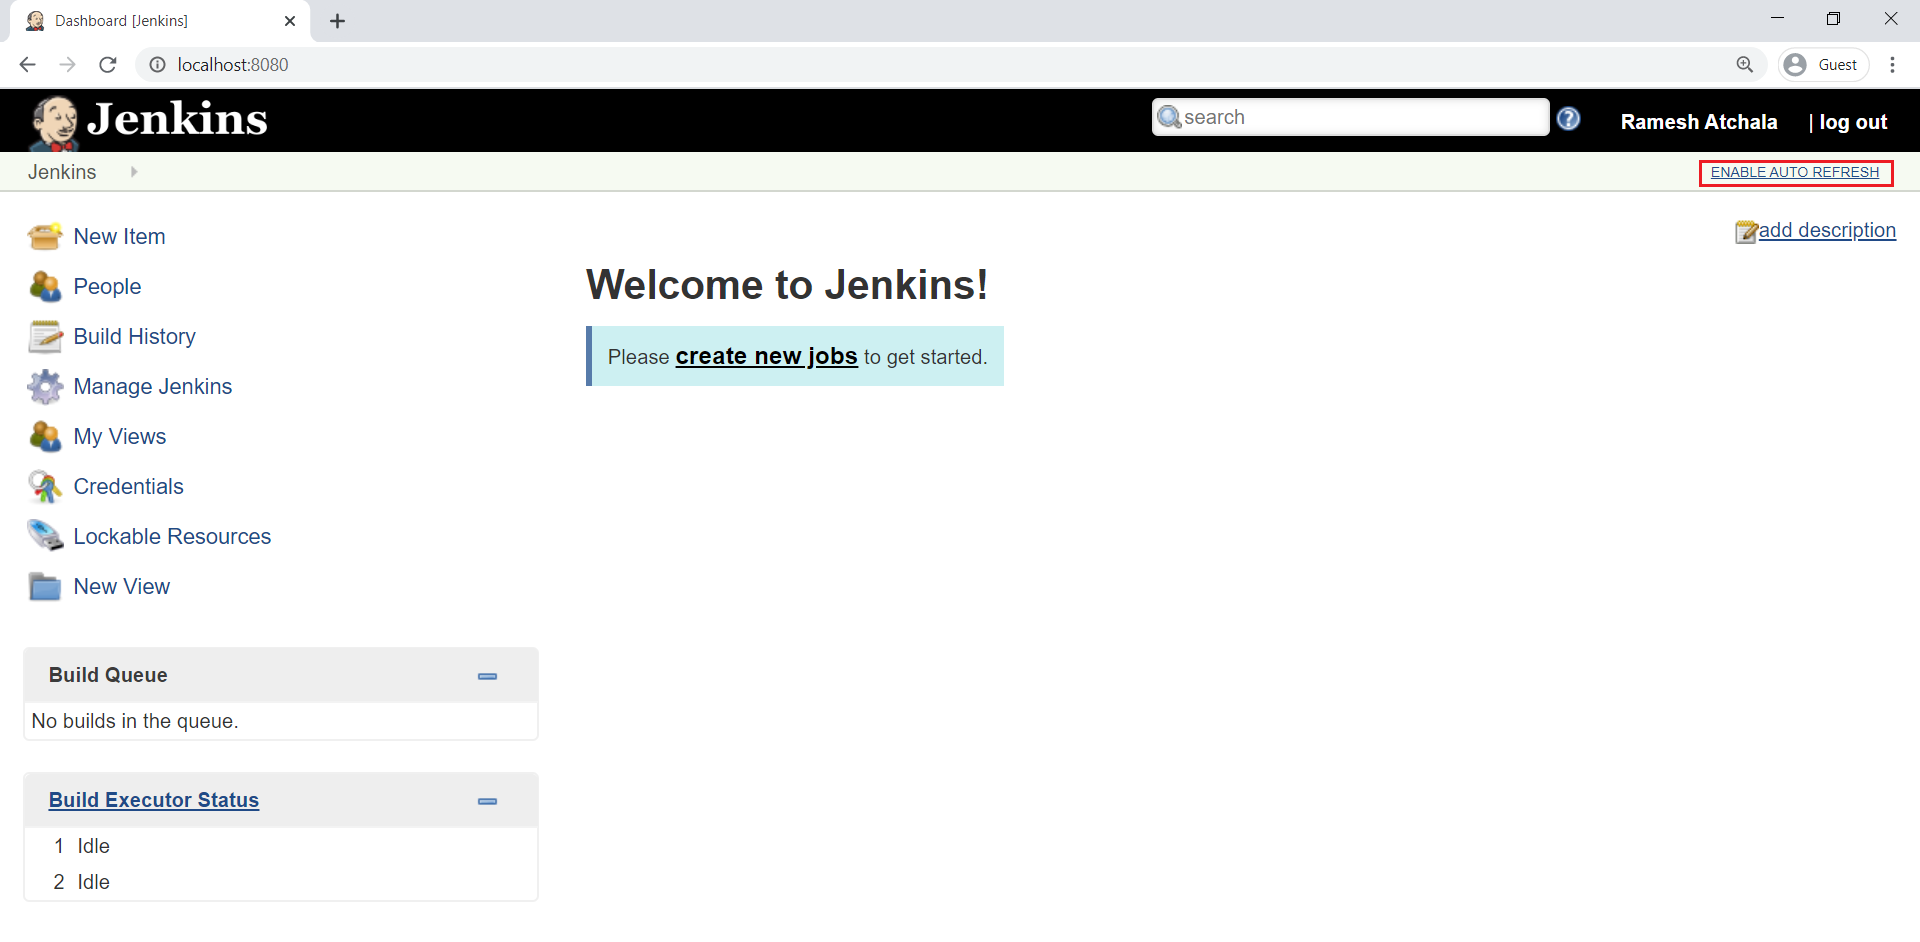
Enable Auto Refresh
When you Enable Auto Refresh,It will be refreshed the Jenkins web page for every 2-3 seconds automatically.
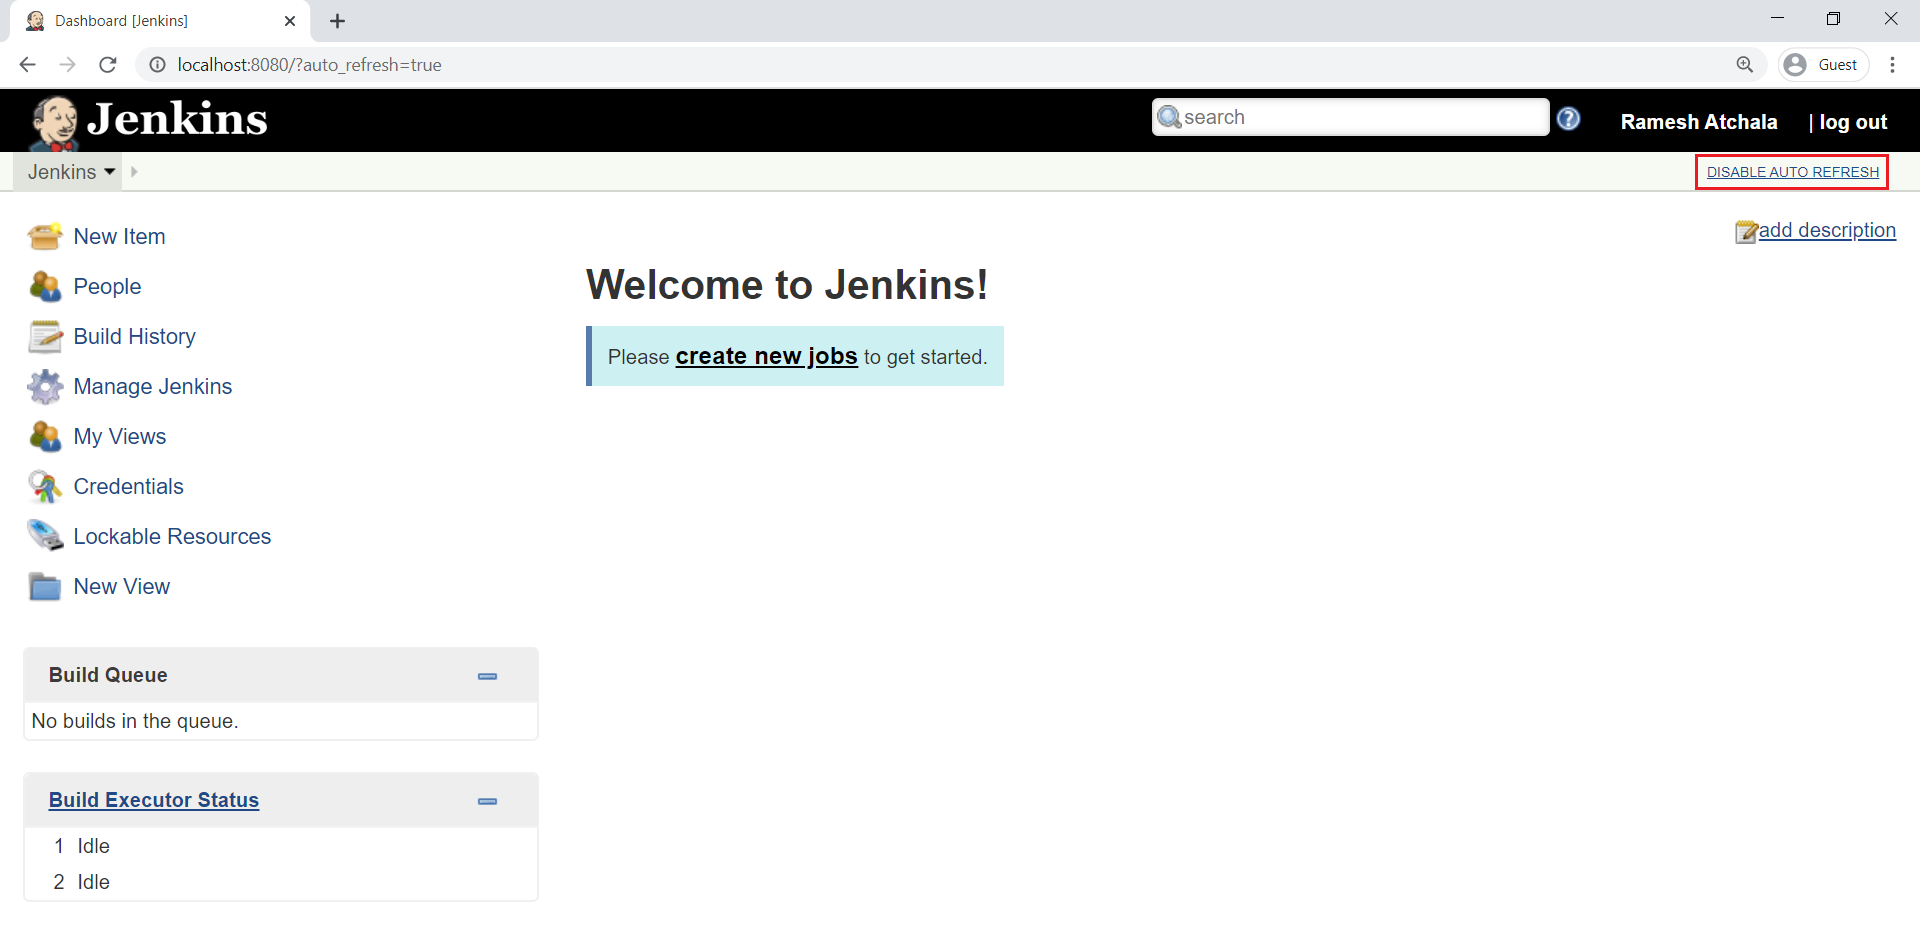
The Auto Refresh has been enabled successfully.
Now on wards,the Jenkins page will be refreshed automatically.
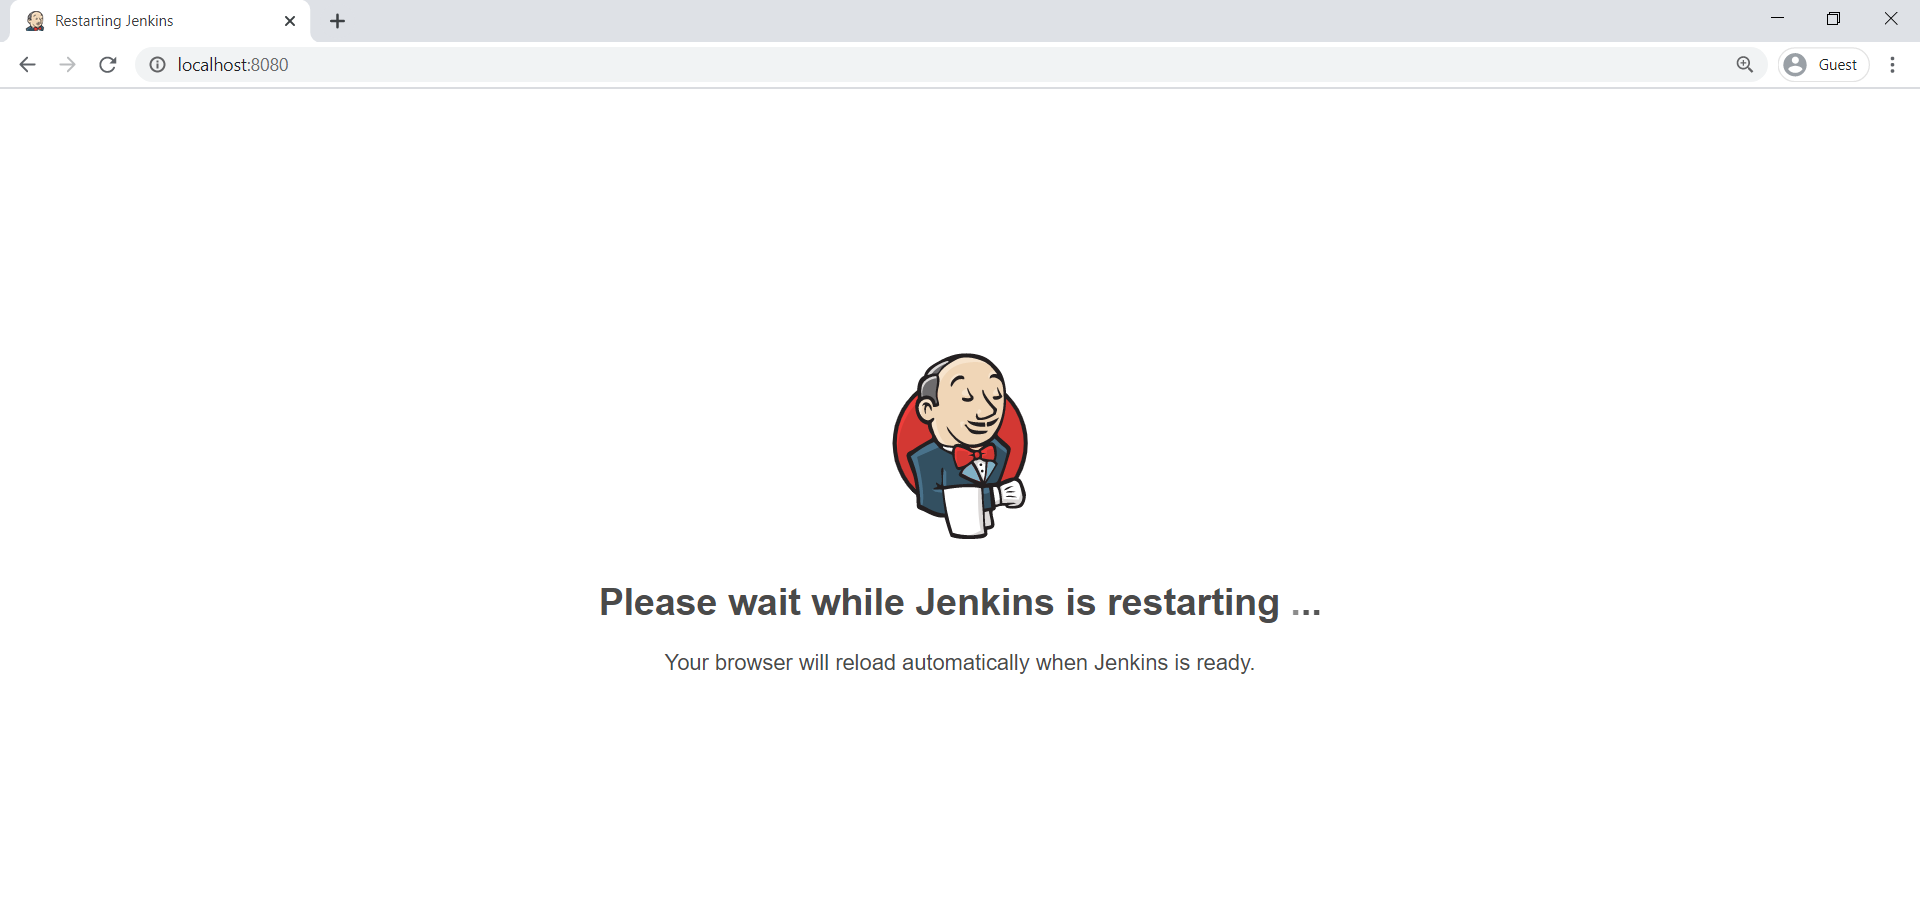
Restart the Jenkins
If you want to restart Jenkins page,we need to give the URL http://localhost:8080/restart in browser.
Once search the above URL in browser it will ask the confirmation to restart the Jenkins page so,click on Yes.

The Jenkins is being restarted,It about to restart.
Logging to Jenkins
Provide username and password and click on Sign in.
We can see the Main Dashboard of Jenkins.
2. Create a First Item in Jenkins
What is a Jenkins freestyle project?
A Jenkins project is a repeatable build job which contains steps and post-build actions.
The types of actions you can perform in a build step or post-build action are quite limited.
There are many standard plugins available within a Jenkins freestyle project to help you overcome this problem.
They allow you to configure build triggers and offers project-based security for your Jenkins project.
Click on New Item to create a new job.
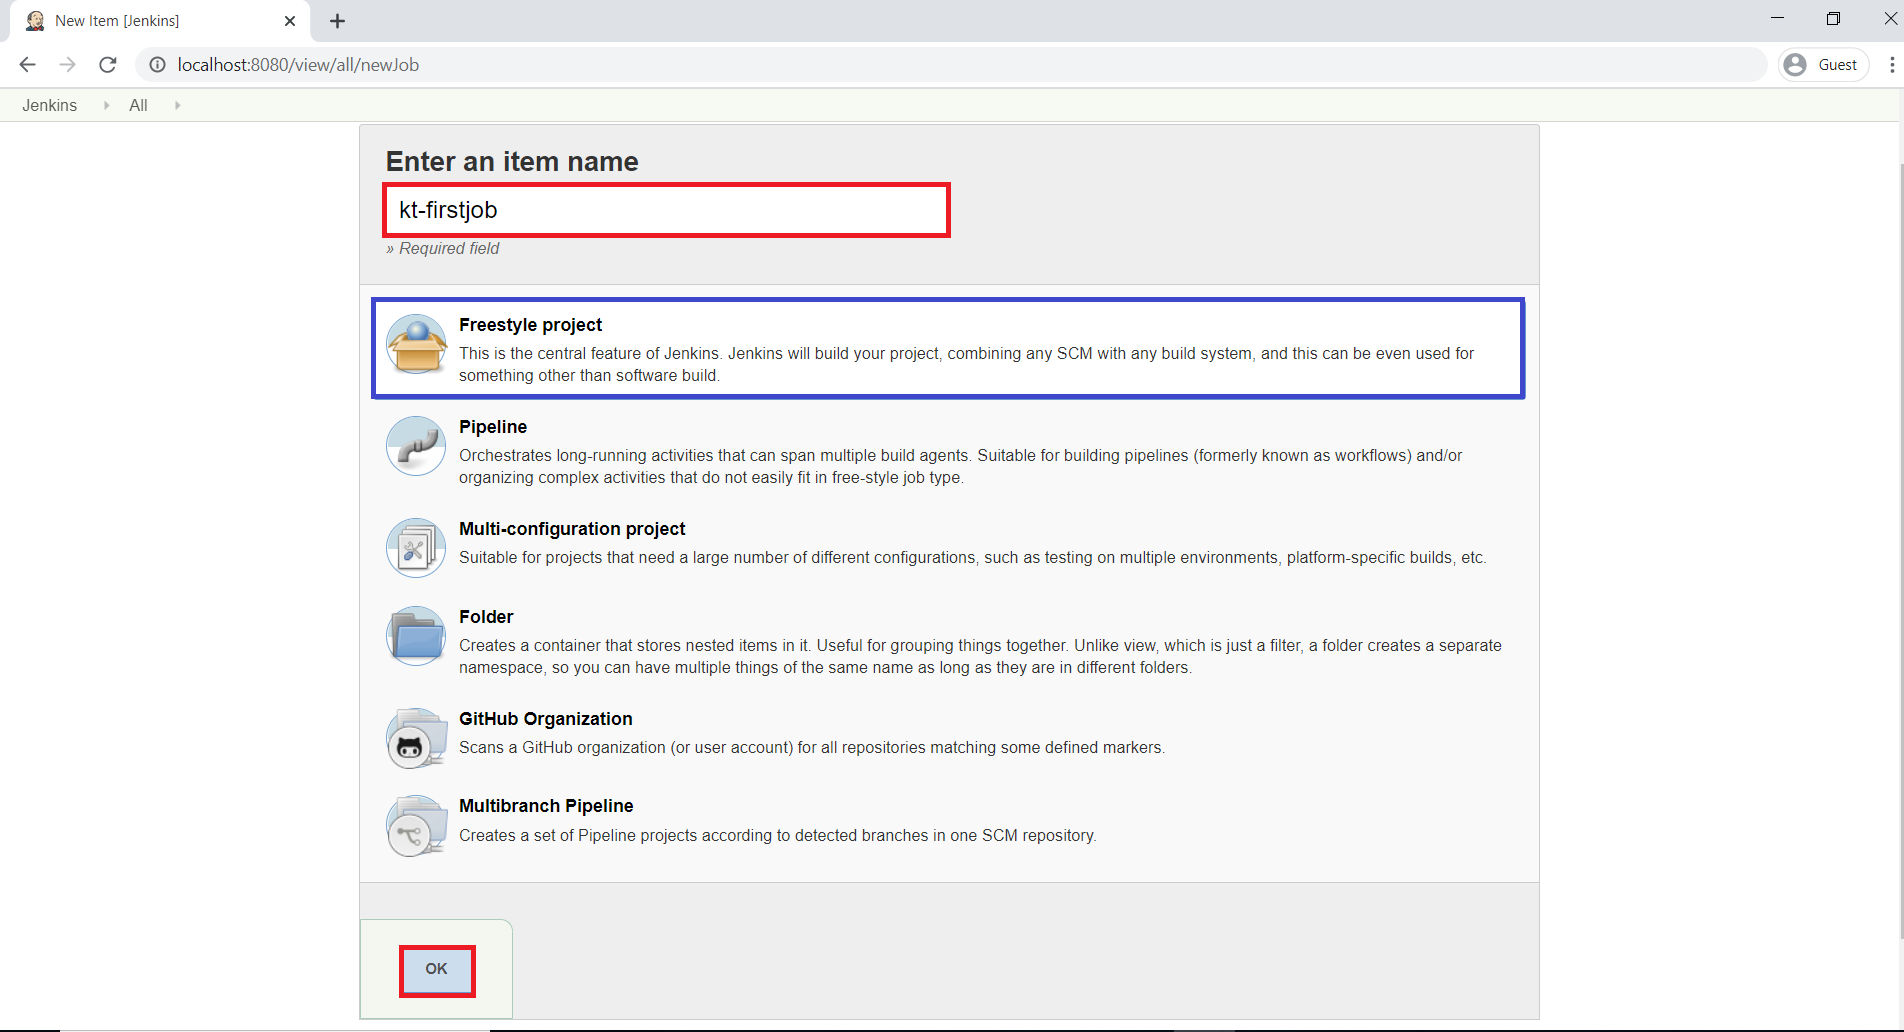
Enter an Item name “kt-firstjob” and select “Freestyle project” and click on OK.
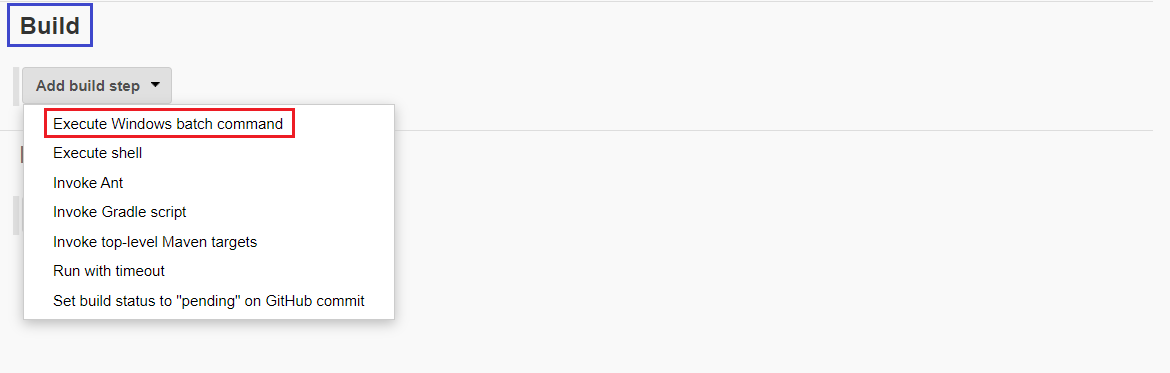
If you want run windows command we need to select “Execute Windows batch command” from below list.
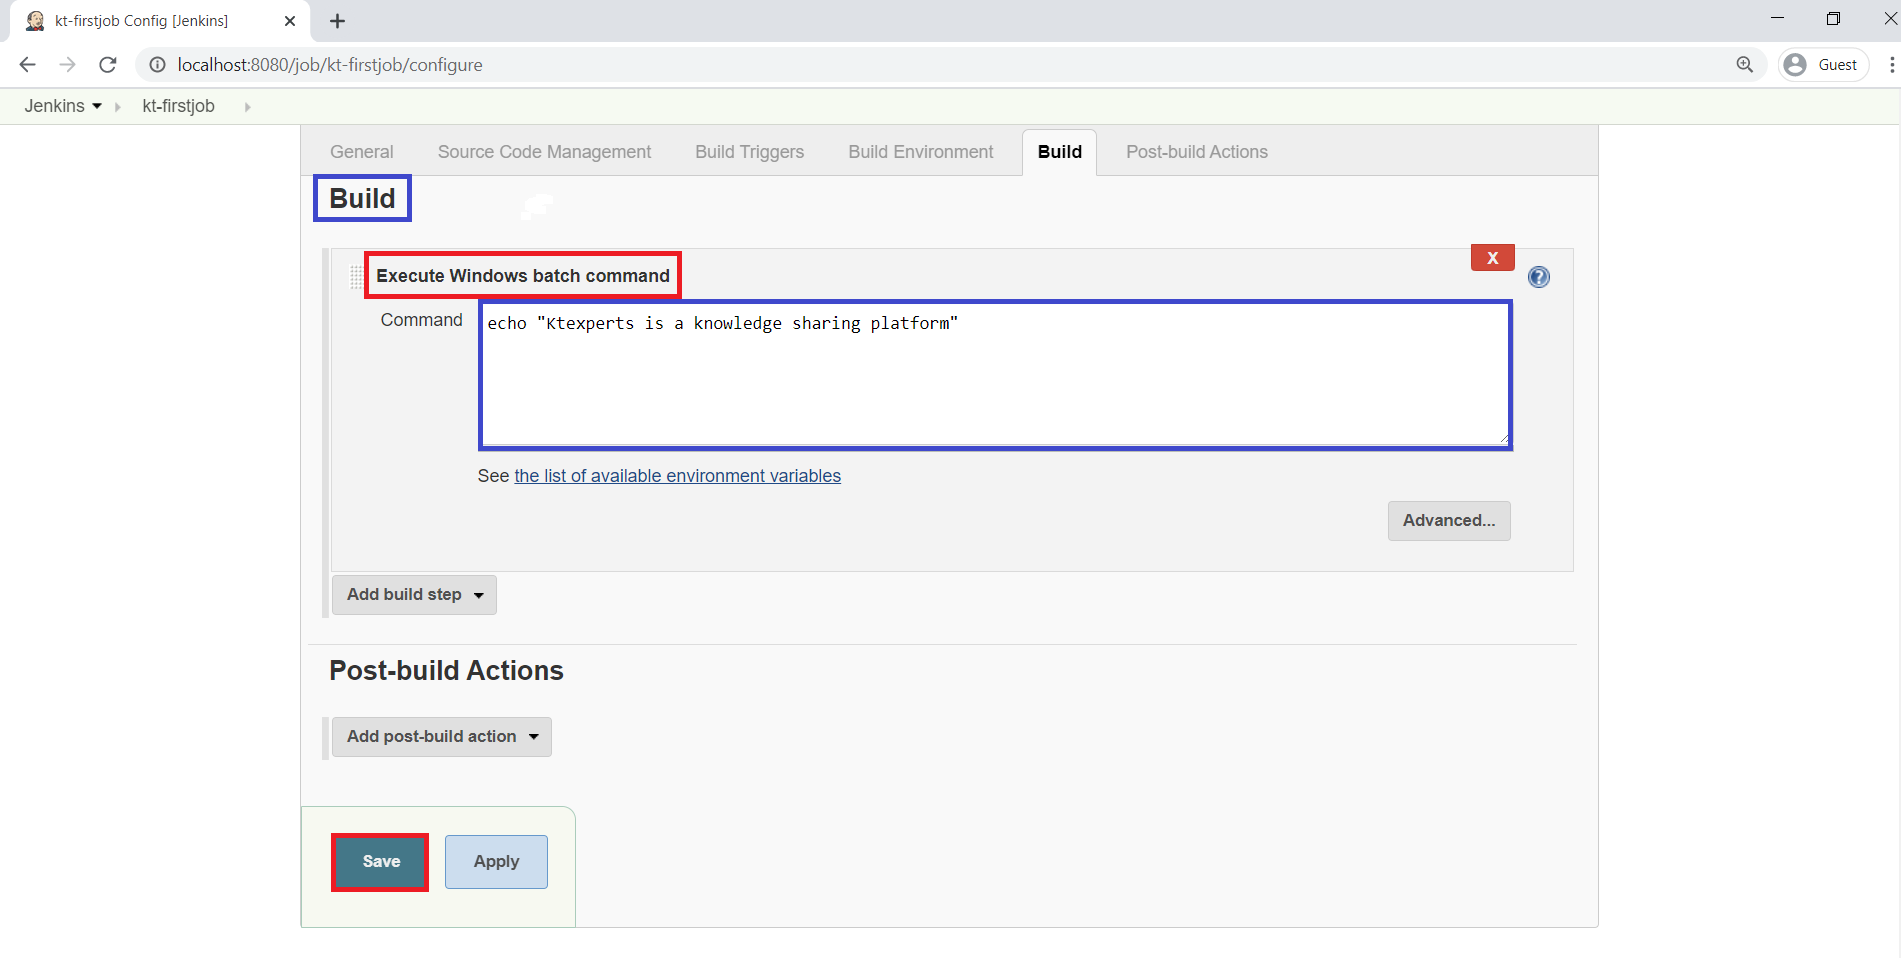
Enter the proper command in the command field and click on save.
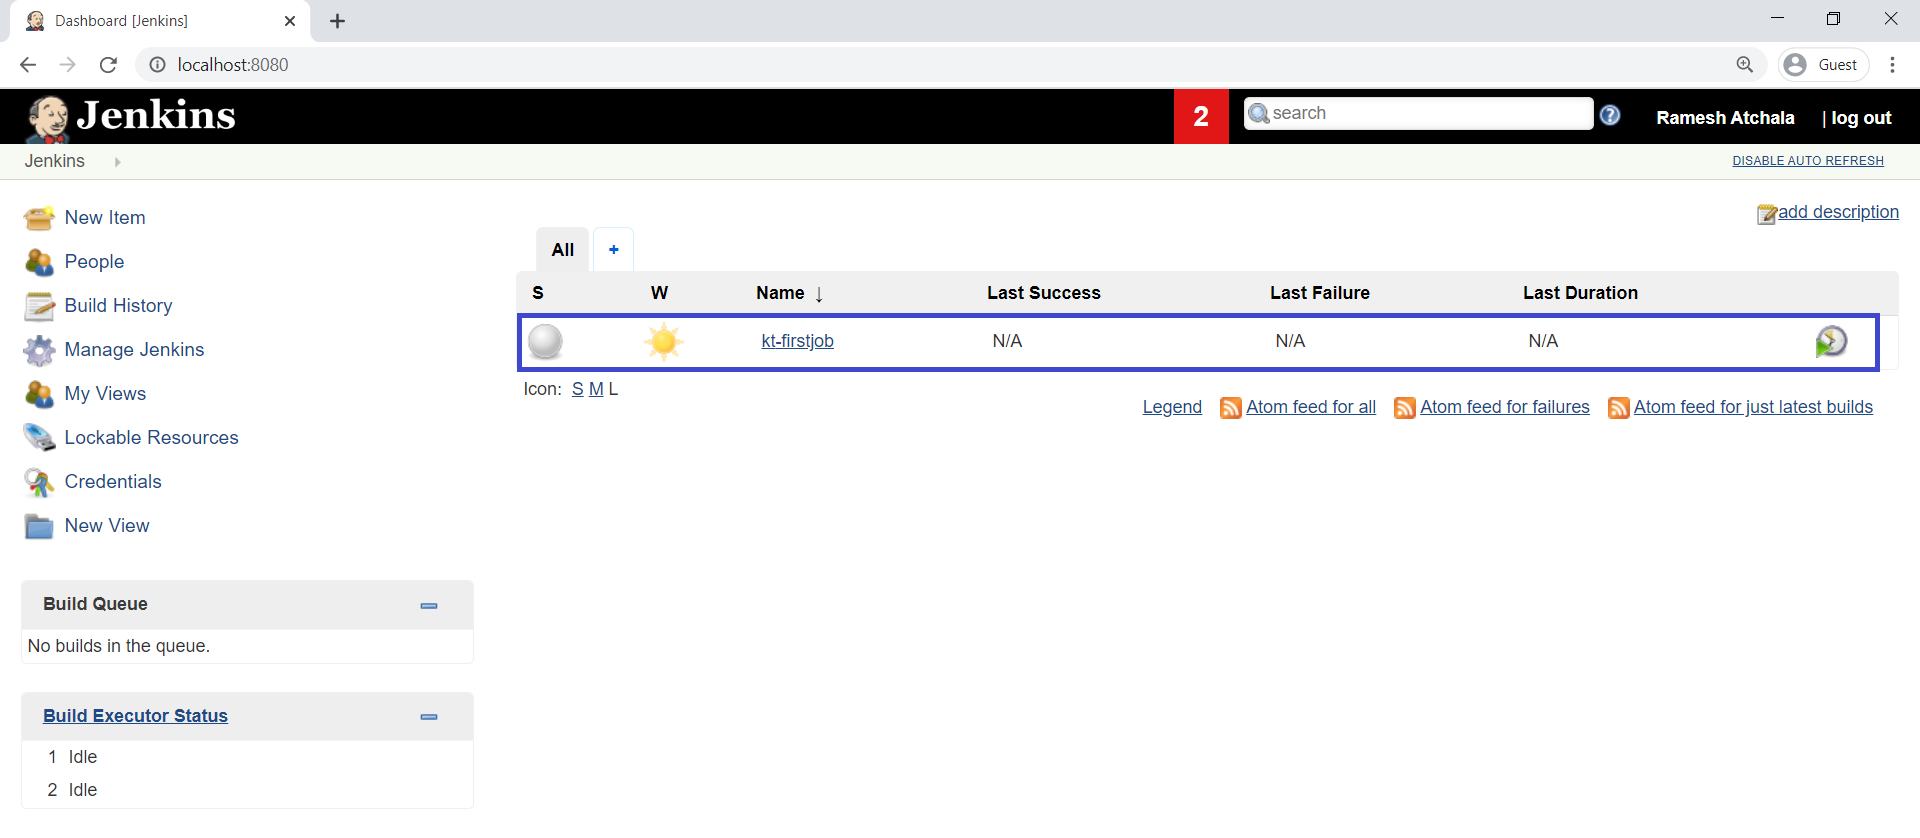
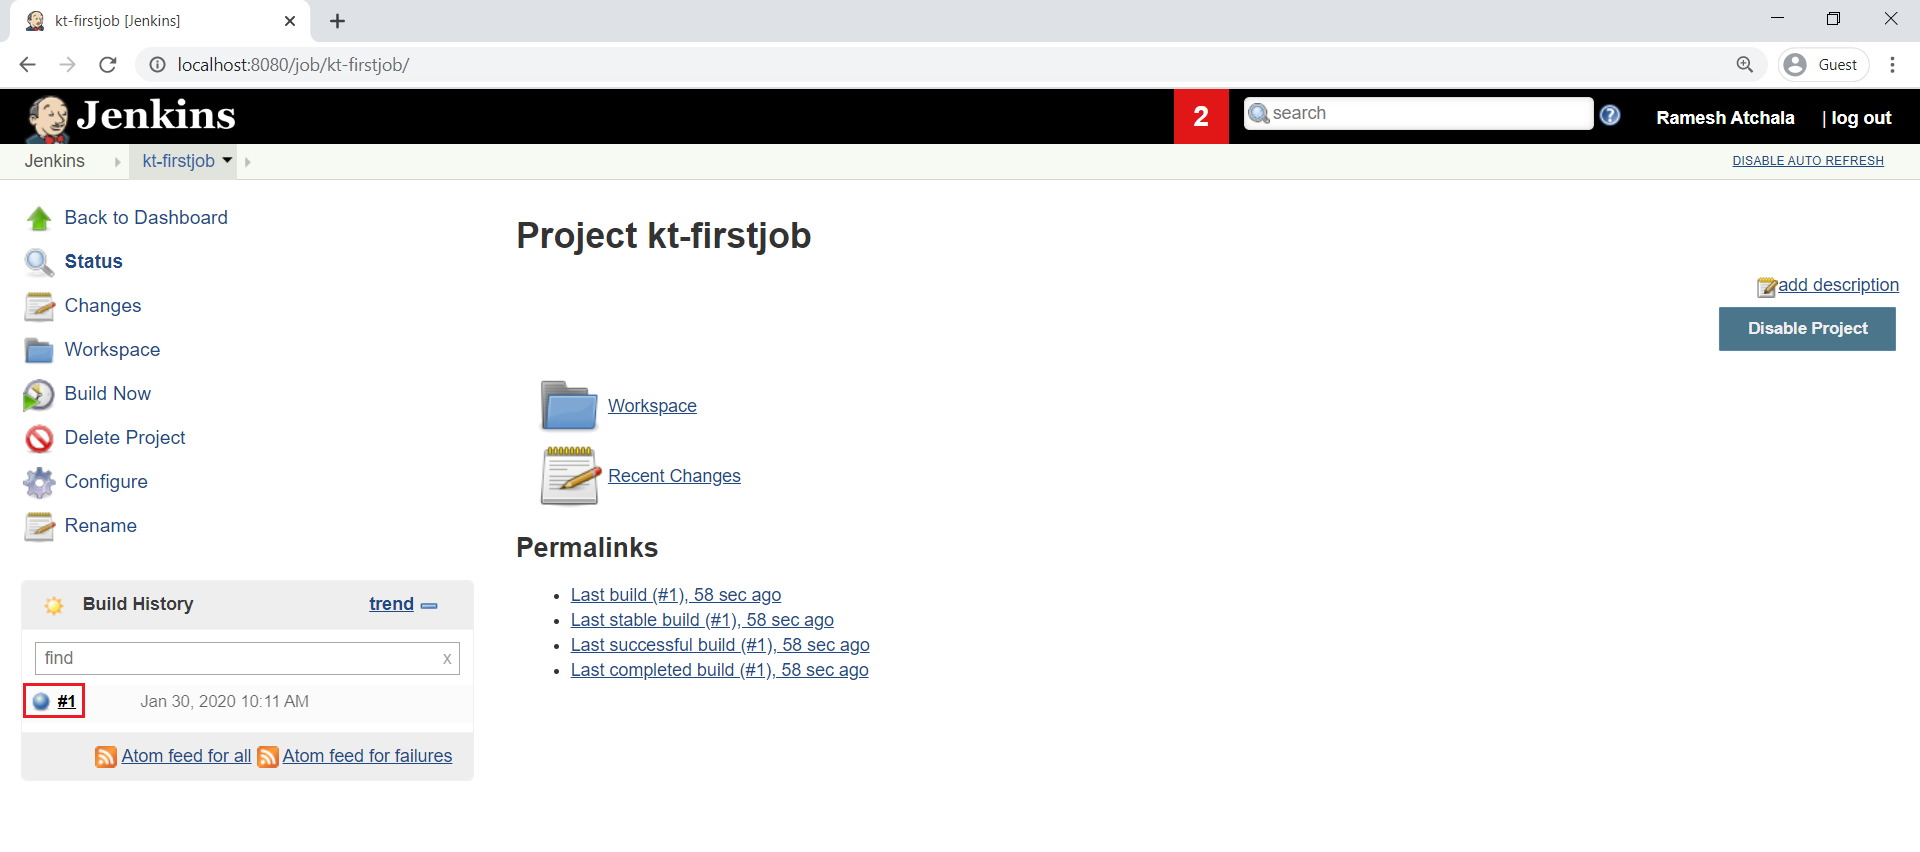
3. Verify the job “kt-firstjob” in the jenkins dashboard
Click on Jenkins.
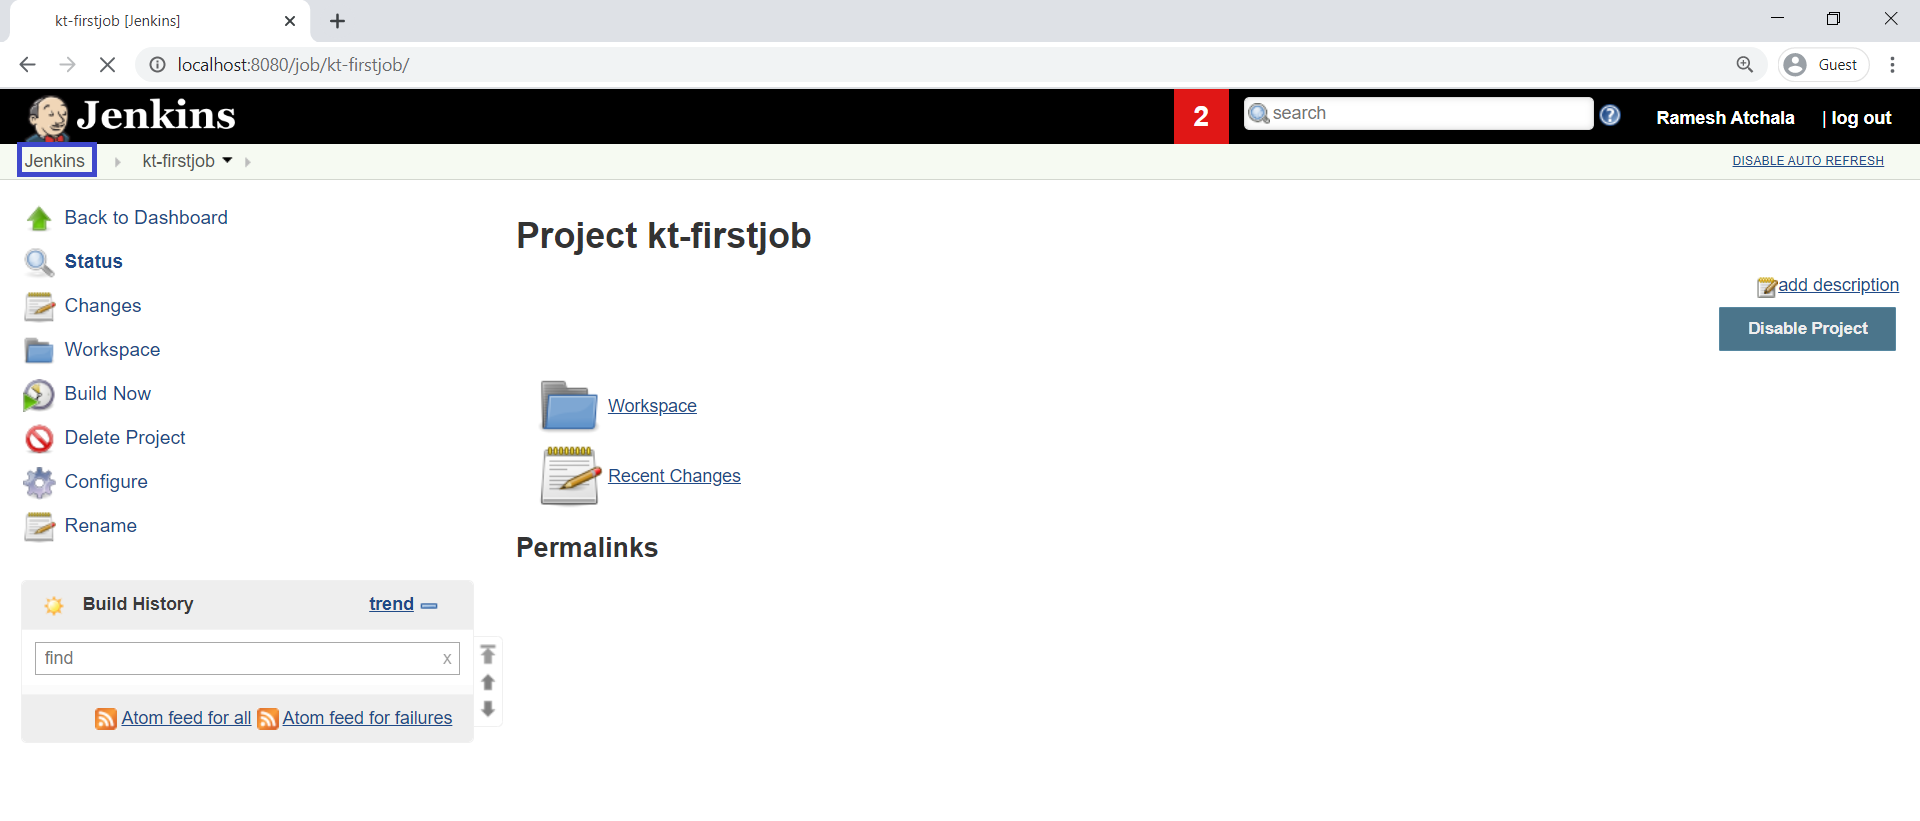
We can see the job “kt-firstjob” which was created earlier.
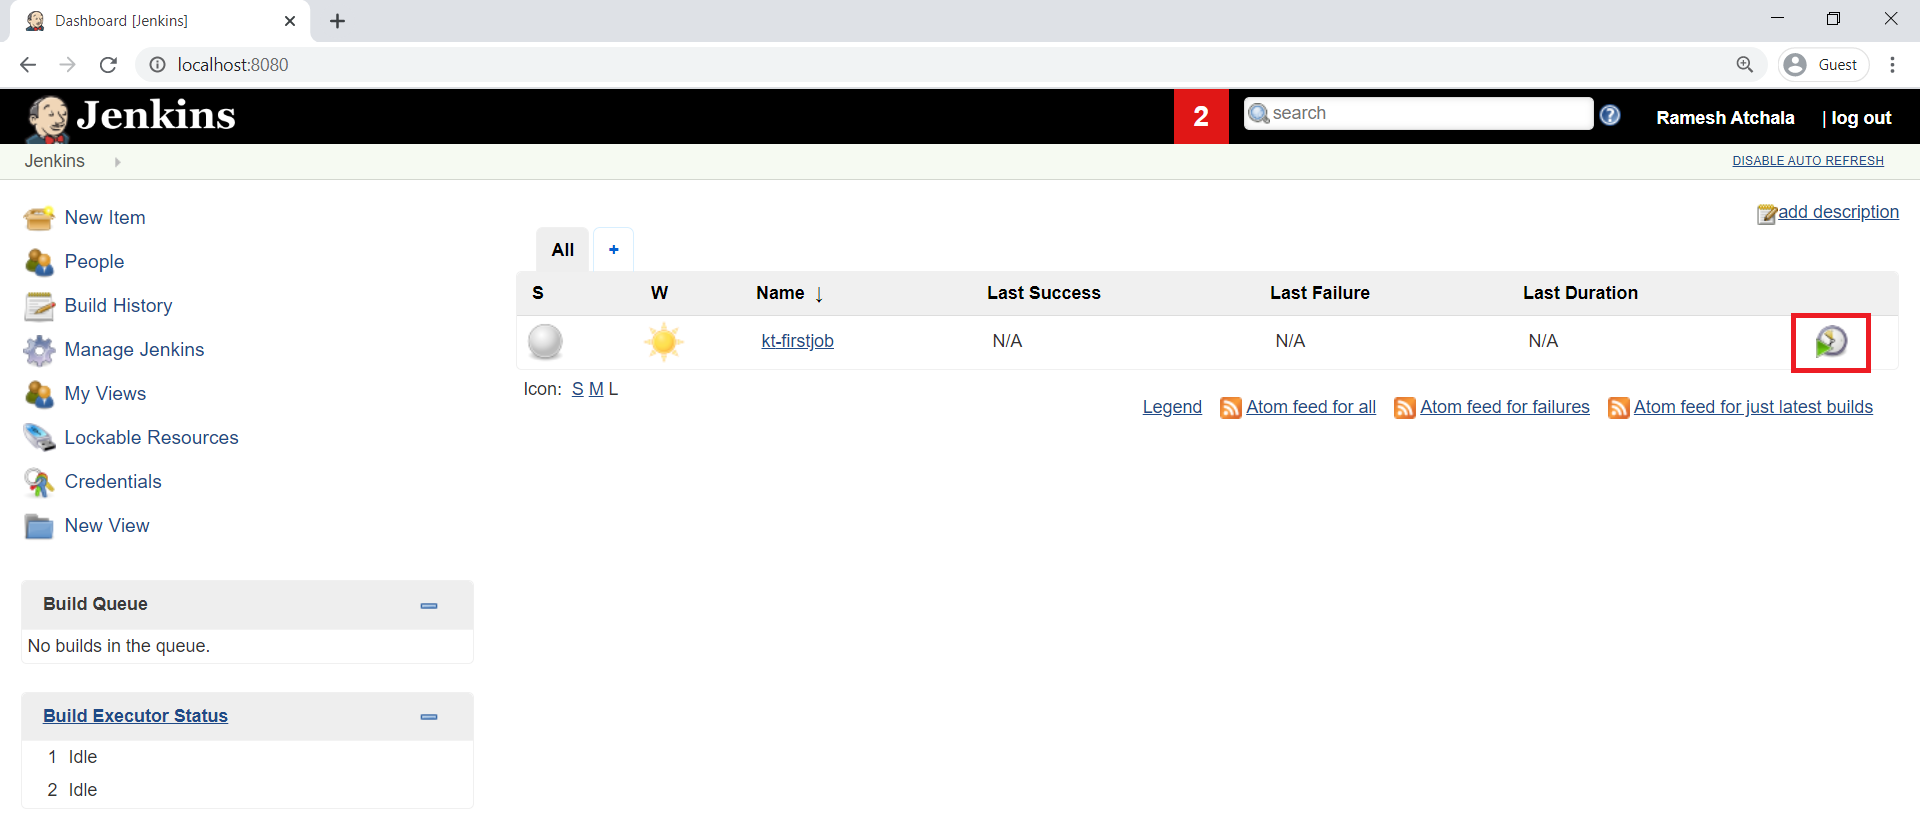
4. Build job “kt-firstjob”
Click on build option at last of Jenkins page.
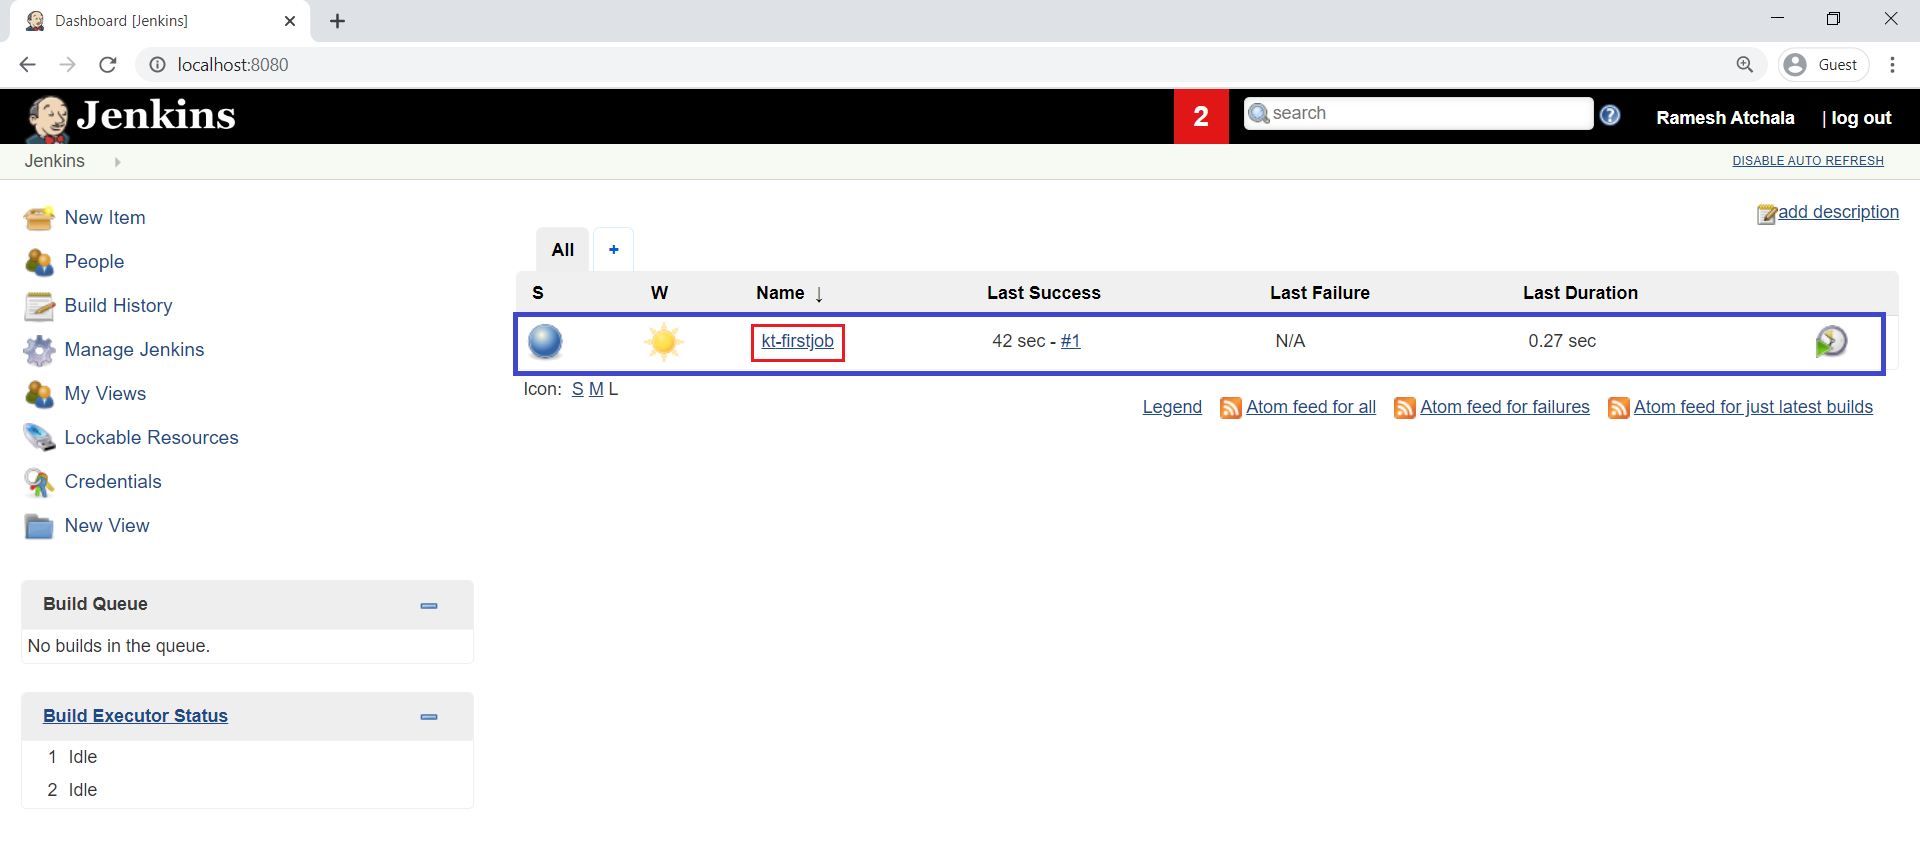
We can see the job is in blue color which means the job “kt-firstjob” is completed successfully.

5. Verify console out put of Job “kt-firstjob”
Go inside the job by clicking on job “kt-firstjob”.
Go inside the ball for seeing the console output.
We can see the console out as shown below.
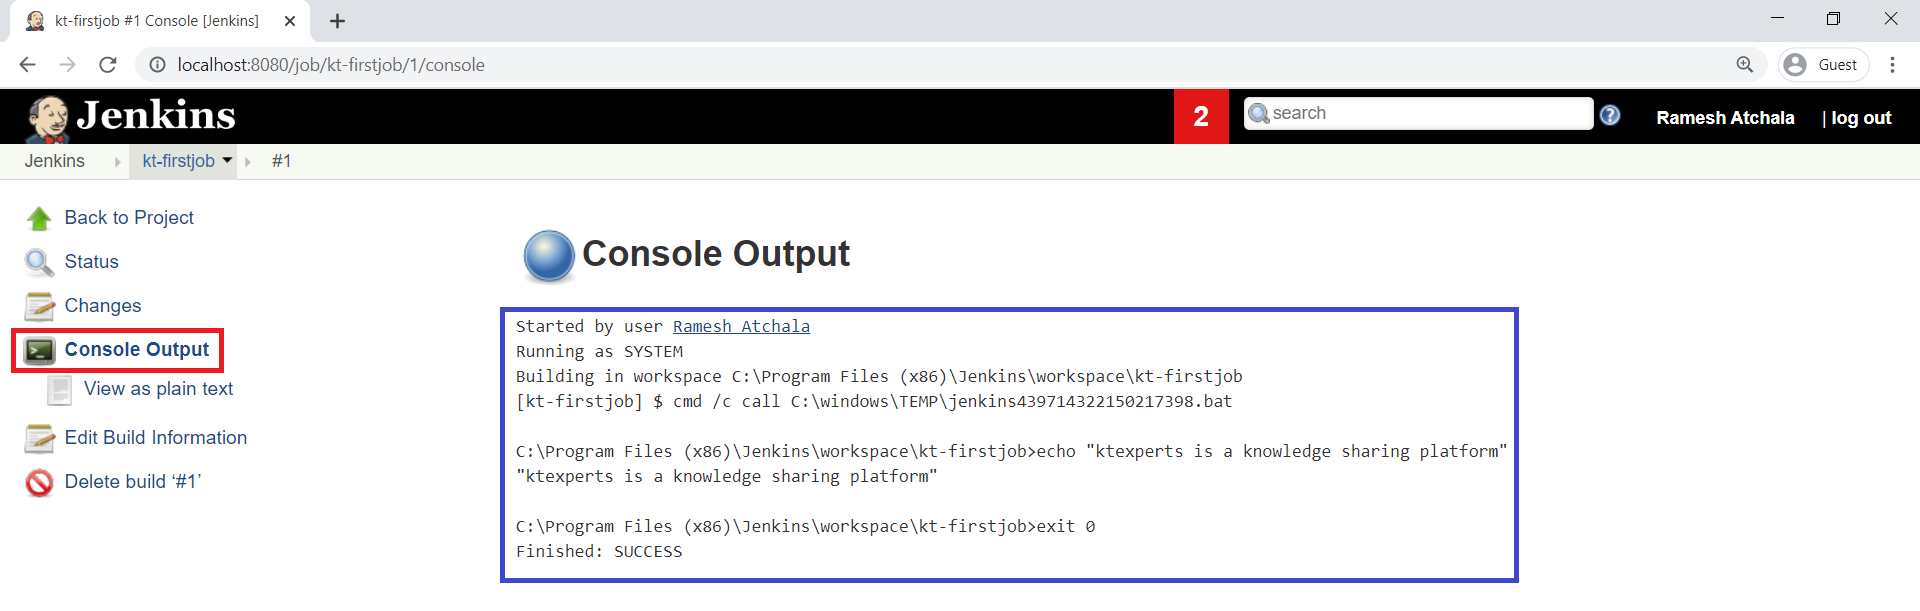
Note
We can see the build success in the console output.
The above screen acting like a window.
whatever you do everything on screen that’s acting like a window.
The Actual process is happening at back end in C drive wherever you installed Jenkins.
We have created first job “kt-firstjob”,that’s would be created in back end in the Jenkins software location automatically.
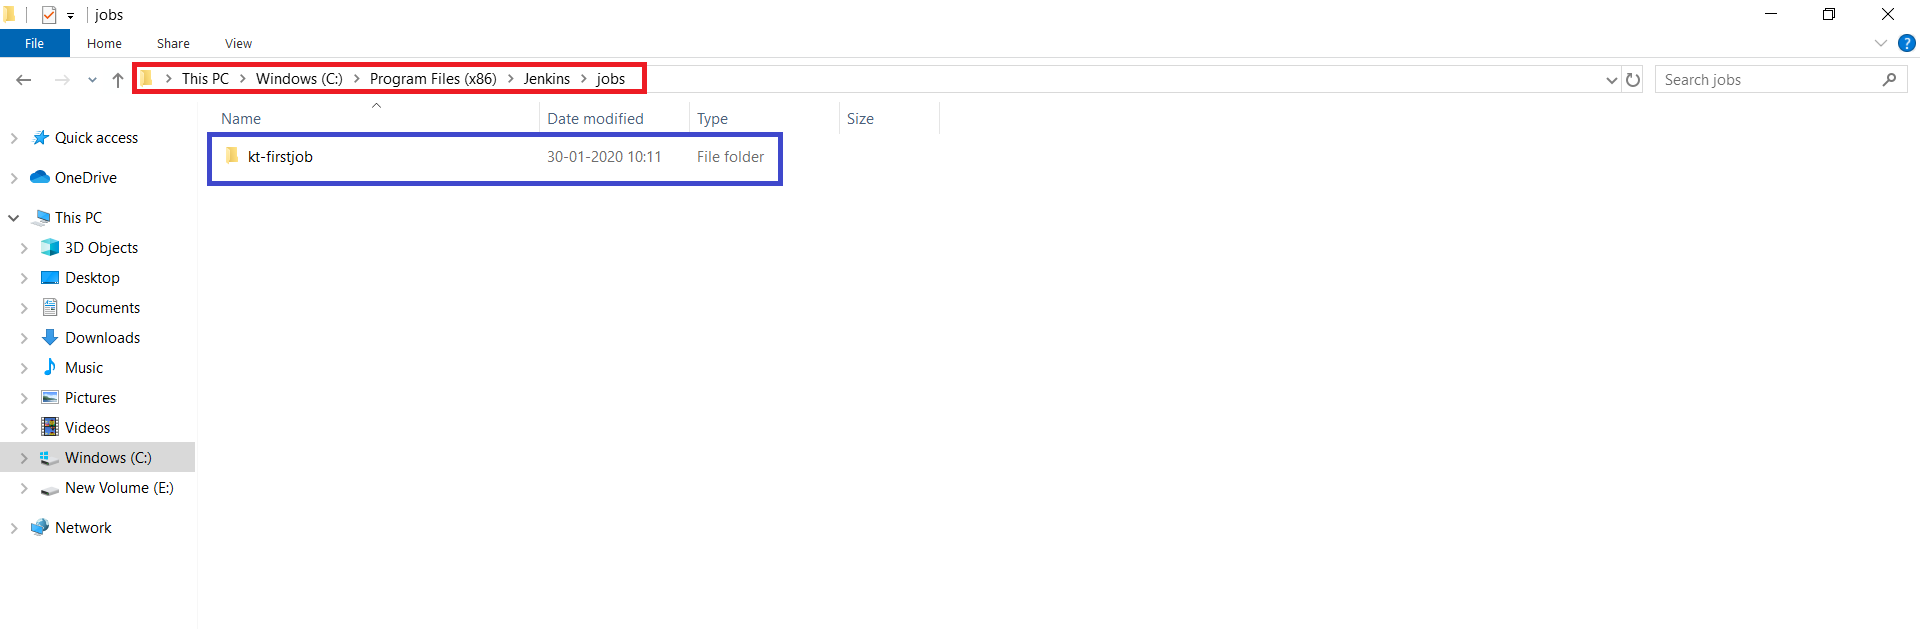
6. Verify job “kt-fristjob” in backend (Jenkins software location)
Go inside “C:\Program Files (x86)\Jenkins\jobs”.
Here,we can see the first job “kt-firstjob”.
The actual process happens here only.
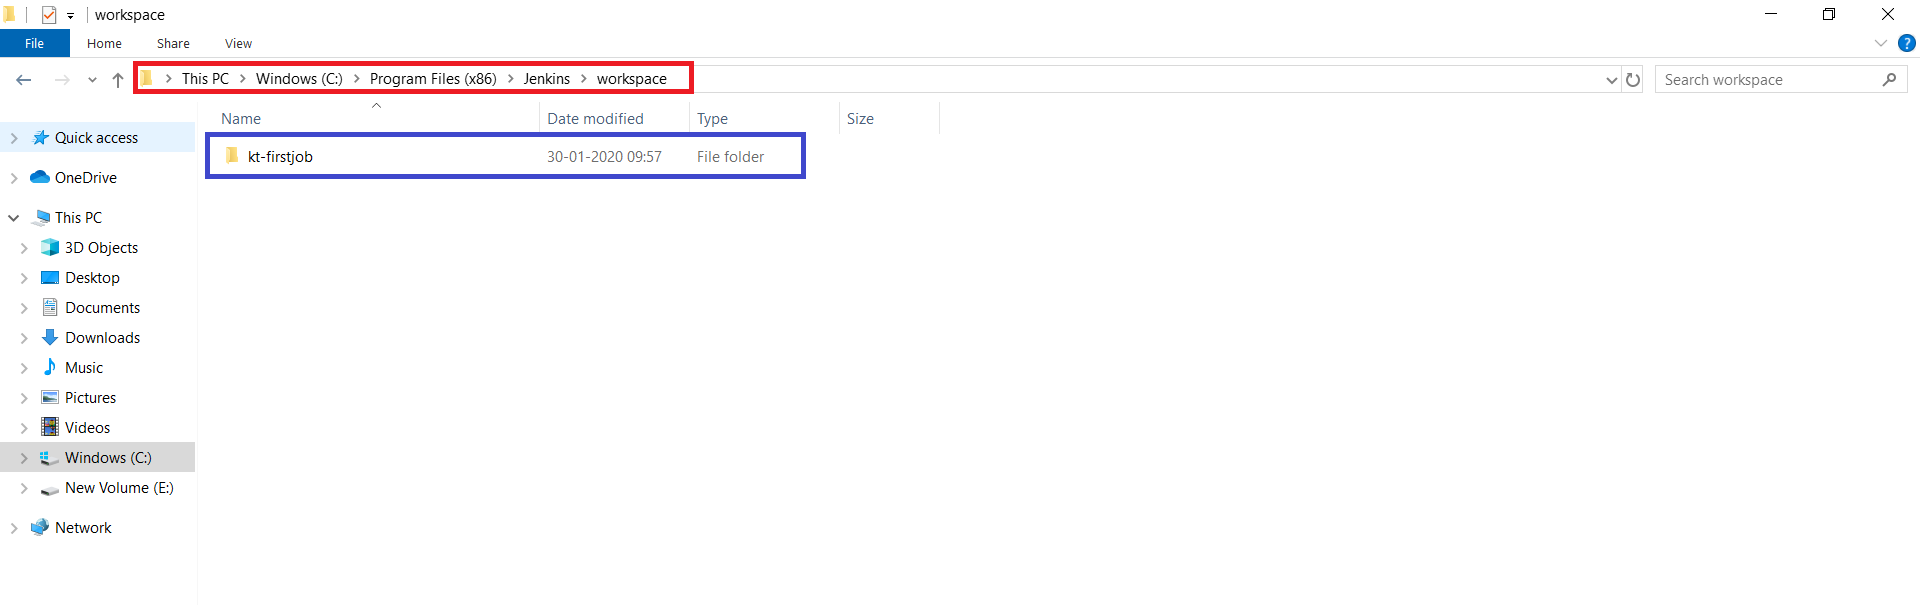
7. Verify job “kt-firstjob” in workspace
The command is executed inside the first job(C:\Program Files (x86)\Jenkins\workspace\kt-firstjob)
we can see “kt-firstjob” is the workspace for the first job.
The work is being carried out in that folder.
Thank you for giving your valuable time to read the above information.
Follow us on
Website : www.ktexperts.com
Facebook Page : KTexperts
Linkedin Page : KT EXPERTS