Create the Azure windows VM

Virtual Machine (VM)
A Virtual machine is a digital version of Physical computer because they have a memory, CPU, as well as storage disks. A Virtual machine can execute all tasks like a physical computer it can host operating systems, applications and also, they can connect to internet.
Benefits of Virtual Machine
• No need to buy or maintain physical Hardware.
• VM’s can back up our existing operating system.
• It will manage server tasks including patch management and software installation.
Azure VM’s are often used to deploy development and test environment’s, Organization use Pay as you go to host applications in Azure, Azure Virtual machine will create and use virtual machines in the cloud on windows and Linux operating systems.
Creating the Azure VM in Azure portal
Step 1: Search for Virtual machines in search bar and click on it.
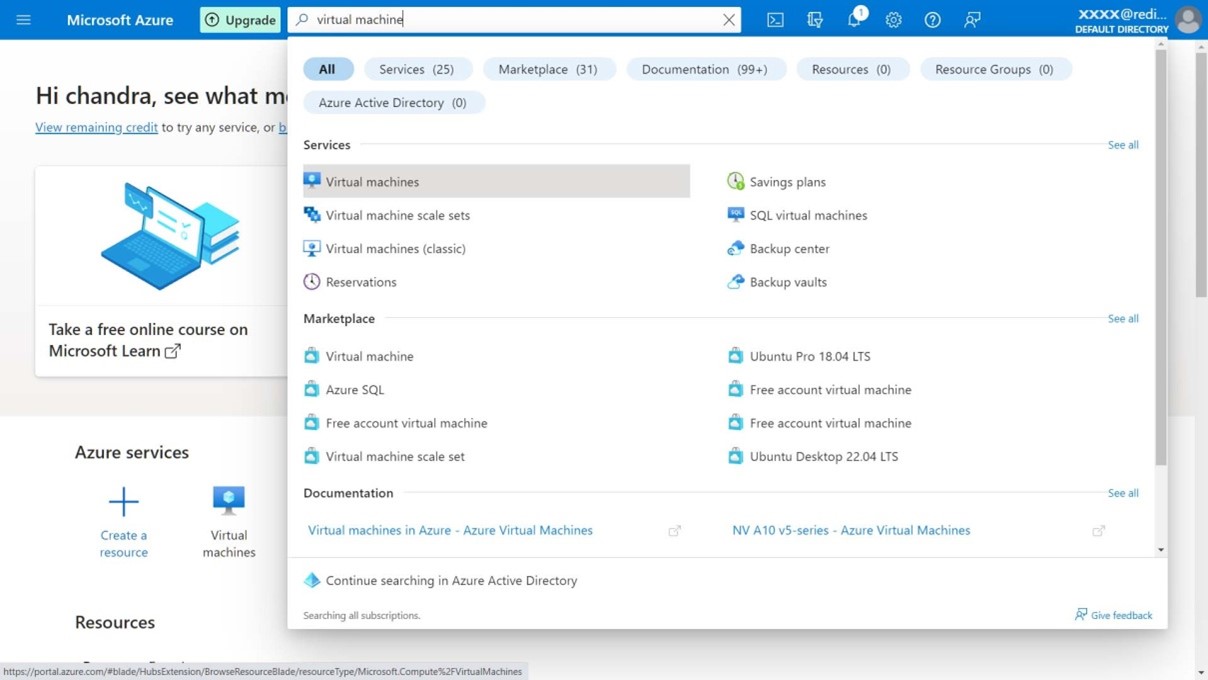
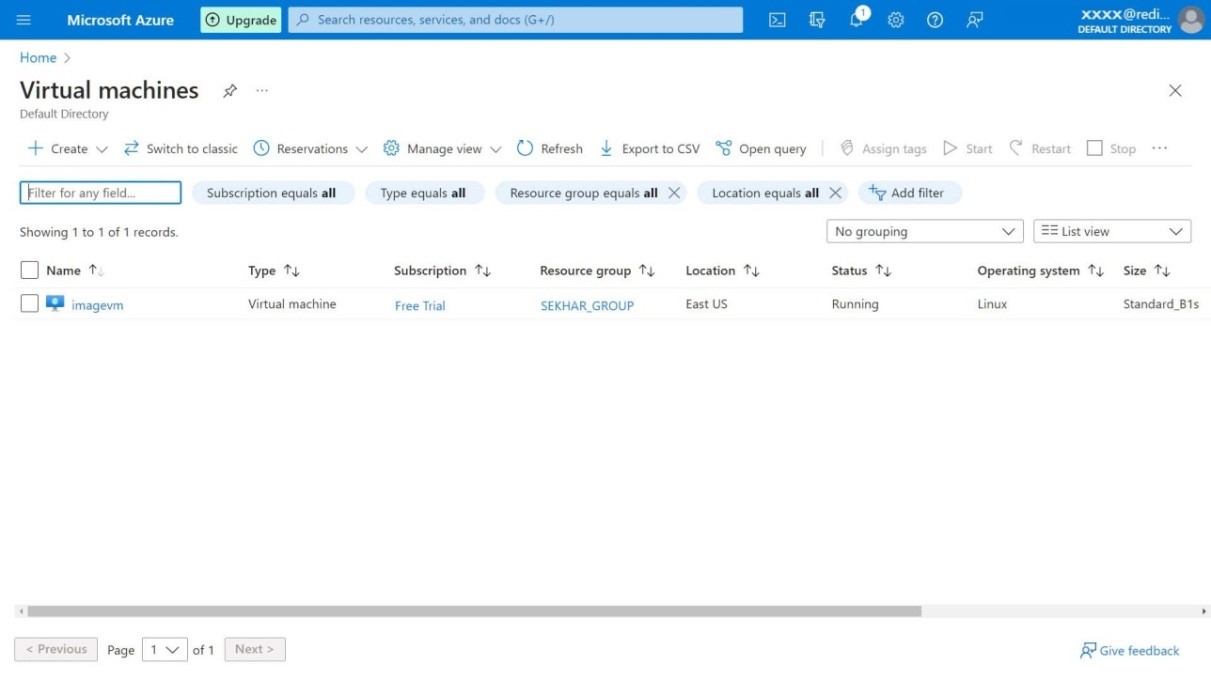
If there exist any exist VM’s that are created before will be shown here.
Step 2: Click on drop down arrow at create then chose Azure virtual machine. Then it will take you to creation page.

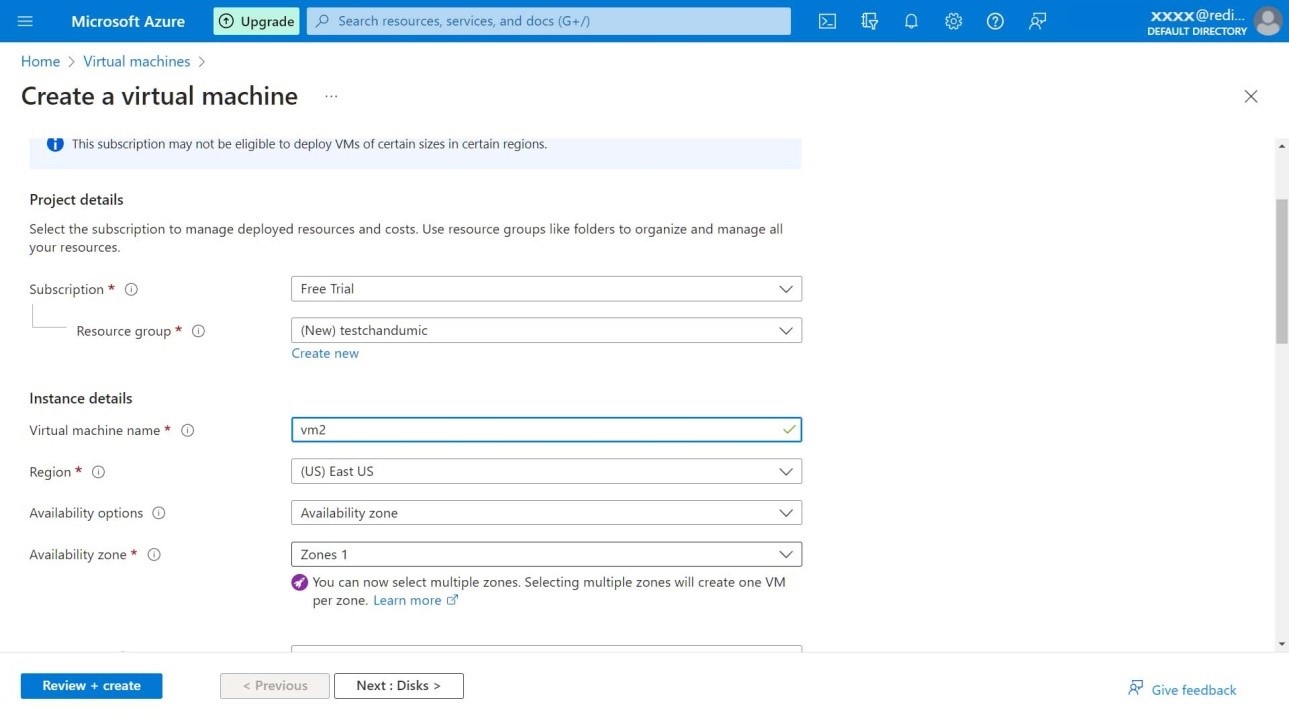
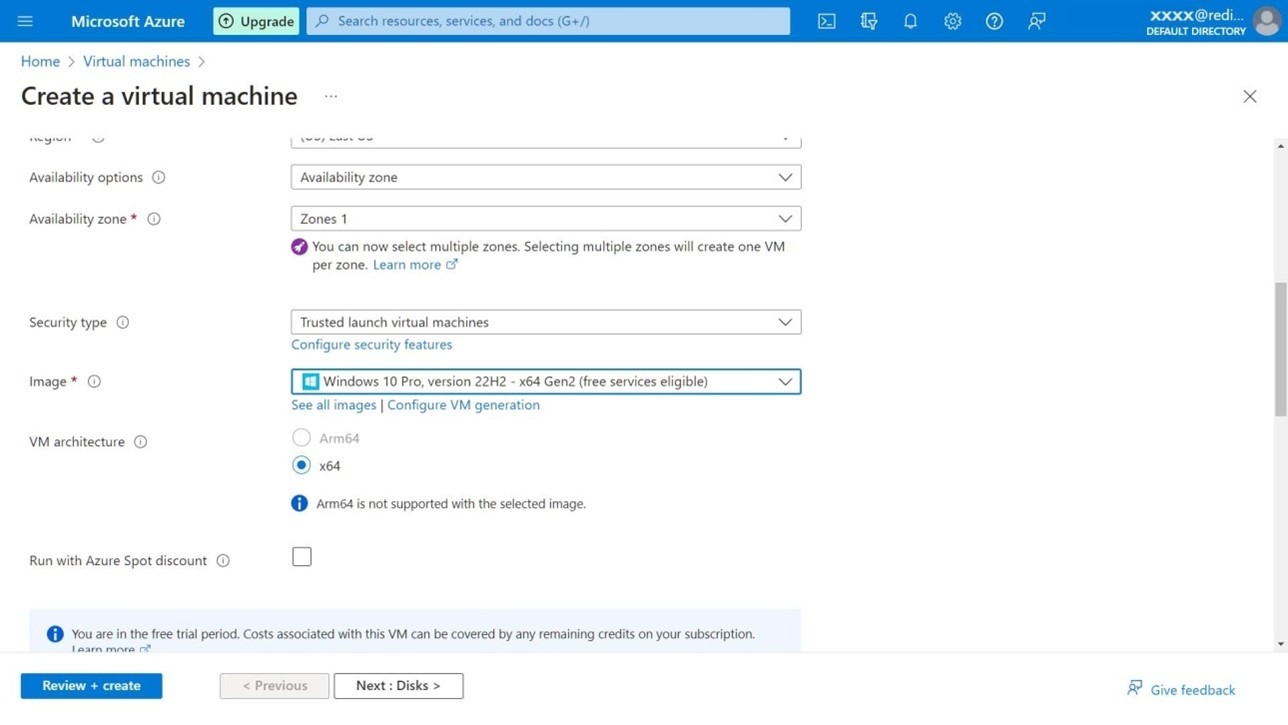
Step 3: Now choose the resource group name or create a new one and give name for virtual machine then select region and availability zone where you want to deploy your VM.
Step 4: Now select the VM image and type of VM according to your requirement, you will see the options free trail and paid version choose your required version of it.

When you click on view all images that will redirect to this page which consists of operating systems and their versions.
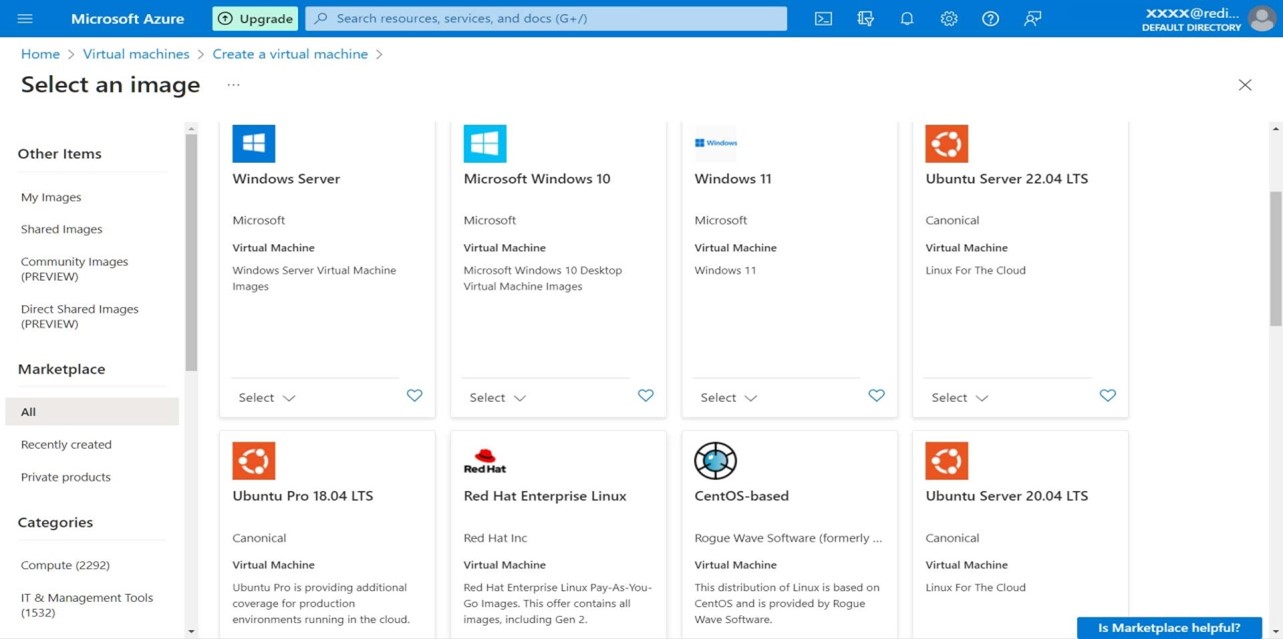
Step 5: Now choose your required OS and their version that you want to deploy.
Step 6: Now set the username and password for the Virtual machines that you want to deploy.
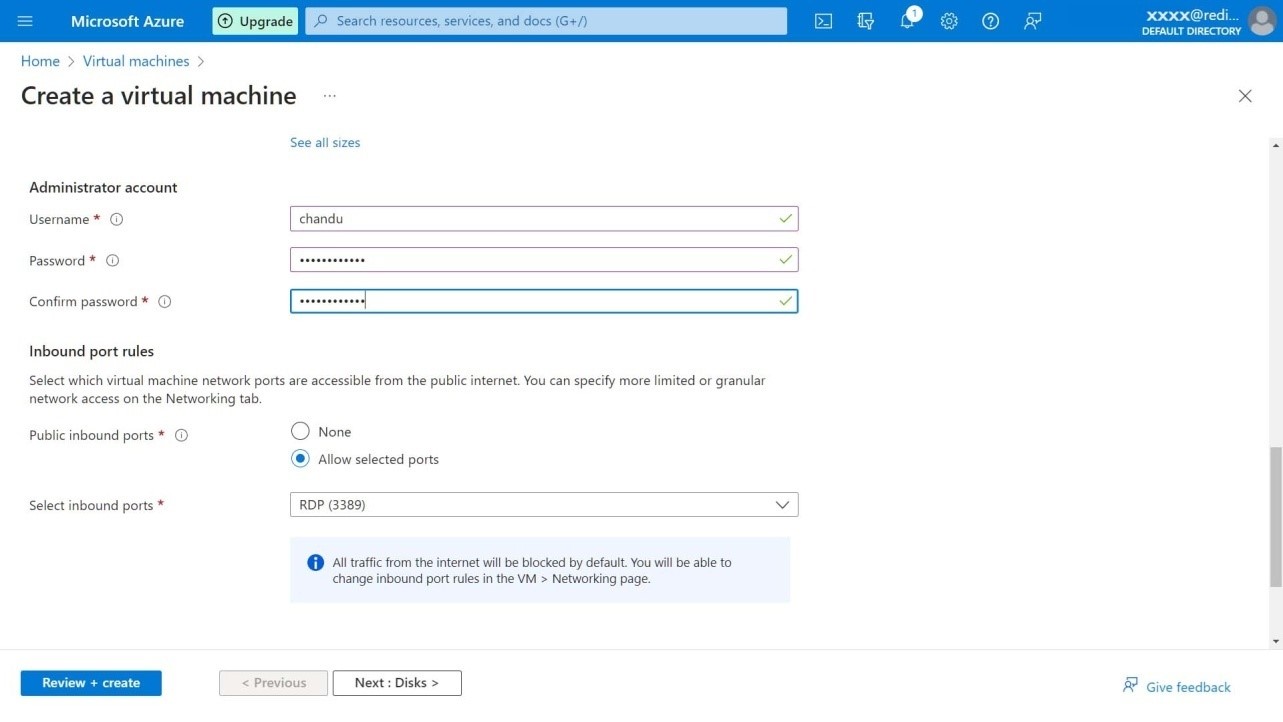
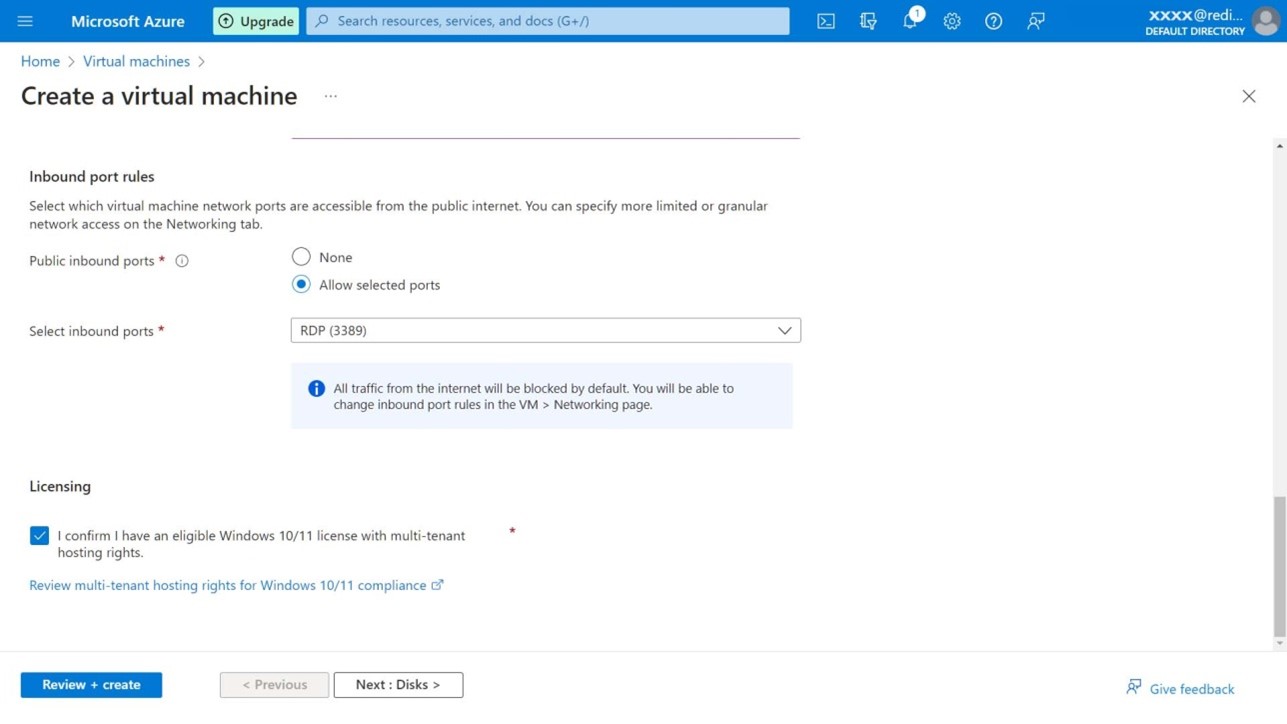
Step 7: Select the inbound ports for your VM and enable the confirm button for windows 10/11 license. To access the validation.
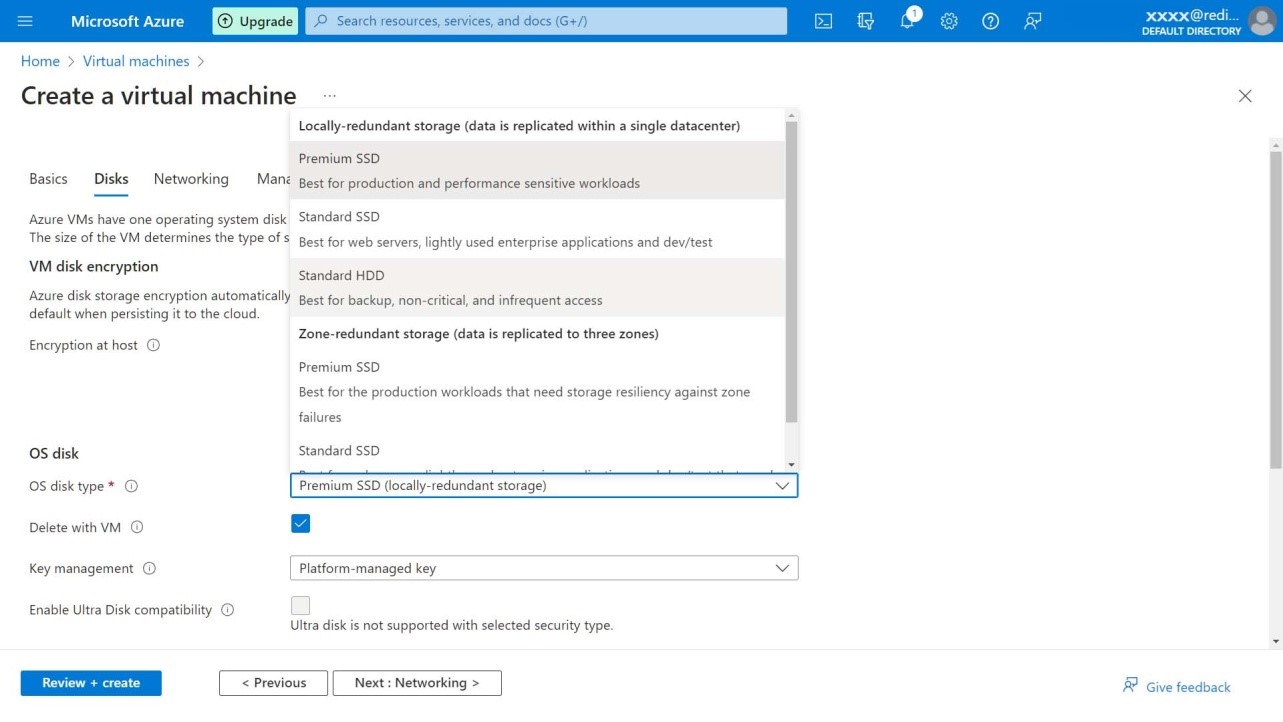
Step 8: Now select the disk type, in that choose in according with your requirements based low latency, less frequent access.
If you want to delete the storage when your VM got deleted, then click on the square box.
Next it will redirect to network page, by default it will take subnet and public IP address.
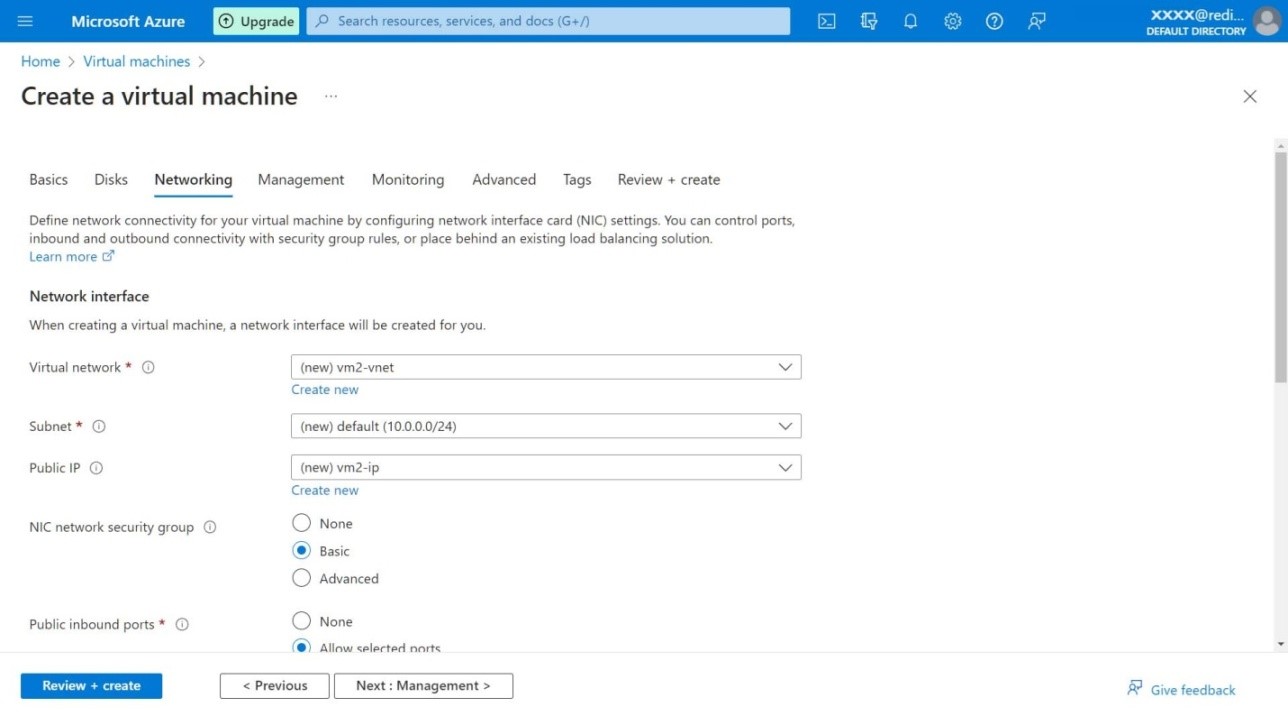
Step 9: By default, it will take RDP3389 for windows 10 pro VM.

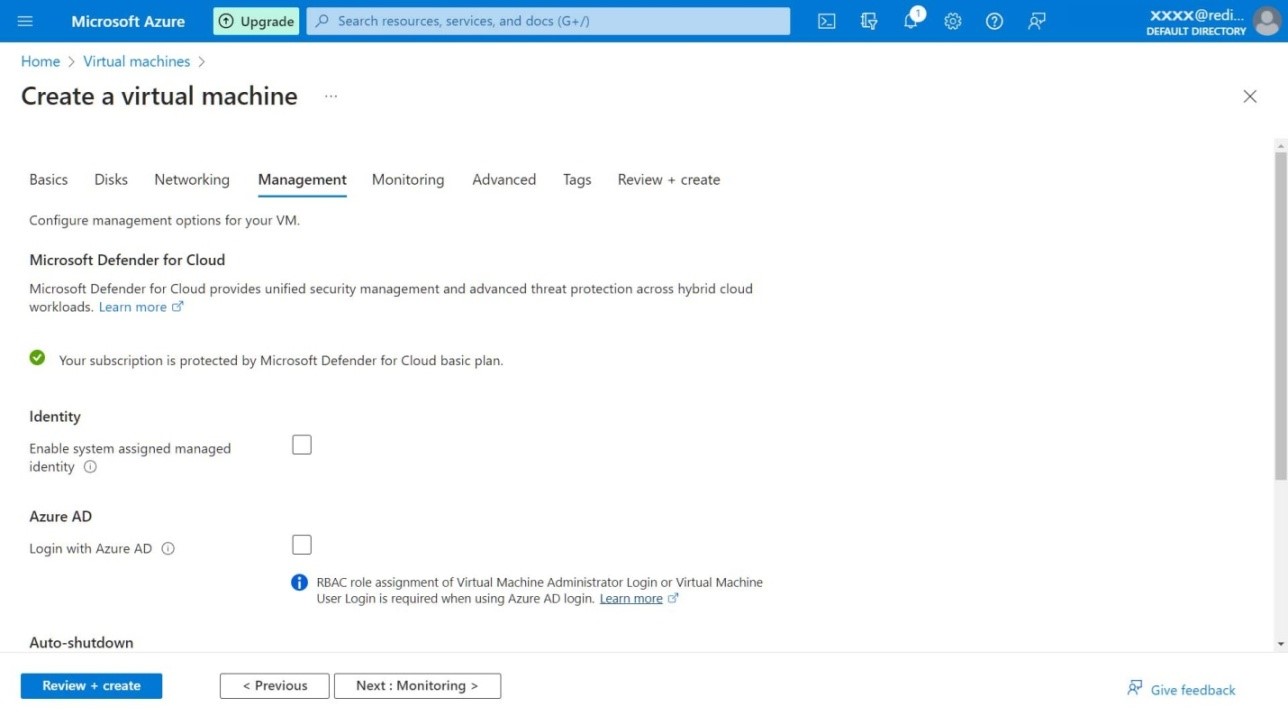
Step 10: In the management tab if you are using your VM at particular time every day then select your timings and select Auto-shutdown that will save some money because the resource is getting turned off.
Step 11: In the Monitoring tab by default Azure will select automatically boot and diagnostic options.
If you want any alerts regarding your VM click on square check box

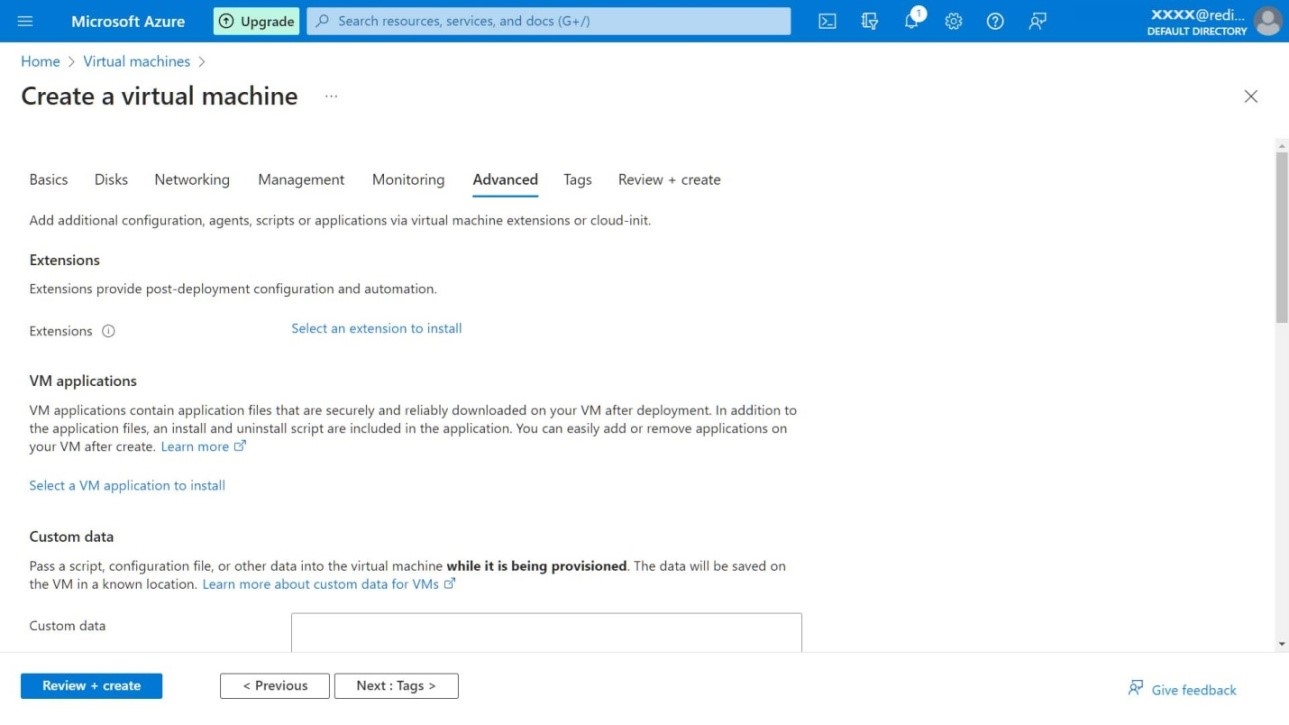
Step 12: In the advanced tab, you can embed an extension to the virtual machine.
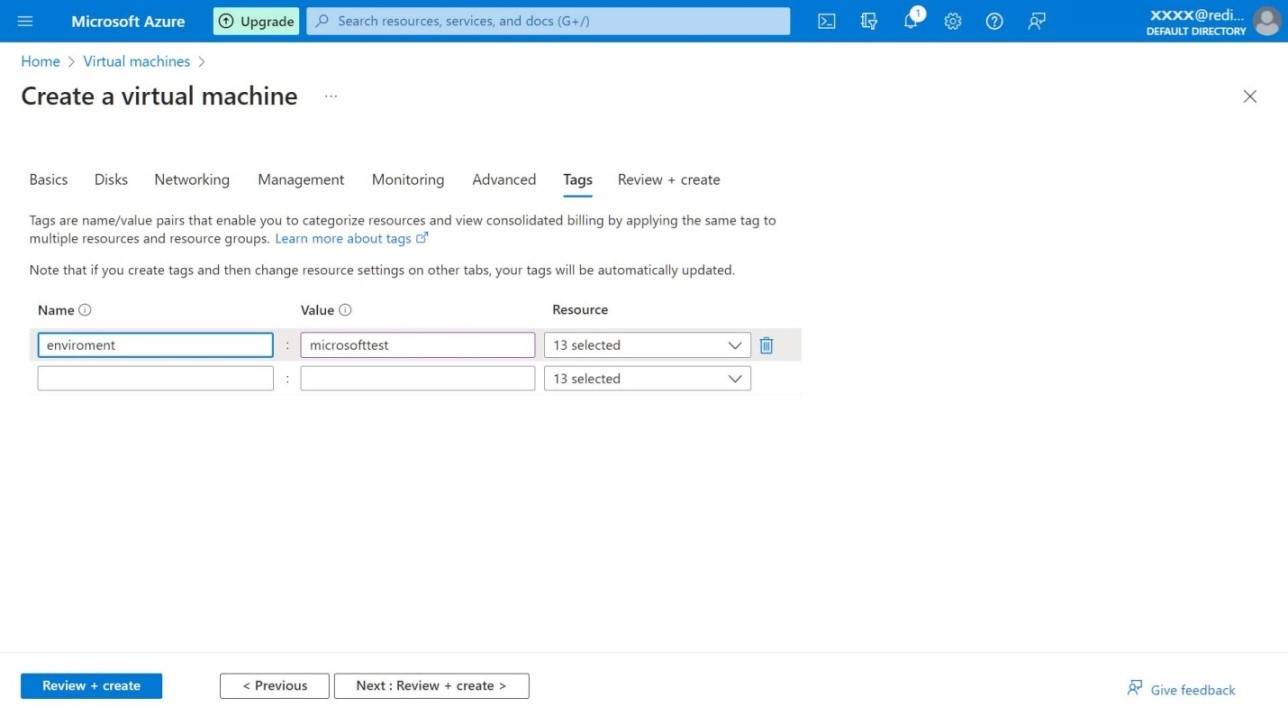
Step 13: Now you can create Tags which helps you in categorization.
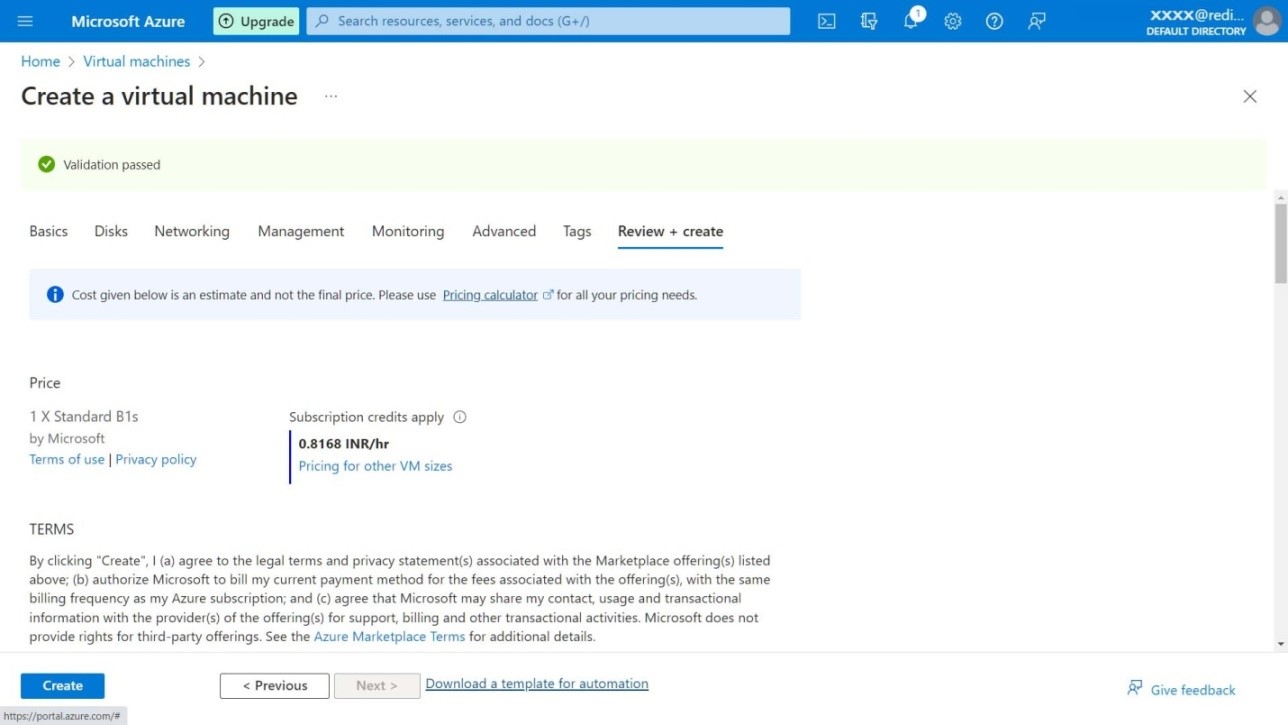
Step 14: Now review your details of your VM, click on the create button.
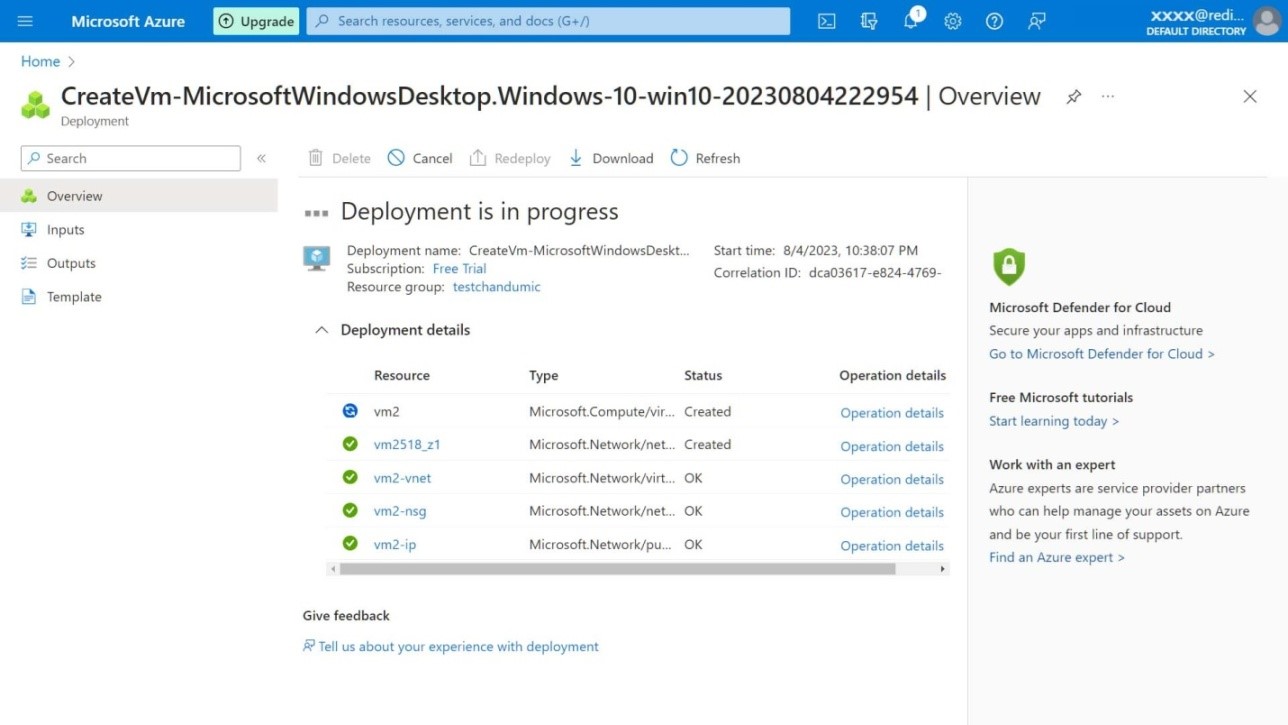
Step 15: Now it starts to initialize deployment for the VM that you want to be created. Wait for few minutes to complete the deployment.
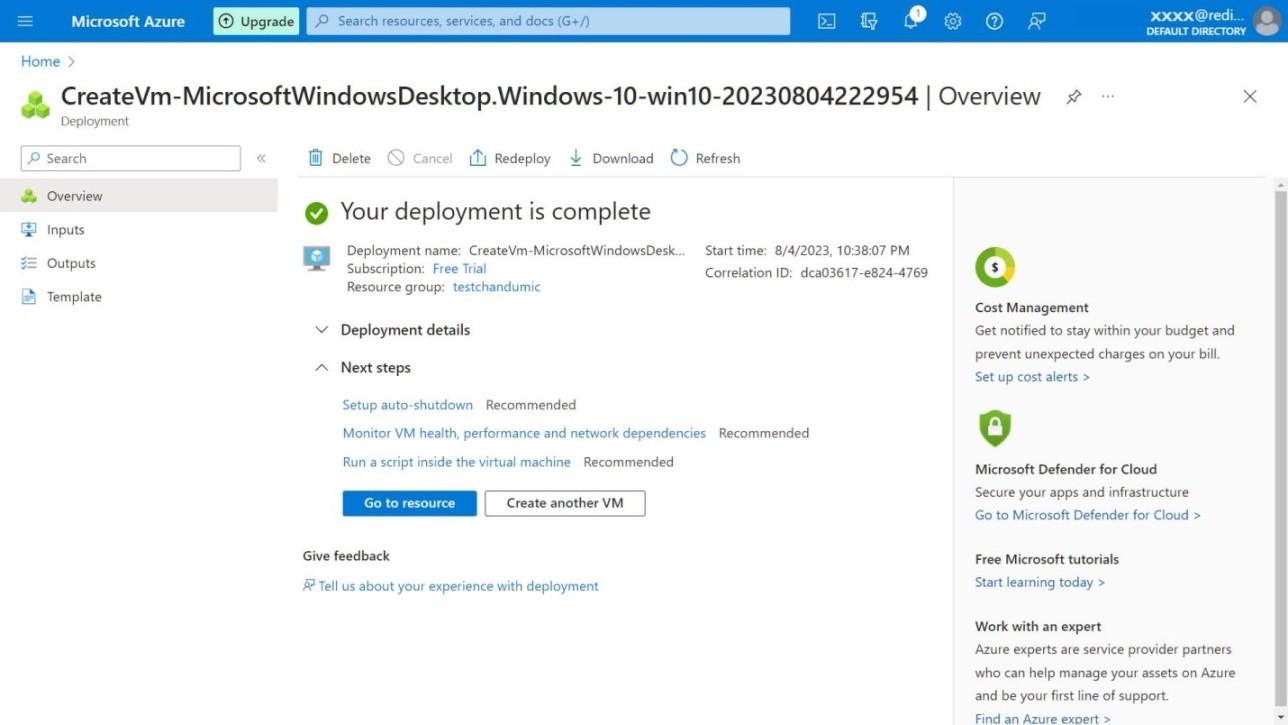
Step 16: Once it shows the Deployment is complete. Your Virtual machine VM has been created successfully.
Author : Chandra Shekar |
LinkedIn : https://www.linkedin.com/in/chandra-sekhar-4488435/
Thank you for giving your valuable time to read the above information. Please click here to subscribe for further updates
KTExperts is always active on social media platforms.
Facebook : https://www.facebook.com/ktexperts/
LinkedIn : https://www.linkedin.com/company/ktexperts/
Twitter : https://twitter.com/ktexpertsadmin
YouTube : https://www.youtube.com/c/ktexperts
Instagram : https://www.instagram.com/knowledgesharingplatform
Note: Please test scripts in Non Prod before trying in Production.