AZURE: Storage Account Creation
Storage Account:
👉 An Azure Storage account is a fundamental resource that holds all your Azure storage data objects like blobs, queues, files and tables.
👉 It provides a unique namespace so that anyone can access through HTTP and HTTPS requests.
👉 Data stored in Azure storage accounts is highly available, secure, scalable and durable.
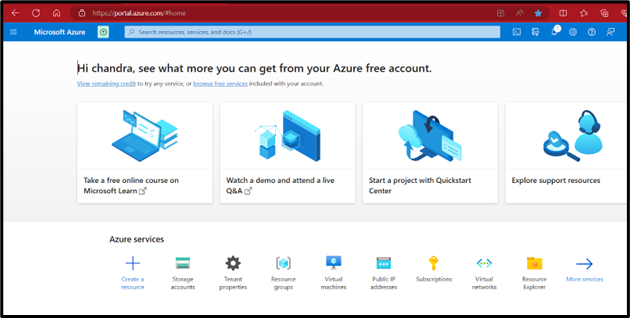
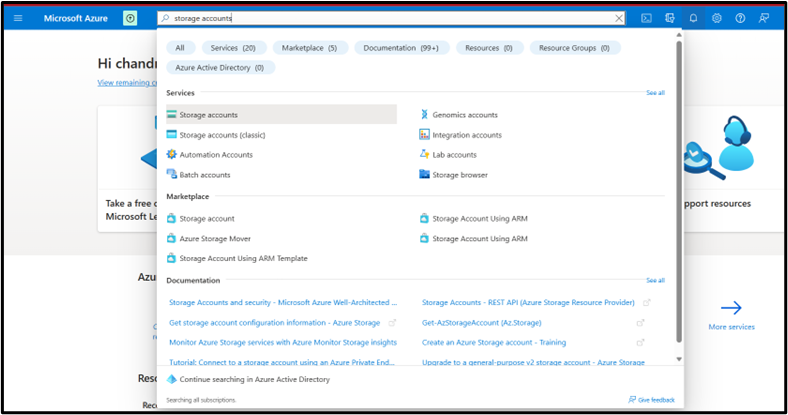
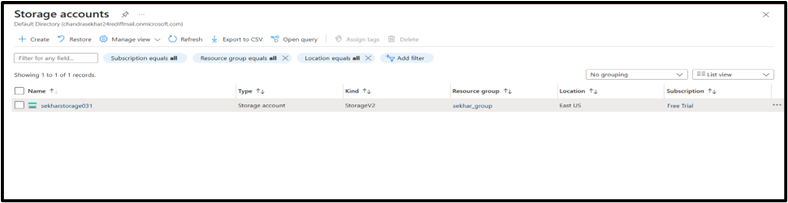
Step-1: Login to your Azure portal and Search for storage accounts in search.
Step -2: Click on storage account from the search result.
Step-3: Now you will find a tab as shown below to create a new storage account click on create.
Step-4: Then you get the tab which is shown below.
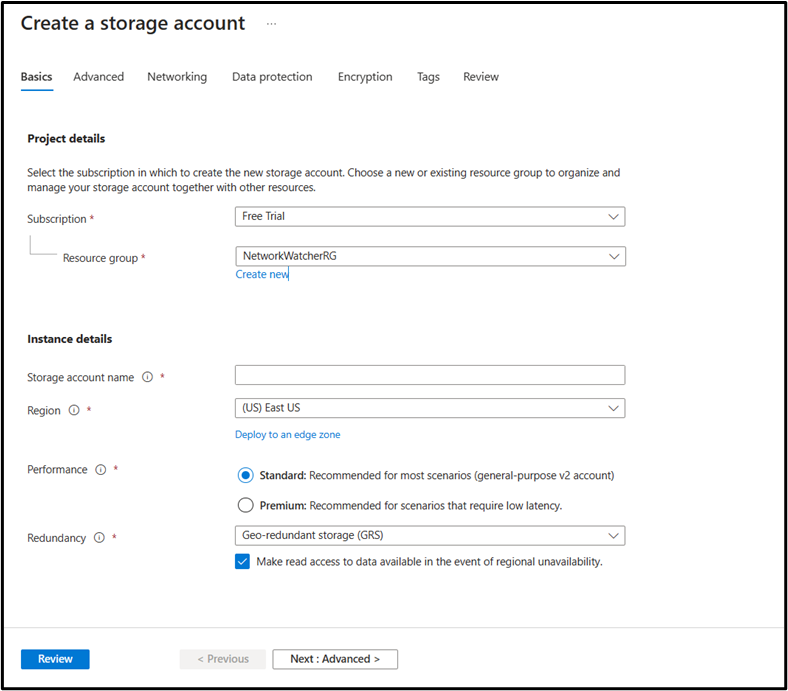
Step-5: Basics Tab
Project Details:
Choose the subscription If you are using a free trial account then choose free trial.
Choose the resource group name. If you want to create a new resource group, then click on create new.
Instance details:
Give the name of the storage account which must be unique and must be alphanumeric and also accept only lowercase alphabets.
Choose the region where you want to store. This will affect your billing i.e., storing the same data in different regions will give you different bills.
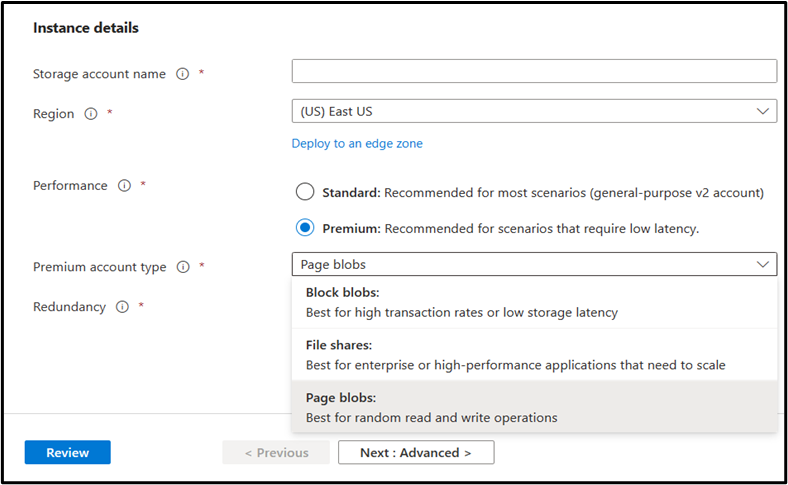
In performance choose standard if you want to use this storage for general purpose. If you need low latency to access, then choose premium.
If you choose premium then there will be three premium storage options in that they are page blobs, file shares, block blobs which is shown below.
Later select you required redundancy configuration for the storage account.
Step-6: Advanced Tab Security
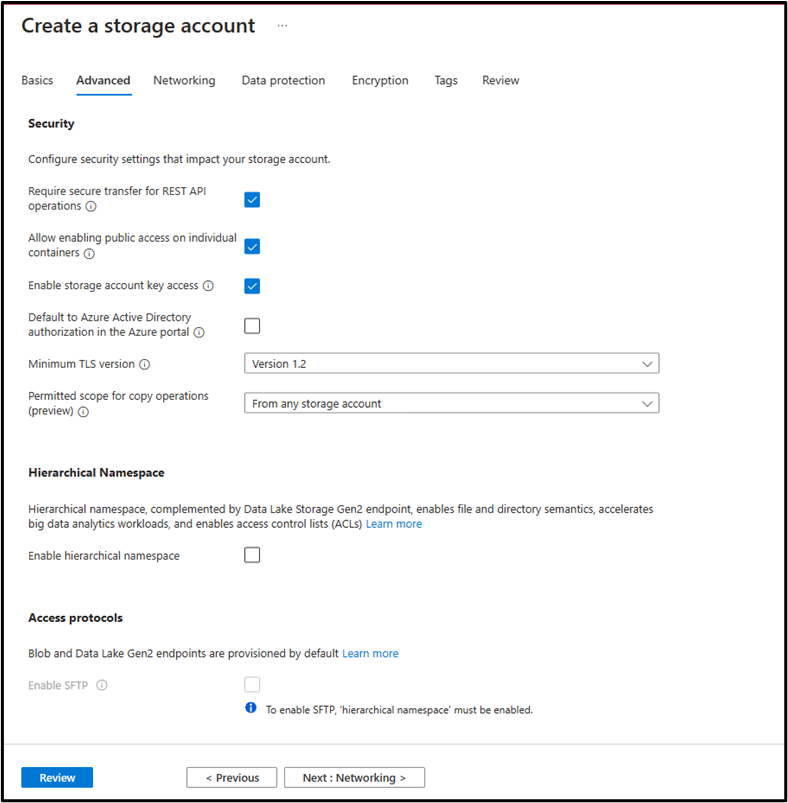
Select the minimum TLS version i.e., minimum version of Transport layer security for the incoming requests to your storage account.
Permitted scope for copy operations has the default value is from any storage i.e it can copy data from any storage account.
By choosing from storage accounts in the same Azure AD tenant will allow copy operations from storage accounts within the same Azure AD tenant.
By choosing from storage accounts that have a private endpoint to the same virtual network will allow copy operations copy operations from storage accounts with the private endpoints in the same network
Blob storage:
Using allow cross-tenant replication will configure the object replication across Azure tenants.
Access tier:
Choose hot if you use the storage account frequently.
Choose cold if you use the storage account infrequently.
Step -7: Networking tab
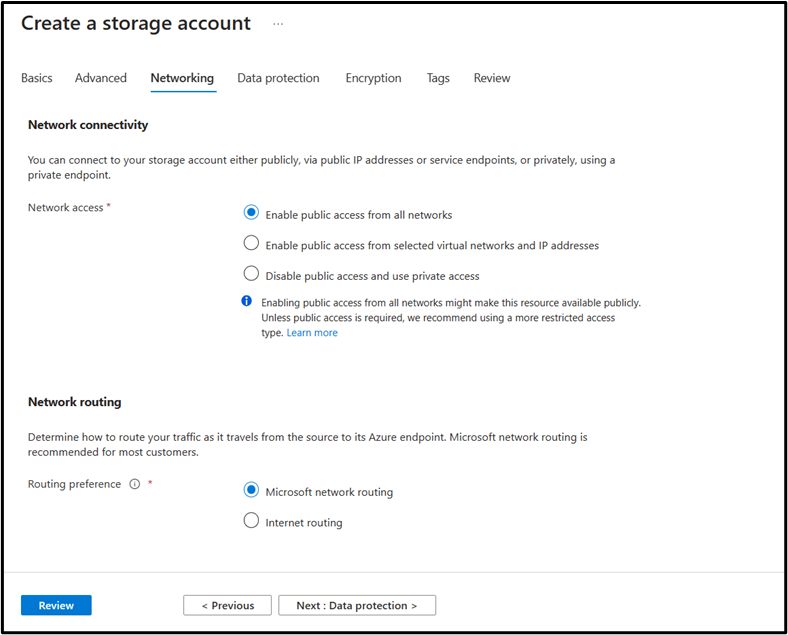
Network connectivity:
Use Enable public access from all networks if you want to give access to your storage account to all i.e they can access it by using the internet.
Use Enable public access from selected virtual network and IP address if you want to restrict the access to your storage account from one or multiple networks or to the IP address.
Use Disable public access and use private access if you want to restrict the storage account from public and can give private access by creating the private endpoint.
Network routing:
Use Microsoft network routing which is recommended to use.
Then click on next. You can see the data protection tab.
Step-8: Data protection Tab
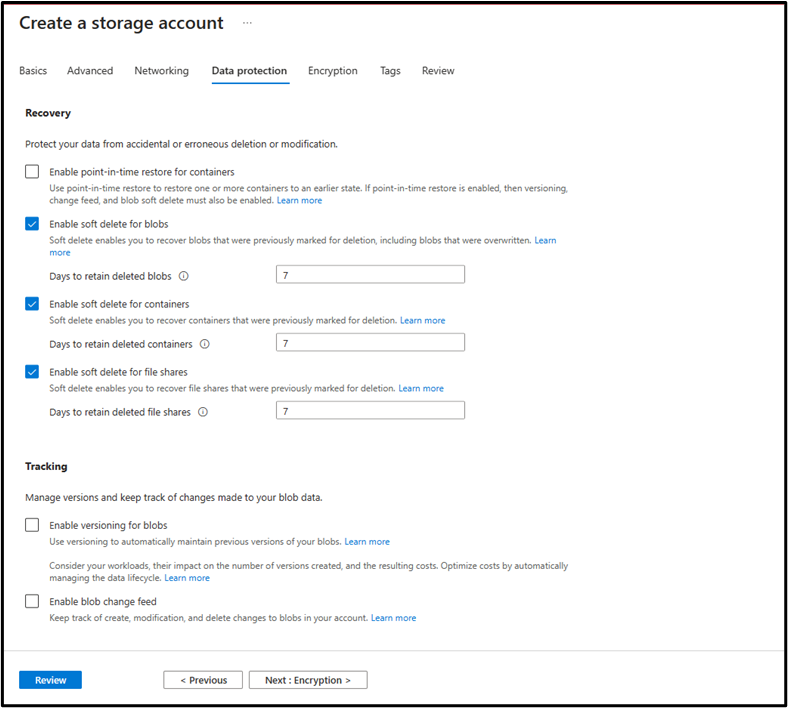
Recovery:
This provides the protection against the accidental deletion.
Select your file type that is to be protected against the deletion and the retention period for that.
Tracking:
By enabling versioning for blobs, it will automatically save the previous version of the blob when the bold is overwritten.
By enabling the blob change field it provides the log of all changes that you made in your storage account.
Access control:
By enabling version-level immutability support you can configure a time based retention policy for the container.
Without enabling the versioning of blob you can’t enable this feature.
Step-9: Encryption Tab

Encryption
Encryption type:
By default the storage account you create is encrypted by using Microsoft -managed Keys(MMK).
If you want to create your own encryption then choose customer-managed Keys (CMK).
Encryption support for customer-managed keys use this option when you choose the encryption type as customer-managed keys then choose file types on your requirement bases.
Use Enable infrastructure encryption if you want another layer of encryption to your storage account.
Step-10: Tags Tab
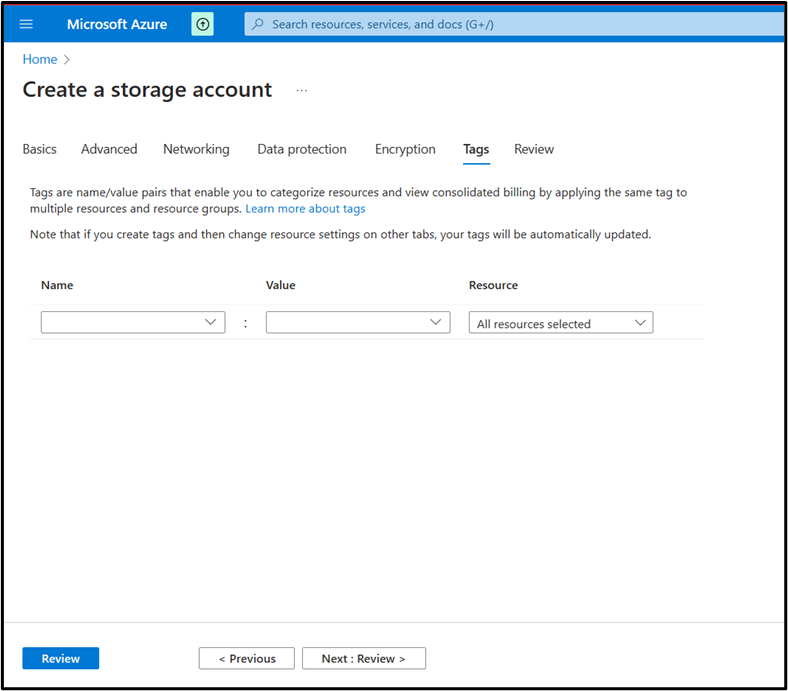 Generally tags are used for the categorisation of the resources that you create.
Enter the tag name and its value for the resource.
Then click on next and go to the Review tab.
Step-11: Review Tab
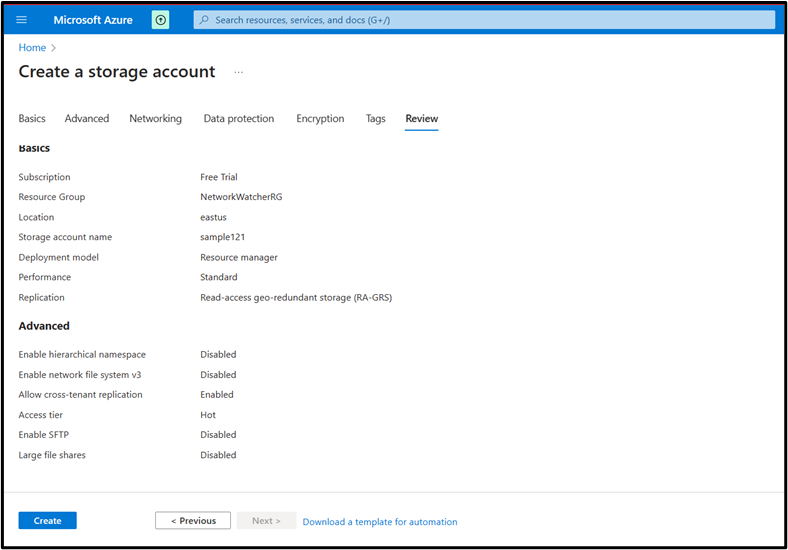
In this review tab you can see all the details that you have given in all the previous tabs.
Step-12: Once verify all the tabs and click on create to create the new storage account.
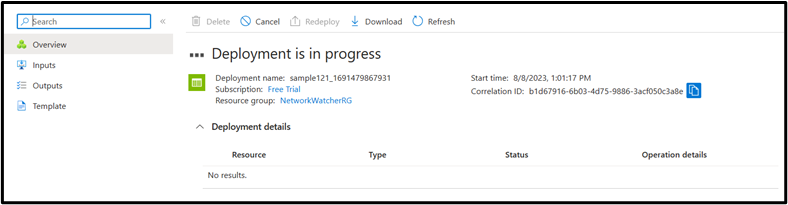
After you click on create it will start the deployment of your storage account which is shown below.
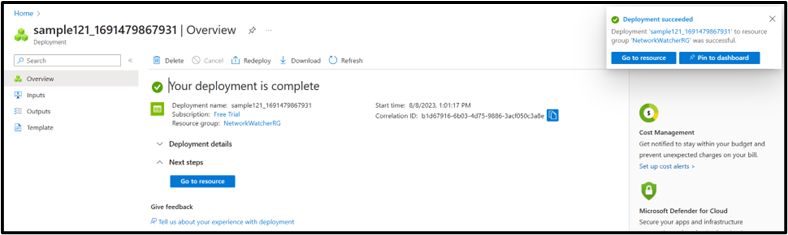
Once the deployment gets completed then you will get the tab as shown below which means your storage account got created.
Author : Teja |
LinkedIn : https://www.linkedin.com/in/teja-sai-nadh-reddy-tatireddy-048882201
Thank you for giving your valuable time to read the above information. Please click here to subscribe for further updates
KTExperts is always active on social media platforms.
Facebook : https://www.facebook.com/ktexperts/
LinkedIn : https://www.linkedin.com/company/ktexperts/
Twitter : https://twitter.com/ktexpertsadmin
YouTube : https://www.youtube.com/c/ktexperts
Instagram : https://www.instagram.com/knowledgesharingplatform
Note: Please test scripts in Non Prod before trying in Production.